|
TAG NENA

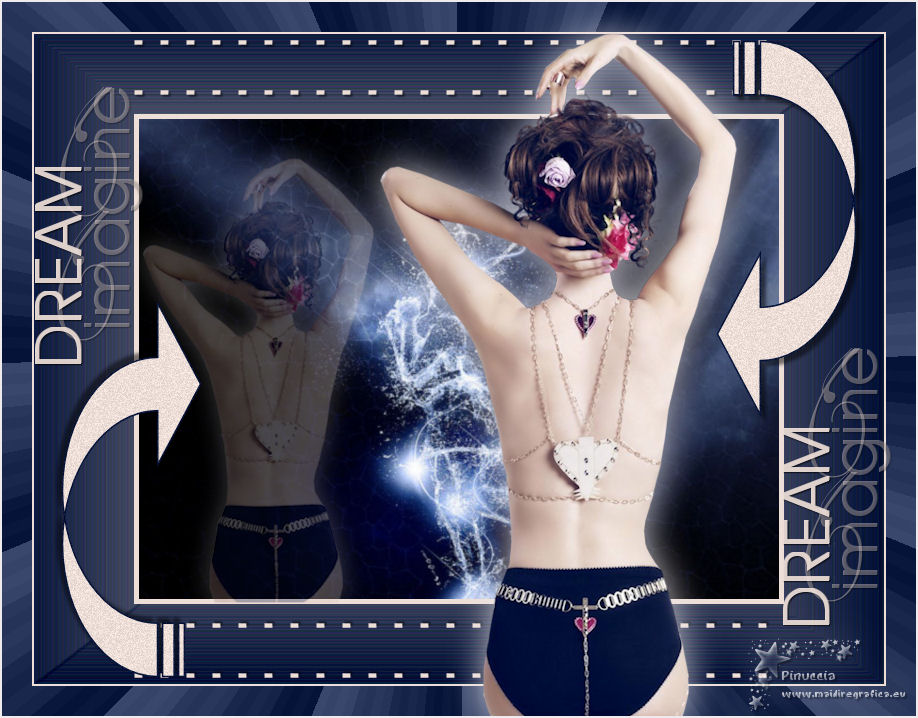

This tutorial was translated with PSPX7 but it can also be made using other versions of PSP.
Since version PSP X4, Image>Mirror was replaced with Image>Flip Horizontal,
and Image>Flip with Image>Flip Vertical, there are some variables.
In versions X5 and X6, the functions have been improved by making available the Objects menu.
In the latest version X7 command Image>Mirror and Image>Flip returned, but with new differences.
See my schedule here
 French translation here French translation here
 Your versions ici Your versions ici
For this tutorial, you will need:
Material
here
Tube Athe-FM217
Imagen Danae
Texto-ac
(you find here the links to the material authors' sites)
Plugins
consult, if necessary, my filter section here
Filters Unlimited 2.0 here
Tramages - Gradient/Spokes Radio Makerhere
Filters Tramages can be used alone or imported into Filters Unlimited.
(How do, you see here)
If a plugin supplied appears with this icon  it must necessarily be imported into Unlimited it must necessarily be imported into Unlimited

You can change Blend Modes according to your colors.
In the newest versions of PSP, you don't find the foreground/background gradient (Corel_06_029).
You can use the gradients of the older versions.
The Gradient of CorelX here
The Shape Flechas.PspShape are standard in PSP (shades Arrows).
If your don't find it in your PSP, copy the shape supplied in the Shades Folder.
Copy the preset Emboss 6 in the Presets Folder.
1. Open a new transparent image 850 x 650 pixels.
2. Set your foreground color to #edded7,
and your background color to #051338.
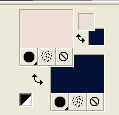
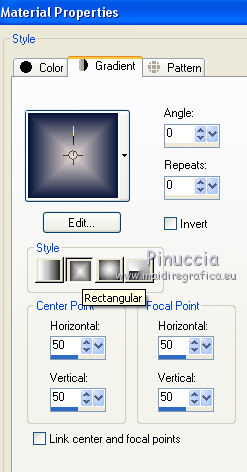
Set your foreground color to a Foreground/Background Gradient, style Rectangular.
Flood Fill  the transparent with your Gradient. the transparent with your Gradient.
3. Effects>User Defined Filter - select the preset Emboss 6 and ok.

4. Activate your Pen Tool 
Line style: Small Dash ou Corel_13_025

Set your foreground color to Color
and draw a line from 100 to 750 pixels with your foreground color #edded7.
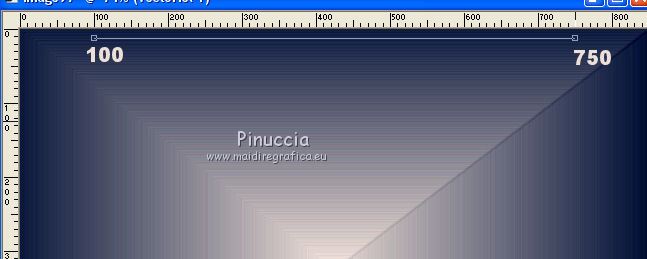
5. Layers>Convert to Raster Layer.
6. Effects>3D Effets>Drop Shadow, color black.

7. Layers>Duplicate.
Effects>Image Effects>Offset.

8. Layers>Merge>Merge Down.
9. Layers>Duplicate.
Image>Flip.
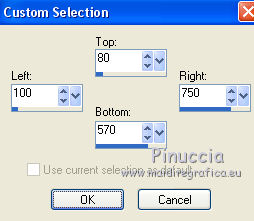
10. Selection Tool 
(no matter the type of selection, because with the custom selection your always get a rectangle)
clic on the Custom Selection 
and set the following settings.
11. Layers>New Raster Layer.
Flood Fill  the layer with your foreground color #edded7. the layer with your foreground color #edded7.
12. Selections>Modify>Contract - 5 pixels.
Press CANC on the keyboard 
13. Layers>New Raster Layer.
Open the image danae 18 and go to Edit>Copy.
Go back to your work and go to Edit>Paste into Selection.
Selections>Select None.
14. Layers>New Raster Layer.
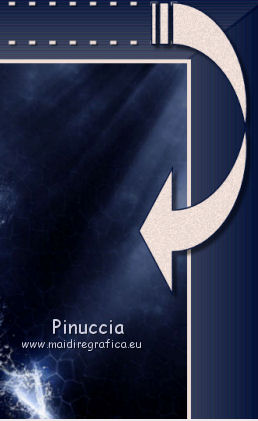
Activate your Preset Shape Tool, Arrow 01 or Corel_11_009

Set your background color with your light color #edded7.
Draw the shape with your light color.
15. Adjust>Add/Remove Noise>Add Noise.

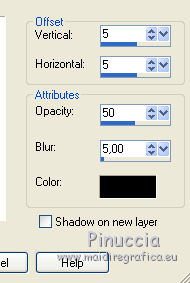
16. Effects>3D Effects>Drop Shadow, color black.
17. Layers>Duplicate.
Image>Mirror.
Image>Flip.
18. Layers>Merge>Merge All.
19. Image>Add borders, 2 pixels, symmetric, light color #edded7.
Image>Add borders, 30 pixels, symmetric, dark color #051338.
20. Activate your Magic Wand Tool 
and click on the last border to select it.
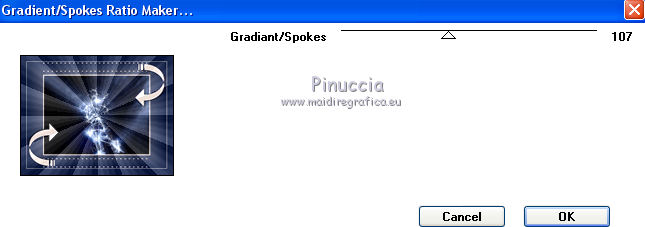
21. Effects>Plugins>Tramages - Gradient/Spoker Ratio Maker.
Selections>Select None.
22. Open the tube Athe-FM217 and go to Edit>Copy.
Go back to your work and go to Edit>Paste as new layer.
Image>Resize, 2 times to 80% and 1 time to 90%, resize all layers not checked.
23. Layers>Duplicate.
Image>Resize, 2 times to 80%, resize all layers not checked.
Place  the tube in the frame. the tube in the frame.
Reduce the opacity of this layer to 30%.
24. Activate the layer of the original tube.
Effects>3D Effects>Drop Shadow, light color #edded7.

25. Open the text and go to Edit>Copy.
Go back to your work and go to Edit>Paste as new layer.
Move  the text at the upper left. the text at the upper left.
Layers>Duplicate, and move  this text at the bottom right. this text at the bottom right.
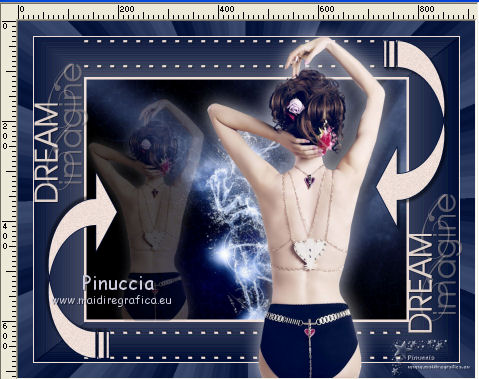
26. Layers>Merge>Merge All.
27. Image>Add borders, 2 pixels, symmetric, light color #edded7.
28. Sign your work and save as jpg.
 Your versions here Your versions here

If you have problems or doubts, or you find a not worked link, or only for tell me that you enjoyed this tutorial, write to me.
19 April 2020
|

