|
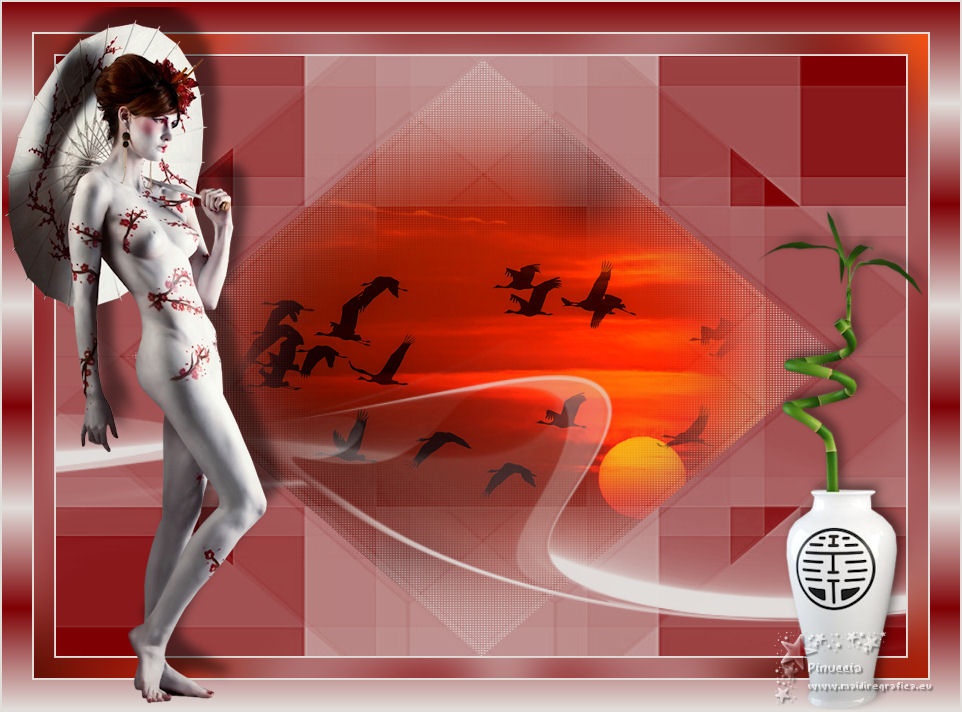
TAG ASIAN WHITE
 ENGLISH VERSION ENGLISH VERSION


This tutorial was translated with PSPX7 but it can also be made using other versions of PSP.
Since version PSP X4, Image>Mirror was replaced with Image>Flip Horizontal,
and Image>Flip with Image>Flip Vertical, there are some variables.
In versions X5 and X6, the functions have been improved by making available the Objects menu.
In the latest version X7 command Image>Mirror and Image>Flip returned, but with new differences.
See my schedule here
French translation here
Your versions ici
For this tutorial, you will need:
Material
here
Tube 2014EXCLUSIF-Maelledreams-Femme-130
Tube 11_paysage_p1_animabelle
Tube calguisdecobambou09032012 by Guismo
Narah_mask_0201
Narah_mask_0421
(you find here the links to the material authors' sites)
Plugins
consult, if necessary, my filter section here
Filters Unlimited 2.0 here
Simple - Pizza Slice Mirror here
Filters Simple can be used alone or imported into Filters Unlimited.
(How do, you see here)
If a plugin supplied appears with this icon  it must necessarily be imported into Unlimited it must necessarily be imported into Unlimited

You can change Blend Modes according to your colors.
In the newest versions of PSP, you don't find the foreground/background gradient (Corel_06_029).
You can use the gradients of the older versions.
The Gradient of CorelX here
Copy the Selection in the Selections Folder.
Open the masks in PSP and minimize them with the rest of the material.
1. Open a new transparent image 850 x 600 pixels.
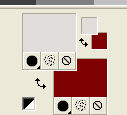
2. Set your foreground color to #e1ddda,
and your background color to #7e0003.

Flood Fill  the transparent image with your background color #7e0003. the transparent image with your background color #7e0003.
3. Layers>New Raster Layer.
Flood Fill  with your foreground color #e1ddda. with your foreground color #e1ddda.
4. Layers>New Mask layer>From image
Open the menu under the source window and you'll see all the files open.
Select the mask Narah_mask_0201.

Layers>Merge>Merge Group.
5. Selections>Load/Save Selection>Load Selection from Disk.
Look for and load the selection sel_asian white_nines.

6. Calques>Nouveau calque raster.
Ouvrir le tube 11_paysage_p1_animabelle - Édition>Copier.
Revenir sur votre travail et Édition>Coller dans la sélection.
Sélections>Désélectionner tout.
7. Layers>New Raster Layer.
Flood Fill  with your foreground color #e1ddda. with your foreground color #e1ddda.
8. Layers>New Mask layer>From image
Open the menu under the source window
and select the mask narah_mask_0421.

9. Layers>Merge>Merge All.
10. With your colors

Set your foreground color to a Foreground/Background Gradient, style Rectangular.

11. Image>Add borders, 2 pixels, symmetric, foreground color #e1ddda.
Image>Add borders, 20 pixels, symmetric, background color #7e0003.
12. Activate your Magic Wand Tool 
and click on the last border to select it.
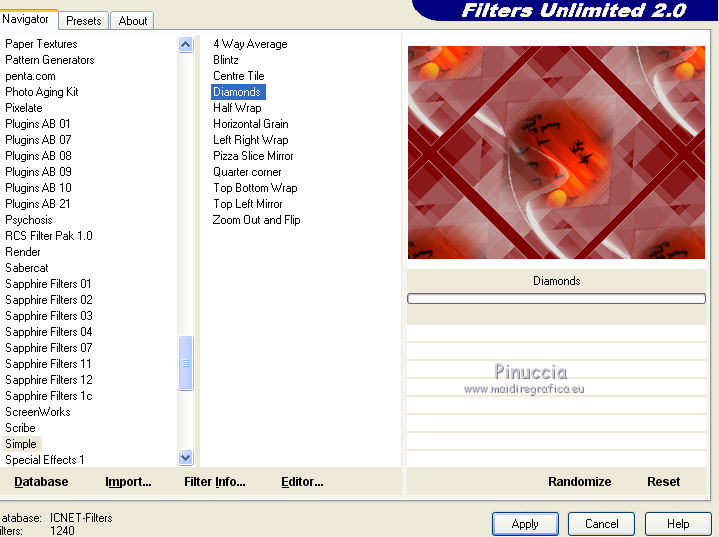
13. Effects>Plugins>Filters Unlimited 2.0 - Simple - Diamonds.

14. Adjust>Blur>Gaussian Blur - radius 25.

Selections>Select None.
15. Image>Add borders, 2 pixels, symmetric, foreground color #e1ddda.
Image>Add borders, 30 pixels, symmetric, background color #7e0003.
16. Activate your Magic Wand Tool 
and click on the last border to select it.
Flood Fill  the selection with your Gradient. the selection with your Gradient.
Selections>Select None.
17. Open the tube calguisdecobambou9032012 and go to Edit>Copy.
Go back to your work and go to Edit>Paste as new layer.
Image>Resize, to 80%, resize all layers not checked.
Move  the tube at the bottom right. the tube at the bottom right.
18. Effects>3D Effects>Drop Shadow, color black.

19. Open the tube 2014EXCLUSIF-Maelledreams_Femme 130 and go to Edit>Copy.
Go back to your work and go to Edit>Paste as new layer.
Image>Resize, to 80%, resize all layers not checked.
Move  the tube to the left side. the tube to the left side.
20. Effects>3D Effects>Drop Shadow, color black.

21. Sign your work on a new layer.
22. Layers>Merge>Merge All.
23. Image>Add borders, 2 pixels, symmetric, foreground color #e1ddda.
Save as jpg.
Your versions here

If you have problems or doubts, or you find a not worked link, or only for tell me that you enjoyed this tutorial, write to me.
18 January 2020
|
 ENGLISH VERSION
