|
YÉVA


Here you find the original of this tutorial:

This tutorial was written with CorelX2 and translated with CorelX7, but it can also be made using other versions of PSP.
Since version PSP X4, Image>Mirror was replaced with Image>Flip Horizontal,
and Image>Flip with Image>Flip Vertical, there are some variables.
In versions X5 and X6, the functions have been improved by making available the Objects menu.
In the latest version X7 command Image>Mirror and Image>Flip returned, but with new differences.
See my schedule here
Your versions
For this tutorial, you will need:
Material here
Thanks for the tubes Beatriz and Luz Cristina; for the mask Narah.
(The links of the tubemakers here).
Plugins:
consult, if necessary, my filter section here
Filters Unlimited 2.0 here
Mehdi - Sorting Tiles here
Mehdi - Wavy Lab 1.1 here
Italian Editors Effect - Mosaico here
AP Lines - Lines SilverLining here
Alien Skin Eye Candy 5 Impact - Glass here
AAA Frames - Foto Frame here
Filters Italian Editors can be used alone or imported into Filters Unlimited.
(How do, you see here)
If a plugin supplied appears with this icon  it must necessarily be imported into Unlimited it must necessarily be imported into Unlimited

You can change Blend Modes according to your colors.
In the newest versions of PSP, you don't find the foreground/background gradient (Corel_06_029).
You can use the gradients of the older versions.
The Gradient of CorelX here
Copy the Selections in the Selections Folder.
Open the mask in PSP and minimize it with the rest of the material.
Used Colors

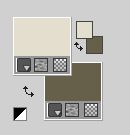
1. Set your foreground color to #e3decd,
and your background color to #66604a,
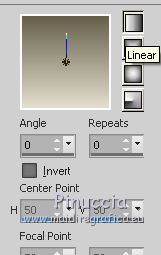
Set your foreground color to a Foreground/Background Gradient, style Linear.
1. Open a new transparent image 900 x 600 pixels.
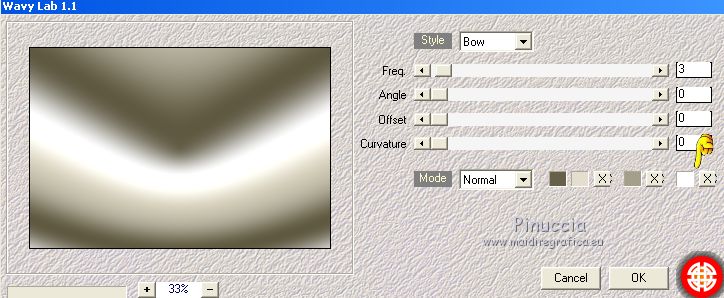
Effects>Plugins>Mehdi - Wavy Lab 1.1
This plugin works with the color of your Materials palette.
The first is the background color, the second is the foreground color;
change the last two colors created by the filtre change the 4th with #ffffff.
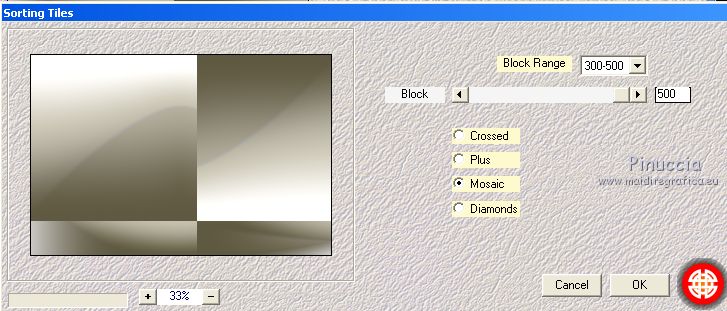
Effects>Plugins>Mehdi - Sorting Tiles
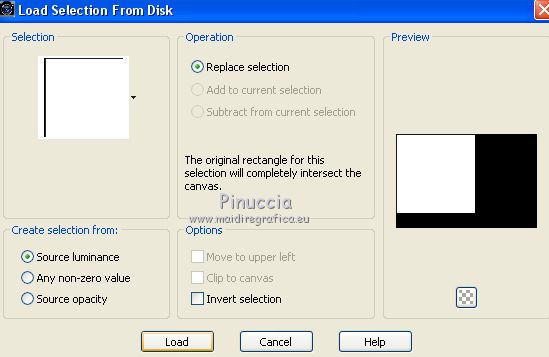
2. Selections>Load/Save Selection>Load Selection from Disk.
Look for and load the selection Nikki_ yeva1
Selections>Promote Selection to Layer.
3. Layers>New Raster Layer.
Flood Fill  the layer with your Gradient. the layer with your Gradient.
Selections>Select None.
Layers>New Raster Layer.
Activer l'outil Selection  , circle, , circle,
and draw some little circles about as below
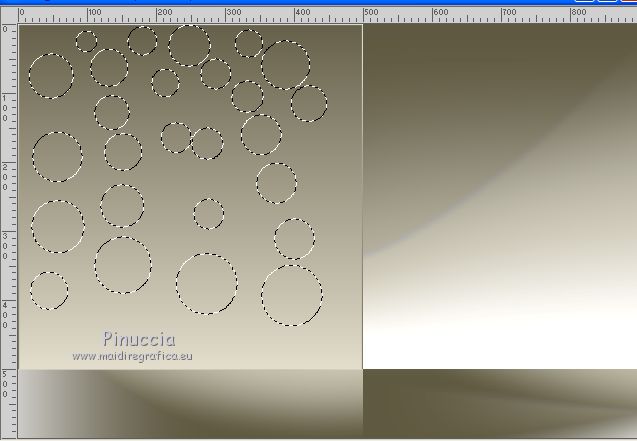
Flood Fill  the selections with your light color. the selections with your light color.
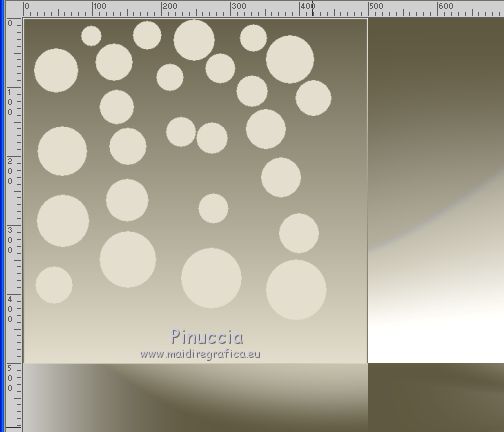
Selections>Select None.
if you prefer, you can copy/paste as new layer the file "deco nikki yeva" that you find in the material
and place  it on the top left frame it on the top left frame
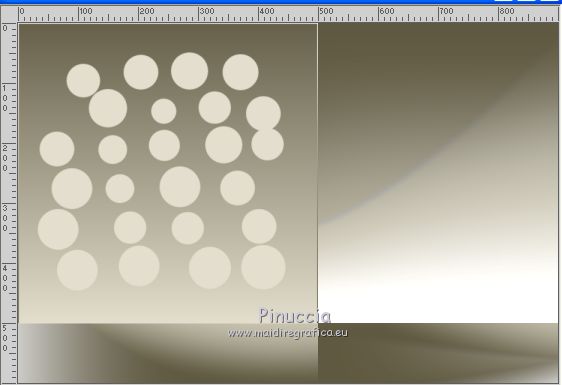
Effects>Plugins>Italian Editors Effects - Mosaico, default settings
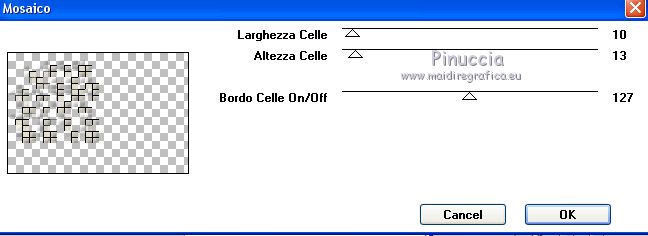
Layers>Merge>Merge Down - 2 times.
Selections>Load/Save Selection>Load Selection from Disk.
Load again the selection Nikki_ yeva1

Selections>Modify>Contract - 30 pixels.
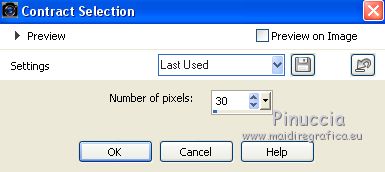
Selections>Invert.
Press CANC on the keyboard 
Selections>Select None.
3. Activate the layer Raster 1.
Selections>Load/Save Selection>Load Selection from Disk.
Look for and load the selection Nikki_ yeva2
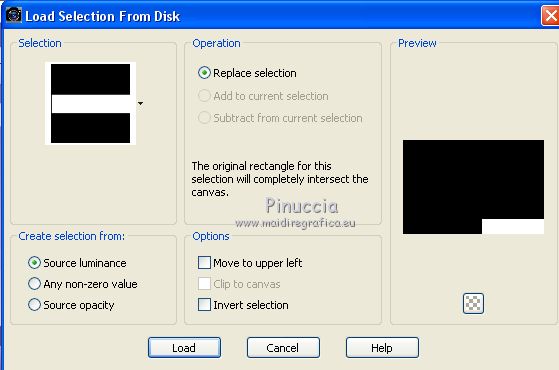
Selections>Promote Selection to Layer.
Effects>Plugins>AP Lines - Lines SilverLining.
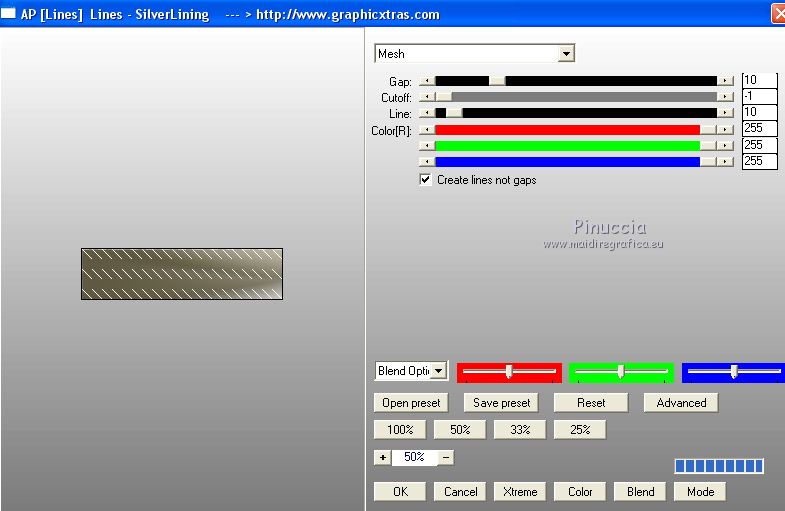
Effets>Plugins>Alien Skin Eye Candy 5 Impact - Glass
select the preset Clear and ok.

Selections>Select None.
4. Layers>Duplicate.
Layers>Arrange>Bring to Top.
Effects>Geometric Effects>Circle.

Image>Resize, to 85%, resize all layers not checked.
Place  rightly the image - see my example. rightly the image - see my example.
Layers>Duplicate.
Place  rightly the image, as below. rightly the image, as below.
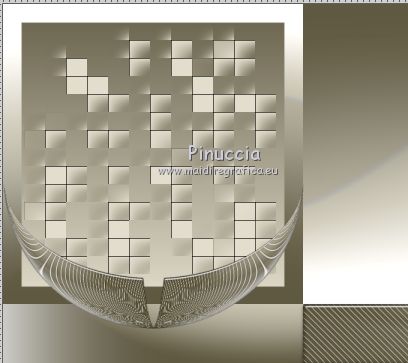
Layers>Merge>Merge Down.
Edit>Copy.
Edit>Paste as new image and minimize this image.
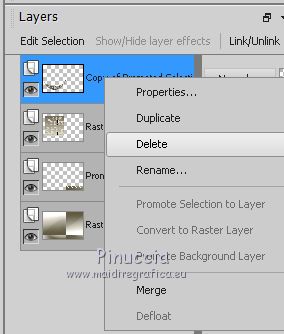
Go back to your work and delete the layer
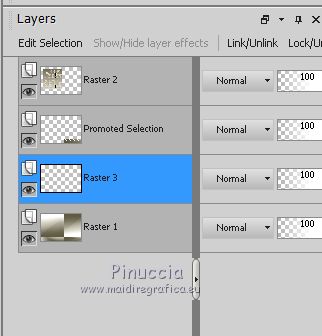
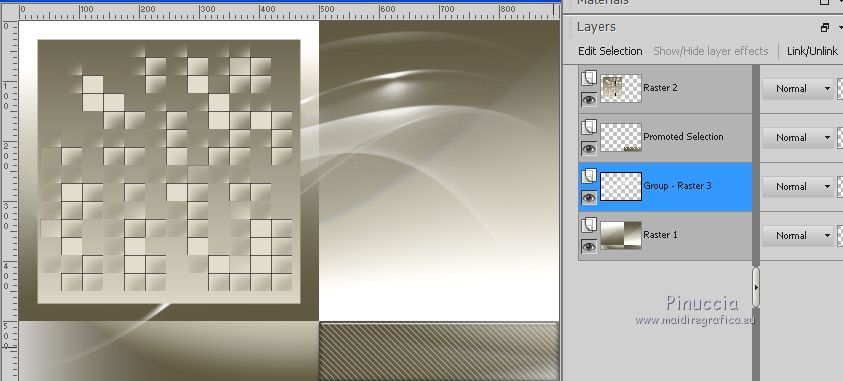
5. Layers>New Raster Layer.
Layers>Arrange>Move down - 2 times
Set your foreground color to white #ffffff.
Flood fill  the layer with color #ffffff. the layer with color #ffffff.
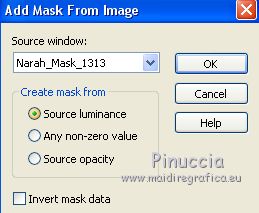
Layers>New Mask layer>From image
Open the menu under the source window and you'll see all the files open.
Select the mask Narah_Mask_1313
Layers>Merge>Merge group.
6. Image>Add borders, 1 pixel, symmetric, dark color.
Image>Add borders, 5 pixels, symmetric, color white.
Image>Add borders, 1 pixel, symmetric, dark color.
Image>Add borders, 35 pixels, symmetric, color white.
Image>Add borders, 1 pixel, symmetric, dark color.
Image>Add borders, 5 pixels, symmetric, color white.
Image>Add borders, 1 pixel, symmetric, dark color.
Image>Add borders, 50 pixels, symmetric, color white.
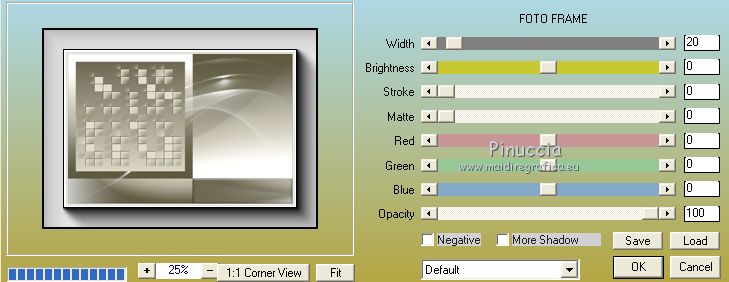
Effects>Plugins>AAA Frames - Foto Frame.
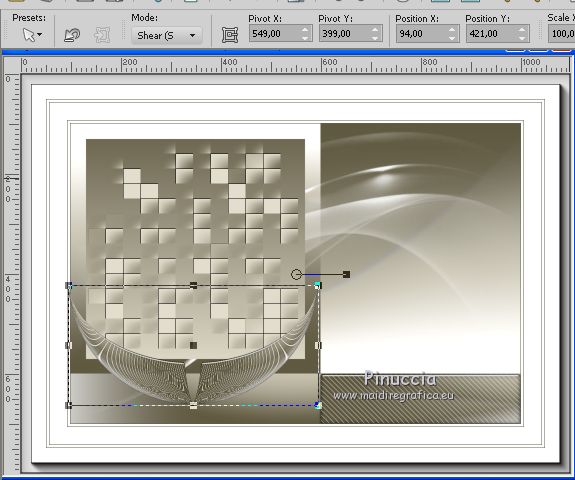
7. Activate the image that you have minimized at step 4
Edit>Copy.
Go back to your work and go to Edit>Paste as new layer.
K key on the keyboard to activate the Pick Tool 
and set Position X: 94,00 and Position Y: 421,00
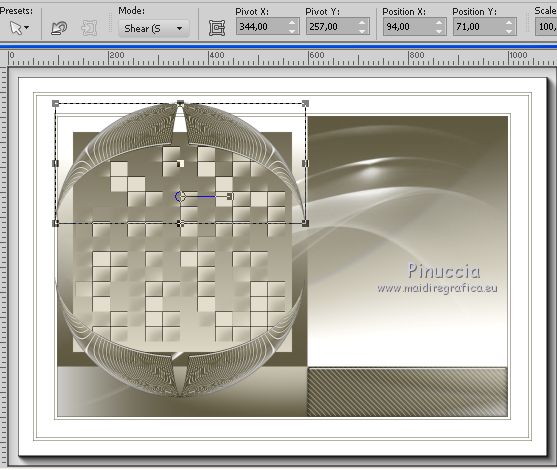
Layers>Duplicate.
Image>Flip.
Set Position X: 94,00 and Position Y: 71,00
M key to deselect the Tool.
Open the tube 5060-luzcristina - Edit>Copy.
Go back to your work and go to Edit>Paste as new layer.
Move  the tube to the right side. the tube to the right side.
If you want: Effects>3D Effects>Drop Shadow, at your choice.
Open the tube 2566-vase-LB TUBES - Edit>Copy.
Go back to your work and go to Edit>Paste as new layer.
Image>Resize, to 70%, resize all layers not checked.
Move  the tube under the deco the tube under the deco
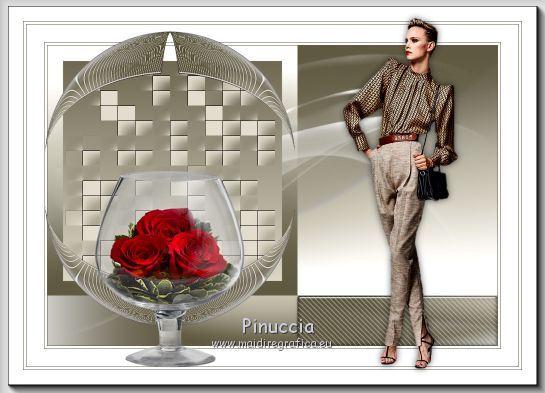
If you want: Effects>3D Effects>Drop Shadow, at your choice.
Image>Add borders, 1 pixel, symmetric, dark color.
Sign your work on a new layer.
Layers>Merge>Merge All.
Image>Resize, at your choice, resize all layers checked.
Save as jpg.
The tube of this version is by Tocha

Your versions
Thanks
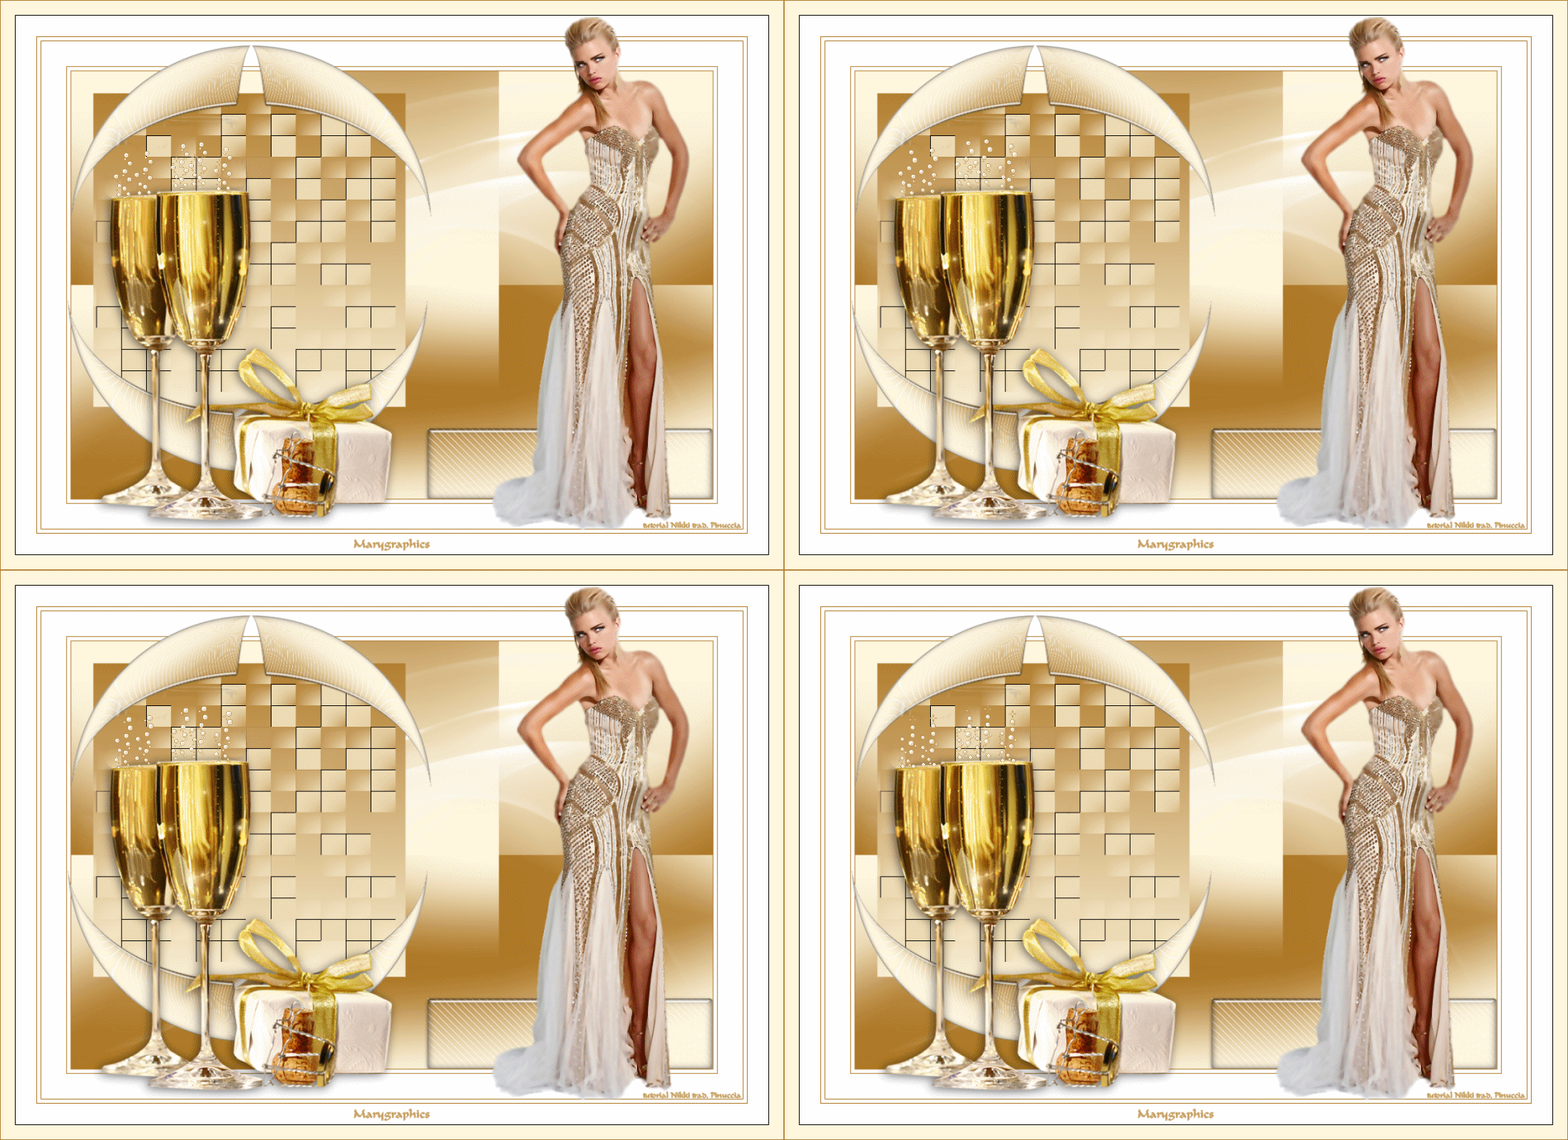
Marygraphics

If you have problems or doubts, or you find a not worked link, or only for tell me that you enjoyed this tutorial, write to me.
20 Octobre 2018
|


