|
1 MAI 2019


This tutorial was written with PSPX2 and translated with PSPX3, but it can also be made using other versions of PSP.
Since version PSP X4, Image>Mirror was replaced with Image>Flip Horizontal,
and Image>Flip with Image>Flip Vertical, there are some variables.
In versions X5 and X6, the functions have been improved by making available the Objects menu.
In the latest version X7 command Image>Mirror and Image>Flip returned, but with new differences.
See my schedule here
Your versions
For this tutorial, you will need:
Material here
For the tubes thanks Beatriz and Maelle, for the mask thanks Cameron.
Plugins:
consult, if necessary, my filter section here
Filters Unlimited 2.0 here
Simple - Blintz, Top Left Mirror here
AAA Frames - Foto Frame here
Alien Skin Eye Candy 5 Impact - Glass here
Filters Toadies and Graphics Plus can be used alone or imported into Filters Unlimited.
(How do, you see here)
If a plugin supplied appears with this icon  it must necessarily be imported into Unlimited it must necessarily be imported into Unlimited

You can change Blend Modes according to your colors.
In the newest versions of PSP, you don't find the foreground/background gradient (Corel_06_029).
You can use the gradients of the older versions.
The Gradient of CorelX here
Copy the selections in the Selections Folder.
Open the mask in PSP and minimize it with the rest of the material.
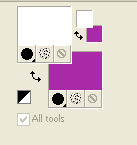
1. Set your foreground color to #ffffff,
and your background color to #a82ba7.
2. Open a new transparent image 900 x 600 pixels.
Flood Fill  with your background color #a82ba7. with your background color #a82ba7.
3. Layers>New Raster Layer.
Flood Fill  with your foreground color #ffffff. with your foreground color #ffffff.
4. Layers>New Mask layer>From image
Open the menu under the source window and you'll see all the files open.
Select the mask maskcameron.
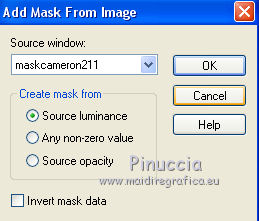
Layers>Merge>Merge Group.
Effects>Edge Effects>Enhance More.
5. Activate the bottom layer, Raster 1.
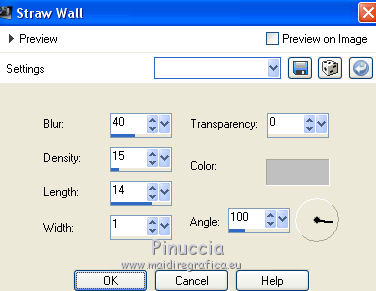
Effects>Texture Effects>Straw Wall, color #c0c0c0.
6. Calques>Merge>Merge visible.
7. Effects>Plugins>Simple - Blintz.
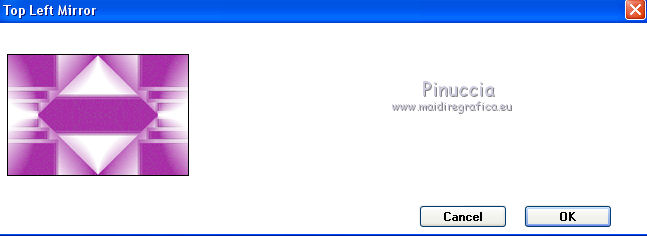
8. Effects>Plugins>Simple - Top Left Mirror
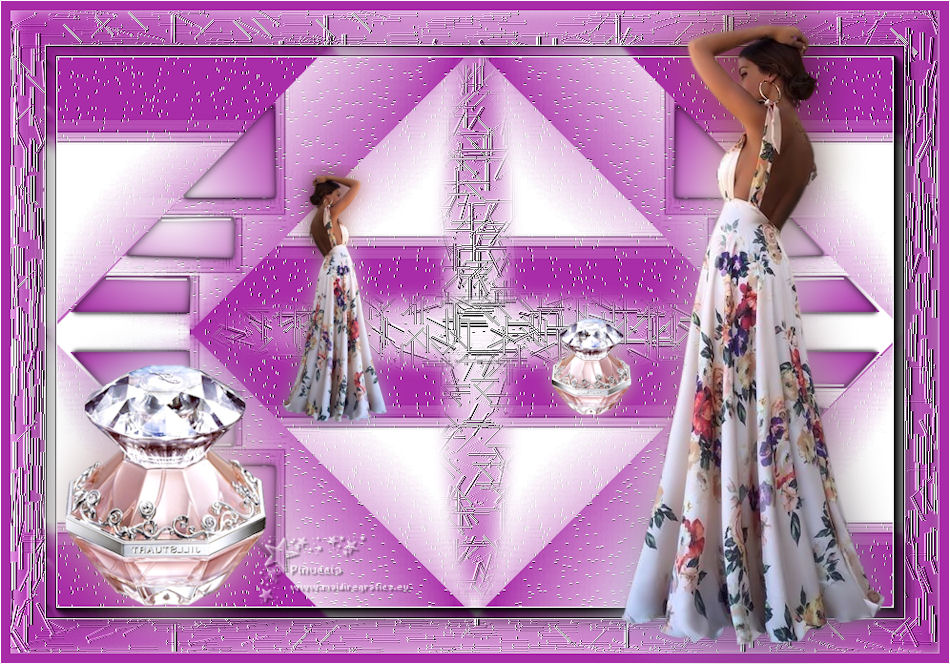
Your tag
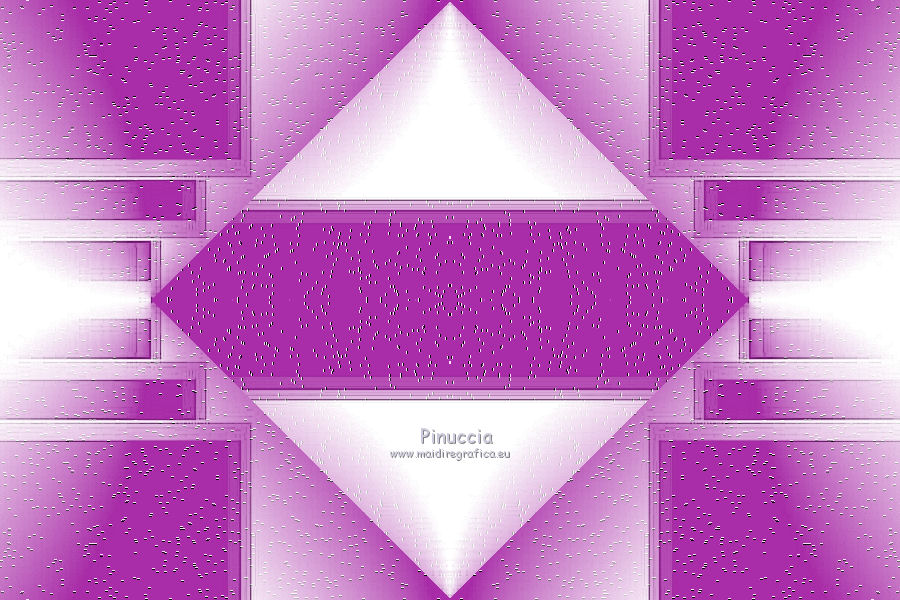
9. Selections>Load/Save Selection>Load Selection from Disk.
Look for and load Nikki_mai5.
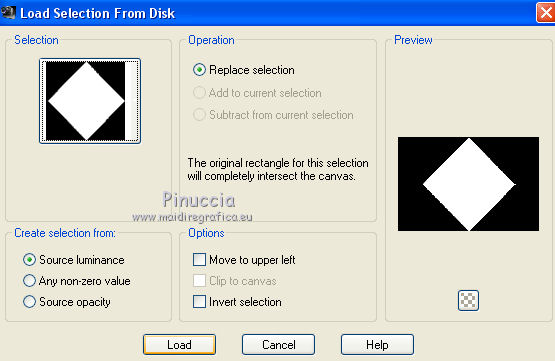
Selections>Promote selection to layer.
10. Effects>Image Effects>Seamless Tiling, default settings.

Selections>Select None.
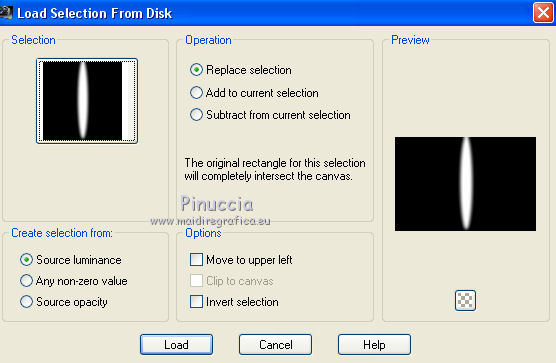
11. Layers>New Raster Layer.
Selections>Load/Save Selection>Load Selection from Disk.
Open the Selections Menu and load the selection Nikki_mai7
12. Set your foreground color to a Foreground/Background Gradient, style Sunburst.
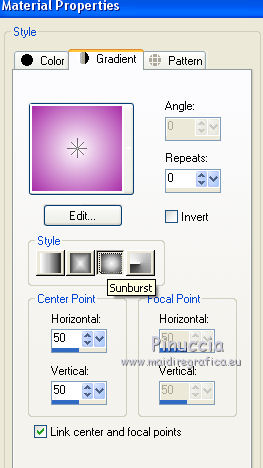
13. Effects>Texture Effects>Straw Wall, same settings.

Selections>Select None.
14. Layers>Duplicate.
Image>Free rotate - 90 degrees to right.

Layers>Merge>Merge down.
15. Activate the bottom layer.
Layers>New Raster Layer.
Selections>Load/Save Selection>Load Selection from Disk.
Open the Selections Menu and load the selection Nikki_mai6
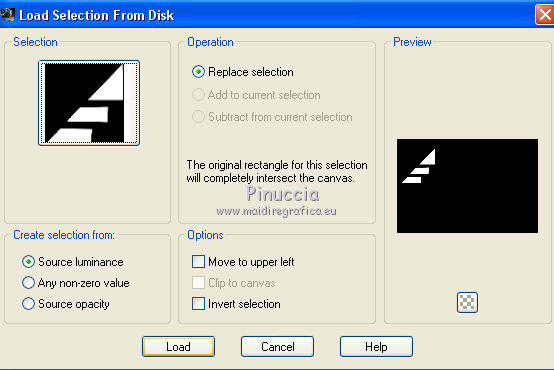
Flood Fill  the selection with your Gradient. the selection with your Gradient.
16. Effects>Plugins>Alien Skin Eye Candy 5 Impact - Glass.
Select the preset Clear and ok.

Selections>Select None.
17. Effects>Plugins>Simple - Top Left Mirror.
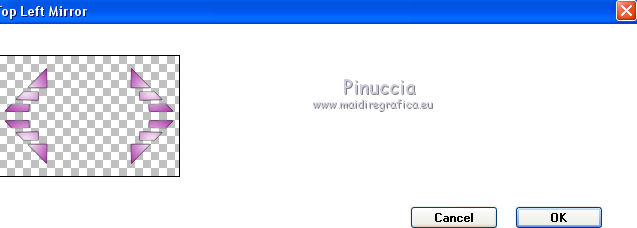
18. Layers>Merge>Merge visible.
19. Effects>Plugins>AAA Frames - Foto Frame.

20. Image>Add borders, 1 pixel, symmetric, color #ffffff.
Image>Add borders, 35 pixels, symmetric, dark color.
Image>Add borders, 1 pixel, symmetric, color #ffffff.
Image>Add borders, 10 pixels, symmetric, dark color.
Image>Add borders, 1 pixel, symmetric, color #ffffff.
Activate your Magic Wand Tool 
and click on the 35 pixels border to select it.
Flood Fill  the selection with your Gradient. the selection with your Gradient.
Effects>Textures Effects>Straw Wall, same settings.
Selections>Select None.
21. Open your main tube and go to Edit>Copy.
Go back to your work and go to Edit>Paste as new layer.
Move  the tube to the right side. the tube to the right side.
Effects>3D Effects>Drop Shadow, at your choice.
I duplicated the tube.
On the layer below of the original: Adjust>Blur>Gaussian Blur - radius 25.

Activate the layer above of the copy.
Layers>Merge>Merge Down.
Layers>Duplicate.
Image>Resize, to 40%, resize all layers not checked.
Image>Mirror.
Move  the tube to the left side (see my example) the tube to the left side (see my example)
Ouvrir le tube deco and follow the same steps of the main tube.
23. Sign your work on a new layer.
Layers>Merge>Merge All and save as jpg.
The tubes of this version are by Beatriz and Mina.

Your versions
Thanks
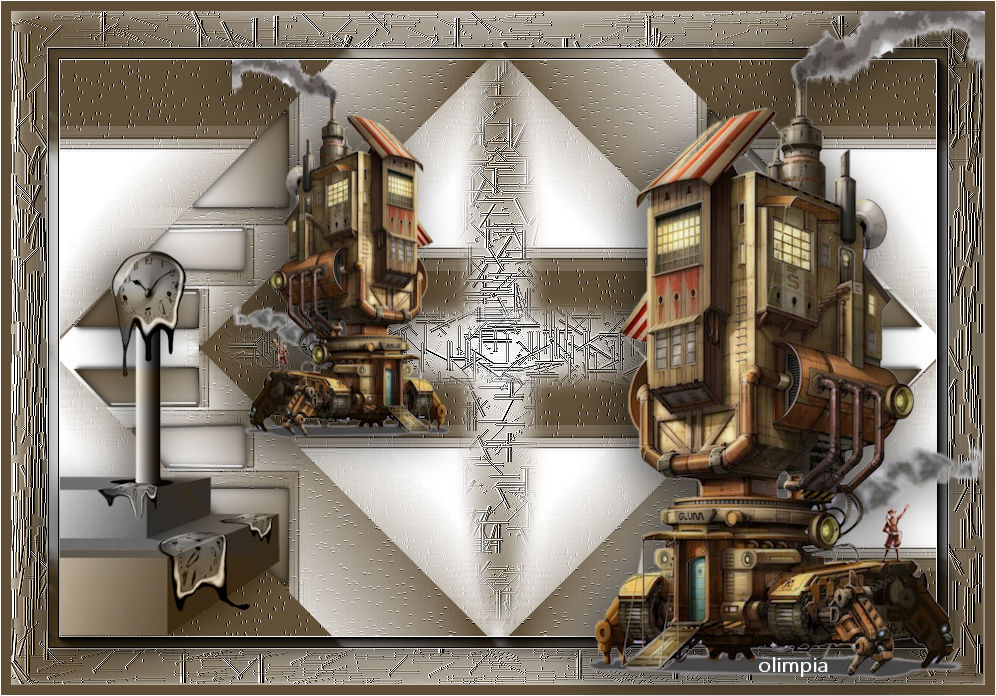
Olimpia

If you have problems or doubts, or you find a not worked link, write to me.
8 May 2019
|

