|
INDE


This tutorial was written with PSPX19 and translated with PSPX7, but it can also be made using other versions of PSP.
Since version PSP X4, Image>Mirror was replaced with Image>Flip Horizontal,
and Image>Flip with Image>Flip Vertical, there are some variables.
In versions X5 and X6, the functions have been improved by making available the Objects menu.
In the latest version X7 command Image>Mirror and Image>Flip returned, but with new differences.
See my schedule here
 english translation / traduzione italiana here english translation / traduzione italiana here
 your versions here your versions here
For this tutorial, you will need:
Material here
Thanks for the tubes Beatriz, Luz Cristina and Guismo.
Plugins:
consult, if necessary, my filter section here
Filters Unlimited 2.0 here
&<Bkg Designer sf10I> - bee morph, ballons (da importare in Unlimited) here
Kiwi's Oelfilter - Videowand here
Alien Skin Snap Art - Impasto here
Mura's Meister - Perspective Tiling here
Flaming Pear - India ink here
Nik Software - Color Efex Pro here
Filters CPK can be used alone or imported into Filters Unlimited.
(How do, you see here)
If a plugin supplied appears with this icon  it must necessarily be imported into Unlimited it must necessarily be imported into Unlimited

You can change Blend Modes according to your colors.
In the newest versions of PSP, you don't find the foreground/background gradient (Corel_06_029).
You can use the gradients of the older versions.
The Gradient of CorelX here
Copy the selections in the Selections Folder.
Set your foreground color to #ffffff,
and your background color to #637575.
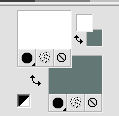
Set your foreground color to a Foreground/Background Gradient, style Sunburst.
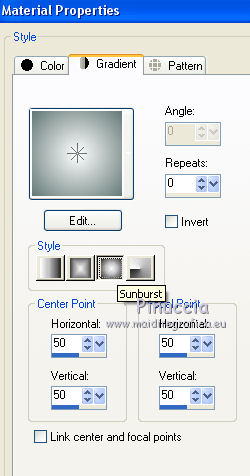
2. Open a new transparent image 900 x 600 pixels,
Flood Fill  the transparent image with your Gradient. the transparent image with your Gradient.
3. Effects>Plugins>Filters Unlimited 2.0 - &<Bkg Designer sf10I> - bee morph, default settings
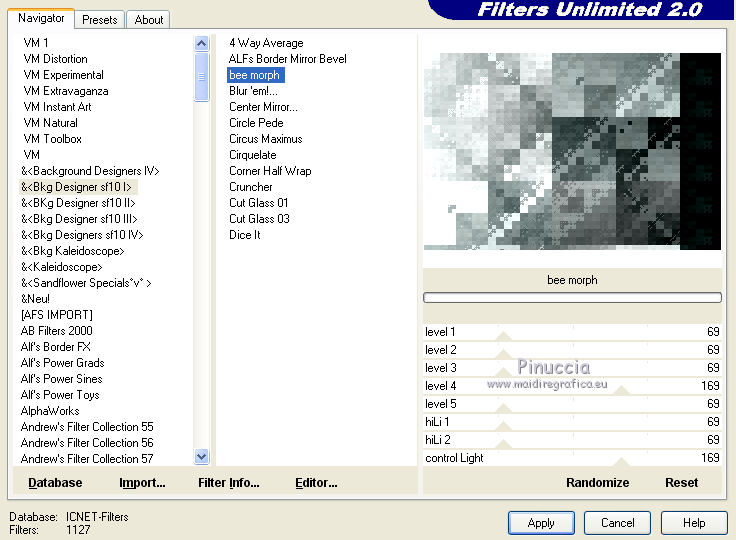
4. Selections>Load/Save Selection>Load Selection from Disk.
Look for and load the selection Nikki_inde.
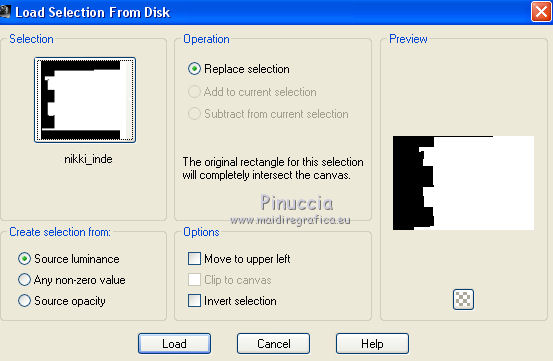
Selections>Promote Selection to Layer.
5. Effects>Plugins>Filters Unlimited 2.0 - Ballons, default settings.
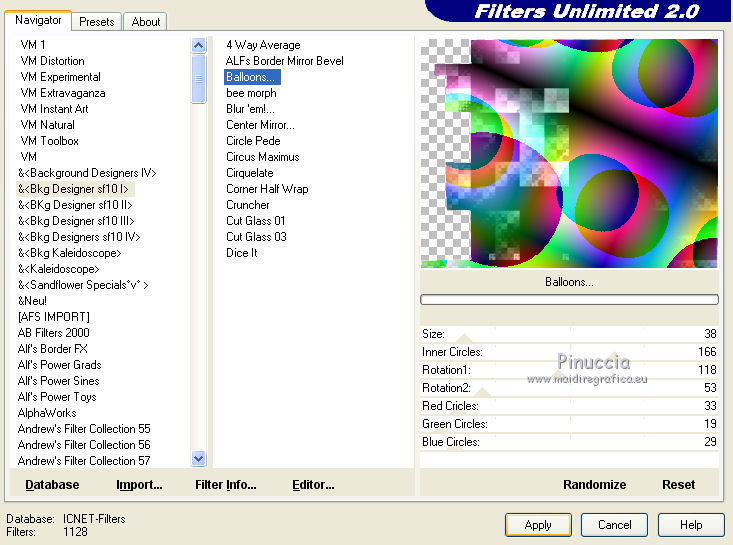
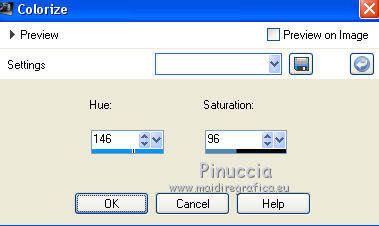
Colorize if necessary; for my second version, I did
Adjust>Hue and Saturation>Colorize
6. Selections>Select None
Layers>Merge>Merge Down.
7. Layers>Duplicate.
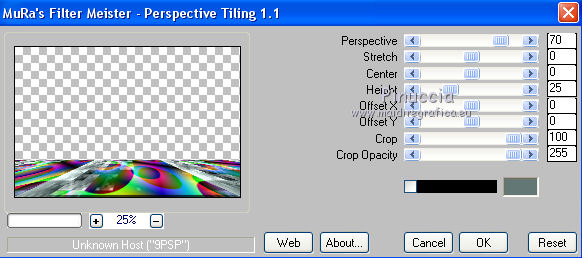
Effects>Plugins>Mura's Meister - Perspective Tiling.
8. Selections>Load/Save Selection>Load Selection from Disk.
Look for and load the selection Nikki_Inde1
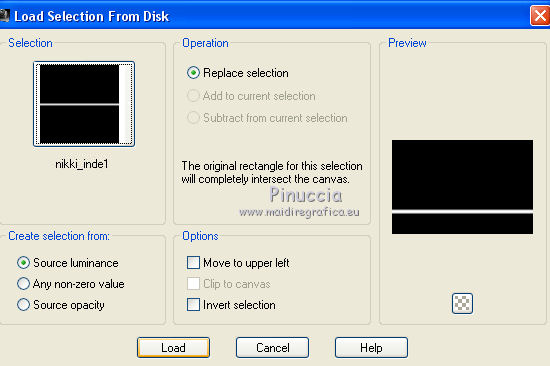
Press CANC on the keyboard 
Selections>Select None.
9. Activate the layer Raster 1.
Selections>Load/Save Selection>Load Selection from Disk.
Look for and load the selection Nikki_Inde2
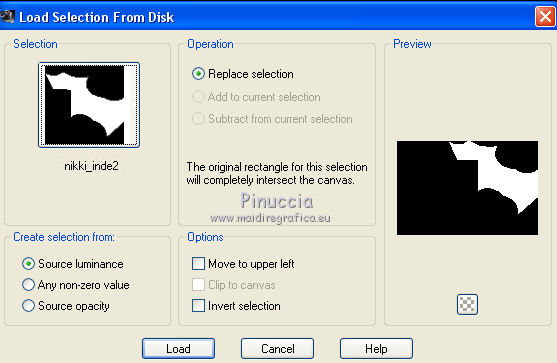
Selections>Promote Selection to Layer.
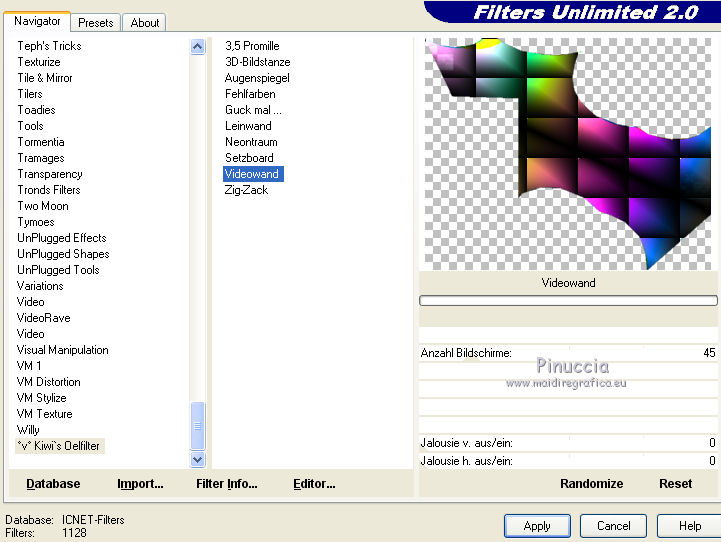
10. Effects>Plugins>Filters Unlimited 2.0 - Kiwi's Oelfilter - Videowand, default settings.
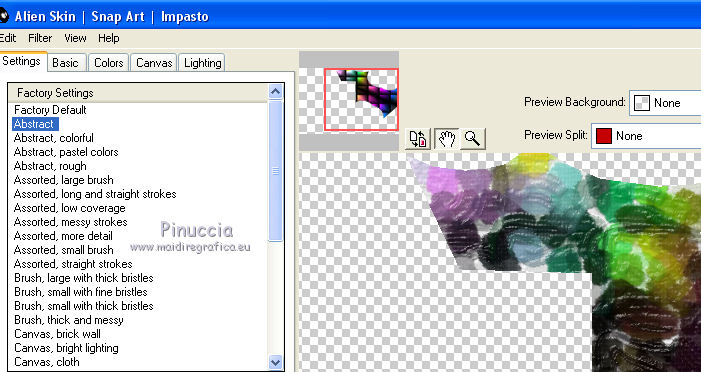
11. Effects>Plugins>Alien Skin Snap Art - Impasto
Select the preset Abstract and ok
Selections>Select None.
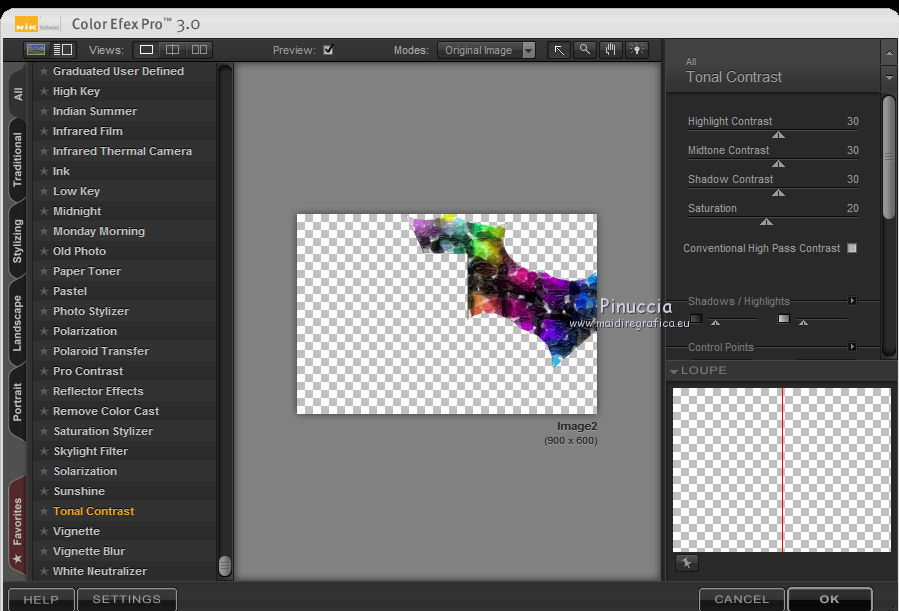
12. Layers>Duplicate.
Effects>Plugins>Nik Software - Color Efex Pro - Tonal Contrast.
13. Effects>Image Effects>Seamless Tiling, default settings.

14. Activate the layer Raster 1.
Selections>Load/Save Selection>Load Selection from Disk.
Look for and load the selection Nikki_Inde3
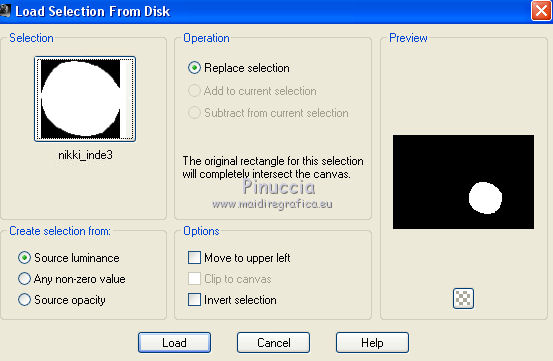
Selections>Promote Selection to Layer.
Layers>Arrange>Bring to Top.
15. Effects>Plugins>Flaming Pear - India Ink
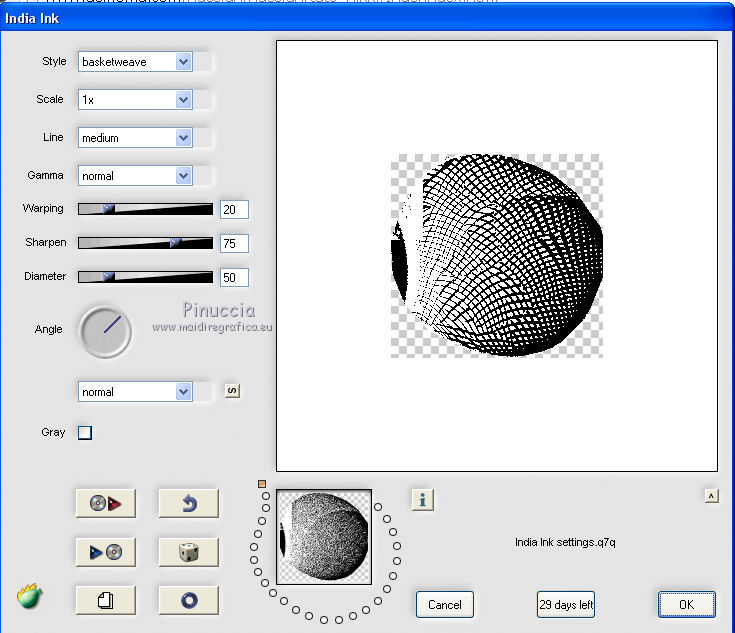
Selections>Select None.
16. Effects>Image Effects>Seamless Tiling, Stutter vertical.

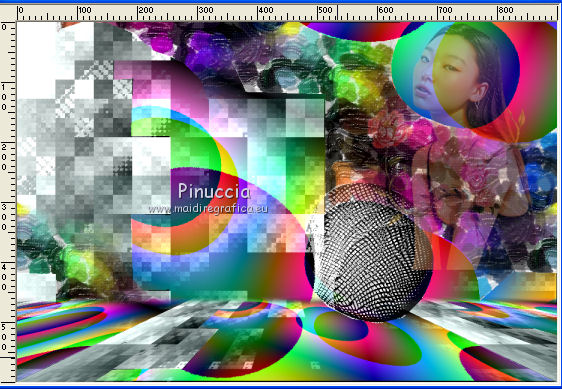
17. Open the tube calguisportrait05042020 and go to Edit>Copy.
Go back to your work and go to Edit>Paste as new layer.
Image>Resize, to 75%, resize all layers not checked.
Move  the tube in the circle at the upper right. the tube in the circle at the upper right.
Reduce the opacity of this layer to 40%
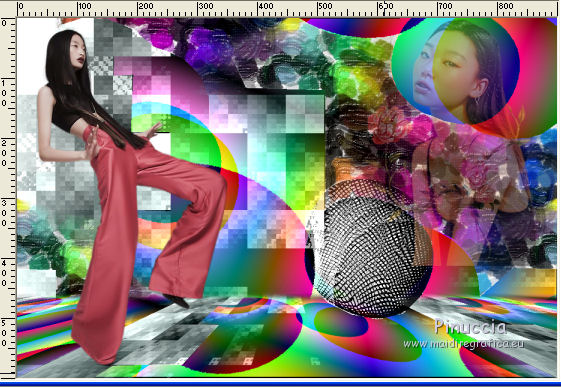
18. Open the tube 3202-woman-LBTUBES and go to Edit>Copy.
Go back to your work and go to Edit>Paste as new layer.
Image>Resize, to 85%, resize all layers not checked.
Move  the tube to the left side. the tube to the left side.
19. Choose a tube "cadre" and open it.
Delete the layer of the watermark.
Activate your Magic Wand Tool 
and click in the frame to select it.
Open the image in jpg and go to Edit>Copy.
Go back to the frame and activate the top layer.
Edit>Paste into Selection.
Layers>Arrange>Move Down.
Selections>Select None.
if you use a tube or the tree image (as in my second version),
flood fill  the top layer with your Gradient. the top layer with your Gradient.
Layers>Arrange>Move Down.
Edit>Paste into selection the choosen image.
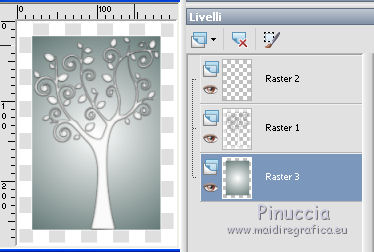
20. Layers>Merge>Merge viible.
Edit>Copy.
Go back to your work and go to Edit>Paste as new layer.
Move  the frame upper, in the center. the frame upper, in the center.
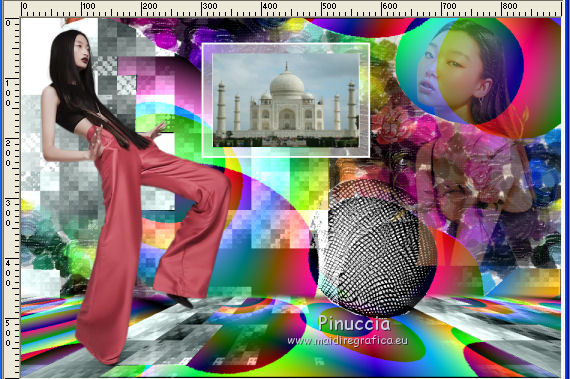
21. Layers>Merge>Merge visible.
Edit>Copy.
Open the tube cadre_inde, erase the watermark.
Activate your Magic Wand Tool 
and click in the frame to select it.
Activate the top layer.
Edit>Paste into Selection.
Selections>Select None.
22. Open the tube fleur and go to Edit>Copy.
Go back to your work and go to Edit>Paste as new layer.
Move  the tube at the bottom right. the tube at the bottom right.
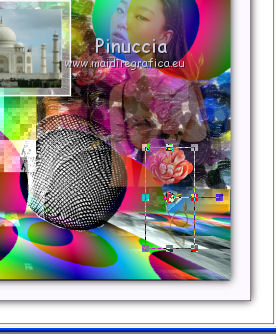
Layers>Duplicate.
Layers>Merge>Merge Down.
22. Sign your work on a new layer.
Add, if you wand, the author's watermark; in this case don't forget the translator's watermark.
Layers>Merge>Merge All and save as jpg.
Version with tubes by Beatriz and Luz Cristina


If you have problems or doubts, or you find a not worked link, write to me.
31 March 2021
|

