|
ESPERANCE


This tutorial was written with PSPX2 and translated with PSPX3, but it can also be made using other versions of PSP.
Since version PSP X4, Image>Mirror was replaced with Image>Flip Horizontal,
and Image>Flip with Image>Flip Vertical, there are some variables.
In versions X5 and X6, the functions have been improved by making available the Objects menu.
In the latest version X7 command Image>Mirror and Image>Flip returned, but with new differences.
See my schedule here
Your versions
For this tutorial, you will need:
Material here
For the tube thanks Athe.
Plugins:
consult, if necessary, my filter section here
Filters Unlimited 2.0 here
Toadies - Ommadawnhere
AAA Filters - Custom here
Mura's Meister - Perspective Tiling here
AFS IMPORT - sqborder2 here
Graphics Plus - Cross Shadow here
&<Bkg Designer sf10II> (to import in Unlimited) here
Filters Toadies, Graphics Plus and AFS IMPORT can be used alone or imported into Filters Unlimited.
(How do, you see here)
If a plugin supplied appears with this icon  it must necessarily be imported into Unlimited it must necessarily be imported into Unlimited

You can change Blend Modes according to your colors.
In the newest versions of PSP, you don't find the foreground/background gradient (Corel_06_029).
You can use the gradients of the older versions.
The Gradient of CorelX here
Copy the selections in the Selections Folder.
Open the mask in PSP and minimize it with the rest of the material.
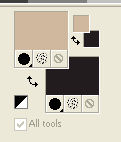
Set your foreground color to #d0b89e,
and your background color to #231e1f.
1. Open a new transparente image 900 x 500 pixels.
Flood Fill  the transparent image with your background color #231d1f. the transparent image with your background color #231d1f.
Layers>New Raster Layer.
Flood Fill  the layer with your foreground color #d0b89e. the layer with your foreground color #d0b89e.
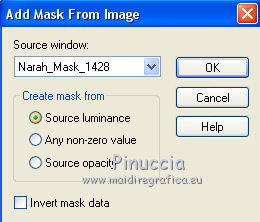
Layers>New Mask layer>From image
Open the menu under the source window and you'll see all the files open.
Select the mask Narah_Mask_1428.
Effects>Edge Effects>Enhance.
Layers>Merge>Merge Group.
2. Layers>New Raster Layer.
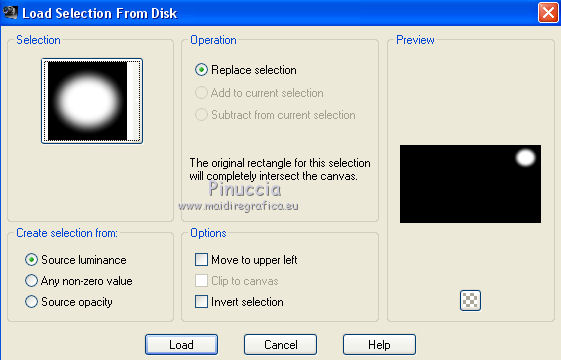
Selections>Load/Save Selection>Load Selection from disk.
Look for and load the selection Nikki_1 esperance.
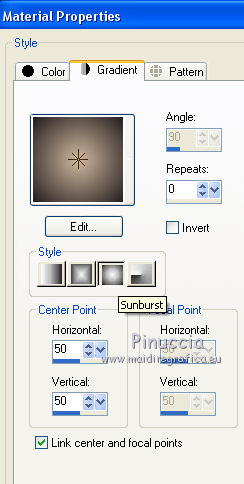
Set your foreground color to a Foreground/Background Gradient, style Sunburst.
Flood Fill  the selection with your Gradient. the selection with your Gradient.
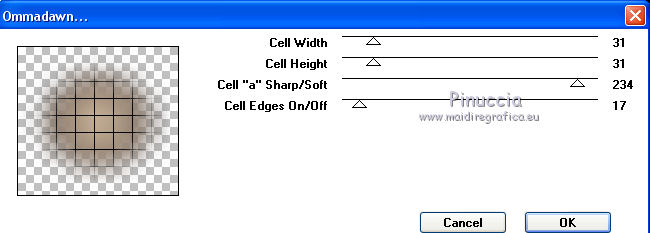
Effects>Plugins>Toadies - Ommadawn.
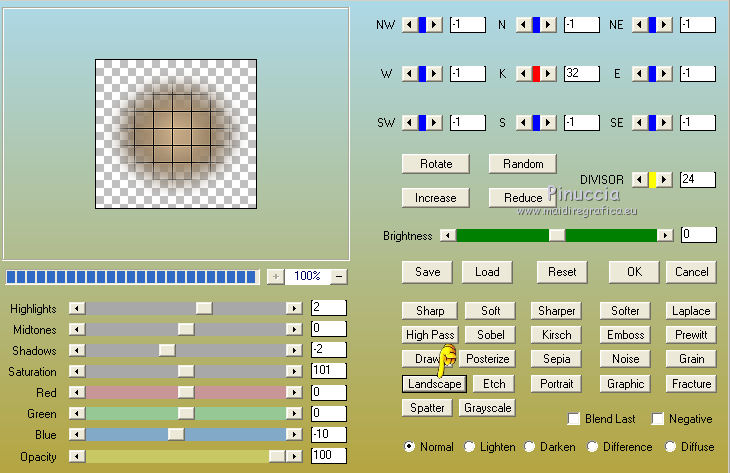
Effects>Plugins>AAA Filters - Custom - click on Landscape and ok.
Selections>Select None.
Layers>Duplicate.
K key on the keyboard to activate your Pick Tool 
and set Position X: 736,00 and Position Y: 186,00.

Layers>Duplicate.
Set Position Y: 370,00
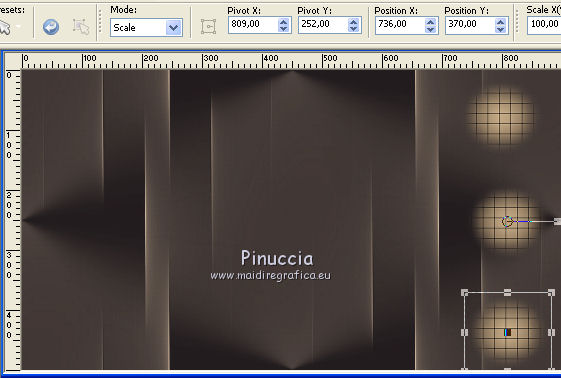
M Key to deselect the Tool.
3. Layers>New Raster Layer.
Selections>Load/Save Selection>Load Selection from disk.
Look for and load the selection Nikki_1Esperance1.
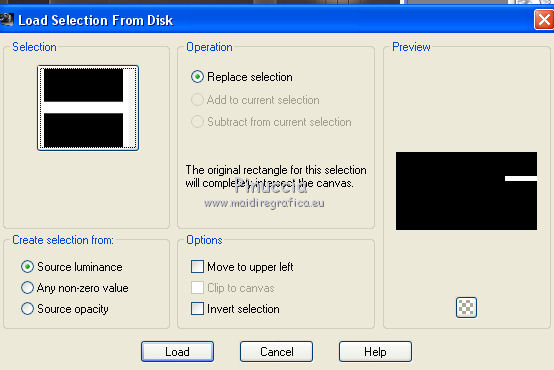
Flood Fill  the selection with your Gradient. the selection with your Gradient.
Selections>Select None.
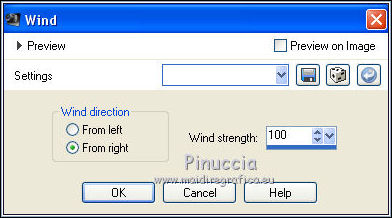
Effects>Distortion Effects>Wind - to right, intensity 100.
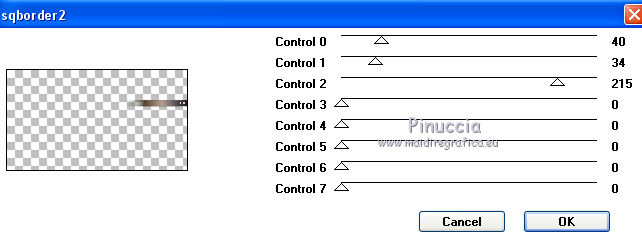
Effects>Plugins>AFS IMPORT - sqborder2
Layers>Duplicate.
Place  the image as below. the image as below.
My Offset settings

4. Activate the mask layer Group Raster 2.
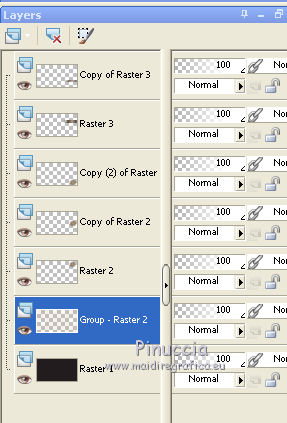
Layers>Merge>Merge Down.
Layers>Duplicate.
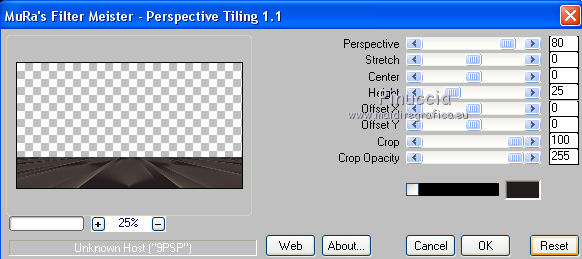
Effects>Plugins>Mura's Meister - Perspective Tiling.
Open the landscape misted and go to Edit>Copy.
Go back to your work and go to Edit>Paste as new layer.
Place  rightly the tube - see the final tag. rightly the tube - see the final tag.
5. Image>Add borders, 1 pixel, symmetric, dark color.
Image>Add borders, 1 pixel, symmetric, light color.
Image>Add borders, 1 pixel, symmetric, dark color.
Image>Add borders, 15 pixels, symmetric, light color.
Image>Add borders, 1 pixel, symmetric, dark color.
Image>Add borders, 1 pixel, symmetric, light color.
Image>Add borders, 1 pixel, symmetric, dark color.
Selections>Select All.
Image>Add borders, 35 pixels, symmetric, whatever color.
Selections>Invert.
Flood Fill  with your Gradient. with your Gradient.
Effects>Plugins>Graphics Plus - Cross Shadow, default settings.

Selections>Select None.
Image>Add borders, 1 pixel, symmetric, dark color.
Image>Add borders, 1 pixel, symmetric, light color.
Image>Add borders, 1 pixel, symmetric, dark color.
Image>Add borders, 45 pixels, symmetric, whatever color.
Selections>Invert.
Flood Fill  with your Gradient. with your Gradient.
Effects>Plugins>Graphics Plus - Cross Shadow, default settings.

Selections>Promote Selection to Layer.
Image>Mirror.
Image>Flip.
Effects>Plugins>Filters Unlimited 2.0 - &<Bkg Designer sf10II> - Line Panel Stripes, default settings.
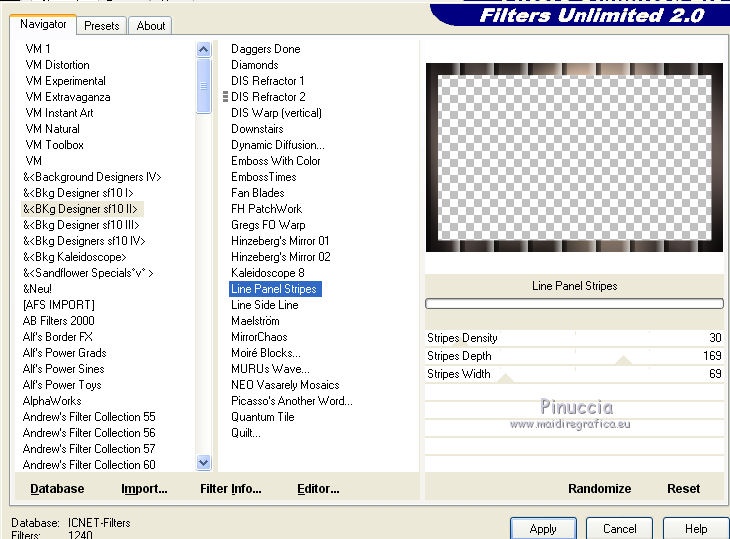
Effects>Plugins>Filters Unlimited 2.0 - &<Bkg Designer sf10II> - Line Side Line, default settings.
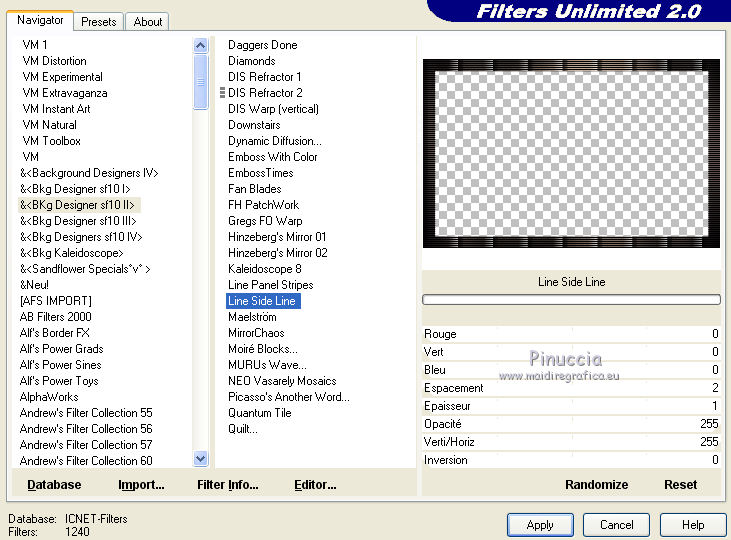
Selections>Select None.
6. Open your woman tube and go to Edit>Copy.
Go back to your work and go to Edit>Paste as new layer.
Image>Resize, 80%, resize all layers not checked.
Move  the tube to the left side. the tube to the left side.
Open the wordart and go to Edit>Copy.
Go back to your work and go to Edit>Paste as new layer.
Place  rightly the tube, see my example. rightly the tube, see my example.
Sign your work on a new layer.
Image>Add borders, 1 pixel, symmetric, dark color.
Save as jpg.
The tubes of this version are by Luz Cristina

Your versions
Thanks
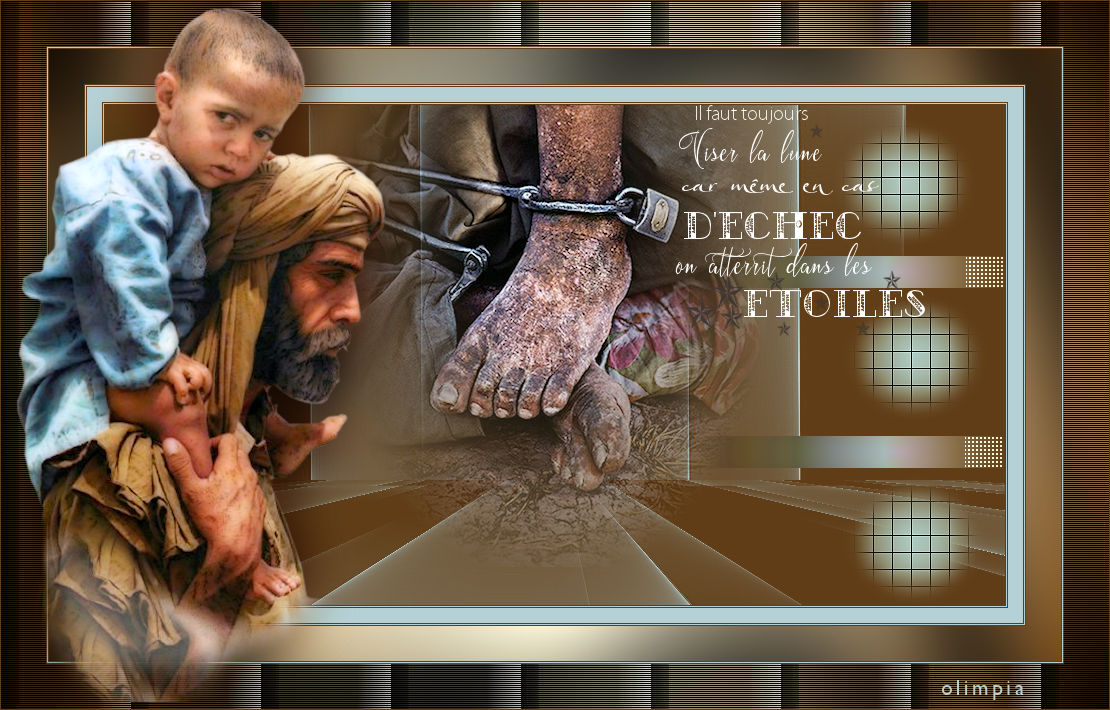
Olimpia
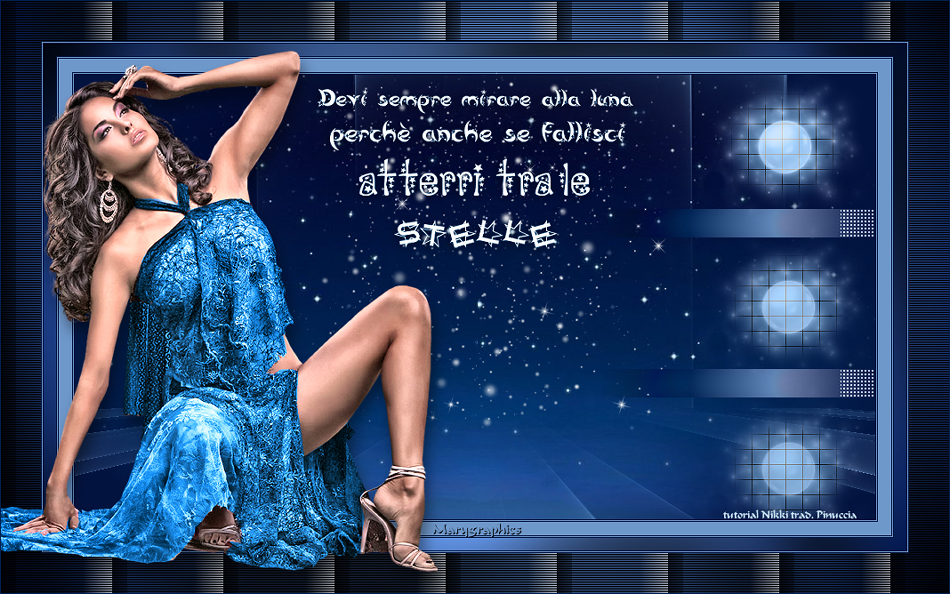
Marygraphics
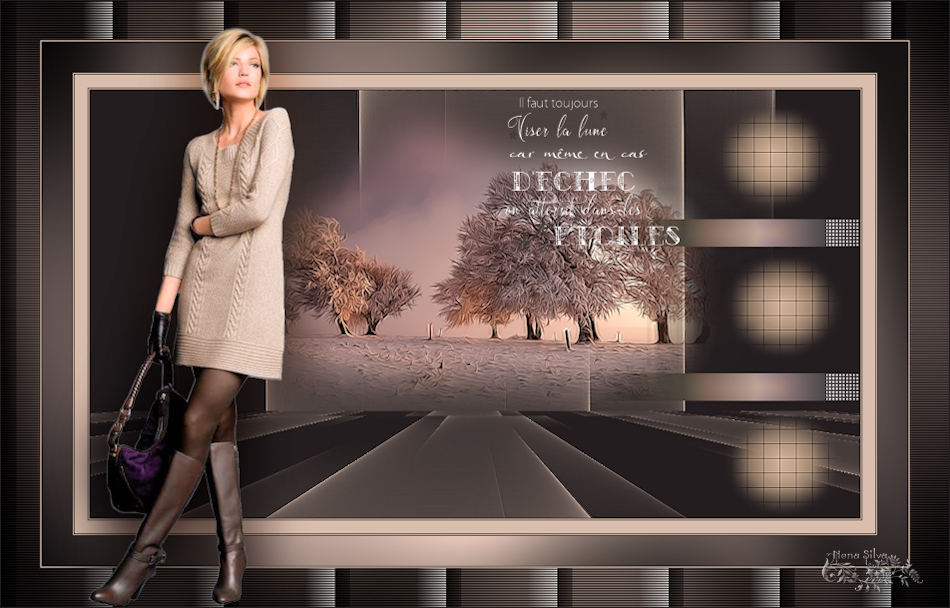
Nena Silva

If you have problems or doubts, or you find a not worked link, write to me.
20 January 2020
|

