|
COUMBA


This tutorial was written with PSPX2 and translated with PSPX3, but it can also be made using other versions of PSP.
Since version PSP X4, Image>Mirror was replaced with Image>Flip Horizontal,
and Image>Flip with Image>Flip Vertical, there are some variables.
In versions X5 and X6, the functions have been improved by making available the Objects menu.
In the latest version X7 command Image>Mirror and Image>Flip returned, but with new differences.
See my schedule here
Your versions
For this tutorial, you will need:
Material here
Thanks for the tube Beatriz and for the mask Valy
Plugins:
consult, if necessary, my filter section here
Filters Unlimited 2.0 here
&<Bkg Designer sf10II> - Quilt 01 (to import in Unlimited) here
Simple - Blintz here
AP Lines - Lines SilverLining here
Mura's Meister - Perspective Tiling here
Tramages - Gradiant/Spokes Ratio Maker here
Filters Simple and Tramages can be used alone or imported into Filters Unlimited.
(How do, you see here)
If a plugin supplied appears with this icon  it must necessarily be imported into Unlimited it must necessarily be imported into Unlimited

You can change Blend Modes according to your colors.
In the newest versions of PSP, you don't find the foreground/background gradient (Corel_06_029).
You can use the gradients of the older versions.
The Gradient of CorelX here
Copy the selections in the Selections Folder.
Open the mask in PSP and minimize it with the rest of the material.
Set your foreground color to #ffffff,
and your background color to #735946.
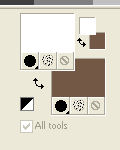
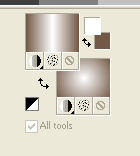
Set your foreground color to a Foreground/Background Gradient, style Linear.

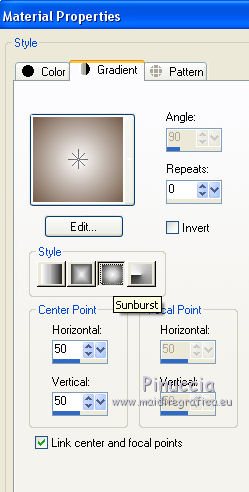
Set you background color to a Foreground/Background Gradient, style Sunburst.
1. Open a new transparente image 900 x 600 pixels.
Flood Fill  the transparent image with your background sunburst gradient. the transparent image with your background sunburst gradient.
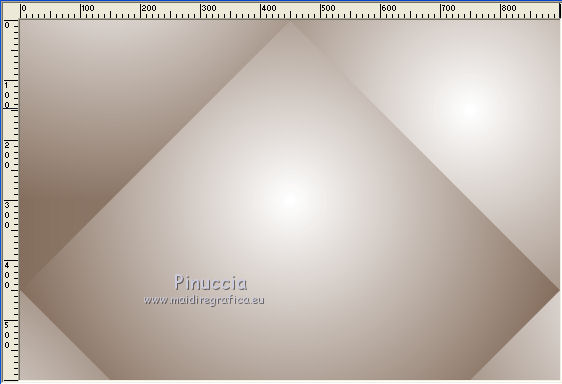
Effects>Plugins>Simple - Blintz.
This effect works without window; result
Effects>Image Effects>Seamless Tiling, default settings.

Selections>Load/Save Selection>Load Selection from Disk.
Look for and load the selection Nikki_coumba.
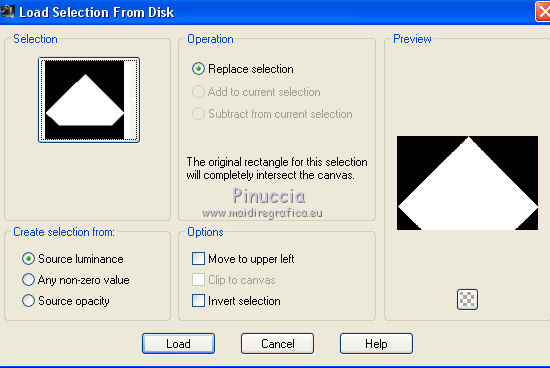
Selections>Promote Selection to Layer.
Flood Fill  with your foreground linear gradient. with your foreground linear gradient.
Adjust>Add/Remove Noise>Add Noise
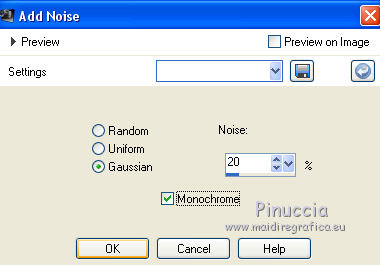
Selections>Select None.
2. Layers>New Raster Layer.
Selections>Load/Save Selection>Load Selection from Disk.
Load again the selection Nikki_coumba.

Set your background color to Color.
Flood Fill  the selection with your dark background color. the selection with your dark background color.
Layers>New Mask layer>From image
Open the menu under the source window and you'll see all the files open.
Select the mask VSP241.
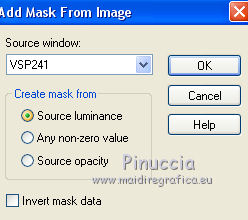
Layers>Merge>Merge Group.
Effects>Edge Effects>Enhance.
Selections>Select None.
3. Activate the layer below - Promoted Selection.
Layers>Duplicate.
Effects>Image Effects>Seamless Tiling, default settings.

Effects>Plugins>AP Lines - Lines SilverLining.
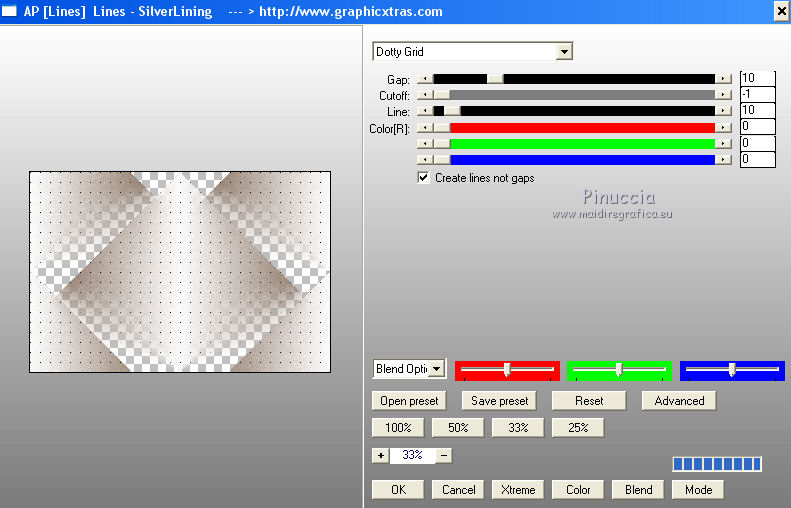
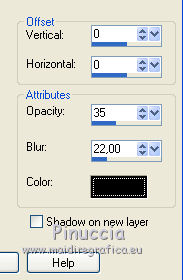
Effects>3D Effects>Drop Shadow, color #000000.
Layers>Arrange>Move Down.
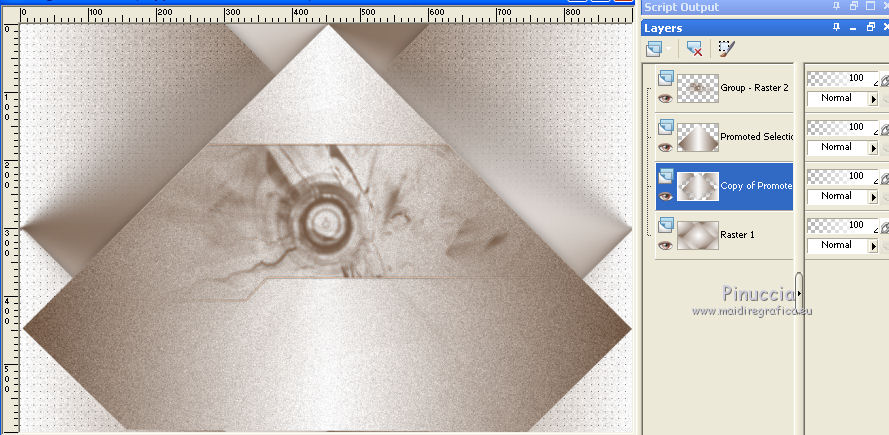
4. Activate the layer Raster 1.
Selections>Load/Save Selection>Load Selection from Disk.
Look for and load the selection Nikki_coumba1.
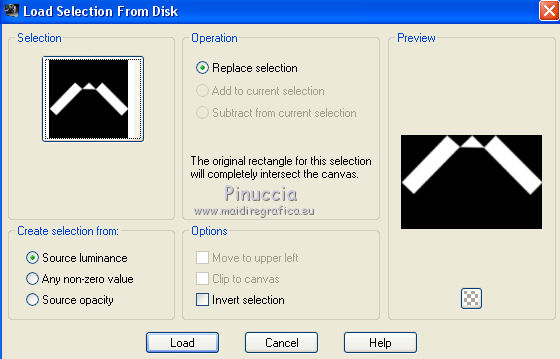
Selections>Promote Selection to Layer.
Layers>Arrange>Bring to Top.
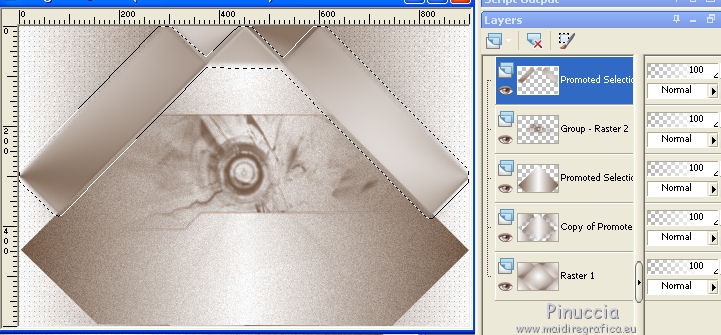
Effects>Plugins>Filters Unlimited 2.0 - &<Bkg Designer sf10II> - Quilt 01.
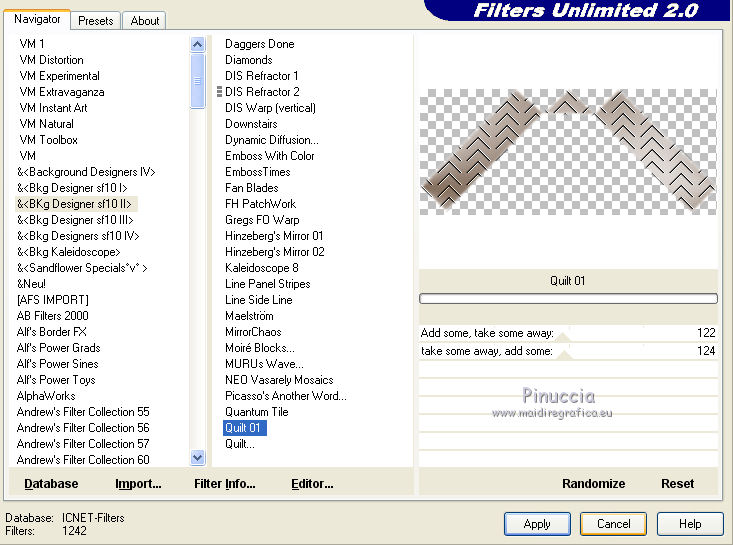
Selections>Select None.
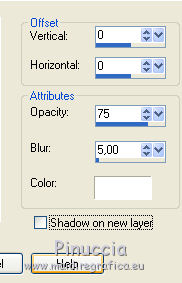
Effects>3D Effects>Drop Shadow, color #ffffff.
5. Activate the layer Promoted selection.
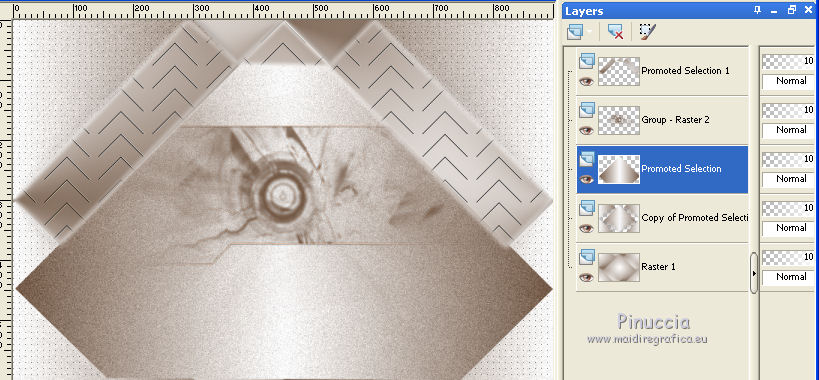
Layers>Duplicate.
Image>Resize, to 50%, resize all layers not checked.
K key on the keyboard to activate your Pick Tool 
and set Position X: 230,00 and Position Y: 301,00

M key to deselect the tool.
Effects>Plugins>Tramages - Gradiant/Spokes Ratio Maker
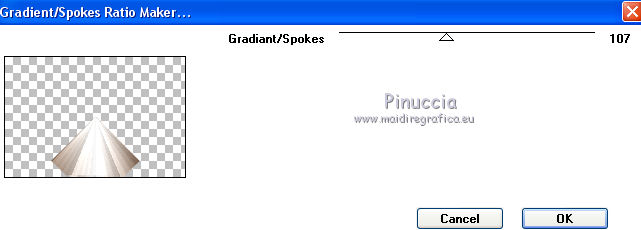
Effects>Edge Effects>Enhance.
You should have this
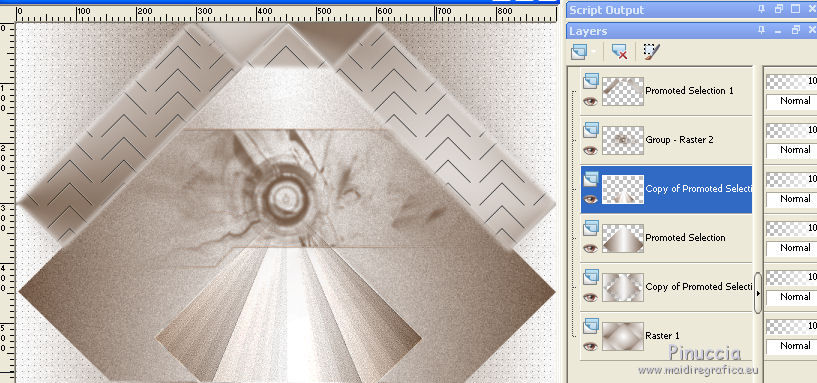
Layers>Merge>Merge visible.
6. Layers>Duplicate.
Effects>Plugins>Mura's Meister - Perspective Tiling.
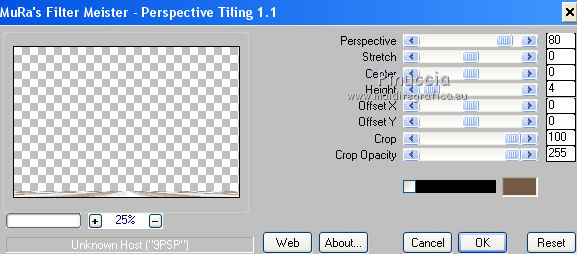
Optional: I made Adjust>Blur>Gaussian Blur - radius 3, to soften the effect

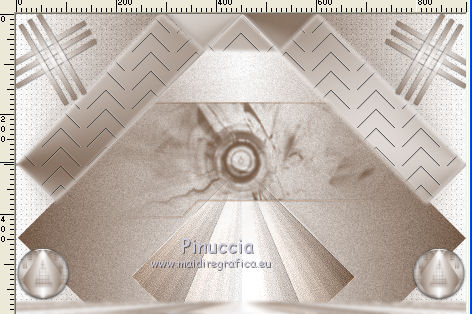
7. Open the tube Nikki_deco croix and go to Edit>Copy.
Go back to your work and go to Edit>Paste as new layer.
Move  the tube at the upper right the tube at the upper right
Layers>Duplicate.
Image>Mirror.
Open the button and go to Edit>Copy.
Go back to your work and go to Edit>Paste as new layer.
Move  the tube at the bottom right the tube at the bottom right
Layers>Duplicate.
Image>Mirror.
8. Image>Add borders, 1 pixel, symmetric, dark color.
Image>Add borders, 3 pixels, symmetric, light color.
Image>Add borders, 1 pixel, symmetric, dark color.
Image>Add borders, 15 pixels, symmetric, light color.
Image>Add borders, 1 pixel, symmetric, dark color.
Image>Add borders, 3 pixels, symmetric, light color.
Image>Add borders, 1 pixel, symmetric, dark color.
Selections>Select All.
Image>Add borders, 35 pixels, symmetric, light color.
Effects>3D Effects>Drop Shadow, dark color.
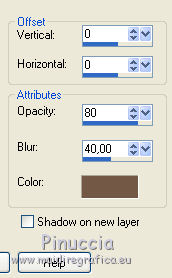
Image>Add borders, 1 pixel, symmetric, dark color.
Image>Add borders, 3 pixels, symmetric, light color.
Image>Add borders, 1 pixel, symmetric, dark color.
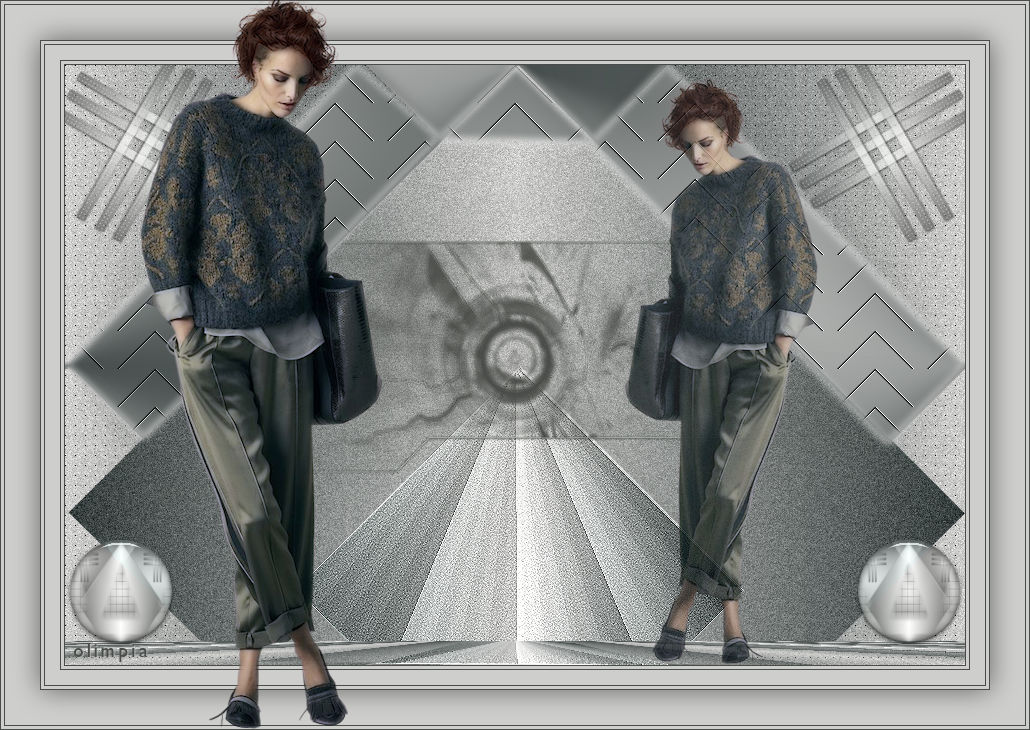
9. Open your main tube and go to Edit>Copy.
Go back to your work and go to Edit>Paste as new layer.
Layers>Duplicate.
Image>Mirror.
Move  the tube the tube
Image>Resize, to 80%, resize all layers not checked.
Reduce the opacity of this layer to 50.
10. Sign your work on a new layer.
Layers>Merge>Merge All and save as jpg.
Version with tubes by
Thafs

Tocha

Your versions
Thanks
Olimpia

If you have problems or doubts, or you find a not worked link, write to me.
31 January 2020
|

