|
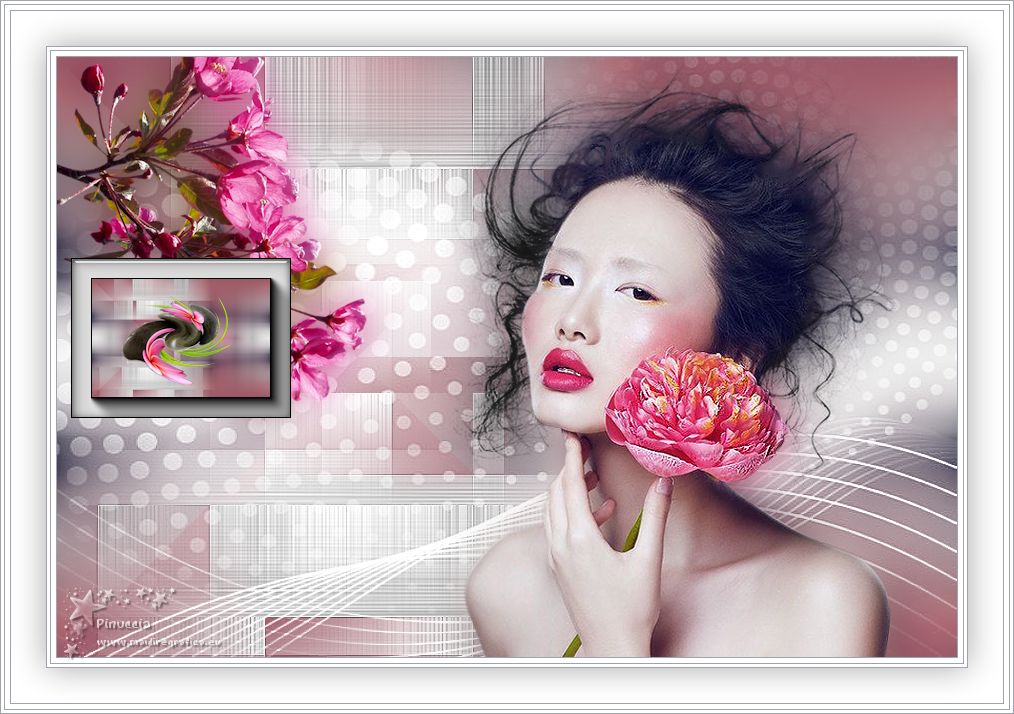
HUAN


Here you find the original of this tutorial:

This tutorial was written with CorelX2 and translated with CorelX7, but it can also be made using other versions of PSP.
Since version PSP X4, Image>Mirror was replaced with Image>Flip Horizontal,
and Image>Flip with Image>Flip Vertical, there are some variables.
In versions X5 and X6, the functions have been improved by making available the Objects menu.
In the latest version X7 command Image>Mirror and Image>Flip returned, but with new differences.
See my schedule here
Your versions
For this tutorial, you will need:
Material here
Thanks for the woman tube Beatriz and for the flowers tube Tiram.
(The links of the tubemakers here).
Plugins:
consult, if necessary, my filter section here
Filters Unlimited 2.0 here
Simple - Pizza Slice Mirror here
Mehdi - Weaver here
Toadies - Weaver here
Alien Skin Eye Candy 5 Impact - Glass here
AAA Frames - Foto Frame here
Filters Simple and Toadies can be used alone or imported into Filters Unlimited.
(How do, you see here)
If a plugin supplied appears with this icon  it must necessarily be imported into Unlimited it must necessarily be imported into Unlimited

You can change Blend Modes according to your colors.
In the newest versions of PSP, you don't find the foreground/background gradient (Corel_06_029).
You can use the gradients of the older versions.
The Gradient of CorelX here
Copy the Selection in the Selections Folder.
Open the mask in PSP and minimize it with the rest of the material.
1. Set your foreground color to #a0a3ad,
and your background color to #ffffff,
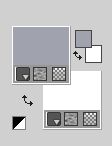
Set your foreground color to a Foreground/Background Gradient, style Linear.
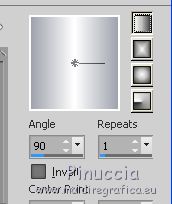
2. Open a new transparent image 900 x 600 pixels.
3. Selections>Select All.
Open your main tube and go to Edit>Copy.
Go back to your work and go to Edit>Paste into Selection.
Selections>Select None.
4. Effects>Image Effects>Seamless Tiling, default settings.

5. Layers>Merge>Merge All.
6. Adjust>Blur>Radial Blur.
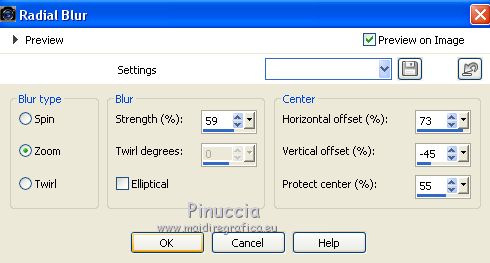
Edit>Repeat Radial Blur.
7. Effects>Plugins>Simple - Pizza Slice Mirror
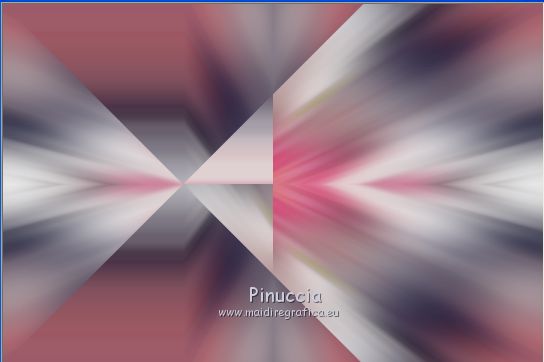
8. Effects>Plugins>Mehdi - Weaver.
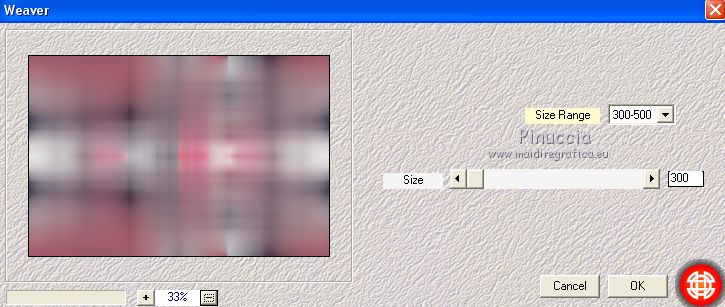
9. Effects>Plugins>Simple - Pizza Slice Mirror.
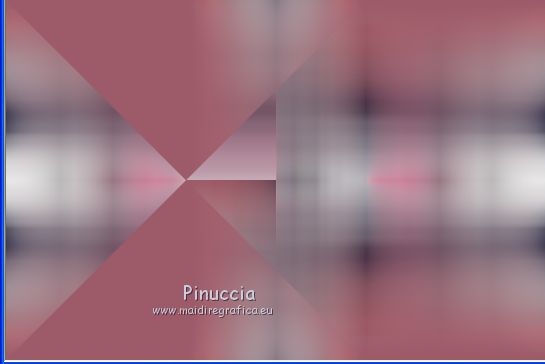
10. Selections>Load/Save Selection>Load Selection from Disk.
Look for and load the selection Nikki_Huan
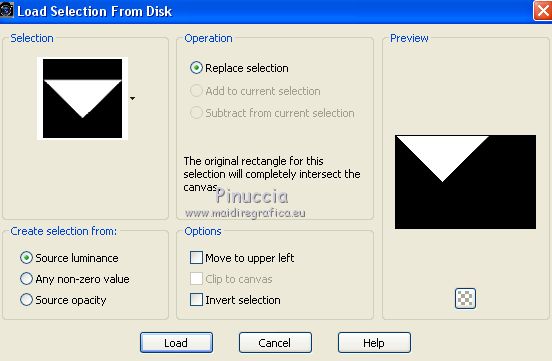
Flood Fill  the selection with your Gradient. the selection with your Gradient.
11. Effects>Plugins>Filters Unlimited 2.0 - Paper Textures - Canvas Coarse, default settings.
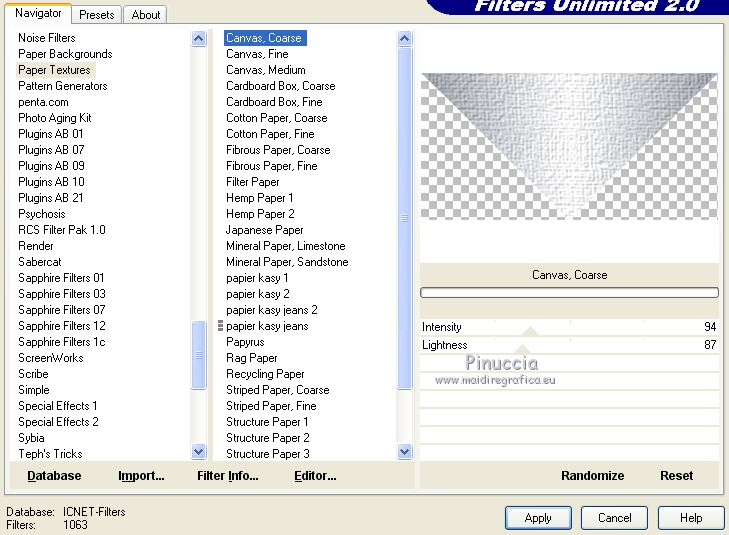
12. Layers>Duplicate.
Selections>Select None.
13. Image>Flip.
Layers>Merge>Merge down.
14. Effects>Plugins>Toadies - Weaver, default settings.
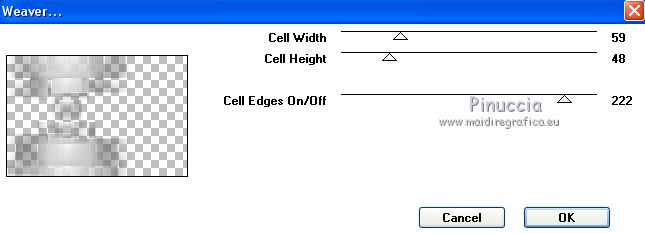
Effects>Edge Effects>Enhance.
15. Layers>Merge>Merge visible.
16. Edit>Copy.
Edit>Paste as new image and work on this image.
17. Open the tube 2f39a8ed and go to Edit>Copy.
Go back to the copy and go to Edit>Paste as new layer.
Place  rightly the tube in the middle. rightly the tube in the middle.
Layers>Merge>Merge Down.
18. Effects>Distortion Effects>Twirl
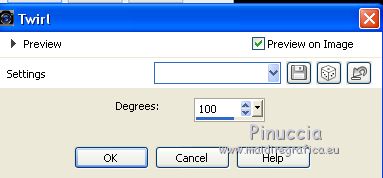
Edit>Repeat Twirl.
19. Image>Resize, to 20%, resize all layers checked.
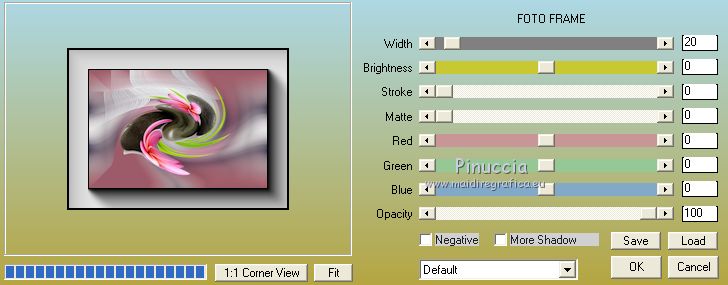
20. Image>Add borders, 20 pixels, symmetric, color #ffffff.
21. Effects>Plugins>AAA Frames - Foto Frame.
22. Effects>Plugins>Alien Skin Eye Candy 5 Impact - Glass,
select the preset Clear and ok.

23. Edit>Copy.
Go back to your original work and go to Edit>Paste as new layer.
24. K key on the keyboard to activate the Pick Tool 
and set Position X: 14,00 and Position Y: 201,00.
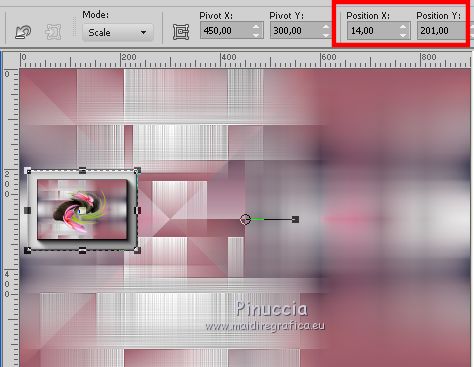
M Key to deselect the Tool.
25. Activate the layer Merged.
Layers>New Raster Layer.
Flood Fill  the layer with color #ffffff. the layer with color #ffffff.
26. Layers>New Mask layer>From image
Open the menu under the source window and you'll see all the files open.
Select the image White Dove mask 1
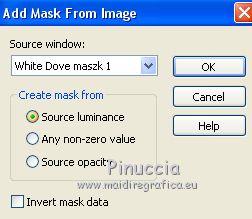
Effects>Edge Effects>Enhance.
Layers>Merge>Merge group.
27. Open the flowers tube by Tiram and go to Edit>Copy.
Go back to your work and go to Edit>Paste as new layer.
Image>Resize, to 75%, resize all layers not checked.
Move  the tube at the upper left. the tube at the upper left.
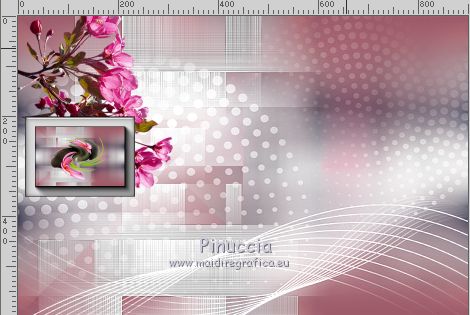
28. Layers>Duplicate.
Activate the layer below of the original.
Adjust>Blur>Gaussian Blur - radius 20.

29. Activate again your main tube and go to Edit>Copy.
Go back to your work and go to Edit>Paste as new layer.
30. K key on the keyboard to activate the Pick Tool 
and set Position X: 381,00 and Position Y: -9,00.
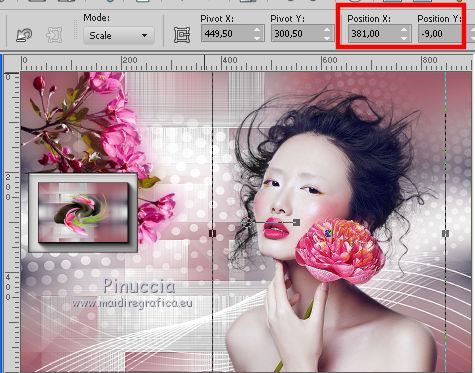
M Key to deselect the Tool.
31. Layers>Duplicate.
Activate the layer below of the original.
Adjust>Blur>Gaussian Blur - radius 20.

31. Image>Add borders, 1 pixel, symmetric, dark color.
Image>Add borders, 5 pixels, symmetric, light color.
Image>Add borders, 1 pixel, symmetric, dark color.
Image>Add borders, 3 pixels, symmetric, light color.
Image>Add borders, 1 pixel, symmetric, dark color.
Selections>Select All.
Image>Add borders, 35 pixels, symmetric, light color.
Image>Add borders, 1 pixel, symmetric, dark color.
Image>Add borders, 5 pixels, symmetric, light color.
Image>Add borders, 1 pixel, symmetric, dark color.
Image>Add borders, 3 pixels, symmetric, light color.
Image>Add borders, 1 pixel, symmetric, dark color.
Effects>3D Effects>Drop Shadow, color #000000.
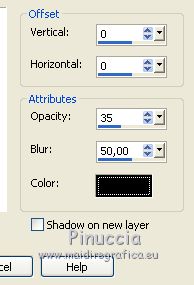
Selections>Select None.
32. Sign your work on a new layer.
Layers>Merge>All and save as jpg.
Your versions
Thanks
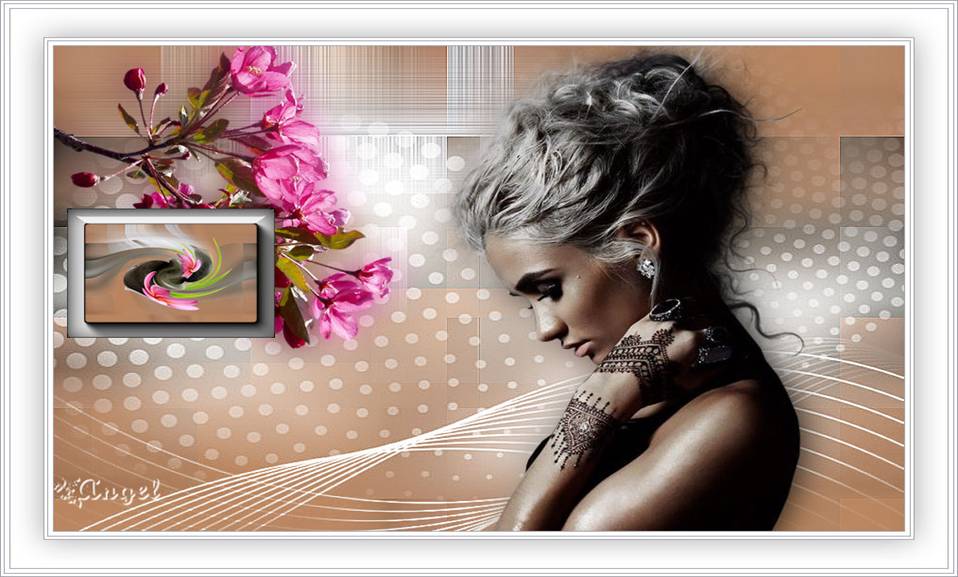
Angel
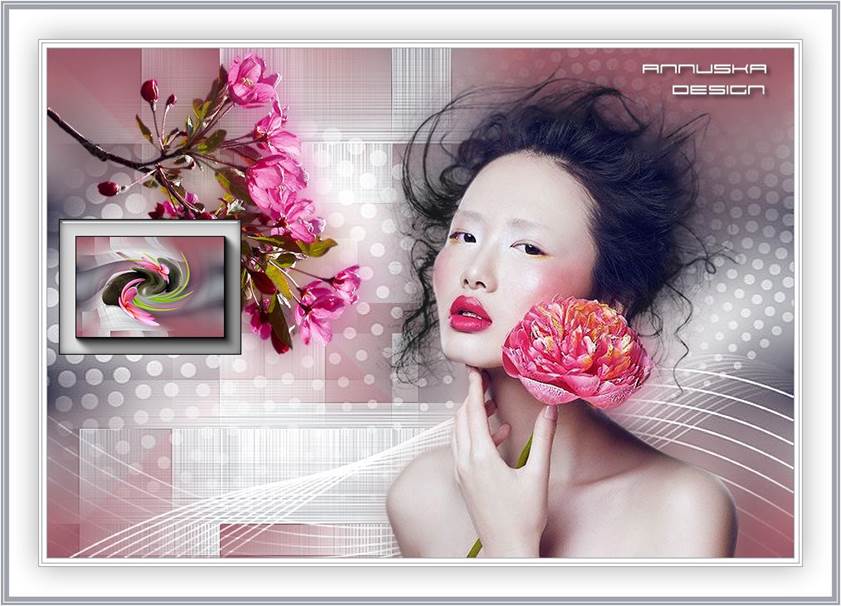
Annuska
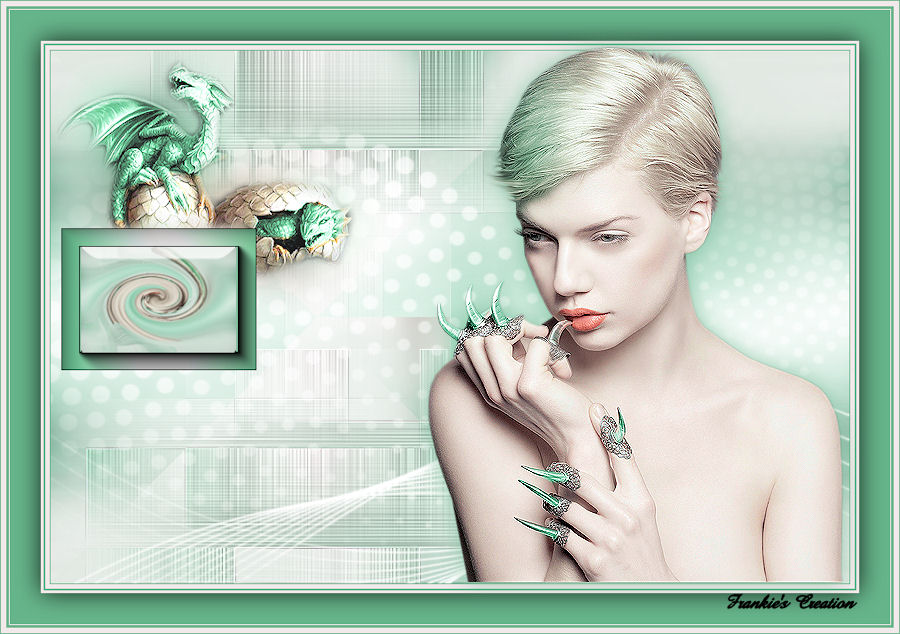
Frankie

If you have problems or doubts, or you find a not worked link, or only for tell me that you enjoyed this tutorial, write to me.
28 Septembre 2018
|

