|
AUTOMNE 2018


Here you find the original of this tutorial:

This tutorial was written with CorelX2 and translated with CorelX7, but it can also be made using other versions of PSP.
Since version PSP X4, Image>Mirror was replaced with Image>Flip Horizontal,
and Image>Flip with Image>Flip Vertical, there are some variables.
In versions X5 and X6, the functions have been improved by making available the Objects menu.
In the latest version X7 command Image>Mirror and Image>Flip returned, but with new differences.
See my schedule here
Your versions
For this tutorial, you will need:
Material here
Thanks for the tubes Maryse and OBG.
(The links of the tubemakers here).
Plugins:
consult, if necessary, my filter section here
Filters Unlimited 2.0 here
Filter Factory Gallery V - Picture Chopper here
Mura's Meister - Perspective Tiling here
Toadies - Weaver here
Filters Factory Gallery and Toadies can be used alone or imported into Filters Unlimited.
(How do, you see here)
If a plugin supplied appears with this icon  it must necessarily be imported into Unlimited it must necessarily be imported into Unlimited

You can change Blend Modes according to your colors.
In the newest versions of PSP, you don't find the foreground/background gradient (Corel_06_029).
You can use the gradients of the older versions.
The Gradient of CorelX here
Copy the Selection in the Selections Folder.
1. Set your foreground color to #ffe147,
and your background color to #8f4c1e,
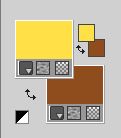
Set your foreground color to a Foreground/Background Gradient, style Linear.
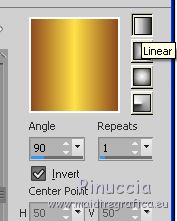
Open a new transparent image 900 x 600 pixels.
Selections>Select All.
Open the background MRD and go to Edit>Copy.
Go back to your work and go to Edit>Paste into Selection.
Selections>Select None.
2. Open the tube OBG_78, erase the watermark.
Adjust>Blur>Radial Blur.
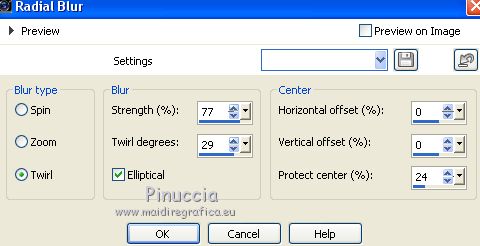
Edit>Copy, and minimize the tube.
Go back to your work and go to Edit>Paste as new layer.
Move  the image to the right side. the image to the right side.
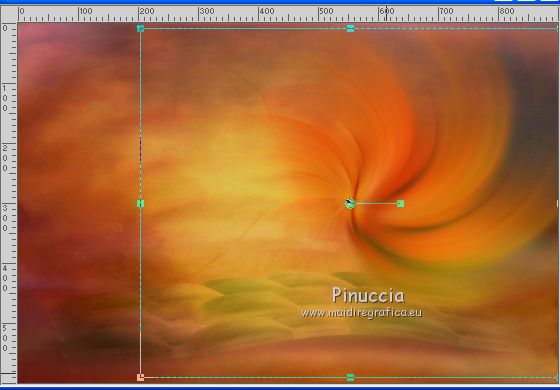
Layers>Duplicate.
Layers>Merge>Merge Down.
3. Layers>Duplicate.
Image>Miroir.
Effects>Plugins>Filter Factory Gallery V - Picture Chopper.
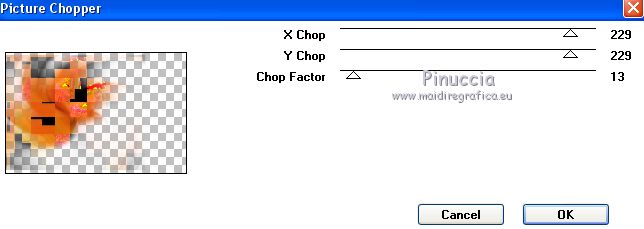
Change the Blend Mode of this layer to Dodge and reduce the opacity to 60%
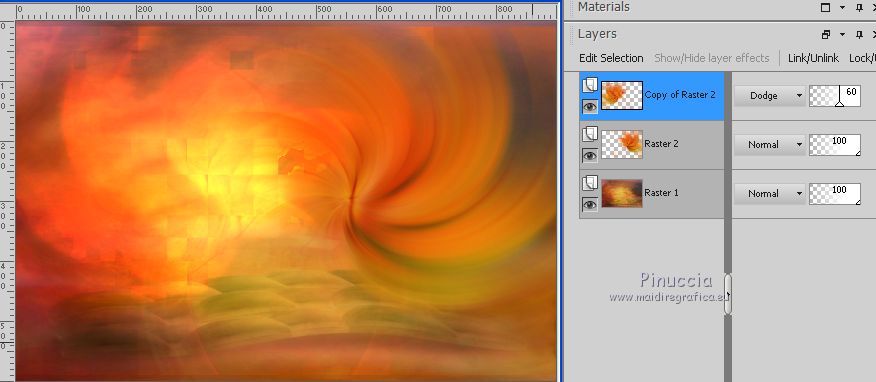
Effects>Edge Effects>Enhance More.
Effects>Image Effects>Seamless Tiling, default settings.

Layers>Merge>Merge visible.
4. Layers>New Raster Layer.
Selections>Load/Save Selection>Load Selection from Disk.
Look for and load the selection Nikki_Automne 2018.
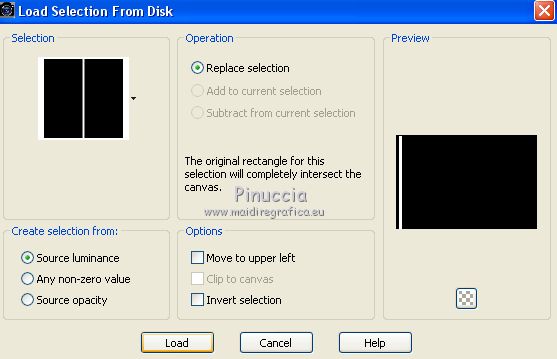
Flood Fill  the selection with your Gradient. the selection with your Gradient.
Selections>Select None.
Effects>Plugins>Toadies - Weaver.
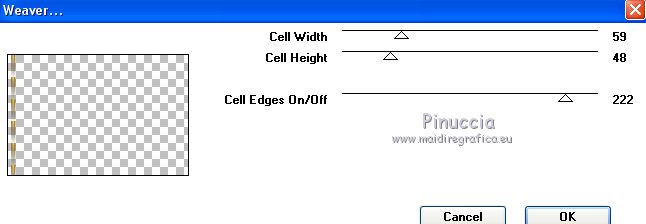
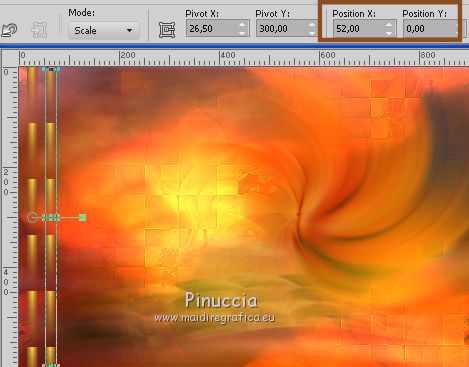
5. Layers>Duplicate.
K key on the keyboard to activate the Pick Tool 
and set Position X: 52,00 and Position Y: 0,00
M key to deselect the Tool.
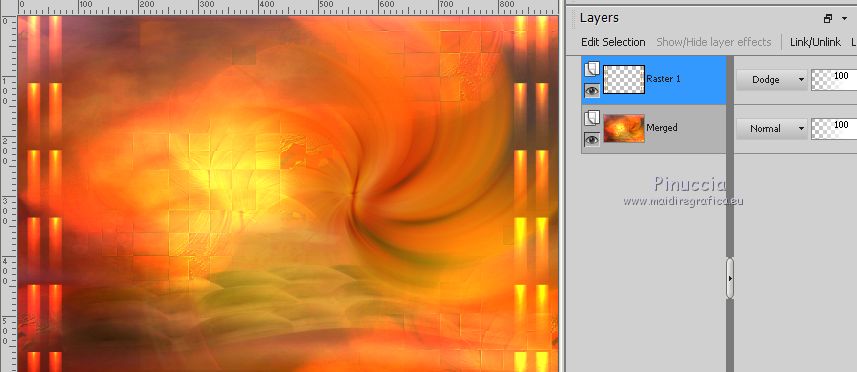
Layers>Merge>Merge Down.
Layers>Duplicate.
Image>Mirror.
Layers>Merge>Merge down.
Change the Blend mode of this layer to Dodge, opacity 100
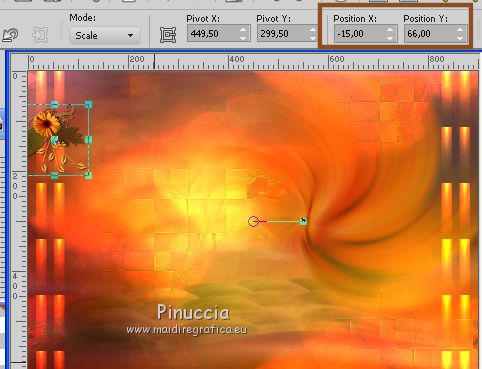
6. Open the tube VC element25 - Edit>Copy.
Go back to your work and go to Edit>Paste as new layer.
Pick Tool 
and set Position X: -15,00 and Position Y: 66,00
M key to deselect the Tool.
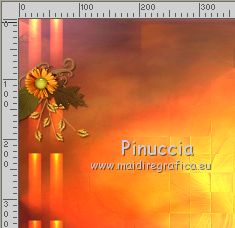
Open the tube Nikkiauto 2018 - Edit>Copy.
Go back to your work and go to Edit>Paste as new layer.
Place  the tube in the middle of the flower. the tube in the middle of the flower.
Layers>Merge>Merge Down.
Effects>3D Effects>Drop Shadow, color black.
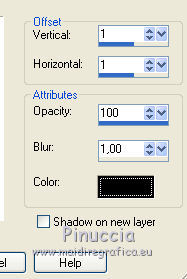
Layers>Duplicate.
Image>Mirror.
Layers>Merge>Merge Down.
7. Activate the layer Raster 1.
Layers>Duplicate.
Effects>Distortion Effects>Punch.
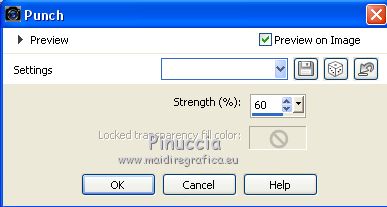
Change the Blend Mode of this layer to Luminance (legacy)
and reduce the opacity to 80%.
8. Activate the layer Merged.
Layers>Duplicate.
Effects>Plugins>Mura's Meister - Perspective Tiling.
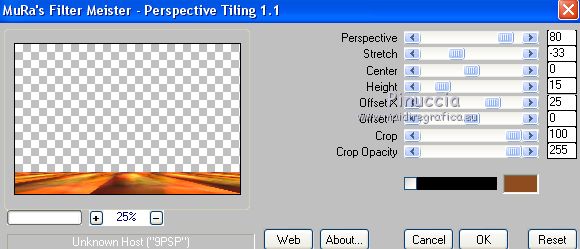
9. Open the tube écureuil Edit>Copy.
Go back to your work and go to Edit>Paste as new layer.
Image>Resize, 1 time to 50% and 1 time to 75%, resize all layers not checked.
Place  the tube at the bottom left. the tube at the bottom left.
Open the tube MR_Davines Edit>Copy.
Go back to your work and go to Edit>Paste as new layer.
Place  to the right side. to the right side.
Activate the second layers from the bottom, Copy of Merged.
Activate again the tube OBG_78.
Edit>Undo Radial Blur.
Edit>Copy.
Go back to your work and go to Edit>Paste as new layer.
Image>Resize, to 75%, resize all layers not checked.
Move  the tube at the bottom left the tube at the bottom left
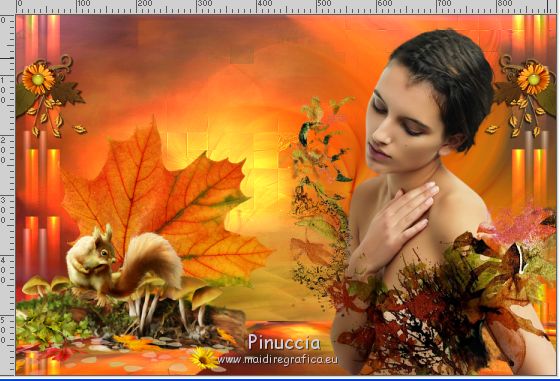
10. Image>Add borders, 1 pixel, symmetric, dark color.
Image>Add borders, 5 pixels, symmetric, light color.
Image>Add borders, 1 pixel, symmetric, dark color.
Image>Add borders, 35 pixels, symmetric, color white #ffffff.
Activate the Magic Wand Tool 
and click on the white border to select it.
Selections>Invert.
Effects>3D Effects>Drop Shadow, color black.
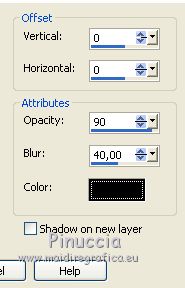
Selections>Select None.
Image>Add borders, 1 pixel, symmetric, dark color.
Image>Add borders, 5 pixels, symmetric, light color.
Image>Add borders, 1 pixel, symmetric, dark color.
Image>Add borders, 45 pixels, symmetric, color white #ffffff.
Select the white border with your Magic Wand tool 
Selections>Invert.
Effects>3D Effects>Drop Shadow, same settings.
Selections>Select None.
Image>Add borders, 1 pixel, symmetric, dark color.
Image>Add borders, 5 pixels, symmetric, light color.
Image>Add borders, 1 pixel, symmetric, dark color.
11. Open the wordart Automne and go to Edit>Copy.
Go back to your work and go to Edit>Paste as new layer.
Image>Resize, 65%, resize all layers not checked.
Adjust>Sharpness>Sharpen.
Move  the texte at the top, in the middle. the texte at the top, in the middle.
Sign your work on a new layer.
Layers>Merge>Merge All.
Image>Resize, at your choice, for me 1000 pixels width.
Save as jpg.
The tube of this version is by Gabry
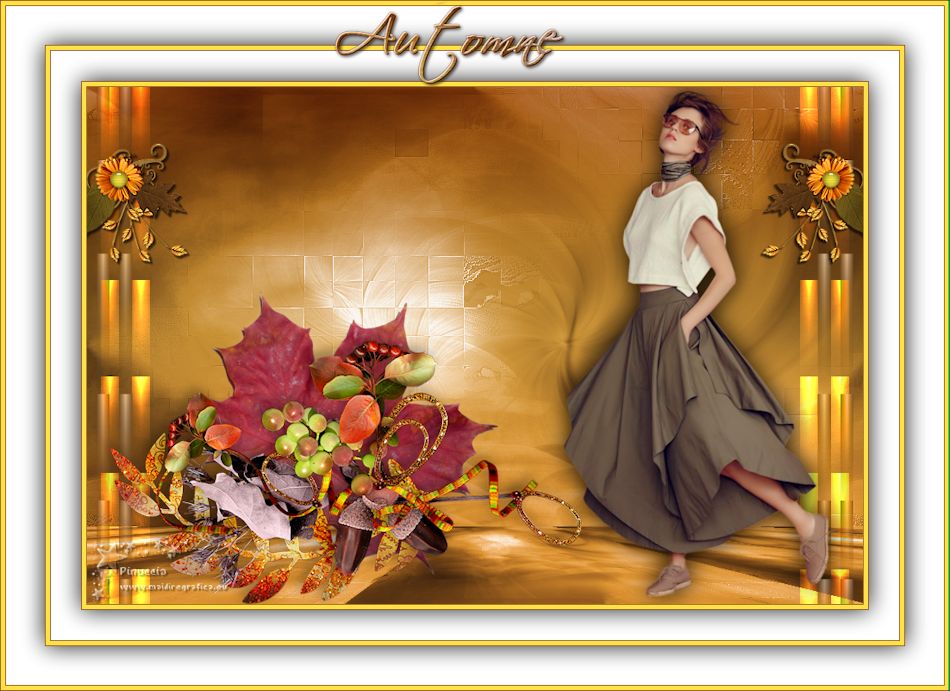
Your versions
Thanks
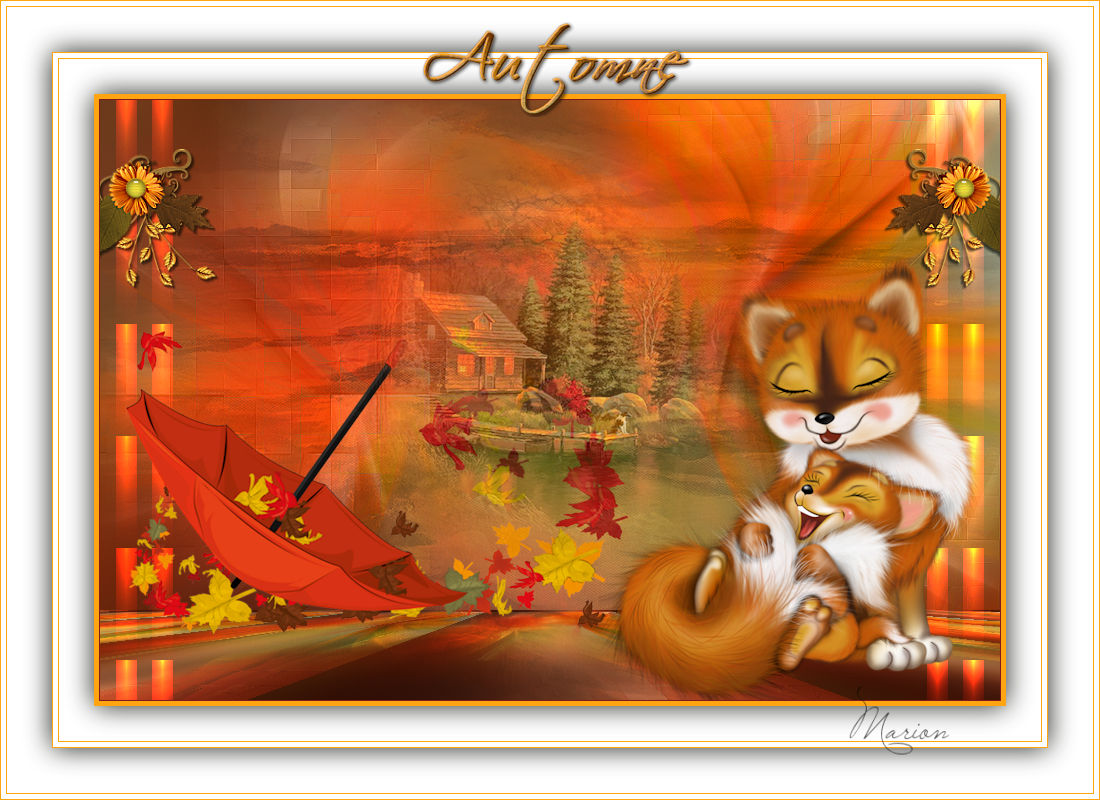
Marion

If you have problems or doubts, or you find a not worked link, or only for tell me that you enjoyed this tutorial, write to me.
18 Octobre 2018
|


