|
SPARKLES


Thanks Narah for your invitation to translate your tutorials into english
Here you find the original of this tutorial:

This tutorial was written with CorelX9 and translated with CorelX13, but it can also be made using other versions of PSP.
Since version PSP X4, Image>Mirror was replaced with Image>Flip Horizontal,
and Image>Flip with Image>Flip Vertical, there are some variables.
In versions X5 and X6, the functions have been improved by making available the Objects menu.
In the latest version X7 command Image>Mirror and Image>Flip returned, but with new differences.
See my schedule here
Material here
For the woman tube thanks Alies.
The rest of the material is by Narah
(The links of the tubemakers here).
Plugins:
consult, if necessary, my filter section here
Filters Unlimited 2.0 here
Mehdi - Wavy Lab, Sorting Tiles here
AP 01 [Innovations] - Lines SilverLining here
VM Natural - Sparkle here
Simple - Blintz here
Carolaine and Sensibility - CS_Texture here
Italian Editors Effect - Effetto Fantasma here
Nik Software - Color Efex Pro here
Filters Simple, VM Natural and Italian Editors can be used alone or imported into Filters Unlimited.
(How do, you see here)
If a plugin supplied appears with this icon  it must necessarily be imported into Unlimited it must necessarily be imported into Unlimited

You can change Blend Modes according to your colors.
In the newest versions of PSP, you don't find the foreground/background gradient (Corel_06_029).
You can use the gradients of the older versions.
The Gradient of CorelX here
Copy the Preset in the Presets Folder.
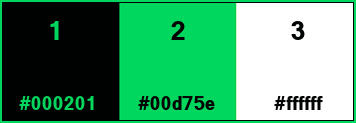
Colors
1. Open "Narah_Sparkles_AlphaChannel".
Window>Duplicate, or on the keyboard shift+D to make a copy.
Close the original.
The copy, that will be the basis of your work, is not empty,
but it contains the selections saved on the alpha channel.
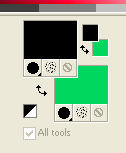
2. Set your foreground color to #000201 (color 1),
and your background color to #00d75e (color 2).
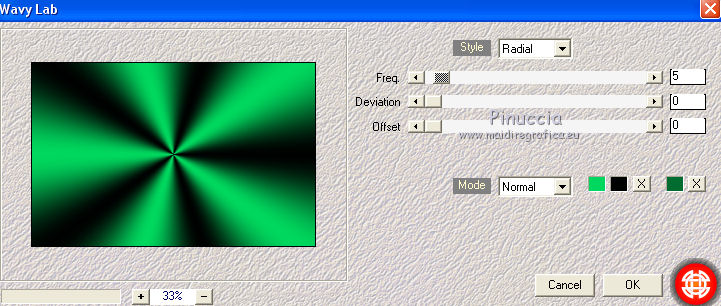
3. Effects>Plugins>Mehdi - Wavy Lab
This plugins creates gradients with the colors of your Materials palette.
The first is your background color, the second is the foreground color;
keep the last color created by the filtre.
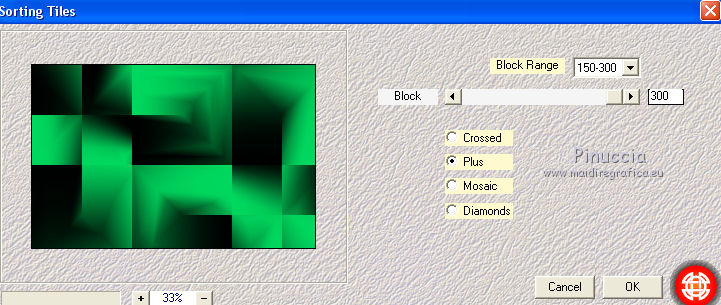
4. Effects>Plugins>Mehdi - Sorting Tiles.
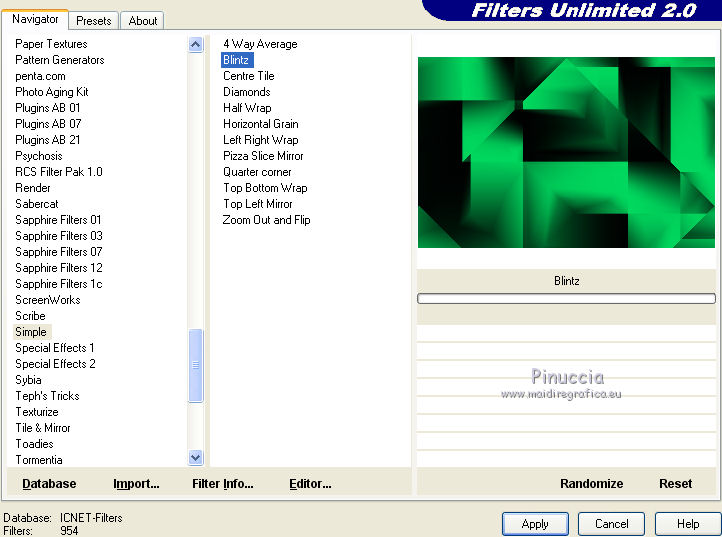
5. Effects>Plugins>Filters Unlimited 2.0 - Simple - Blintz.
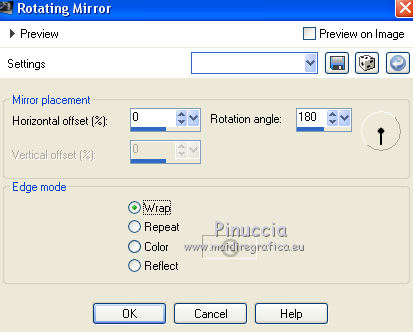
6. Effects>Reflection Effects>Rotating Mirror.
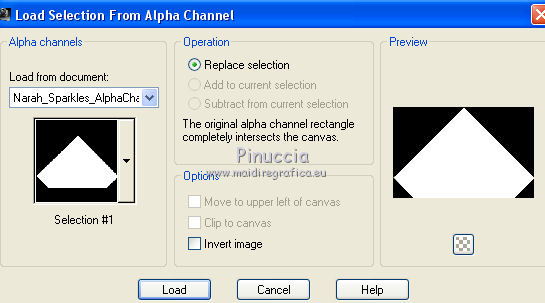
7. Selections>Load/Save Selection>Load Selection from Alpha Channel.
The selection #1 is immediately available. You just have to click Load.
Selections>Promote Selection to Layer.
Selections>Select None.
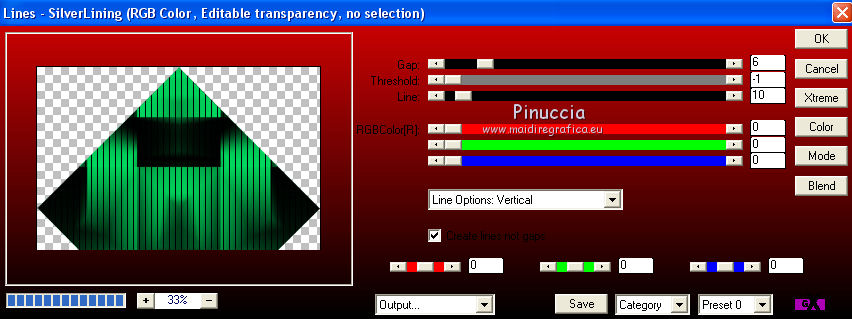
8. Effects>Plugins>AP 01 [Innovations] - Lines SilverLining.
9. Layers>Duplicate.
Image>Resize, to 80%, resize all layers not checked.
Objects>Align>Bottom
if you are working with a previous version that has not available the menu Objects,
use the Move Tool 
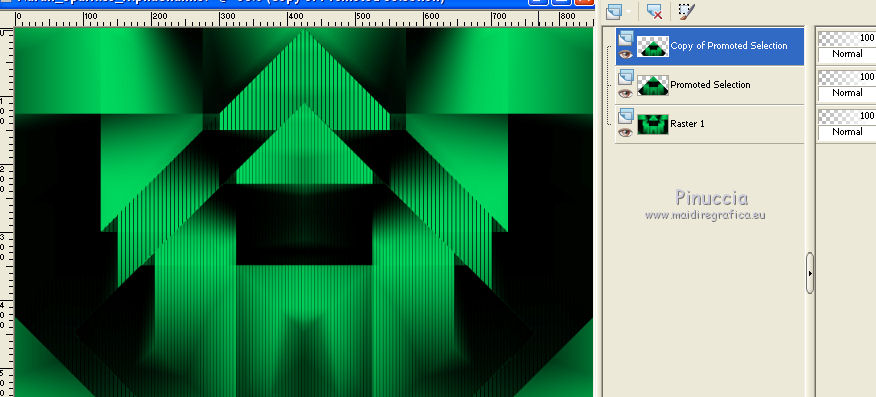
10. Effects>3D Effects>Drop Shadow, color #000000.
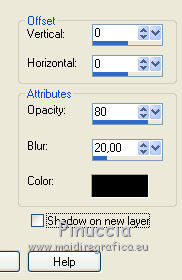
Activate the layer below, Promoted Selection
Edit>Repeat Drop Shadow.
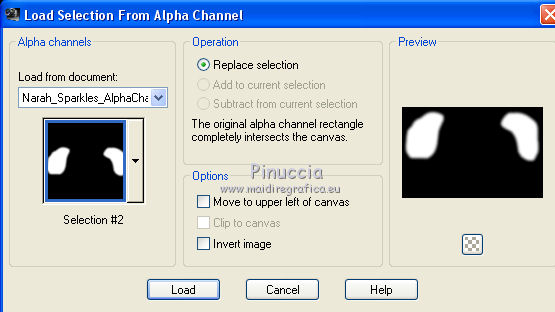
11. Activate the bottom layer, raster 1.
Selections>Load/Save Selection>Load Selection From Alpha Channel.
Open the selections menu and load selection#2.
12. Effects>Plugins>VM Natural - Sparkle.
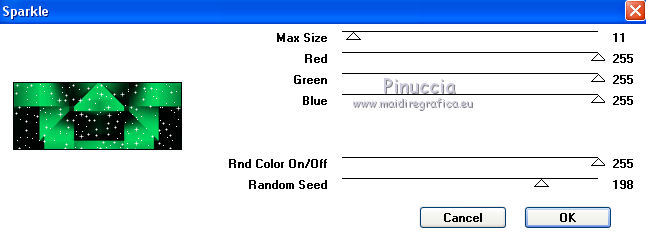
Selections>Select None.
13. Activate the layer Promoted Selection.
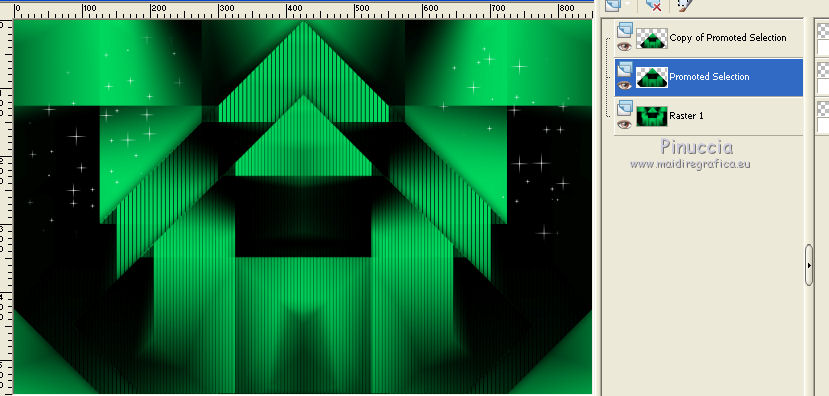
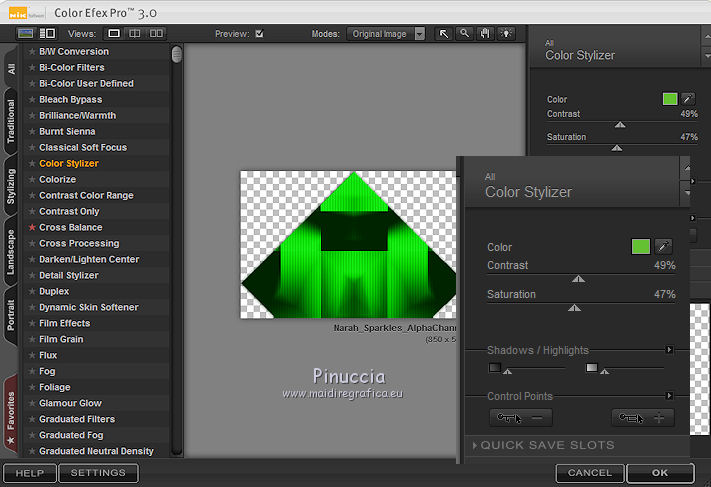
Effects>Plugins>Nik Software - Color Efex Pro 3.0
Color Stylizer - colore #64c132
Contrast 49 - Saturation 47
(Note: the color depends on your colors.
You can change the Contrast and Saturation settings, according your colors)
You should have this
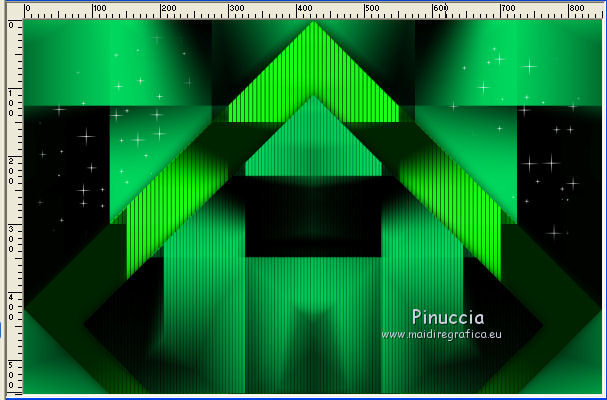
14. Activate again the bottom layer, Raster 1.
Selections>Load/Save Selection>Load Selection From Alpha Channel.
Open the selections menu and load selection#3.
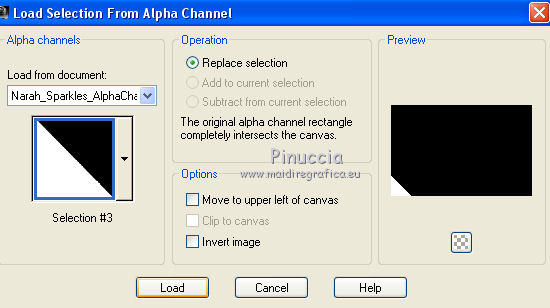
Selections>Promote Selection to Layer.
Selections>Select None.
15. Effects>Plugins>Carolaine & Sensibility - CS_Texture, default settings.
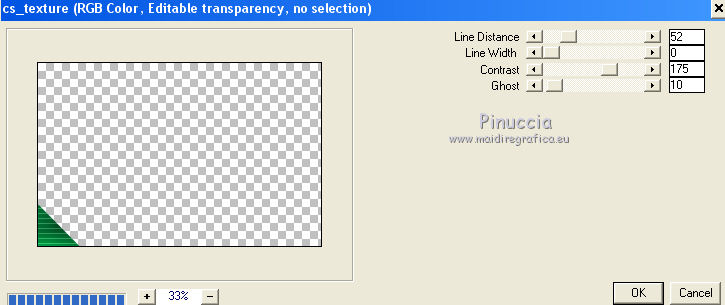
Layers>Duplicate.
Image>Mirror.
Layers>Merge>Merge down.
16. Effects>Plugins>Italian Editors Effect - Effetto Fantasma.
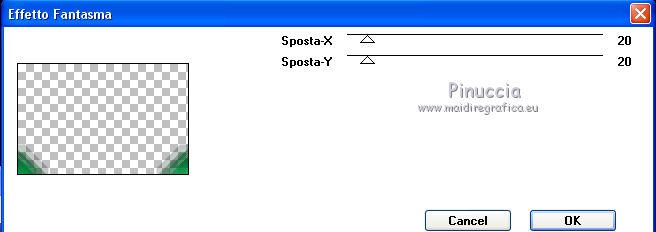
17. Effects>Image Effects>Seamless Tiling, preset Mirror Ghost
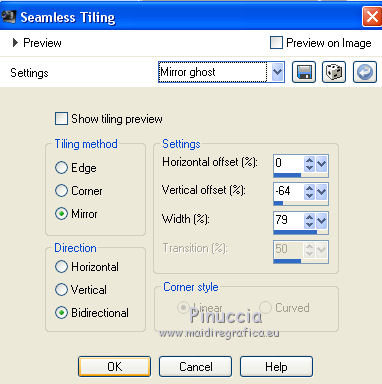
Change the Blend Mode of this layer to Multiply, or according to your colors.
18. Activate the layer above, Promoted Selection.
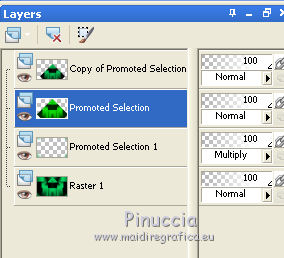
19. Open "Narah_Sparkles_Deco1" and go to Edit>Copy.
Go back to your work and go to Edit>Paste as new layer.
Don't move it.
Layers>Duplicate.
Layers>Arrange>Bring to Top.
20. Open the tube "Narah_Sparkle_Text" and go to Edit>Copy.
Go back to your work and go to Edit>Paste as new layer.
Effects>Image Effects>Offset.
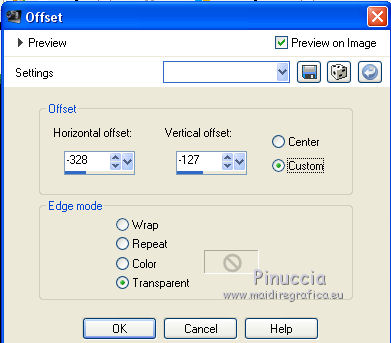
21. Activate the layer Copy of Promoted Selection.
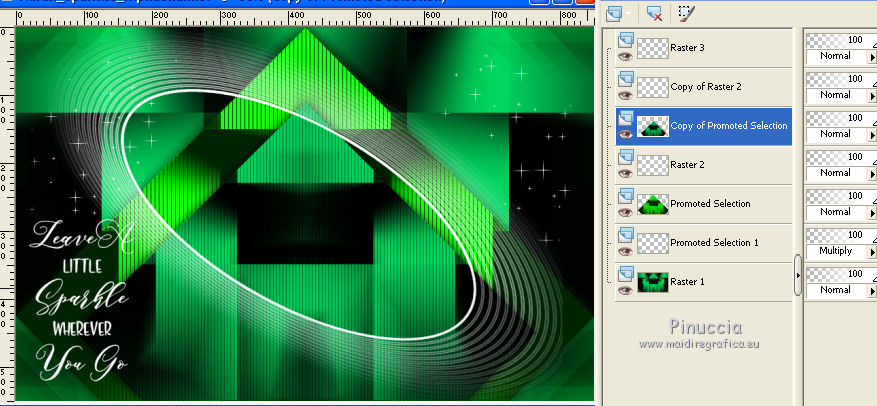
Open the tube "Alies 1VR659i-woman-14092013.pspimage" and go to Edit>Copy.
Go back to your work and go to Edit>Paste as new layer.
Image>Resize, to 80%, resize all layers not checked.
Adjust>Sharpness>Sharpen.
Layers>Duplicate.
Layers>Arrange>Bring to Top.
22. Activate the layers Copy of Raster 2 (the copy of Deco 1)
Activate the Magic Wand Tool 
and click in the ellipse to select it
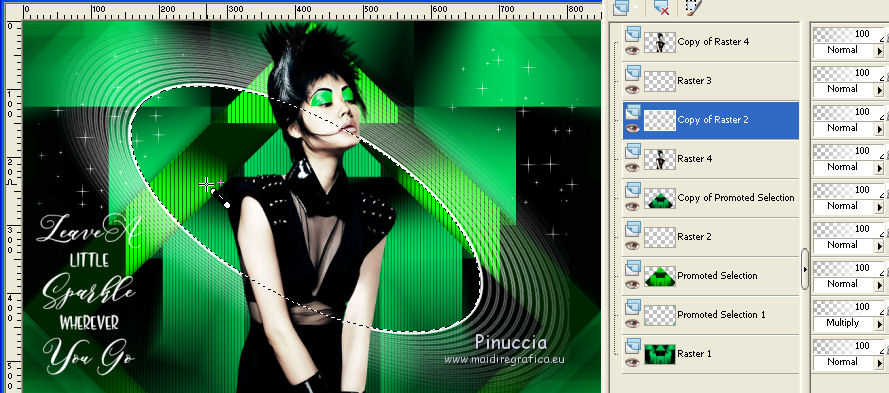
Selections>Invert.
Activate the top layer (the copy of the tube, Copy of Raster 4)
Activate the Eraser Tool 

erase the lower part of the tube
 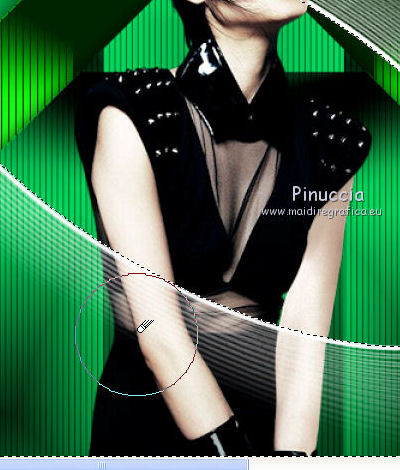
Selections>Select None.
You should have this.
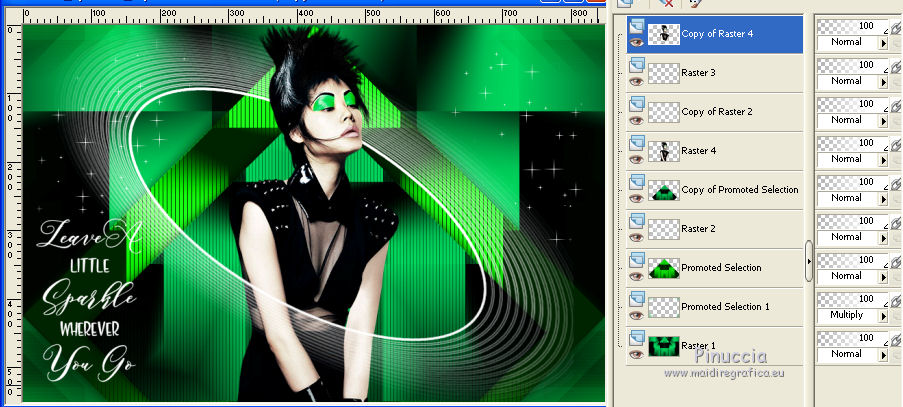
23. Image>Add borders, 1 pixel, symmetric, foreground color #000201.
Image>Add borders, 3 pixels, symmetric, color 3 #ffffff.
Image>Add borders, 1 pixel, symmetric, foreground color #000201.
Image>Add borders, 15 pixels, symmetric, background color #00d75e.
Image>Add borders, 1 pixel, symmetric, foreground color #000201.
Image>Add borders, 35 pixels, symmetric, color 3 #ffffff.
Image>Add borders, 1 pixel, symmetric, foreground color #000201.
24. Open the tube "Narah_Sparkles_Deco2" and go to Edit>Copy.
Go back to your work and go to Edit>Paste as new layer.
Don't move it.
(Colorize if you are using other colors:
you can use Adjust>Hue and Saturation>Hue/Saturation/Lightness).
25. Sign your work on a new layer.
little note about the watermark:
I don't ask to put watermark on the versions made by my translations.
But if you decide to use the watermark supplied by the author, I would appreciate that my work as translator was also respected.
For that, I added my watermark to the material.

26. Layers>Merge>Merge All and save as jpg.
The tube of this version is by Yoka
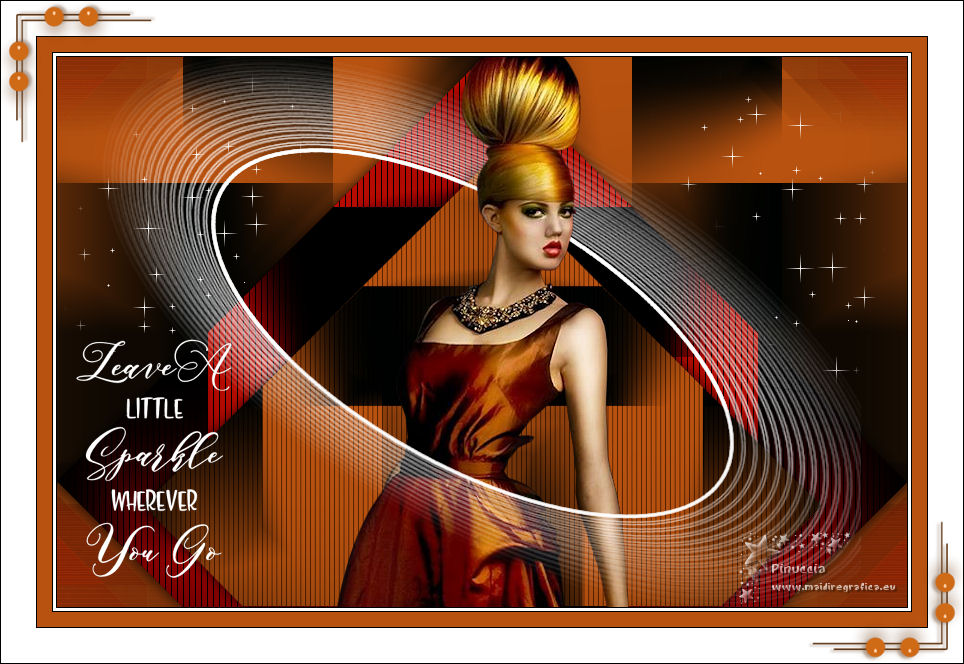

Your versions. Thanks
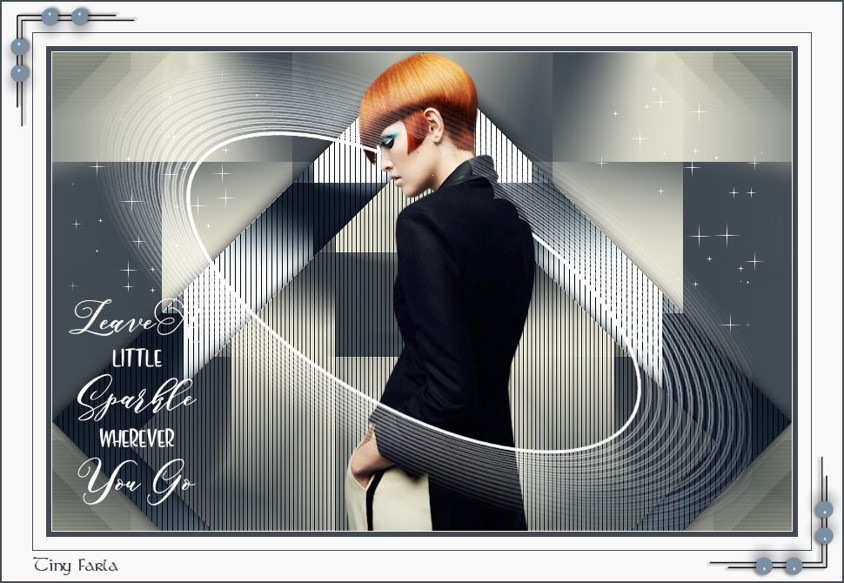
Tiny Farla
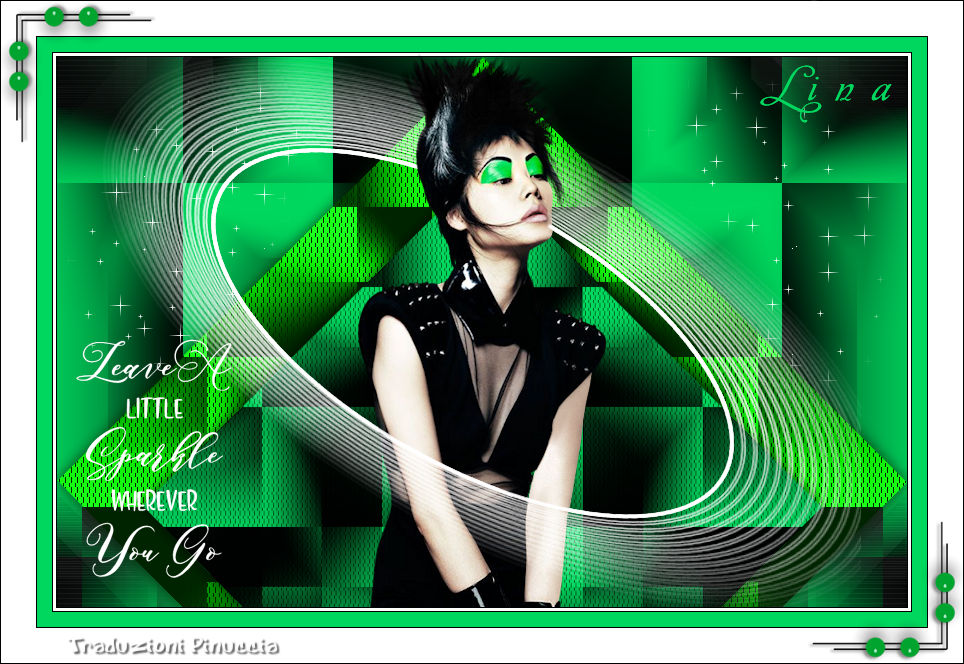
Lina
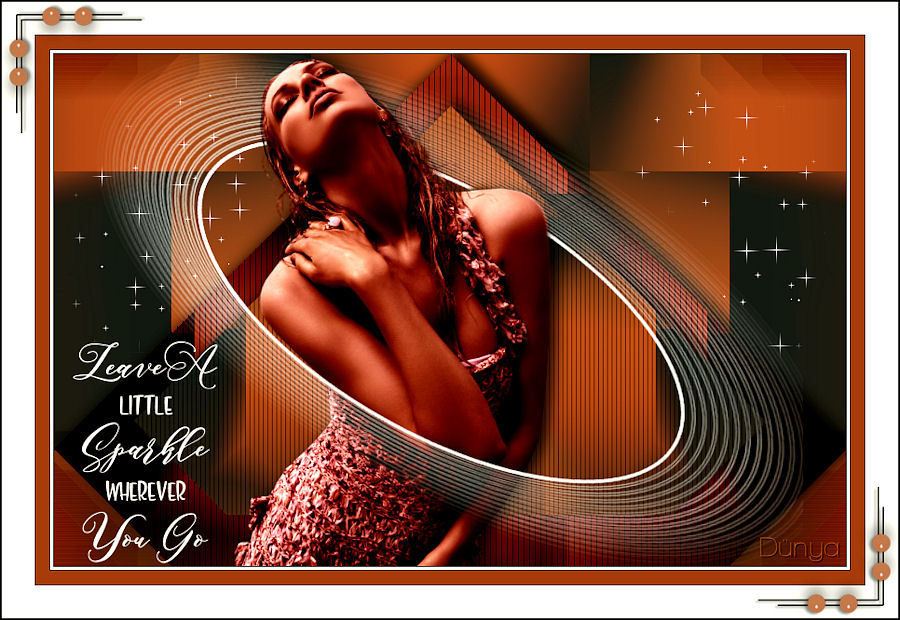
Ceylan
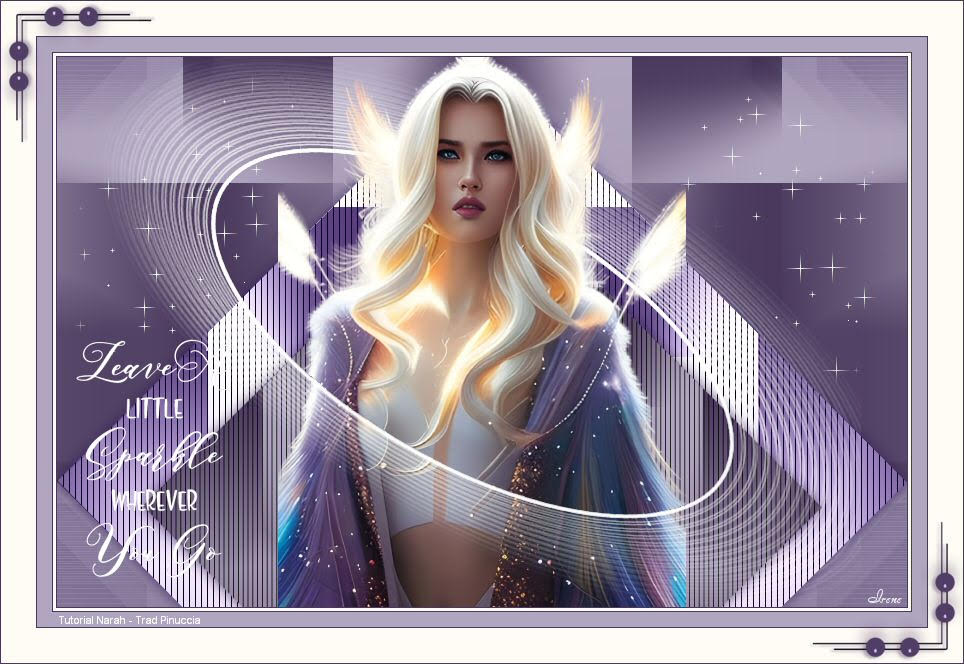
Irene

If you have problems or doubts, or you find a not worked link, or only for tell me that you enjoyed this tutorial, write to me.
17 Juillet 2018
|


