|
ALONE


Thanks Narah for your invitation to translate your tutorials into english

This tutorial was written with Corel2019 and translated with CorelX13, but it can also be made using other versions of PSP.
Since version PSP X4, Image>Mirror was replaced with Image>Flip Horizontal,
and Image>Flip with Image>Flip Vertical, there are some variables.
In versions X5 and X6, the functions have been improved by making available the Objects menu.
In the latest version X7 command Image>Mirror and Image>Flip returned, but with new differences.
See my schedule here
 French translation here French translation here
 Your versions here Your versions here
Material here
For the woman's tube thanks Beatriz.
The rest of the material is by Narah
(The links of the tubemakers here).
Plugins:
consult, if necessary, my filter section here
Filters Unlimited 2.0 here
Mehdi - Sorting Tiles here
Simple - Blintz here
Alien Skin Eye Candy 5 Impact - Glass here
Alien Skin Eye Candy 5 Nature - Ripples here
AAA Frames - Foto Frame here
Filters Simple can be used alone or imported into Filters Unlimited.
(How do, you see here)
If a plugin supplied appears with this icon  it must necessarily be imported into Unlimited it must necessarily be imported into Unlimited

You can change Blend Modes according to your colors.
In the newest versions of PSP, you don't find the foreground/background gradient (Corel_06_029).
You can use the gradients of the older versions.
The Gradient of CorelX here

Open the mask in PSP and minimize them with the rest of the material.
Colors

1. Open Alone_AlphaChannel_Narah.pspimage
Window>Duplicate, or on the keyboard shift+D to make a copy.
Close the original.
The copy, that will be the basis of your work, is not empty,
but it contains the selections saved on the alpha channel.
2. Set your foreground color to #f1d04b (color 1),
and your background color to #5a5961 (color 2).
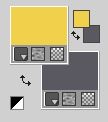
Set your foreground color to a Foreground/Background Gradient, style Linear.
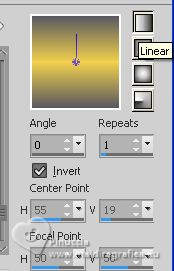
Flood Fill  the transparent image with your Gradient. the transparent image with your Gradient.
3. Adjust>Blur>Gaussian Blur - radius 50.

4. Effects>Plugins>Mehdi - Sorting Tiles.
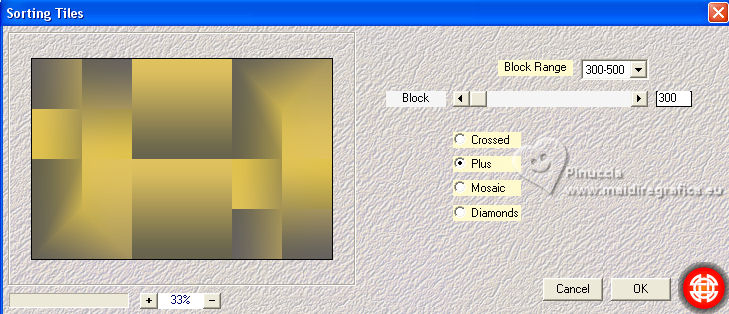
Adjust>Sharpness>Sharpen.
Effects>Reflection Effects>Rotating Mirror.

5. Layers>Duplicate.
Adjust>Blur>Gaussian Blur - radius 50.

Change the Blend Mode of this layer to Multiply.
6. Activate your background layer, Raster 1.
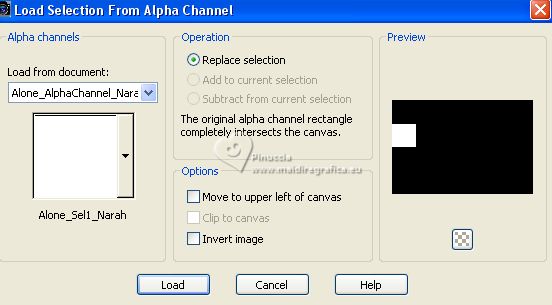
Selections>Load/Save Selection>Load Selection from Alpha Channel.
The selection Alone_Sel 1_Narah is immediately available.
You just have to click Load.
Selections>Promote Selection to Layer.
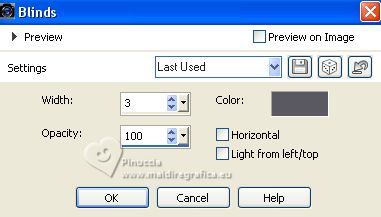
7. Effects>Texture Effects>Blinds, background color.
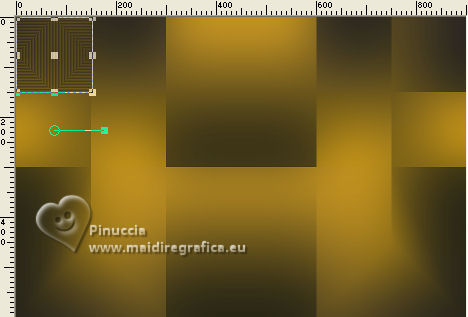
8. Effects>Plugins>Simple - Blintz.
Selections>Select None.
Objects>Align>Top.
Or activate your Pick Tool 
and set Position Y to à 0,00.

Adjust>Sharpness>Sharpen.
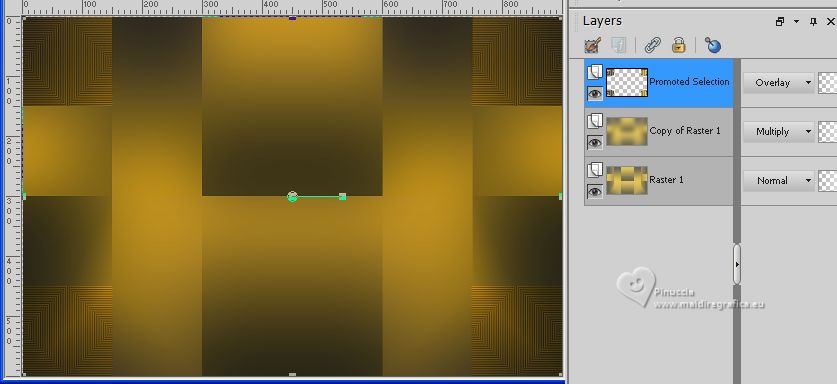
9. Layers>Duplicate.
Image>Flip.
Layers>Merge>Merge Down.
Layers>Duplicate.
Image>Mirror.
Layers>Merge>Merge Down.
Layers>Arrange>Move Up
Change the Blend mode of this layer to Overlay.
10. Activate again your background layer, Raster 1.
Selections>Load/Save Selection>Load Selection from Alpha Channel.
Open the selections menu and load the selection Alone_Sel 2_Narah
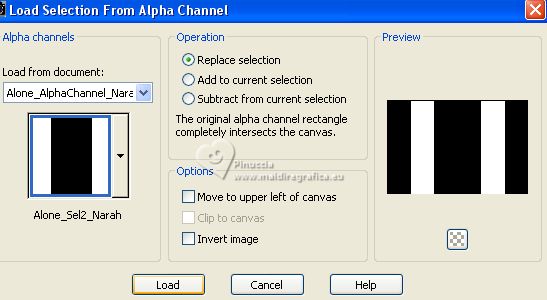
Selections>Promote Selection to Layer.
Layers>Arrange>Bring to Top.
11. Effects>Plugins>Alien Skin Eye Candy 5 Nature - Ripples.
Select the preset Expanding From Selection, Small
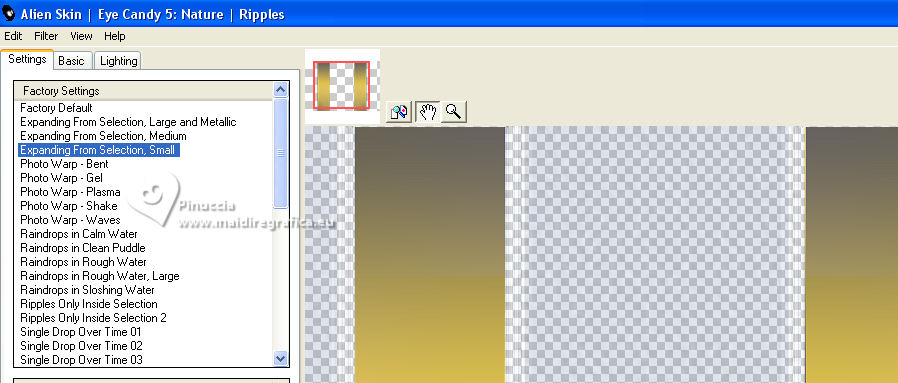
Adjust>Sharpness>Sharpen.
Selections>Select None.
Note: If you see that the layer is too light, you can change the Blend Mode.
In my second version I changed the Blend Mode to Overlay
12. Activate the layer Copy of Raster 1.
Selections>Load/Save Selection>Load Selection from Alpha Channel.
Open the selections menu and load the selection Alone_Sel 3_Narah
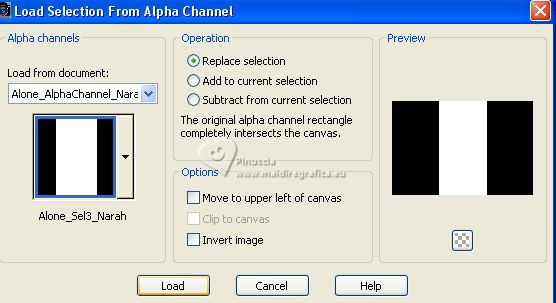
Selections>Promote Selection to Layer.
Note: Don't forget that if the layer is too light, you can change the Blend Mode
Open the tube Narah_Misted_Alone.pspimage 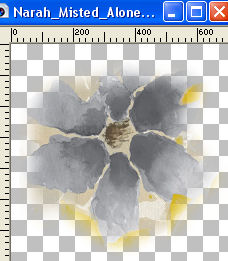
Edit>Copy.
Go back to your work and go to Edit>Paste into Selection.
13. Effects>Art Media Effects>Brush Strokes, color white.
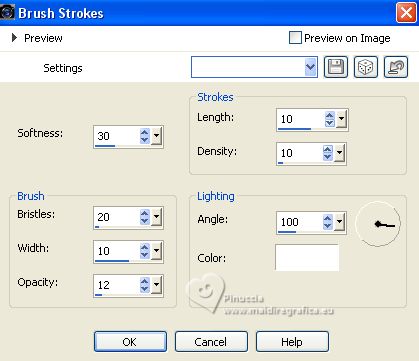
Selections>Select None.
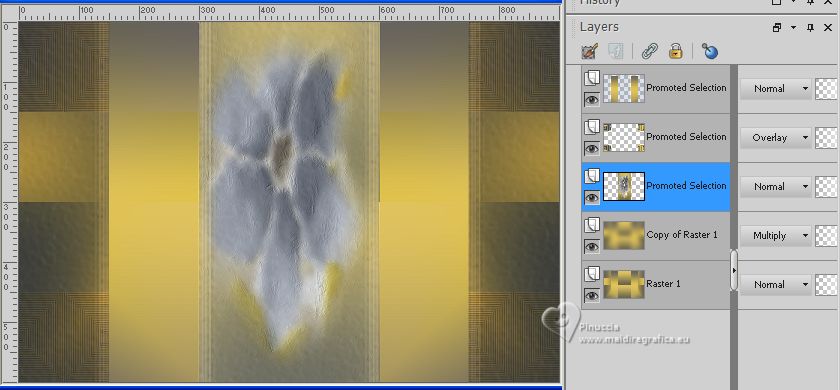
You should have this
14. Activate your top layer, Promoted Selection 1.
Open the tube Narah_Deco1_Alone.pspimage 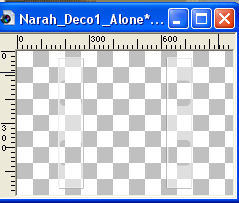
Edit>Copy.
Go back to your work and go to Edit>Paste as new layer.
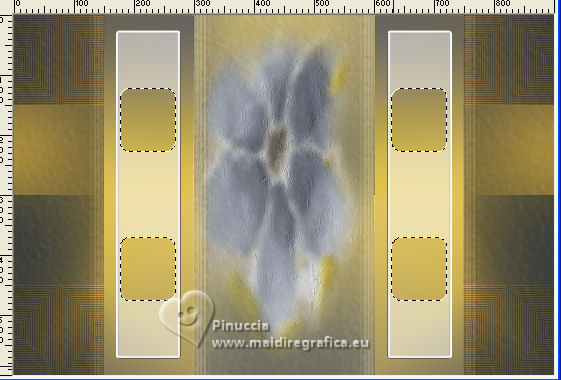
Activate your Magic Wand Tool 

Click in the 4 frames to select them
15. Activate the layer below, Promoted Selection 1.
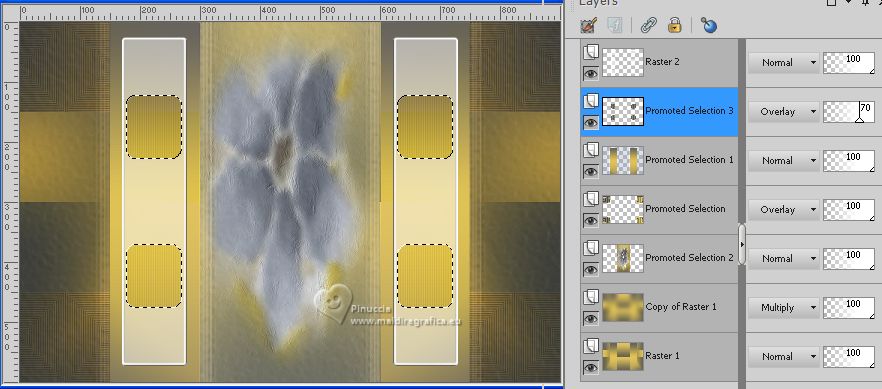
Selections>Promote Selection to Layer.
Effects>Texture Effects>Blinds, same settings.

Change the Blend Mode of this layer to Overlay and reduce the opacity to 70%.
Selections>Select None.
16. Activate your top layer, Raster 2.
Open the tube Narah_Deco2_Alone.pspimage 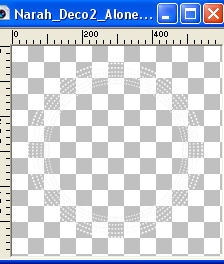
Edit>Copy.
Go back to your work and go to Edit>Paste as new layer.
Selections>Load/Save Selection>Load Selection from Alpha Channel.
Open the selections menu and load the selection Alone_Sel4_Narah
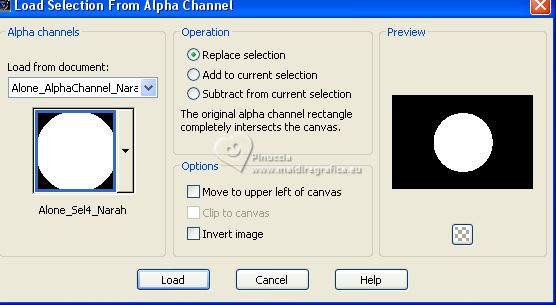
Layers>New Raster Layer.
Flood Fill  the selection with your Gradient. the selection with your Gradient.
Adjust>Blur>Gaussian Blur - radius 30.

Open the tube Narah_Misted_Alone.pspimage 
Edit>Copy.
Go back to your work and go to Edit>Paste into selection.
Keep selected.
Layers>Arrange>Move Down.
Activate your top layer, Raster 3.
Layers>Merge>Merge Down.
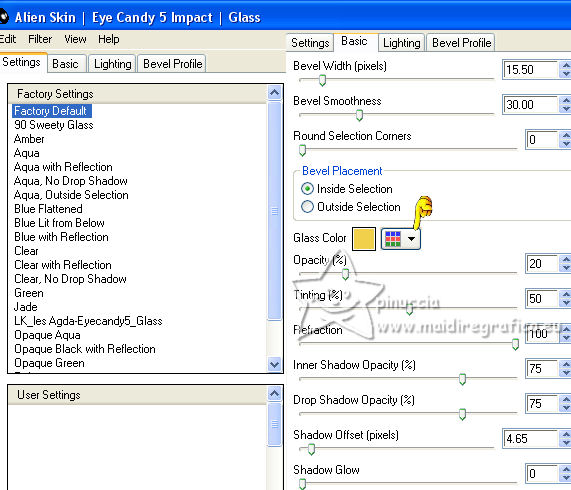
17. Effects>Plugins>Alien Skin Eye Candy 5 Impact - Glass
Factory Default and under Basic set your foreground color.
Selections>Select None.
Image>Resize, to 80%, resize all layers not checked.
Adjust>Sharpness>Sharpen.
18. Effects>Image Effects>Seamless Tiling.

Effects>3D Effects>Drop Shadow, color 3.
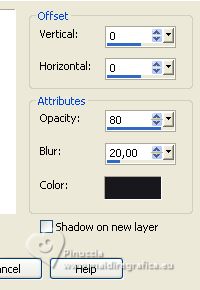
19. Image>Add borders, 1 pixel, symmetric, colore 3 #18191d  . .
Sélections>Sélectionner tout.
Edit>Copy.
Image>Add borders, 15 pixels, symmetric, foreground color  . .
Selections>Invert.
Edit>Paste into Selection.
Adjust>Blur>Gaussian Blur - radius 20.

Selections>Select None.
Image>Add borders, 1 pixel, symmetric, colore 3 #18191d  . .
Selections>Select All.
Image>Add borders, 40 pixels, symmetric, color white.
Selections>Invert.
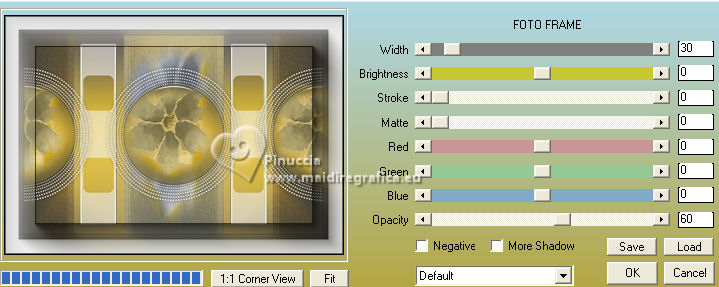
20. Effects>Plugins>AAA Frames - Foto Frame.
Selections>Select None.
21. Open the tube 3934-woman-LBTUBES.pspimage 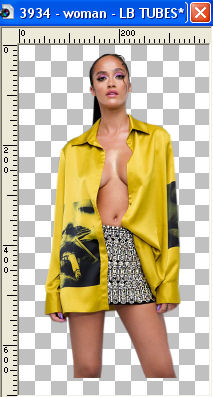
Edit>Copy.
Go back to your work and go to Edit>Paste as new layer.
K key to activate your Pick Tool 
and set Position X: 154,00 and Position Y: 71,00.

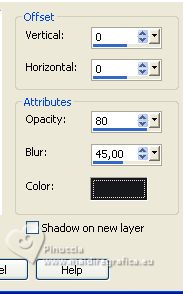
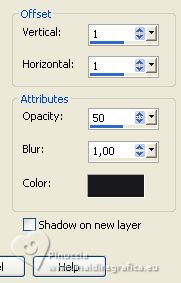
22. Effects>3D Effects>Drop Shadow, colore 3 #18191d  . .
23. Open WordArt Narah_WordArt_Alone.pspimage 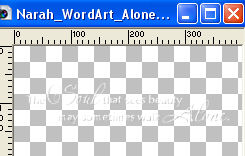
Edit>Copy.
Go back to your work and go to Edit>Paste as new layer.
Set Position X: 553,00 and Position Y: 577,00.

M key to deselect the Tool.
Effects>3D Effects>Drop shadow, color 3 or color black.
24. Image>Add borders, 1 pixel, symmetric, colore 3 #18191d  . .
If you want: Image>Resize, 1000 pixels width, resize all layers not checked.
25. Sign your work on a new layer.
I don't ask to put watermark on the versions made by my translations.
But if you decide to use the watermark supplied by the author,
I would appreciate that my work as translator was also respected.
26. Layers>Merge>Merge All and save as jpg.
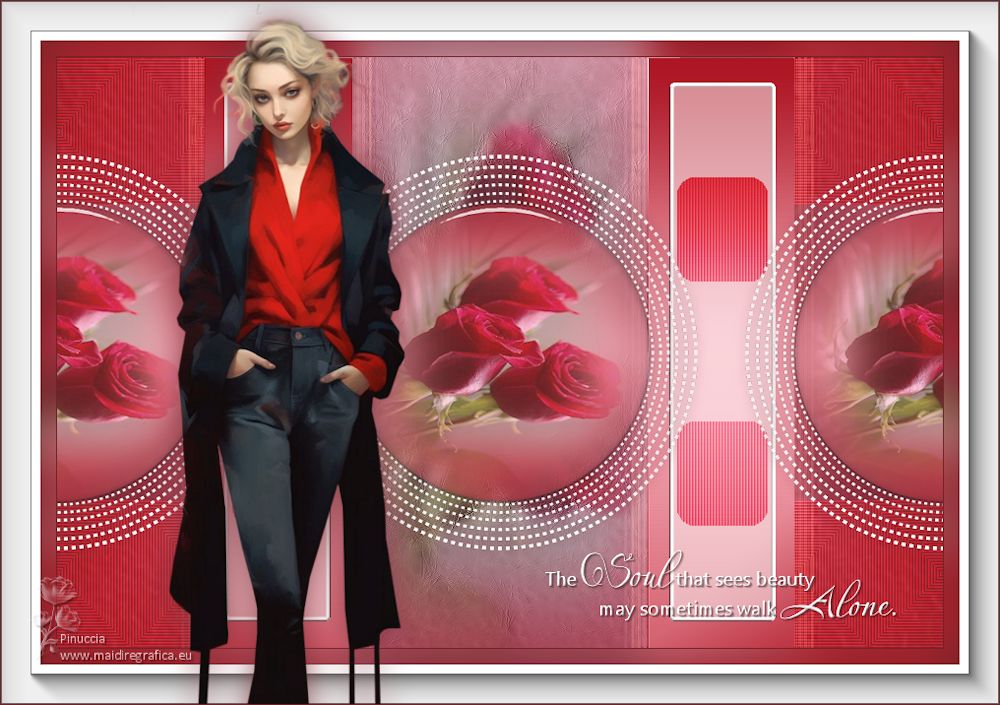
For the tube of this version thanks Lana
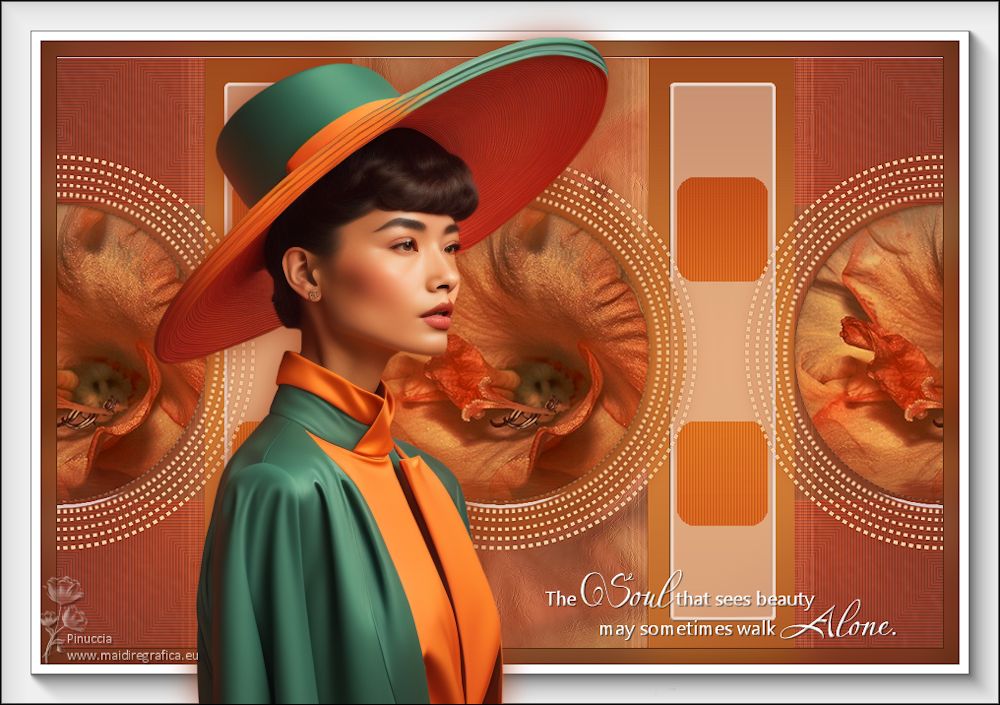
For the tube of this version thanks Linda M

If you have problems or doubts, or you find a not worked link, or only for tell me that you enjoyed this tutorial, write to me.
1 August 2018

|

