|
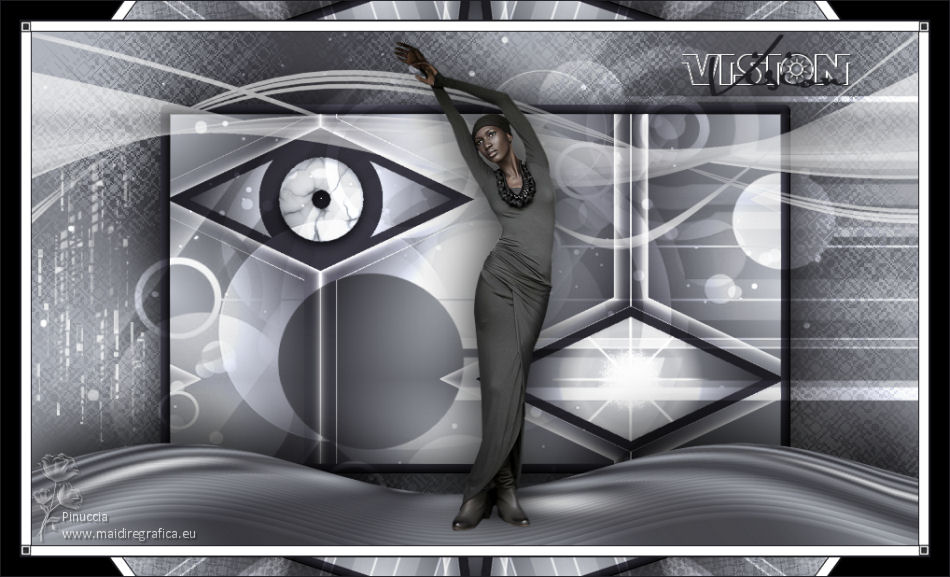
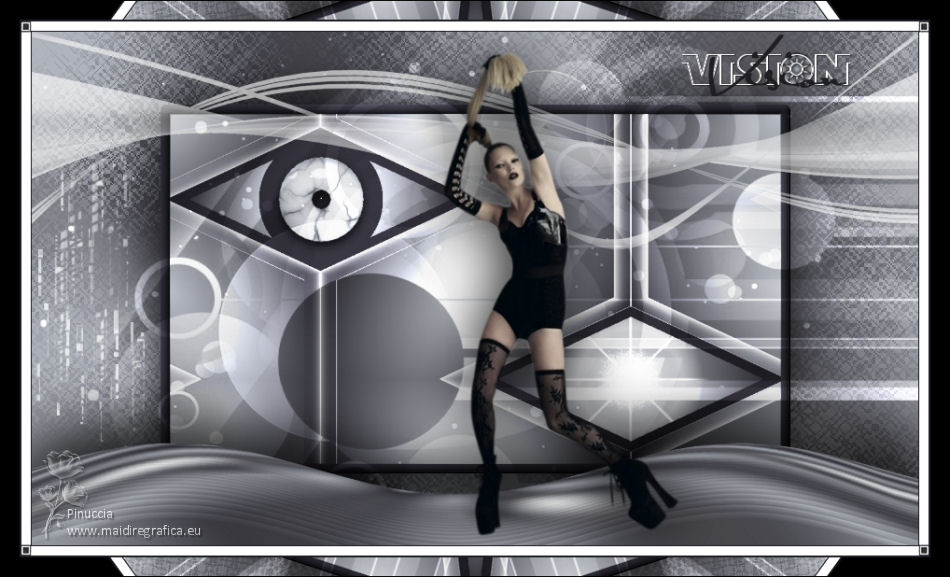
VISION


Thanks Irene for the invitation to translate your tutorials

This tutorial was written with PSPX8 and translated with PSPX7 and PSPX3, but it can also be made using other versions of PSP.
Since version PSP X4, Image>Mirror was replaced with Image>Flip Horizontal,
and Image>Flip with Image>Flip Vertical, there are some variables.
In versions X5 and X6, the functions have been improved by making available the Objects menu.
In the latest version X7 command Image>Mirror and Image>Flip returned, but with new differences.
See my schedule here
 italian translation here italian translation here
 Your version here Your version here

For this tutorial, you will need:

Thanks for the tube Silvie.
Landscape: pixabay.com.
kisspng (free)
The rest of the material is by Moi-Même.
(The links of material creators here).

consult, if necessary, my filter section here
Filters Unlimited 2.0 here
Herf - Fresnel Alpha (da importare in Unlimited) here
PSPforum2 - Jeannette's weaves here
Mura's Meister - Perspective Tiling here
Andromeda - Star here
AAA Frames - Foto Frame here
Alien Skin Eye Candy 5 Impact - Glass here
Alien Skin Eye Candy 5 Texture - Marble here

You can change Blend Modes according to your colors.
In the newest versions of PSP, you don't find the foreground/background gradient (Corel_06_029).
You can use the gradients of the older versions.
The Gradient of CorelX here

Open the mask in PSP and minimize it with the rest of the material.
If you have problems with alpha channel,
open a new transparent image 950 x 550 pixels,
and use the selections from disk.
1. Set your foreground color to light color #bfc3cc,
and your background color to dark color #1e1d23.
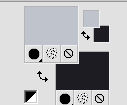
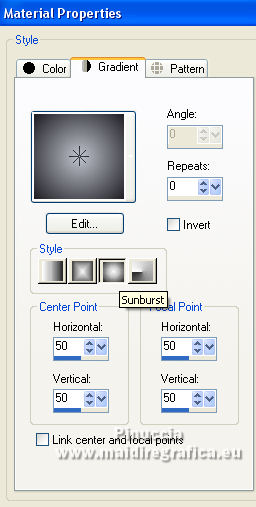
Set your foreground color to a Foreground/Background Gradient, style Sunburst.
2. Open canal alpha Vision
This image, that will be the basis of your work, is not empty,
but contains the selections saved to alpha channel.
Flood Fill  the transparent image with your background color. the transparent image with your background color.
3. Layers>New Raster Layer.
Flood Fill  the layer with your Gradient. the layer with your Gradient.
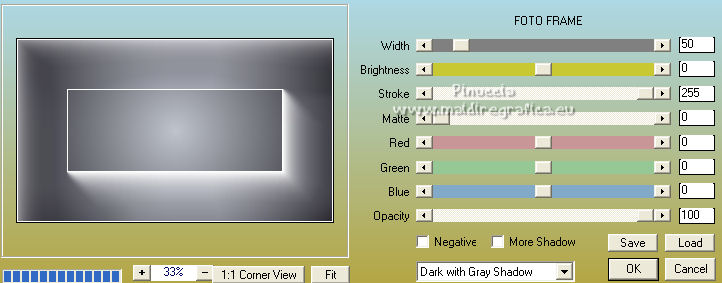
Effects>Plugins>AAA Frames - Foto Frame.
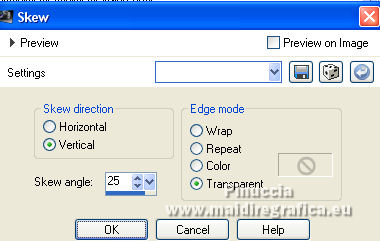
Effects>Geometric Effects>Skew.
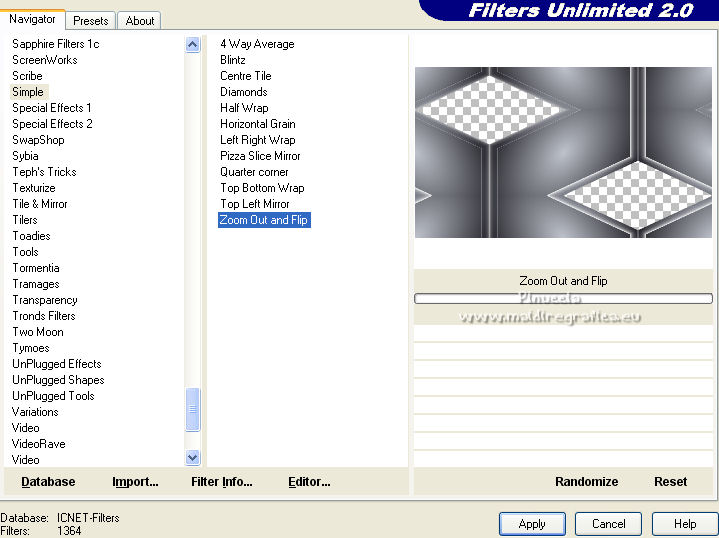
Effects>Plugins>Filters Unlimited 2.0 - Simple - Zoom Out and Flip.
4. Activate the layer below.
Layers>New Raster Layer.
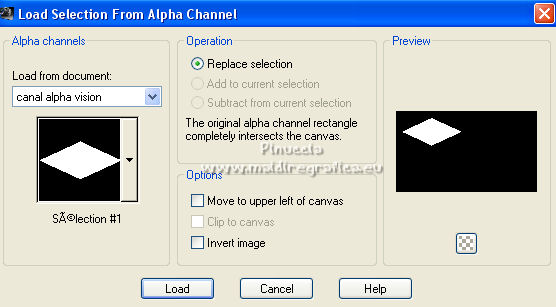
Selections>Load/Save Selection>Load Selection from Alpha Channel.
The selection sélection 1 is immediately available. You just have to click Load.
Flood Fill  the layer with your Gradient. the layer with your Gradient.
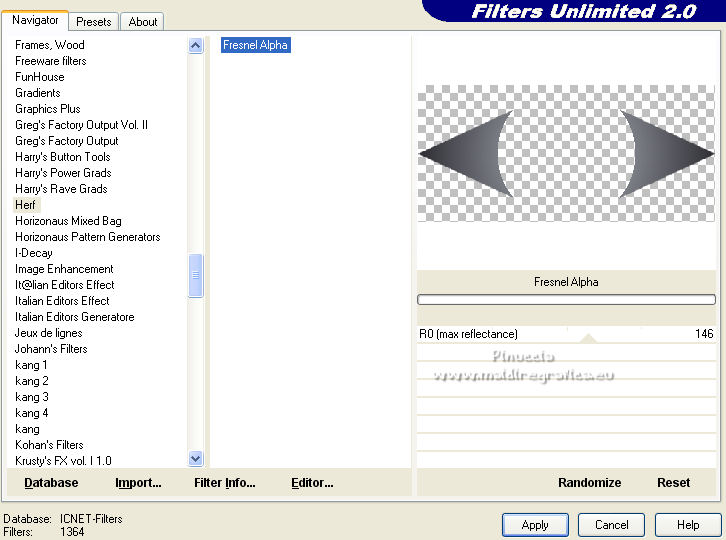
Effects>Plugins>Filters Unlimited 2.0 - Herf - Fresnel Alpha.
Selections>Select None.
5. Activate the layer below.
Layers>New Raster Layer.
Selections>Load/Save Selection>Load Selection from Alpha Channel.
Open the selection menu and load the selection #2
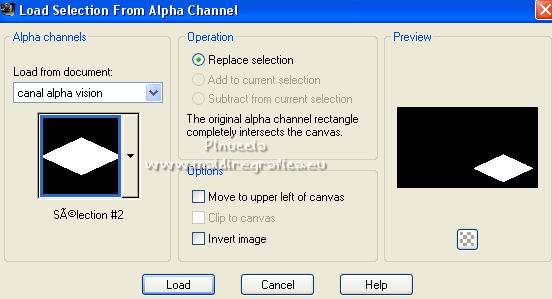
Flood Fill  the selection with your Gradient. the selection with your Gradient.
Effects>Plugins>Andromeda - Star
click on Preview to check that the image is well centered.
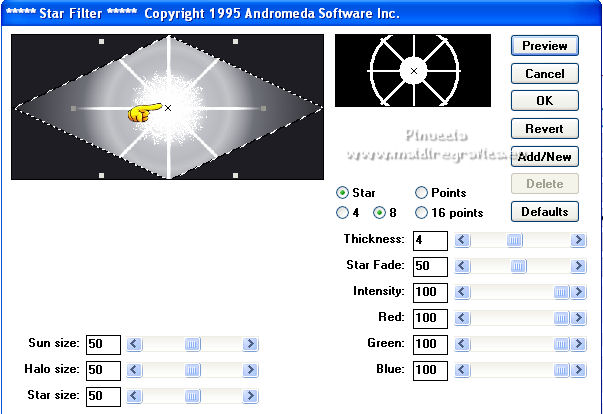
Selections>Select None.
6. (if you fail to do the next step, you find the result in the material,
folder tubes et décos 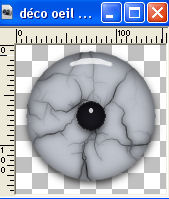
Edit>Copy.
Go back to your work and go to Edit>Paste as new layer.
K key to activate your Pick Tool 
set Position X: 164,00 and Position Y: 67,00)

Layers>New Raster Layer.
Selections>Load/Save Selection>Load Selection from Alpha Channel.
Open the selection menu and load the selection #3
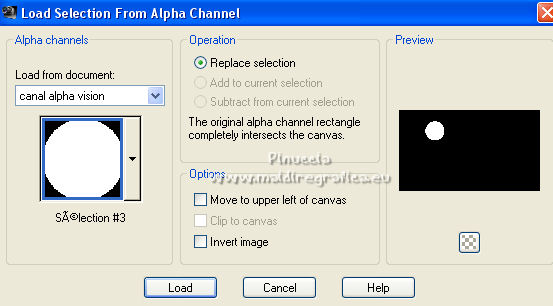
Flood Fill  the selection with your Gradient. the selection with your Gradient.
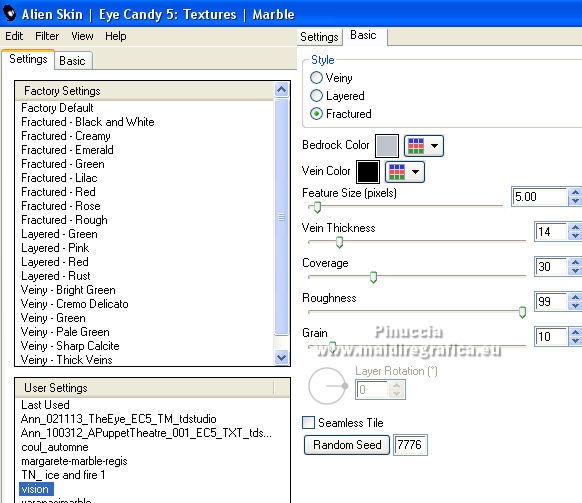
Effects>Plugins>Alien Skin Eye Candy 5 Textures - Marble.
Select the preset vision e ok.
On Basic, if necessary: Bedrock color: foreground color; Vein color: black.
Effects>Plugins>Alien Skin Eye Candy 5 Impact - Glass.
Select the preset Clear.

7. Layers>New Raster Layer.
Selections>Load/Save Selection>Load Selection from Alpha Channel.
Open the selection menu and load the selection #4
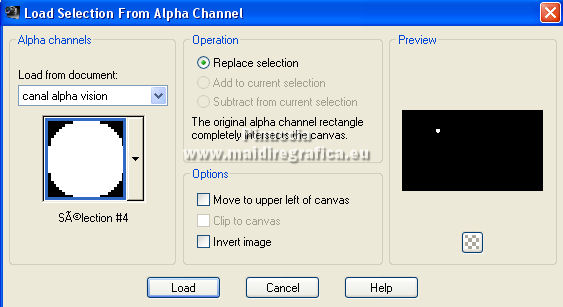
Flood Fill  the selection with your background color. the selection with your background color.
Effects>Plugins>Alien Skin Eye Candy 5 Impact - Glass, same settings.
Selections>Select None.
8. Layers>Merge>Merge visible.
Layers>Duplicate.
Image>Resize, to 70%, resize all layers not checked.
Selections>Select All.
Selections>Float.
Selections>Defloat.
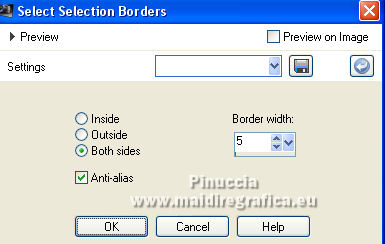
Selections>Modify>Select Selection Borders.
Layers>New Raster Layer.
Flood Fill  the layer with your background color. the layer with your background color.
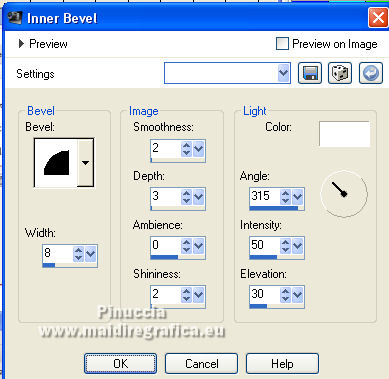
Effects>3D Effects>Inner Bevel.
Selections>Select None.
Layers>Merge>Merge Down.
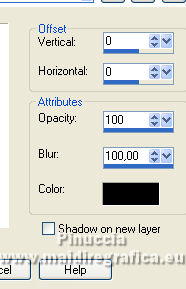
Effects>3D Effects>Drop Shadow, color black.
9. Activate your bottom layer.
Adjust>Blur>Gaussian Blur - radius 25.

10. Layers>Duplicate.
Layers>Arrange>Bring to Top.
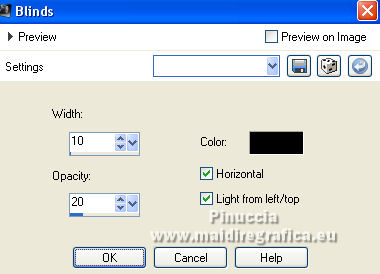
Effects>Texture Effects>Blinds - color black.
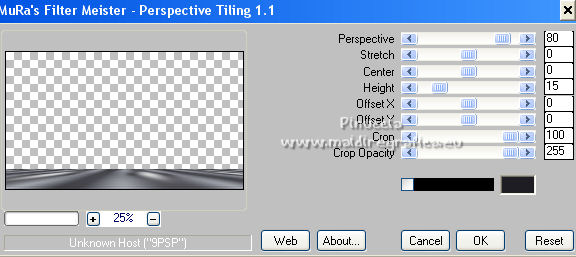
Effects>Plugins>Mura's Meister - Perspective Tiling.
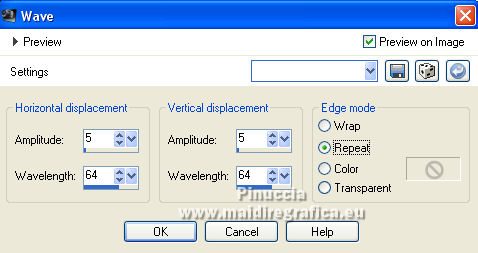
Effects>Distortion Effects>Wave.
Effects>3D Effects>Drop Shadow, same settings.

Edit>Repeat Drop Shadow.
11. Activate again your background layer, Merged.
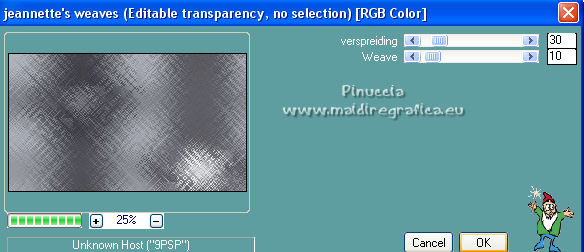
Effects>Plugins>Pspforum2 - Jeannette's weaves.
12. Activate the layer above.
Set your foreground color to white.
Layers>New Raster Layer.
Flood Fill  the layer with color white. the layer with color white.
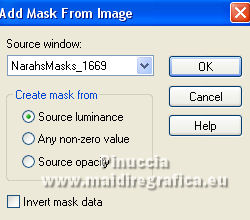
Layers>New Mask layer>From image
Open the menu under the source window and you'll see all the files open.
Select the mask NarahsMasks_1669
Adjust>Sharpness>Sharpen.
Layers>Merge>Merge Group.
Change the Blend Mode of this layer to Overlay.
13. Activate your top layer.
Open the woman tube calguisZenURO10520 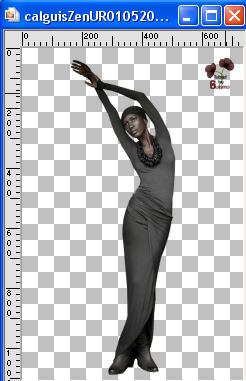
Erase the watermark and go to Edit>Copy.
Go back to your work and go to Edit>Paste as new layer.
Image>Resize, to 50%, resize all layers not checked.
Move  the tube as in my example. the tube as in my example.
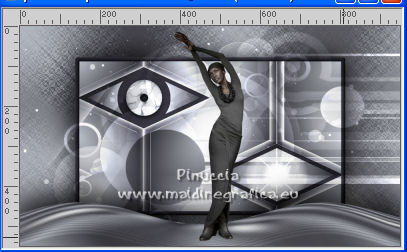
Adjust>Sharpness>Sharpen.
Effects>3D Effects>Drop Shadow, same settings.
14. Activate the layer below.
Open the png tube déco 
Edit>Copy.
Go back to your work and go to Edit>Paste as new layer.
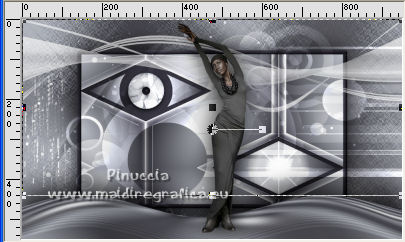
Move  the tube up: the tube up:
Objects>Align>Top
Outil Sélecteur 

15. Activate your top layer.
Open the text titreVision 
Erase the watermark and go to Edit>Copy.
Go back to your work and go to Edit>Paste as new layer.
K key to activate your Pick Tool 
Set Position X: 697,00 and Position Y: 3,00.

M key to deselect the Tool.
16. Image>Add borders, 1 pixel, symmetric, background color.
Image>Add borders, 10 pixels, symmetric, color white.
Image>Add borders, 2 pixels, symmetric, background color.
Selections>Select All.
17. Image>Add borders, 20 pixels, symmetric, color white.
Selections>Invert.
Effects>Reflection Effects>Kaleidoscope.
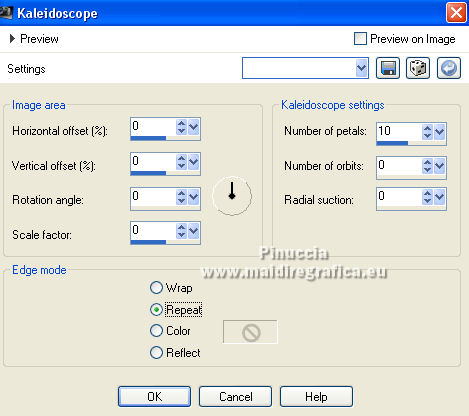
Selections>Select None.
18. Open déco coins 
Edit>Copy.
Go back to your work and go to Edit>Paste as new layer.
Don't move it.
19. Sign your work.
Add, if you want, the author and translator's watermarks.
20. Image>Add borders, 1 pixel, symmetric, dark color.
Image>Resize, 950 pixels width, resize all layers checked.
Save as jpg.
21. Adjust>Sharpness>Unsharp Mask - Soft.

Save as jpg.
For the tube of this version thanks Beatriz

If you have problems or doubts, or you find a not worked link,
or only for tell me that you enjoyed this tutorial, write to me.
13 March 2023

|

