|
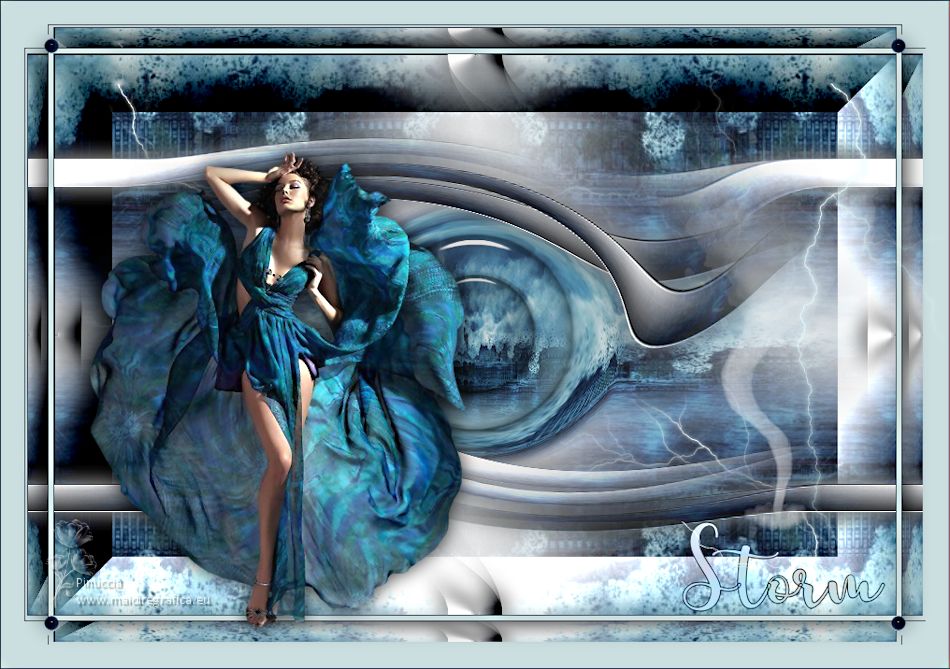
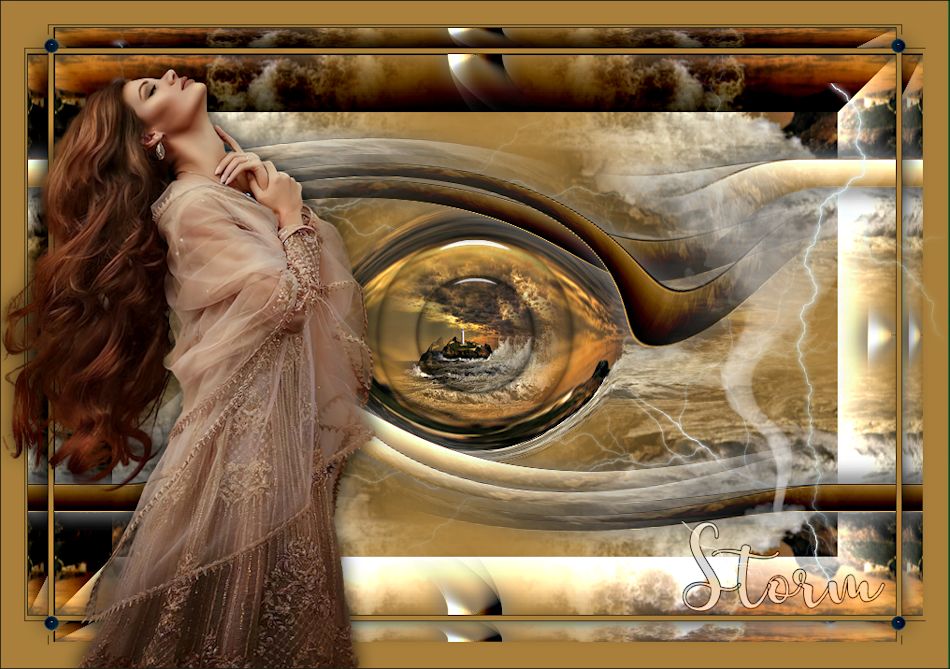
STORM


Thanks Irene for the invitation to translate your tutorials

This tutorial was written with PSPX8 and translated with PSPX7 and PSPX3, but it can also be made using other versions of PSP.
Since version PSP X4, Image>Mirror was replaced with Image>Flip Horizontal,
and Image>Flip with Image>Flip Vertical, there are some variables.
In versions X5 and X6, the functions have been improved by making available the Objects menu.
In the latest version X7 command Image>Mirror and Image>Flip returned, but with new differences.
See my schedule here
 italian translation here italian translation here
 your versions here your versions here
For this tutorial, you will need:
Material here
Thanks for the tube Tineke.
The rest of the material is by Moi-Même.
(The links of material creators here).
consult, if necessary, my filter section here
Filters Unlimited 2.0 here
&<Bkg Kaleidoscope> - Kaleidoscope Persian (to import in Unlimited) here
Alf's border FX - Mirror Bevel qui
Filters Alf's Border FX can be used alone or imported into Filters Unlimited.
(How do, you see here)
If a plugin supplied appears with this icon  it must necessarily be imported into Unlimited it must necessarily be imported into Unlimited

You can change Blend Modes according to your colors.
Copy the brush in the Brushes Folder.
The brush provided is orphaned and did not work in my PSP versions.
If you also have problems with the brush,
in the material I added another version of the brush.
Attention, the brush is made up of two files which must not be separated.
See my notes about the brushes here

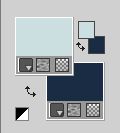
Set your foreground color to #cbdfe0,
and your background color to #1c2c45.
1. Open Canal Alpha Storm.
Window>Duplicate or, on the keyboard, shift+D to make a copy.

Close the original.
The copy, that will be the basis of your work, is not empty,
but contains the selections saved to alpha channel.
Flood Fill  the transparent image with your foreground color. the transparent image with your foreground color.
Selections>Select All.
Layers>New Raster Layer.
Open the misted storm and go to Edit>Copy.
Go back to your work and go to Edit>Paste into Selection.
Selections>Select None.
Layers>Duplicate.
Layers>Merge>Merge Down - 2 times.
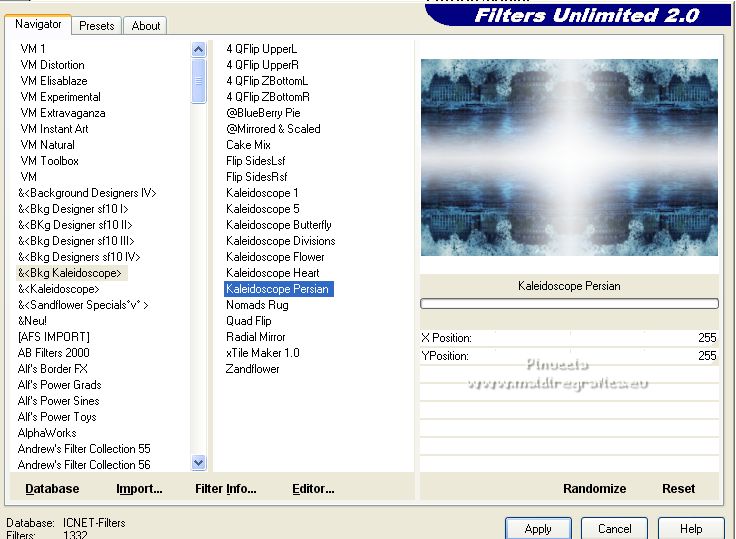
Effects>Plugins>Filters Unlimited 2.0 - &<Bkg Kaleidoscope> - Kaleidoscope Persian, default settings.
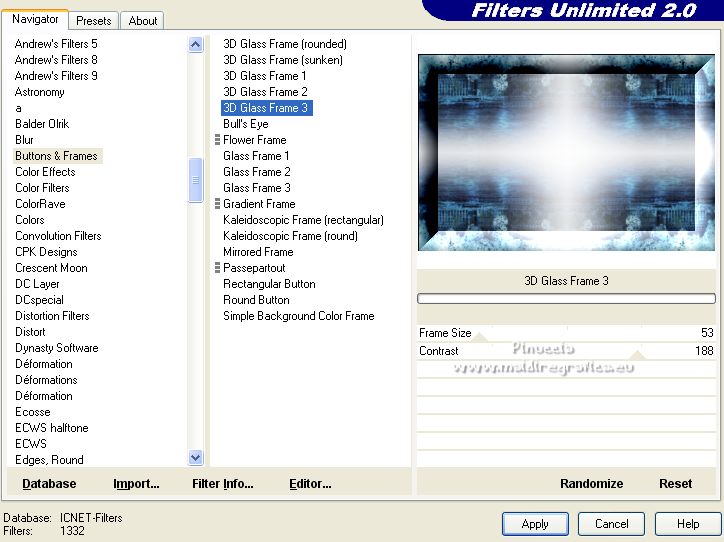
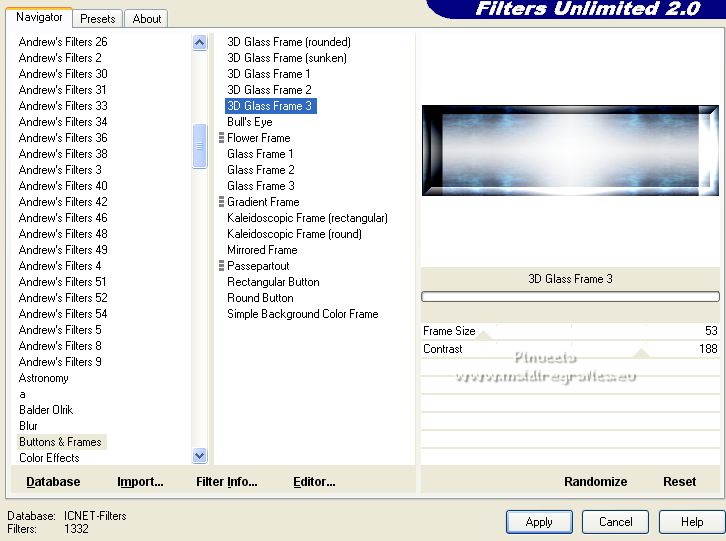
Effects>Plugins>Filters Unlimited 2.0 - Buttons & Frames - 3D Glass Frame 3.
2. Selections>Load/Save Selection>Load Selection from Alpha Channel.
The selection #1 is immediately available. You just have to click Load.
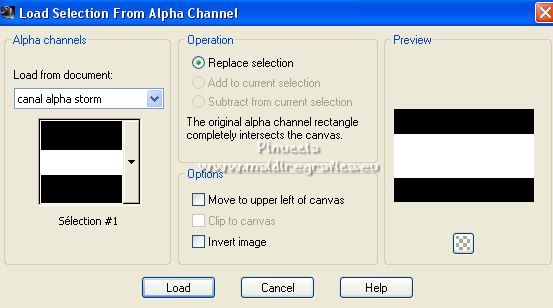
Selections>Promote Selection to layer.
Effectsi>Plugins>Filters Unlimited 2.0 - Buttons & Frames - Glass Frame 3, same settings.
3. (the next selection will replace the existing one,
if not for you, deselect before continuing).
Selections>Load/Save Selection>Load Selection from Alpha Channel.
Open the selections menu and load the selection #2.
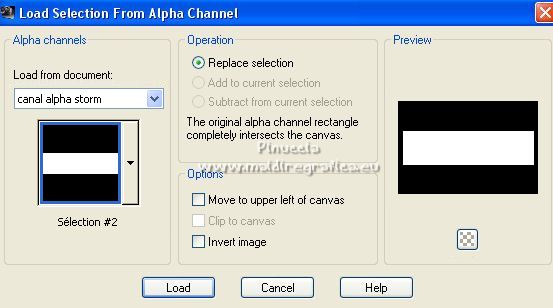
As I wrote before, the new selection has replaced the old one.
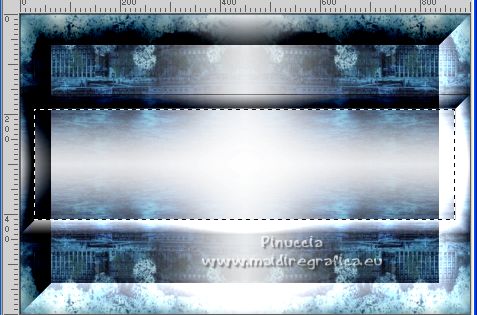
Press CANC on the keyboard 
Selections>Select None.
Effects>Image Effects>Seamless Tiling, default settings.

Effects>Distortion Effects>Twirl.
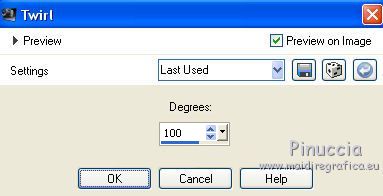
Adjust>Sharpness>Sharpen.
Effects>3D Effects>Drop Shadow, color white.
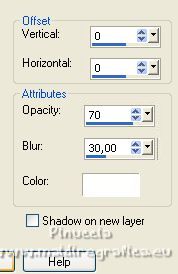
Again Effects>3D Effects>Drop Shadow, color black.

4. Layers>Duplicate.
Effects>Distortion Effects>Twirl, same settings.
Layers>Merge>Merge Down.
5. Layers>New Raster Layer.
Selections>Load/Save Selection>Load Selection from Alpha Channel.
Open the selections menu and load again the selection #2.

Edit>Paste into Selection (the landscape misted is still in memory).
Layers>Arrange>Move Down.
Selections>Select None.
Adjust>Sharpness>Sharpen.
Effects>Distortion Effects>Warp.
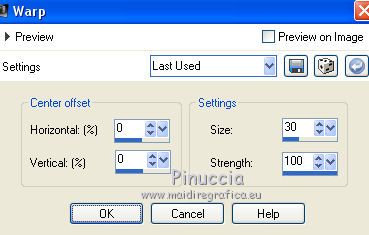
6. Layers>New Raster Layer.
Selections>Load/Save Selection>Load Selection from Alpha Channel.
Open the selections menu and load the selection #3.
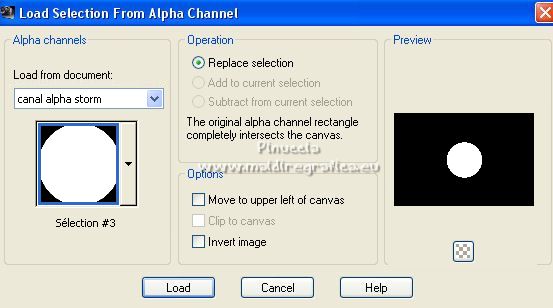
Edit>Paste into Selection (the misted is always in memory).
Adjust>Sharpness>Sharpen.
Open déco glass, and go to Edit>Copy.
Go back to your work and go to Edit>Paste into Selection.
Selections>Select None.
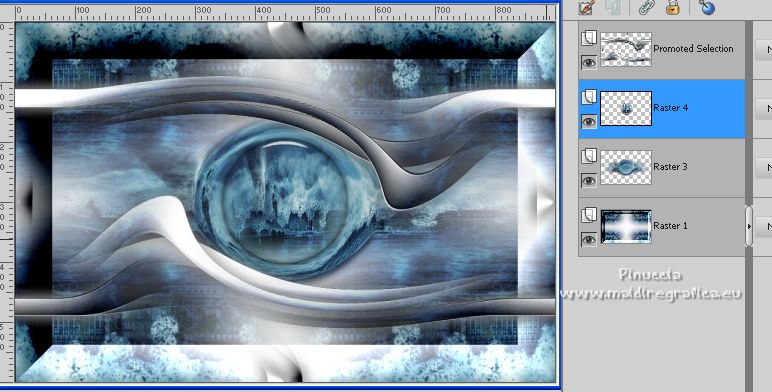
7. Layers>Duplicate.
Image>Resize, to 60%, resize all layers not checked.
Effects>3D Effects>Drop Shadow, color black.
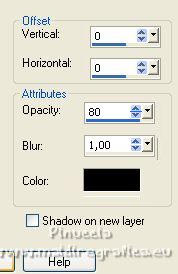
8. Activate your background layer, Raster 1.
Open déco Lightning, and go to Edit>Copy.
Go back to your work and go to Edit>Paste as new layer.
9. Activate your top layer (Promoted Selection).
Layers>New Raster layer.
Set your foreground color to white.
Activate your Brush Tool 
look for and select the brush tornade, size 400 pixels.

Apply the brush clicking with your left mouse button,
to use your white foreground color.
K key on the keyboard to activate your Pick Tool 
and set Position X: 674,00 and Position Y: 112,00.
M key to deselect the Tool.
10. Set again your foreground color to the initial color #cbdfe0.

Image>Add borders, 1 pixel, symmetric, background color.
Image>Add borders, 5 pixels, symmetric, foreground color.
Image>Add borders, 1 pixel, symmetric, background color.
Selections>Select All.
Image>Add borders, 50 pixels, symmetric, foreground color.
Selections>Invert.
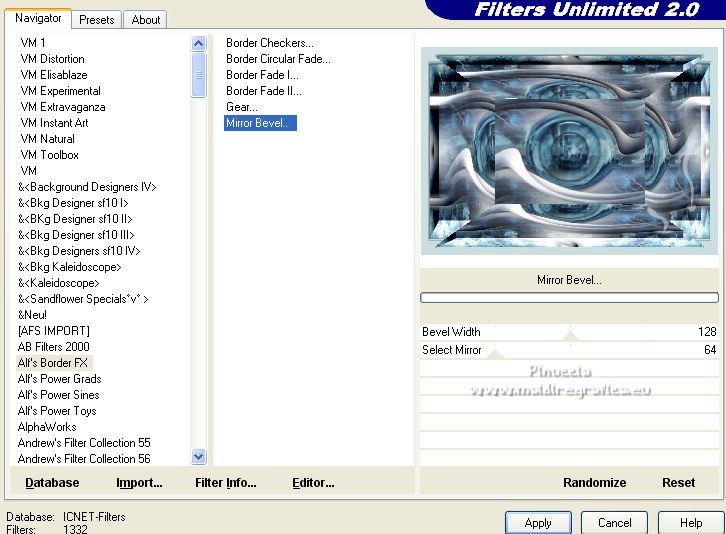
Effects>Plugins>Filters Unlimited 2.0 - Alf's border FX - Mirror Bevel, default settings.
Selections>Invert.
Effects>3D Effects>Drop Shadow, color black.

Selections>Select None.
11. Open the woman tube and go to Edit>Copy.
Go back to your work and go to Edit>Paste as new layer.
Move  the tube to the left side, or to your liking. the tube to the left side, or to your liking.
Effects>3D Effects>Drop Shadow, color black.

(or at your choice)
12. Open the text and go to Edit>Copy.
Go back to your work and go to Edit>Paste as new layer.
K key to activate your Pick Tool 
and set Position X: 728,00 and Position Y: 557,00.

Change the Blend Mode of this layer to Luminance (legacy).
13. Open déco lightening2_MMM and go to Edit>Copy.
Go back to your work and go to Edit>Paste as new layer.
Move  the tube to the right side. the tube to the right side.
(Objects>Align>Right and Vert. Centre.
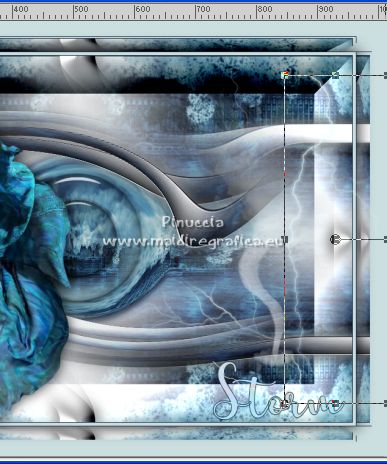
14. Open déco 2, and go to Edit>Copy.
Go back to your work and go to Edit>Paste as new layer.
15. Sign your work on a new layer.
Add, if you want, the author and translator's watermarks.
16. Image>Add borders, 1 pixel, symmetric, background color.
Image>Resize, 950 pixels width, resize all layers checked.
Adjust>Sharpness>Unsharp mask - Soft

Save as jpg.
For the tubes of this version thanks Nikita

If you have problems or doubts, or you find a not worked link,
or only for tell me that you enjoyed this tutorial, write to me.
5 September 2022

|

