|
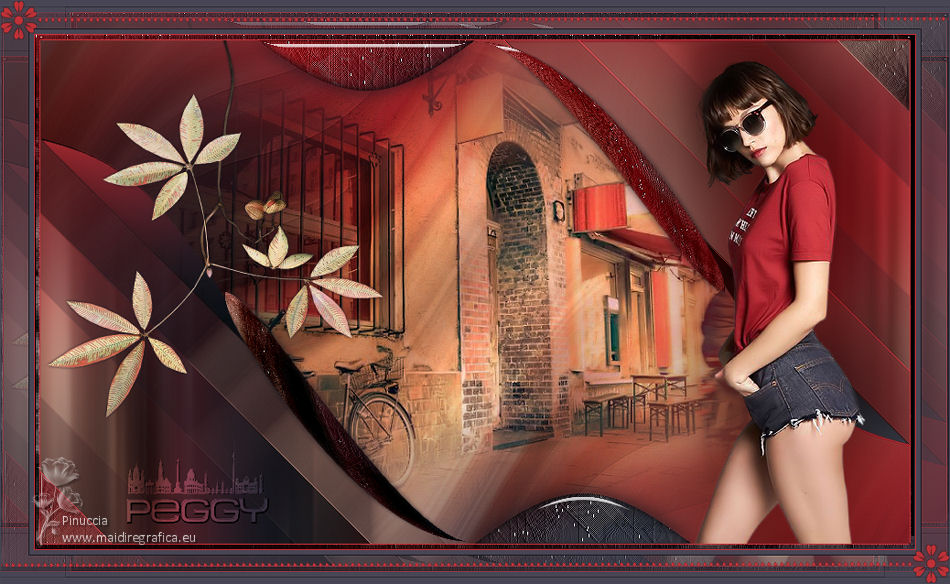
PEGGY


Thanks Irene for the invitation to translate your tutorials

This tutorial was written with PSPX8 and translated with PSPX7 and PSPX3, but it can also be made using other versions of PSP.
Since version PSP X4, Image>Mirror was replaced with Image>Flip Horizontal,
and Image>Flip with Image>Flip Vertical, there are some variables.
In versions X5 and X6, the functions have been improved by making available the Objects menu.
In the latest version X7 command Image>Mirror and Image>Flip returned, but with new differences.
See my schedule here
 italian translation here italian translation here
 your versions here your versions here
For this tutorial, you will need:

Thanks for the tubes Beatriz and Nicole.
The rest of the material is by Moi-Même.
(The links of material creators here).

consult, if necessary, my filter section here
Filters Unlimited 2.0 here
Mehdi - Wavy Lab 1.1 qui
&<Bkg Designer sf10I> - Cruncher (to import in Unlimited) qui
Alien Skin Eye Candy 5 Impact - Glass qui

You can change Blend Modes according to your colors.

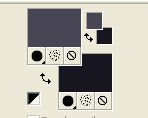
Set your foreground color to #484654,
and your background color to #18171f.
If you have problems with alpha channel,
open a new transparent image 950 x 550 pixels,
and use the selections from disk.
1. Open canal alpha peggy
This image, that will be the basis of your work, is not empty,
but contains the selections saved to alpha channel.
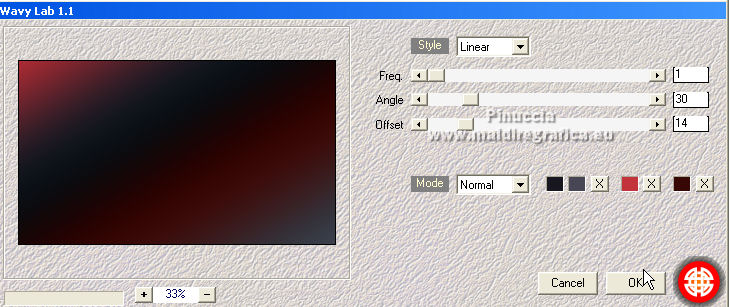
Effects>Plugins>Mehdi - Wavy Lab 1.1.
This filter creates gradients with the colors of your Materials palette.
The first is your background color, the second is your foreground color.
Change the last two colors created by the filtre:
the third color with #c2333b and the forth color with #370806.
Selections>Select All.
Open the woman tube 3789-woman-LB TUBES and go to Edit>Copy.
Minimize the tube.
Go back to your work and go to Edit>Paste into Selection.
Selections>Select None.
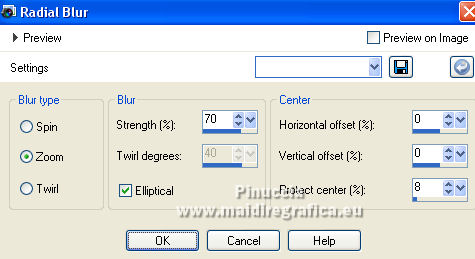
Adjust>Blur>Radial Blur.
Effects>Distortion Effects>Polar Coordinates.

2. Layers>Duplicate.
Image>Free Rotate - 45 degrees to right.

Effects>Image Effects>Seamless Tiling, default settings.

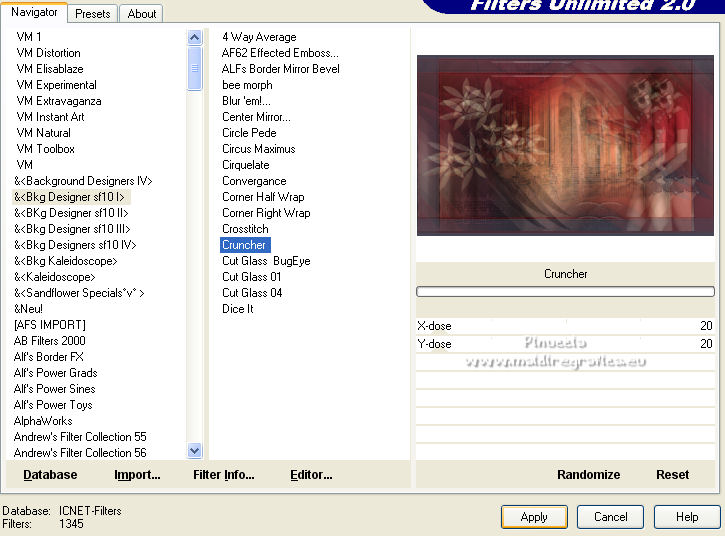
Effects>Plugins>Filters Unlimited 2.0 - &,<Bkg Designer sf10I> - Cruncher, default settings.
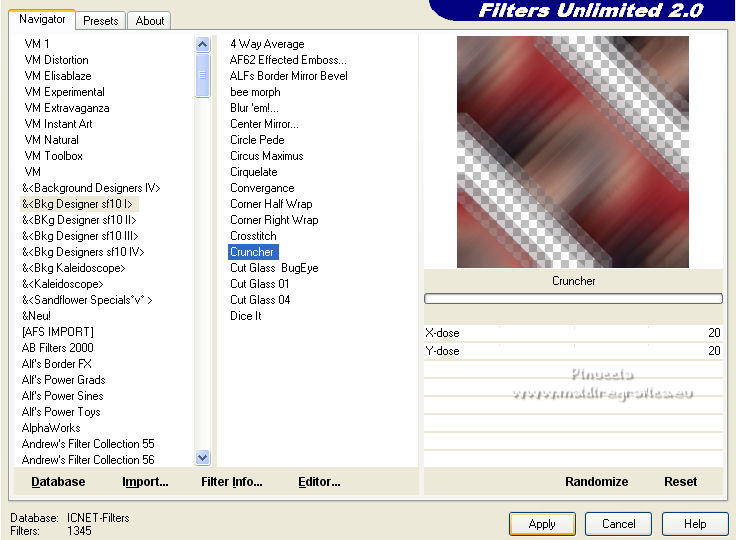
Effects>Edge Effects>Enhance.
3. Selections>Load/Save Selection>Load Selection from Alpha Channel.
The selection #1 is immediately available. You just have to click Load.
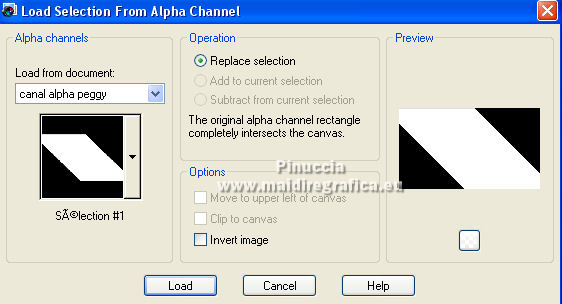
Selections>Promote Selection to Layer.
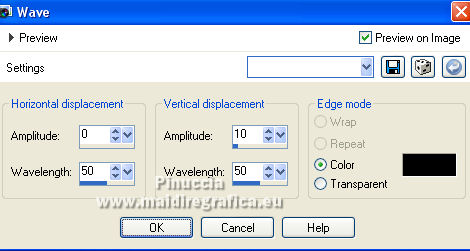
Effects>Distortion Effects>Wave - color black.
4. Selections>Load/Save Selection>Load Selection from Alpha Channel.
Open the Selections menu and load the selection #2.
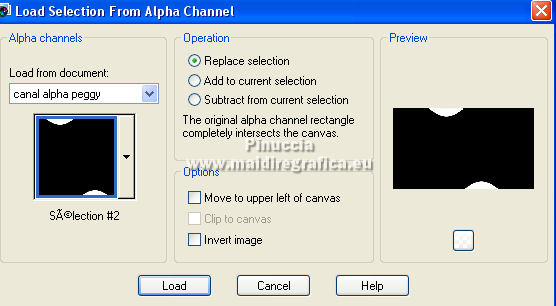
The new selection will replaces the previous one.
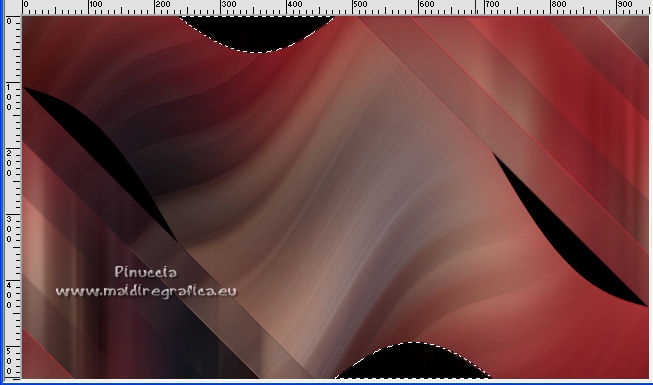
Selections>Promote Selection to Layer.
Effects>Plugins>Mehdi - Wavy Lab 1.1, same settings.
Effects>Texture Effects>Straw Wall.
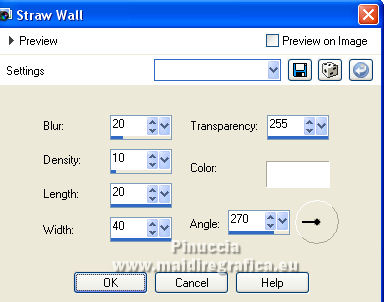
Effects>Plugins>Alien Skin Eye Candy 5 Impact - Glass - color #acacac.
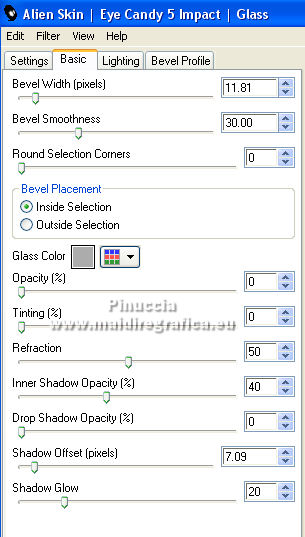
Selections>Select None.
Effects>3D Effects>Drop Shadow, background color.
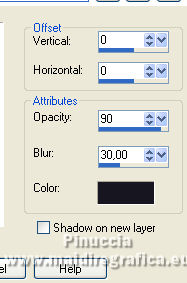
5. Activate the layer below, Promoted Selection.
Selections>Load/Save Selection>Load Selection from Alpha Channel.
Load again the selection #1.

Layers>New Raster Layer.
Open the landscape tube paysage D7 misted MM and go to Edit>Copy.
Go back to your work and go to Edit>Paste into Selection.
Selections>Select None.
Change the Blend Mode of this layer to Overlay.
Adjust>Sharpness>Sharpen.
6. Selections>Load/Save Selection>Load Selection from Alpha Channel.
Open the Selections menu and load the selection #3.
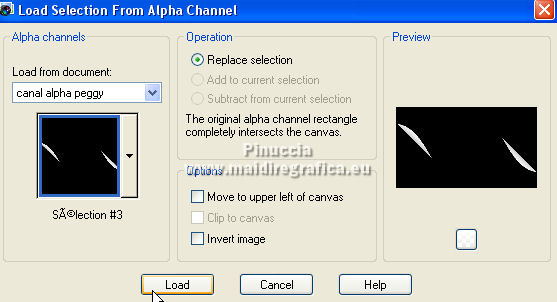
Press CANC on the keyboard 
Keep selected.
7. Activate the layer below, Promoted Selection.
Selections>Promote Selection to Layer.
Effects>Plugins>Mehdi - Wavy Lab 1.1., same settings.
Selections>Select None.
Activate the bottom layer, Raster 1.
Selections>Select All.
Image>Crop the selection.
8. Activate the layer above, Copy of Raster 1.
Selections>Load/Save Selection>Load Selection from Alpha Channel.
Open the Selections menu and load the selection #4.
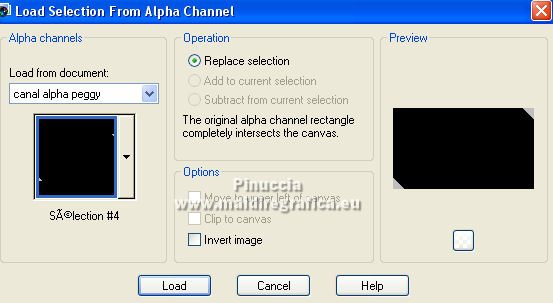
Selections>Promote Selection to Layer.
Layers>Duplicate.
Layers>Merge>Merge Down.
Effects>Texture Effects>Straw Wall, same settings.
9. Activate again your bottom layer, Raster 1.
Selections>Load/Save Selection>Load Selection from Alpha Channel.
Open the Selections menu and load the selection #5.
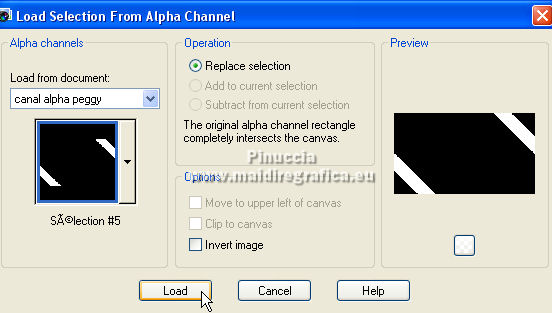
Selections>Promote Selection to Layer.
Layers>Arrange>Bring to Top.
Effects>Texture Effects>Straw Wall, same settings.
Effects>Plugins>Alien Skin Eye Candy 5 Impact - Glass, same settings.
Selections>Select None.
Effects>3D Effects>Drop Shadow, same settings.
Effects>Geometric Effects>Circle.

10. Activate again the woman tube 3789-woman-LB TUBES and go to Edit>Copy.
Go back to your work and go to Edit>Paste as new layer.
Image>Resize, to 80%, resize all layers not checked.
Move  the tube to the right side. the tube to the right side.
Layers>Duplicate.
Activate the layer below of the original.
Adjust>Blur>Gaussian Blur - radius 50.

Change the Blend Mode of this layer to Multiply.
11. Activate your top layer.
Open the tube titre and go to Edit>Copy.
Go back to your work and go to Edit>Paste as new layer.
K key on the keyboard to activate your Pick Tool 
and set Position X: 94,00 and Position Y: 436,00.

M key to deselect the tool.
Change the Blend Mode of this layer to Overlay.
12. Open the tube nicole-deco8-2013 and go to Edit>Copy (the layer to copy is active).
Go back to your work and go to Edit>Paste as new layer.
Image>Resize, to 70%, resize all layers not checked.
Image>Flip.
Move  the tube to the left side, as in my example, or to your liking. the tube to the left side, as in my example, or to your liking.
Effects>3D Effects>Drop Shadow, color black.
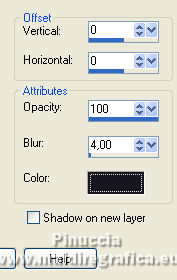
13. Image>Add borders, 1 pixel, symmetric, color #c2333b.
Selections>Select All.
Image>Add borders, 5 pixels, symmetric, color white.
Selections>Invert.
Effects>Plugins>Mehdi - Wavy Lab 1.1., same settings.
Effects>Texture Effects>Straw Wall, same settings.

Effects>Plugins>Alien Skin Eye Candy 5 Impact - Glass, same settings.
Selection>Select None.
14. Image>Add borders, 1 pixel, symmetric, color #c2333b.
Image>Add borders, 5 pixels, symmetric, foreground color.
Image>Add borders, 1 pixel, symmetric, background color.
Selections>Select All.
15. Image>Add borders, 30 pixels, symmetric, foreground color.
Selections>Invert.
Effects>Plugins>Filters Unlimited 2.0 - &<Bkg Designer sf10IT> - Cruncher, con i settaggi standard.
Adjust>Sharpness>Sharpen.
Selections>Select None.
16. Open déco and go to Edit>Copy.
Go back to your work and go to Edit>Paste as new layer.
Colorize according to your colors, for example with your Color Changer Tool 
17. Sign your work on a new layer.
Add the author and translator's watermarks.
18. Image>Add borders, 1 pixel, symmetric, foreground color.
Image>Resize, 950 pixels width, resize all layers checked.
Adjust>Sharpness>Unsharp Mask - Soft (if necessary).

Save as jpg.
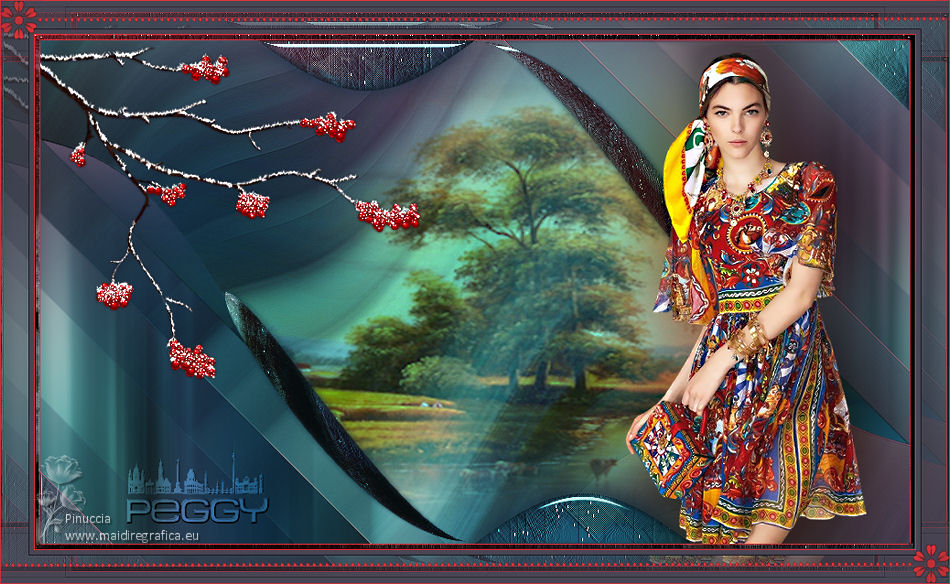
For the tubes of this version thanks Jewel and Cal

If you have problems or doubts, or you find a not worked link,
or only for tell me that you enjoyed this tutorial, write to me.
21 Octobre 2022

|

