|
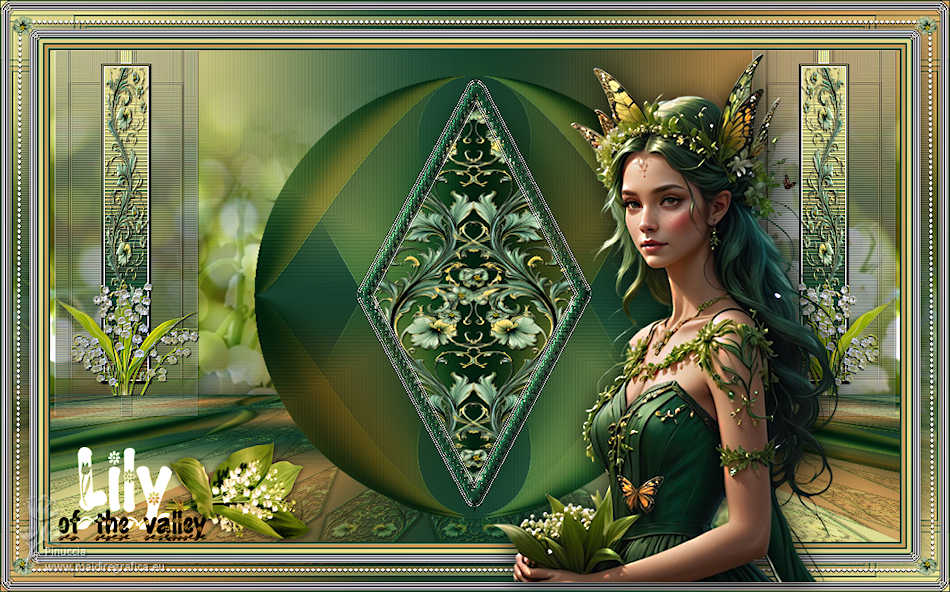
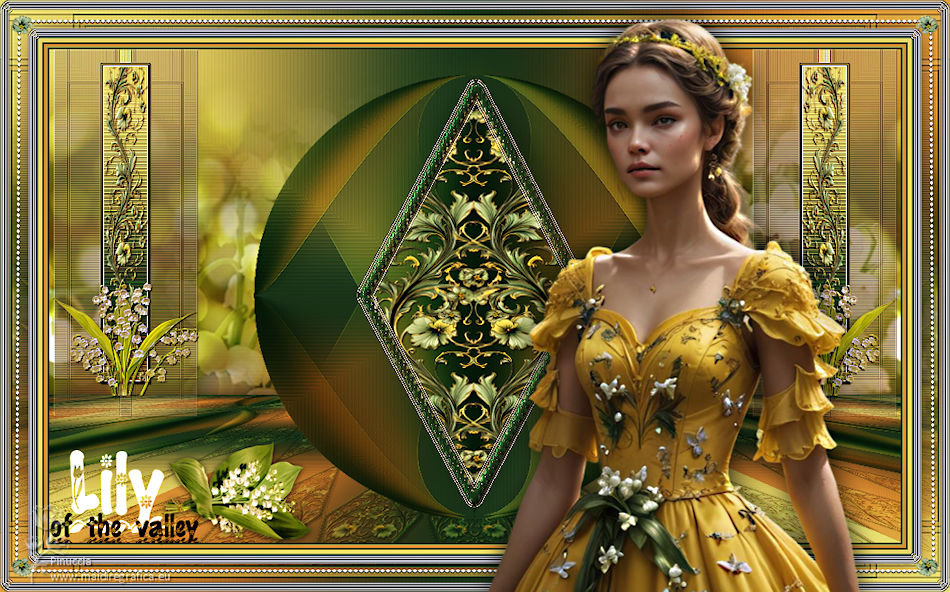
LILY OF THE VALLEY


Thanks Irene for the invitation to translate your tutorials

This tutorial was written with PSPX8 and translated with PSPX9 and PSP2020, but it can also be made using other versions of PSP.
Since version PSP X4, Image>Mirror was replaced with Image>Flip Horizontal,
and Image>Flip with Image>Flip Vertical, there are some variables.
In versions X5 and X6, the functions have been improved by making available the Objects menu.
In the latest version X7 command Image>Mirror and Image>Flip returned, but with new differences.
See my schedule here
 italian translation here italian translation here
 Your versions here Your versions here

For this tutorial, you will need:

The material is by Moi-Méme.
(The links of material creators here).

consult, if necessary, my filter section here
Filters Unlimited 2.0 here
Mehdi - Wavy Lab 1.1. here
&> Bkg Designer sf10I> - Cruncher (to import in Unlimited) here
Mura's Seamless - Mirror Diagonal here
Mura's Meister - Copies here
Mura's Meister - Perspective Tiling here
Alien Skin Eye Candy 5 Impact - Gradient Glow here
AAA Frames - Foto Frame here
FM Tile Tools - Blend Emboss here
Filters Mura's Seamless can be used alone or imported into Filters Unlimited.
(How do, you see here)
If a plugin supplied appears with this icon  it must necessarily be imported into Unlimited it must necessarily be imported into Unlimited

You can change Blend Modes according to your colors.
Copy the preset  in the folder of the plugin Alien Skin Eye Candy 5 Impact>Settings>Gradient Glow. in the folder of the plugin Alien Skin Eye Candy 5 Impact>Settings>Gradient Glow.
One or two clic on the file (it depends by your settings), automatically the preset will be copied in the right folder.
why one or two clic see here

If you have problems with the canal alpha, open a new transparent image 950 x 550 pixels,
and use the selections from disk.
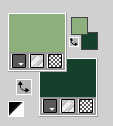
Set your foreground color to #8daf7c,
and your background color to #17412d.
1. Open canal_alpha_Lily of the valley
This image, that will be the basis of your work is not empty,
but contains the selections saved to alpha channel.
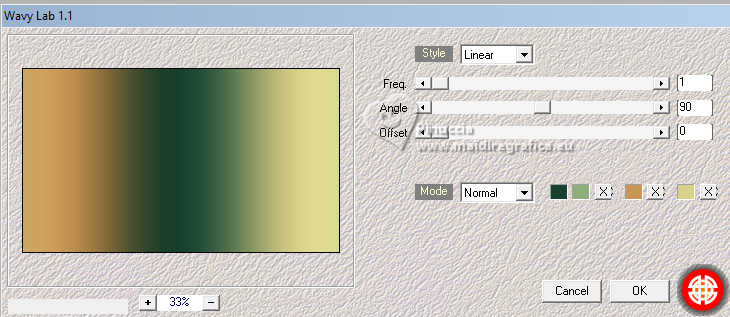
Effects>Plugins>Mehdi - Wavy Lab 1.1.
This filter creates gradients with the colors of your Materials palette.
The first is your background color, the second is your foreground color.
Change the last two colors created by the filtre:
the third color with #c89756 and the fourth color with #dad28a.
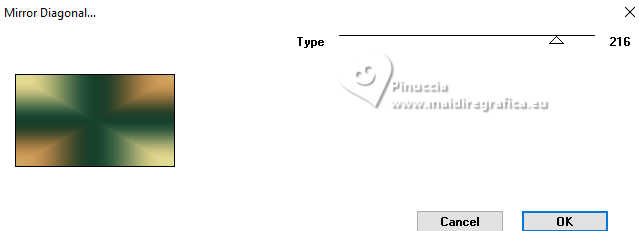
Effetti>Plugins>Mura's Seamless - Mirror Diagonal, default settings.
Effetti>Plugins>Filters Unlimited 2.0 - Lens Effects - Refractor 1
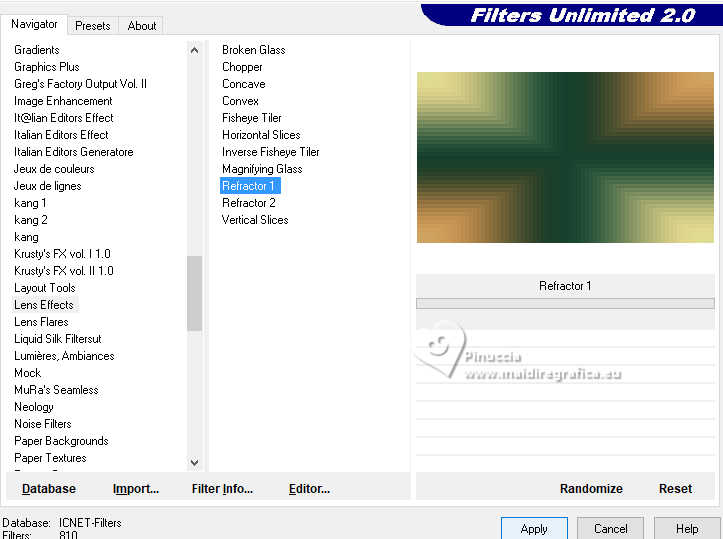
Effects>Edge Effects>Enhance.
2. Layers>Duplicate.
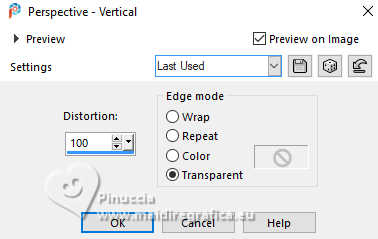
Effects>Geometric Effects>Perspective Vertical.
Effects>Image Effects>Seamless Tiling, default settings.

Adjust>Sharpness>Sharpen More.
Change the Blend Mode of this layer to Soft Light.
3. Layers>Duplicate.
Image>Mirror>Mirror Vertical (Image>Flip).
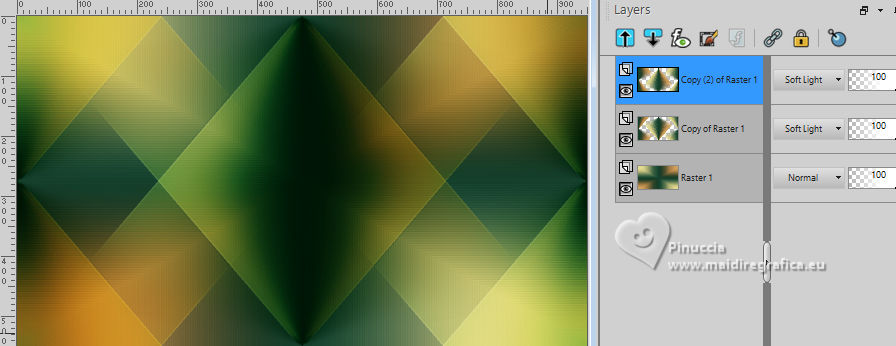
Layers>Merge>Merge Down.
Effects>Geometric Effects>Circle.

Adjust>Sharpness>Sharpen.
Image>Resize, to 90%, resize all layers not checked.
Layers>Duplicate (don't merged).
4. Layers>New Raster Layer.
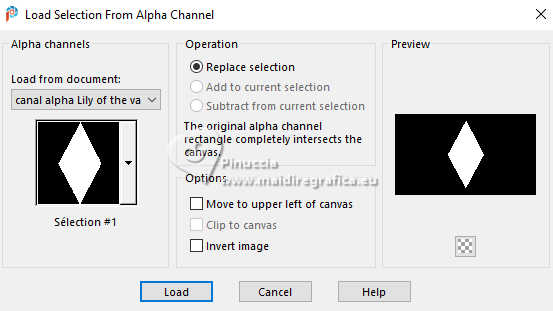
Selections>Load/Save Selection>Load Selection from Alpha Channel.
The selection sélection #1 is immediately available. You just have to click Load.
Open déco 1 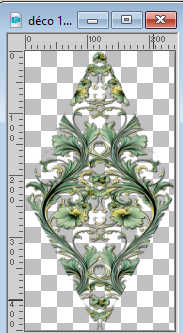
Edit>Copy.
Go back to your work and go to Edit>Paste into Selection.
Selections>Modify>Select Selection Borders.
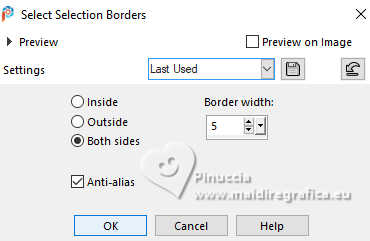
Keep selected.
5. Activate your background layer, Raster 1.
Selections>Promote Selection to layer.
Layers>Arrange>Bring to Top.
Effects>Plugins>Filters Unlimited 20 - Lens Effects - Refractor 1.
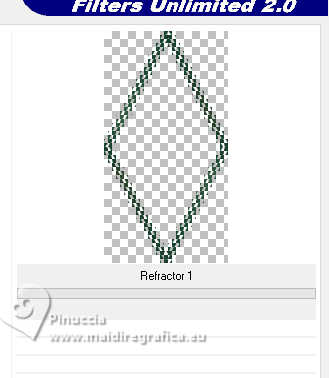
Effects>Edge Effects>Enhance.
Effects>3D Effects>Inner Bevel.
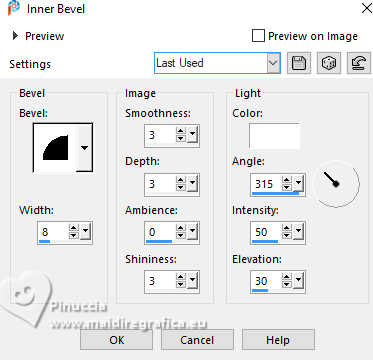
Effects>Plugins>Alien Skin Eye Candy 5 Impact - Gradient Glow.
Select the preset Lily of the valley - setting: Black and white stripes
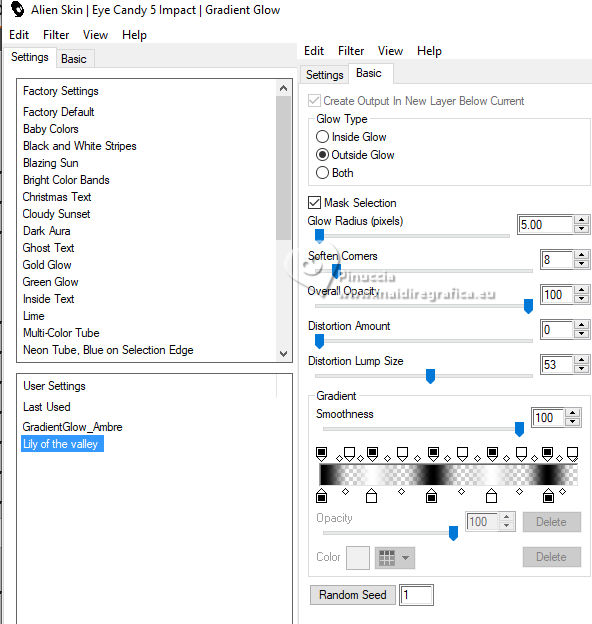
if you have problems with the filter, copy/paste as new layer the tube déco gradient glow that you find in the material.
Effects>3D Effects>Drop Shadow, color black.
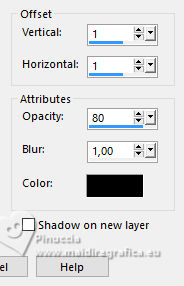
Selections>Select None.
Layers>Merge>Merge Down.
6. Layers>Duplicate.
Image>Resize, to 50%, resize all layers not checked.
Effects>Plugins>Mura's Meister - Copies.
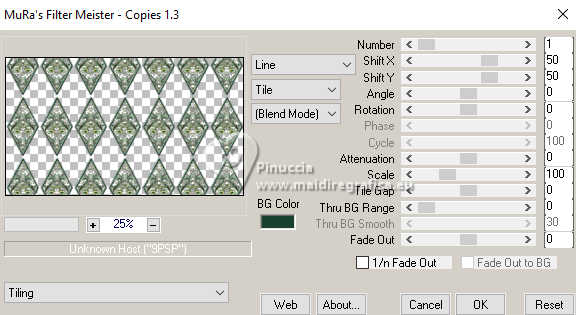
Change the Blend Mode of this layer to Hard Light and reduce the opacity to 50%.
Layers>Arrange>Move Down - 2 times.
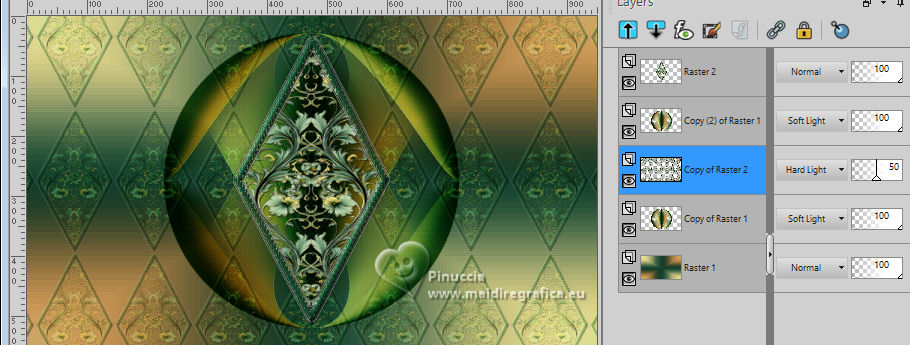
Effects>3D Effects>Drop Shadow, same settings.
Selections>Load/Save Selection>Load Selection from Alpha Channel.
Open the selections menu and load the selection sélection 2
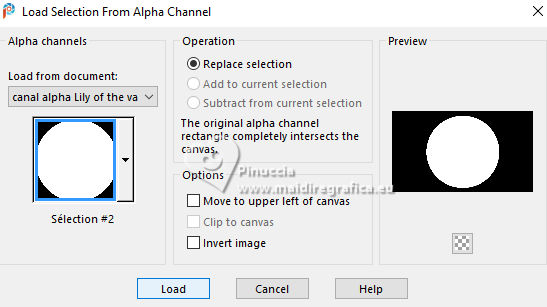
Press CANC on the keyboard 
Selections>Select None.
Result
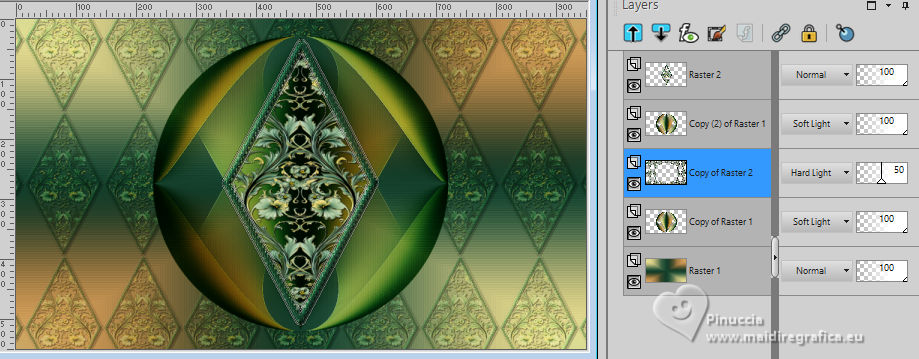
7. Activate the layer Raster 1.
Layers>Duplicate.
Stay on the copy and close the bottom layer and the two top layers.
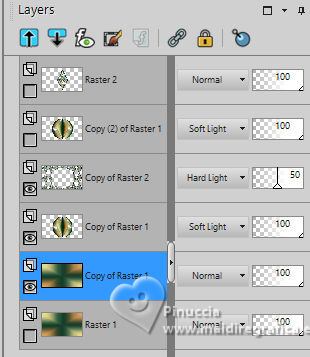
Layers>Merge>Merge visible.
Layers>View>All.
Stay on the layer Merged.
Effects>Plugins>Mura's Meister - Perspective Tiling.
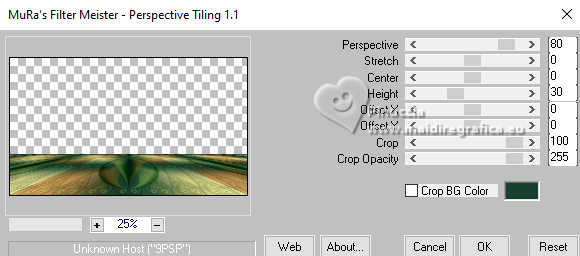
Effects>3D Effects>Drop Shadow, color black.

Selections>Load/Save Selection>Load Selection from Alpha Channel.
Open the selections menu and load again the selection sélection 2
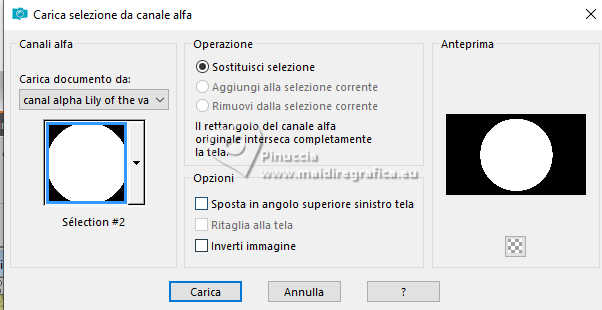
Press CANC on the keyboard 
Selections>Select None.
8. Activate the layer Raster 1.
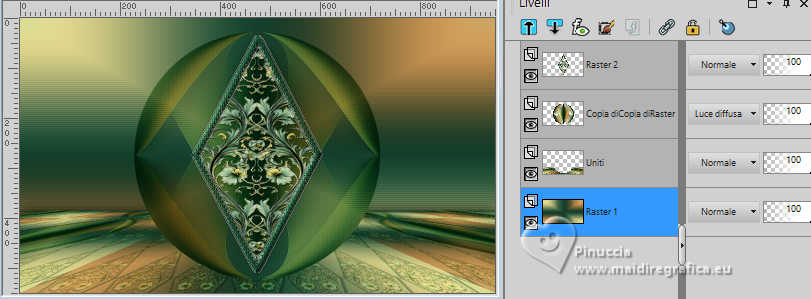
Layers>New Raster Layer.
Selections>Select All.
Open Lily-Valley-1_misted par MM 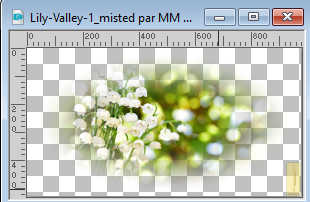
Erase the watermark and go to Edit>Copy.
Go back to your work and go to Edit>Paste into Selection.
Selections>Select None.
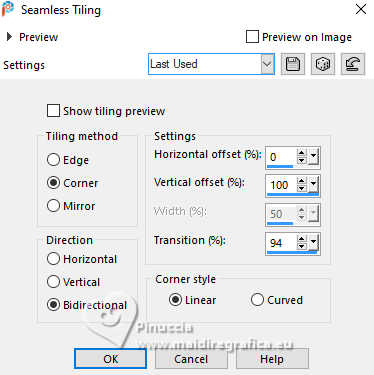
Effects>Image Effects>Seamless Tiling.
Selections>Load/Save Selection>Load Selection from Alpha Channel.
Open the selections menu and load again the selection sélection 2

Press CANC on the keyboard.
9. Activate the layer raster 1.
Selections>Load/Save Selection>Load Selection from Alpha Channel.
Open the selections menu and load the selection sélection 3
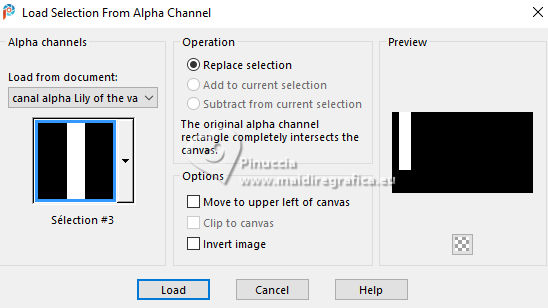
Selections>Promote Selection to Layer.
Layers>Arrange>Bring to Top.
Effects>Edge Effects>Enhance More.
Keep selected.
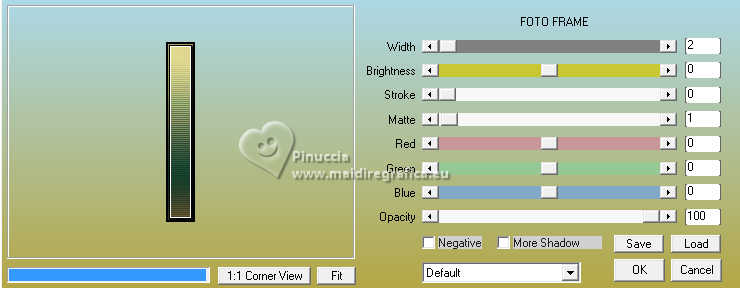
10. Selections>Modify>Contract - 15 pixels.
Effects>Plugins>AAA Frames - Foto Frame.
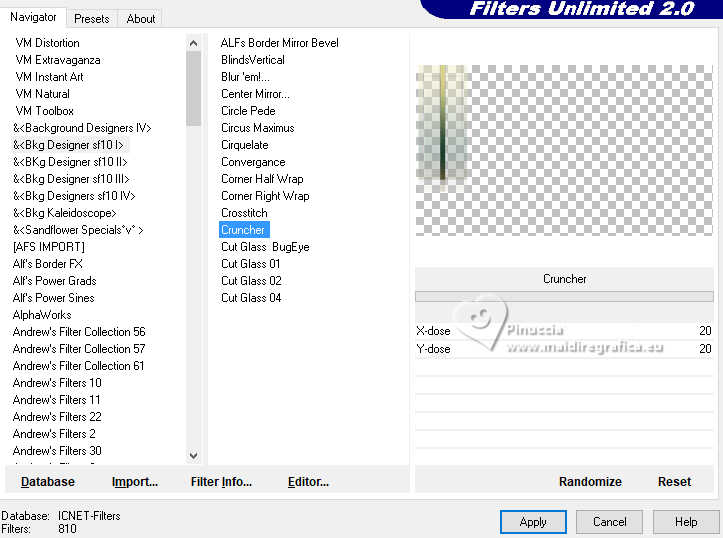
Selections>Invert.
Effects>Plugins>&<Bkg Designers10I> - Cruncher, default settings.
Effects>Edge Effects>Enhance.
11. Selections>Invert.
Selections>Modify>Contract - 4 pixels.
Layers>New Raster Layer.
Open déco 2 
Edit>Copy.
Go back to your work and go to Edit>Paste into Selection.
Selections>Select None.
Effects>3D Effects>Drop Shadow, color black.

Effects>Plugins>FM Tile Tools - Blend Emboss, default settings.

Layers>Merge>Merge Down.
12. Layers>Duplicate.
Image>Mirror>Mirror Horizontal.
Layers>Merge>Merge Down.
Effects>3D Effects>Drop Shadow, same settings.
13. Open déco 3 
Erase the watermark and go to Edit>Copy.
Go back to your work and go to Edit>Paste as new layer.
K key to activate your Pick Tool 
keep Position X: 3,00 and set Position Y: 256,00.

M key to deselect the Tool.
14. Activate your background layer.
Edit>Copy
Edit>Paste as new image, for caution.
15. Image>Add borders, 2 pixels, symmetric, background color.
Image>Add borders, 1 pixel, symmetric, foreground color.
Image>Add borders, 3 pixels, symmetric, color 3 #c89756  . .
Image>Add borders, 2 pixels, symmetric, background color.
Image>Add borders, 4 pixels, symmetric, color 4 #dad28a  . .
Image>Add borders, 1 pixel, symmetric, foreground color.
Image>Add borders, 2 pixels, symmetric, background color.
Selections>Select All.
16. Image>Add borders, 40 pixels, symmetric, whatever color.
Selections>Invert.
Edit>Paste into Selection (your background image is still in memory).
Effects>Plugins>&<Bkg Designers10I> - Cruncher, same settings.
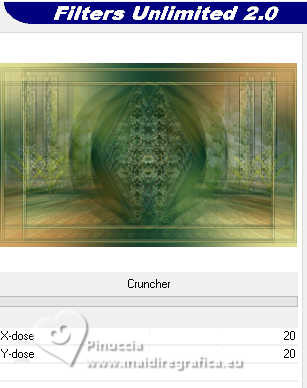
Adjust>Sharpness>Sharpen More.
Selections>Invert.
Effects>3D Effects>Drop Shadow, color black.

Selections>Select None.
17. Open déco cadre.pspimage 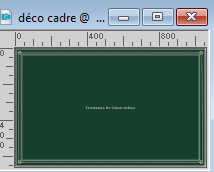
Erase the watermark and go to Edit>Copy.
Go back to your work and go to Edit>Paste as new layer.
Open déco bouquet 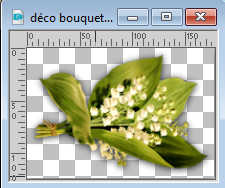
Edit>Copy.
Go back to your work and go to Edit>Paste as new layer.
Pick Tool (K) 
Position X: 176,00 and Position Y: 487,00.

19. Open Titre 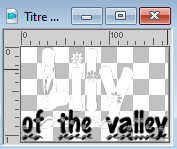
Edit>Copy.
Go back to your work and go to Edit>Paste as new layer.
you can choose the optional texts that you find in the material:
Muguet and/or Convallaria majalis
Pick Tool (K) 
Position X: 63,00 and Position Y: 498,00.

Change the Blend Mode of this layer to Luminance (legacy).
20. Open the tube Lily of the valley 1_aigen_et tube par MM 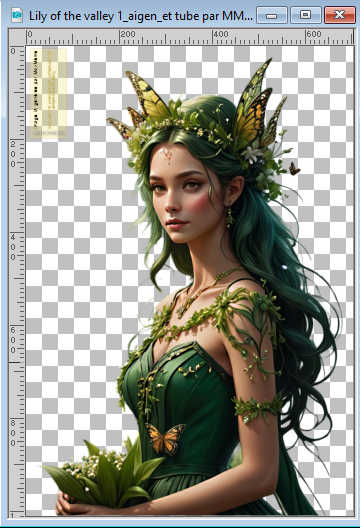
Erase the watermark and go to Edit>Copy.
Go back to your work and go to Edit>Paste as new layer.
Image>Resize, to 60%, resize all layers not checked.
Pick Tool (K) 
Position X: 547,00 and Position Y: 58,00.

M key to deselect the Tool
Effects>3D Effects>Drop Shadow, color black.

21. Sign your work on a new layer.
Add the author and translator's watermarks.
22. Image>Add borders, 1 pixel, symmetric, background color.
Image>Resize, 950 pixels width, resize all layers checked.
Adjust>Sharpness>Unsharp Mask - Soft

Save as jpg.
For the tubes of this version thanks Moi-Même

If you have problems or doubts, or you find a not worked link,
or only for tell me that you enjoyed this tutorial, write to me.
25 April 2024

|

