|
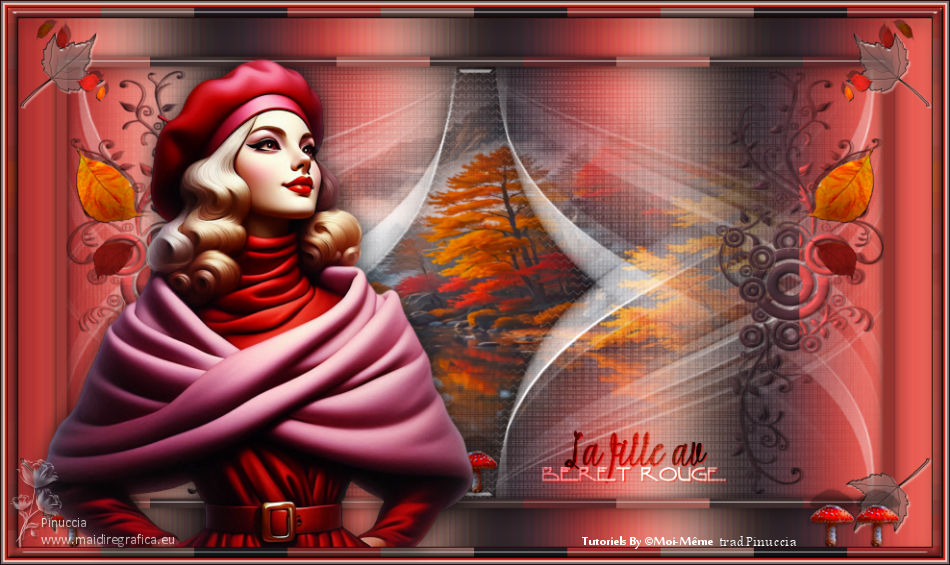
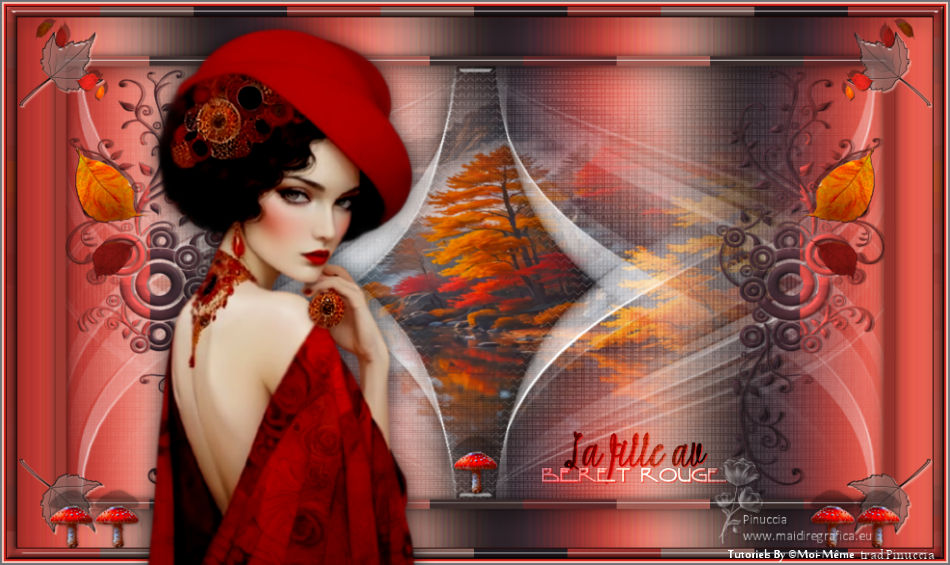
LA FILLE AU BERET ROUGE


Thanks Irene for the invitation to translate your tutorials

This tutorial was written with PSPX8 and translated with PSPX9 and PSP2020, but it can also be made using other versions of PSP.
Since version PSP X4, Image>Mirror was replaced with Image>Flip Horizontal,
and Image>Flip with Image>Flip Vertical, there are some variables.
In versions X5 and X6, the functions have been improved by making available the Objects menu.
In the latest version X7 command Image>Mirror and Image>Flip returned, but with new differences.
See my schedule here
 italian translation here italian translation here
 vos versions here vos versions here

For this tutorial, you will need:

Mask by Tine.
The rest of the material by Moi-Même
Persons with red caps by Moi-Méme here
(The links of material creators here).

consult, if necessary, my filter section here
Filters Unlimited 2.0 here
Mehdi - Wavy Lab 1.1 here
Alien Skin Eye Candy 5 Impact here
&<Bkg Designer sf10II> - Psy Streaker (to import in Unlimited) here
Graphics Plus - Cross Shadow here
Simple - Top Left Mirror here
Filters Factory Gallery and Graphics Plus can be used alone or imported into Filters Unlimited.
(How do, you see here)
If a plugin supplied appears with this icon  it must necessarily be imported into Unlimited it must necessarily be imported into Unlimited

You can change Blend Modes according to your colors.

If you have problems with the canal alpha, open a new transparent image 950 x 550 pixels,
and use the selections from disk.
Copy the preset Emboss 3 in the Presets Folder.
Open the mask in PSP and minimize it with the rest of the material.
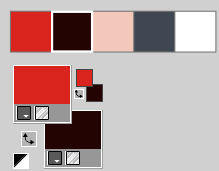
1. Set your foreground color to #da261f,
and your background color to #250605.
color 3: #f3c8bb
color 4: #424752
color 5: white
Open Canal_alpha_lafilleauberetrouge
This image, that will be the basis of your work is not empty,
but contains the selections saved to alpha channel.
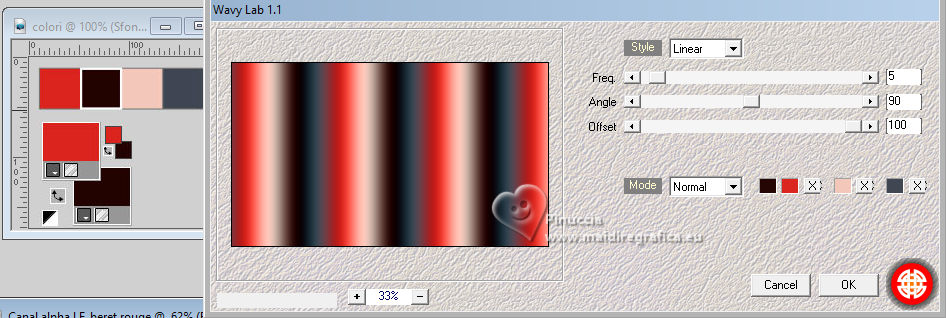
Effects>Plugins>Mehdi - Wavy Lab 1.1.
This filter creates gradients with the colors of your Materials palette.
The first is your background color, the second is your foreground color.
Change the last two colors created by the filter,
the third one with the color 3 #f3c8bb and the fourth with the color 4 #424752.
2. Adjust>Blur>Gaussian Blur - radius 40.

3. Open déco 1 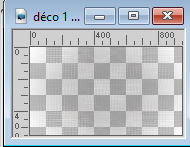
Edit>Copy.
Go back to your work and go to Edit>Paste as new layer.
Change the Blend Mode of this layer to Soft Light and reduce the opacity to 80%.
4. Activate the layer Raster 1.
Layers>New Raster Layer.
Selections>Select All.
Open the misted ai-generated-paysageautomne 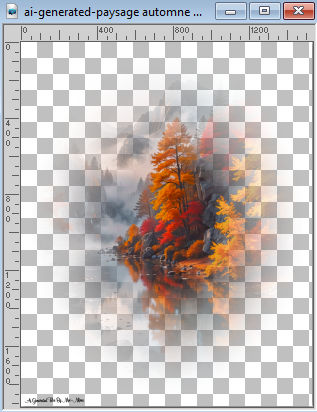
Erase the watermark and go to Edit>Copy.
Go back to your work and go to Edit>Paste into Selection.
Selections>Select None.
5. Selections>Load/Save Selection>Load Selection from Alpha Channel.
The selection sélection #1 is immediately available. You just have to click Load.
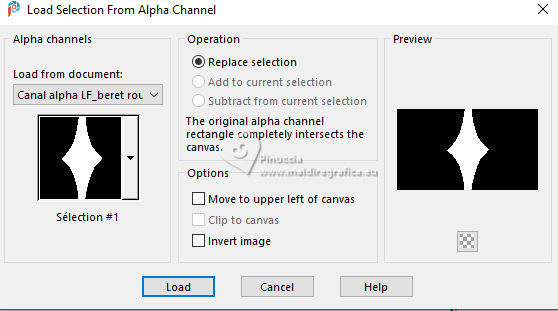
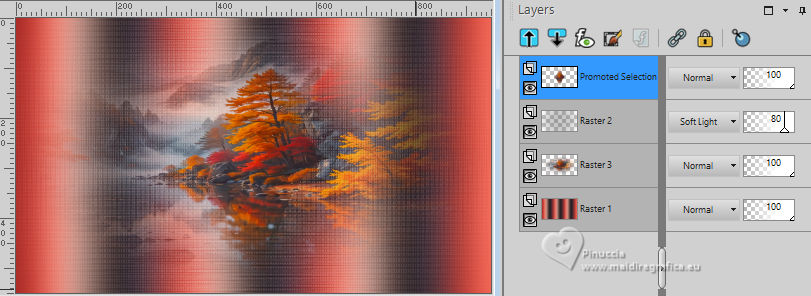
Selections>Promote Selection to Layer.
Selections>Select None.
Layers>Arrange>Move Up.
6. Open déco glass 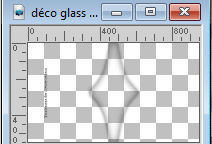
Erase the watermark and go to Edit>Copy.
Go back to your work and go to Edit>Paste as new layer.
7. Set your foreground color to white.
Layers>New Raster Layer.
Flood Fill  the layer with color white. the layer with color white.
Layers>New Mask layer>From image
Open the menu under the source window and you'll see all the files open.
Select the mask creation.tine
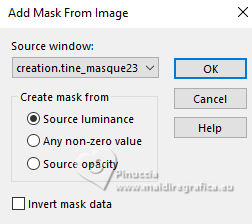
Layers>Merge>Merge Group.
Layers>Duplicate.
Image>Mirror>Mirror Horizontal.
Layers>Merge>Merge Down.
Layers>Duplicate.
Image>Mirror>Mirror Vertical.
Layers>Merge>Merge Down.
Effects>User Defined Filter - select the preset Emboss 3 and ok.

8. Activate the layer Raster 1.
Selections>Load/Save Selection>Load Selection from Alpha Channel.
Open the selections menu and load the selection sélection 2
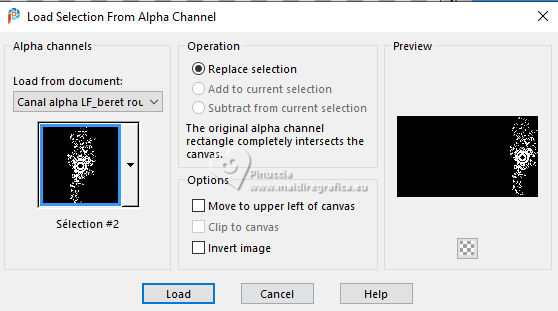
Selections>Promote Selection to Layer.
Layers>Arrange>Bring to Top.
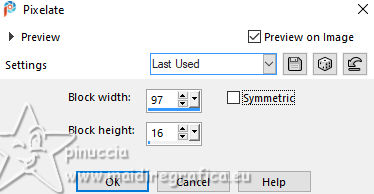
Effects>Distortion Effects>Pixelate.
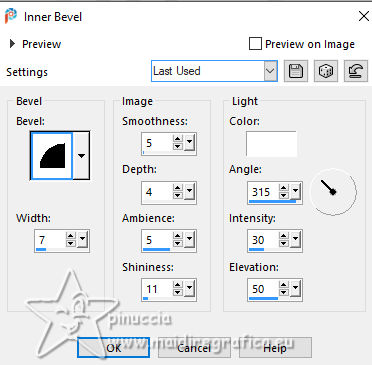
Effects>3D Effects>Inner Bevel.
Selections>Select None.
Effects>Plugins>Graphics Plus - Cross Shadow, default settings.
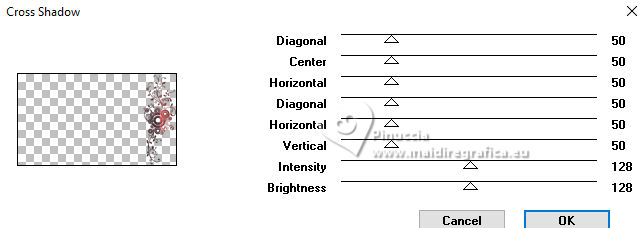
9. Image>Mirror>Mirror Horizontal.
Layers>Duplicate.
Agan Image>Mirror>Mirror Horizontal.
Layers>Merge>Merge Down.
Effects>3D Effects>Drop Shadow, color black.
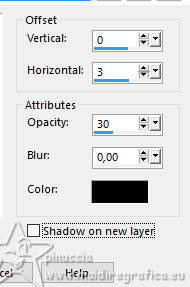
Activate the layer Raster 1.
Layers>Duplicate.
Close the layer Raster 1 and stay on the copy's layer.
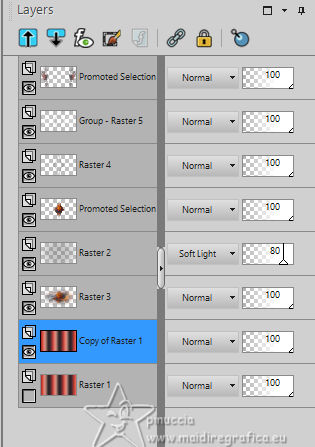
Layers>Merge>Merge visible.
Open again the layer Raster 1 and stay on the layer Merged.
10. Edit>Copy
Selections>Select All.
Selections>Modify>Contract - 50 pixels.
Edit>Paste into Selection.
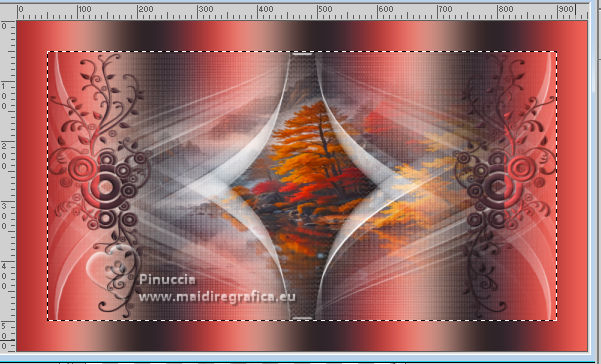
Keep selected
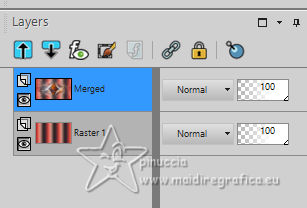
11. Activate the layer Raster 1.
Selections>Modify>Select Selection Borders.
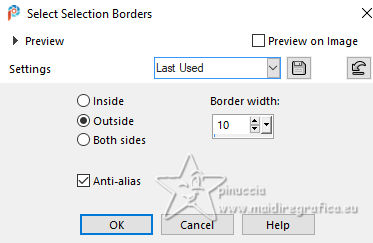
Selections>Promote Selection to Layer.
Layers>Arrange>Bring to Top.
Effects>Distortion Effects>Pixelate, same settings.

Effects>Plugins>Alien Skin Eye Candy 5 Impact - Glass.
Select the preset LF beret rouge_MM
If you use other colors, on Basic: Glass Color: foreground color.
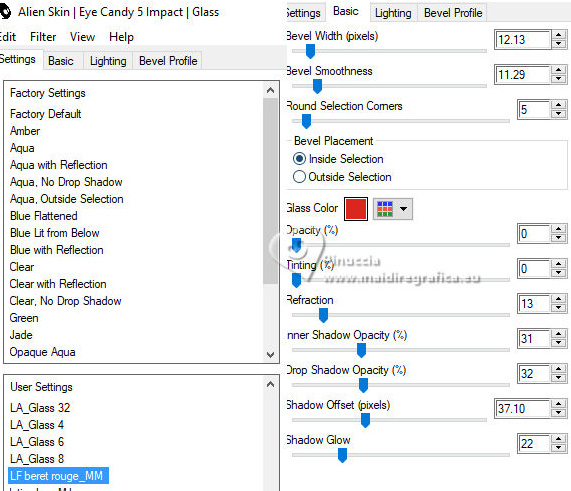
Selections>Select None.
Effects>3D Effects>Drop Shadow, color black.
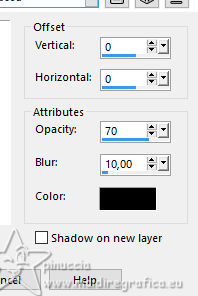
12. Activate the layer Raster 1.
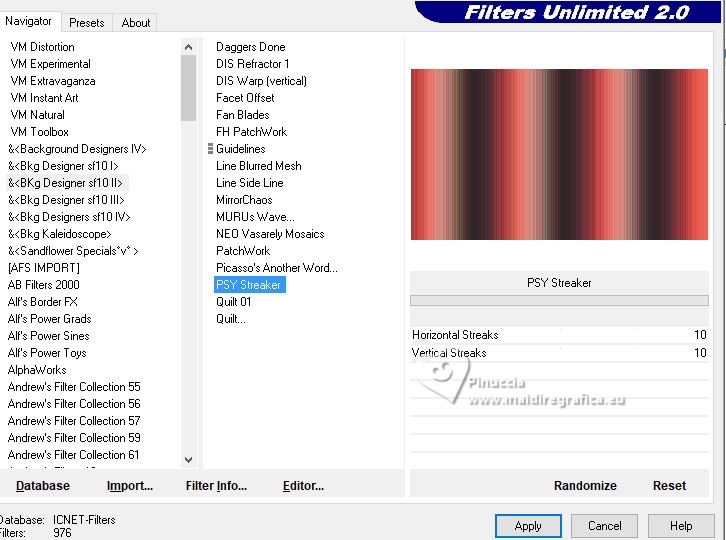
Effects>Plugins>Filters Unlimited 2.0 - &<Bkg Designer sf10II> - Psy Streaker, default settings.
13. Activate your top layer.
Open déco 2 
Edit>Copy.
Go back to your work and go to Edit>Paste as new layer.
K key to activate your Pick Tool 
Position X: 30,00 - Position Y: 431,00.

M key to deselect the Tool.
14. Open déco 3 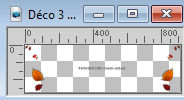
Erase the watermark and go to Edit>Copy.
Go back to your work and go to Edit>Paste as new layer.
Move  the tube at the top. the tube at the top.
Objects>Align>Top.
15. Activate the layer Raster 1.
Selections>Load/Save Selection>Load Selection from Alpha Channel.
Open the selections menu and load the selection sélection 3
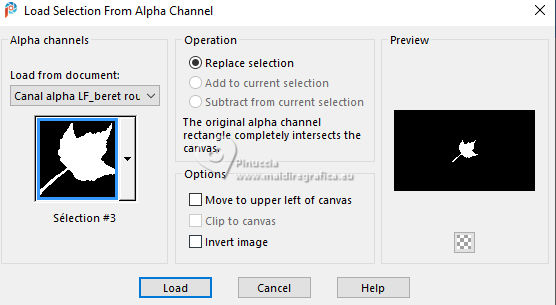
Selections>Promote Selection to Layer.
Adjust>Blur>Gaussian Blur, same setting.
Layers>Arrange>Bring to top.
Open déco 4 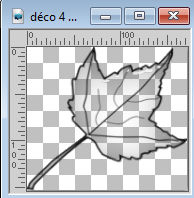
Edit>Copy.
Go back to your work and go to Edit>Paste into Selection.
Selections>Select None.
Image>Resize, to 50%, resize all layers not checked.
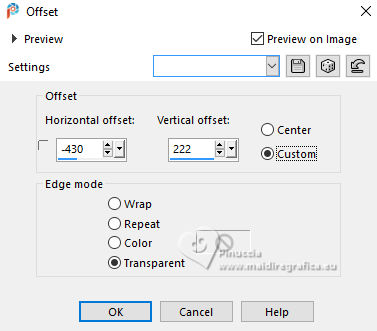
Effects>Image Effects>Offset.
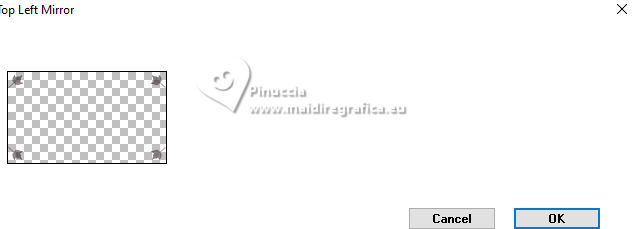
Effects>Plugins>Simple - Top Left Mirror.
Effects>3D Effects>Drop Shadow, color 3 #f3c8bb.
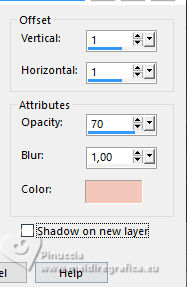
Edit>Repeat Drop Shadow.
Layers>Arrange>Move Down - 2 times.
16. Image>Add borders, 1 pixel, symmetric, background color.
Selections>Select All.
Image>Add borders, 10 pixels, symmetric, color white.
Selections>Invert.
17. Set again your foreground color to #da261f.
Effects>Plugins>Mehdi - Wavy Lab 1.1., same settings.

Effects>Distortion Effects>Pixelate, same settings.

Effects>3D Effects>Inner Bevel, same settings.

Effects>Plugins>Alien Skin Eye Candy 5 Impact - Glass, same settings.

Selections>Select None.
18. Image>Add Borders, 1 pixel, symmetric, background color.
Image>Add Borders, 2 pixels, simmetriche, foreground color.
Image>Add Borders, 2 pixels, simmetriche, color 3 #f3c8bb.
Image>Add Borders, 2 pixels, simmetriche, color 4 #424752.
19. Open the woman's tube _67a0336c3... 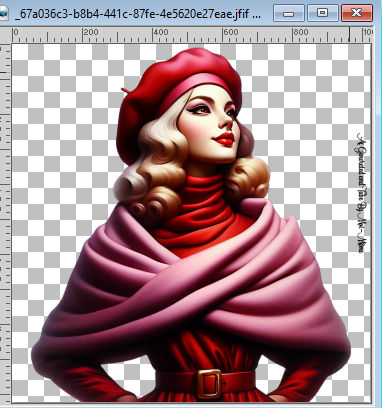
Erase the watermark and go to Edit>Copy.
Go back to your work and go to Edit>Paste as new layer.
Image>Resize, to 50%, resize all layers not checked.
K key to activate your Pick Tool 
Position X: 33,00 - Position Y: 60,00.

Effects>3D Effects>Drop Shadow, color black.

20. Open the text titre 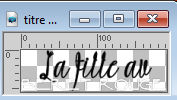
Edit>Copy.
Go back to your work and go to Edit>Paste as new layer.
Pick Tool 
Position X: 562,00 - Position Y: 447,00.

M key to deselect the Tool.
Change the Blend Mode of this layer to Overlay.
Effects>3D Effects>Drop Shadow, foreground color.

21. Sign your work on a new layer.
Add the author and the translator's watermark.
22. Image>Add borders, 1 pixel, symmetric, background color.
23. Image>Resize, 950 pixels width, resize all layers checked.
Save as jpg.
For the tube of this version thanks Luz Cristina

If you have problems or doubts, or you find a not worked link,
or only for tell me that you enjoyed this tutorial, write to me.
23 October 2024

|

