|
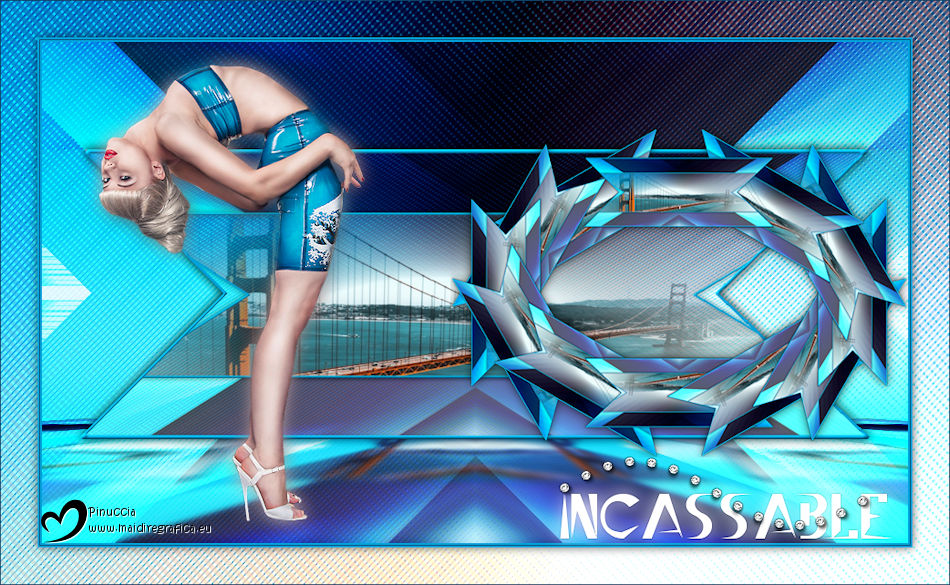
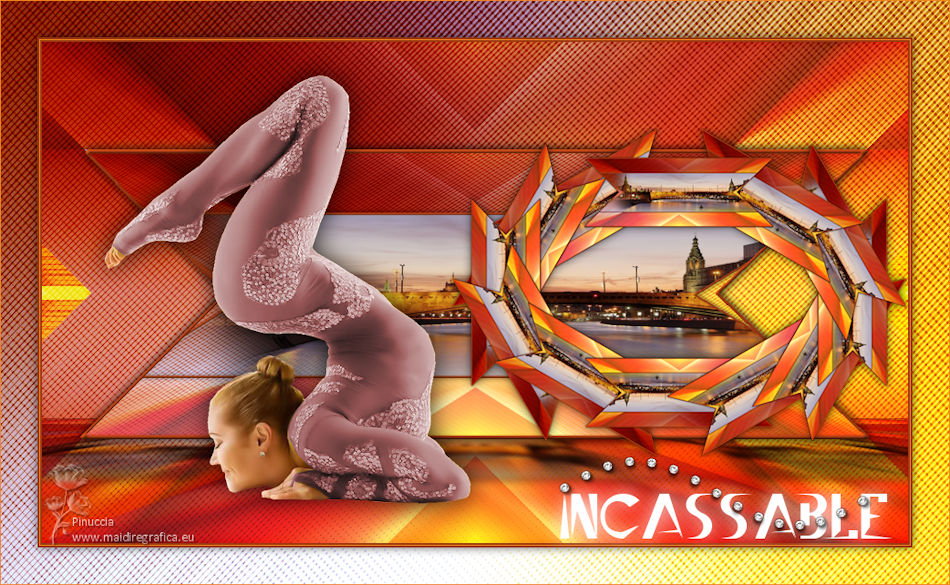
INCASSABLE


Thanks Irene for the invitation to translate your tutorials

This tutorial was written with PSPX8 and translated with PSPX7 and PSPX3, but it can also be made using other versions of PSP.
Since version PSP X4, Image>Mirror was replaced with Image>Flip Horizontal,
and Image>Flip with Image>Flip Vertical, there are some variables.
In versions X5 and X6, the functions have been improved by making available the Objects menu.
In the latest version X7 command Image>Mirror and Image>Flip returned, but with new differences.
See my schedule here
 italian translation here italian translation here
 Your versions qui Your versions qui

For this tutorial, you will need:

For the tube thanks AnaRidzi
The rest of the material is by Moi-Même.
(The links of material creators here).

consult, if necessary, my filter section here
Filters Unlimited 2.0 here
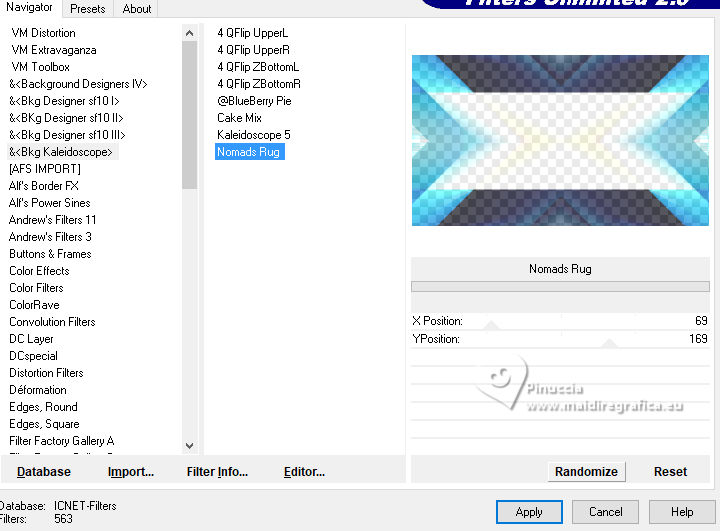
&<Bkg Kaleidoscope> - Nomads Rug (da importare in Unlimited) here
Mehdi - Wavy Lab 1.1 here
Mehdi - Sorting Tiles here
Azyzam's - Crazy stripes here
Mura's Meister - Copies here
Mura's Meister - Perspective Tiling here

You can change Blend Modes according to your colors.

If you have problems with alpha channel,
open a new transparent image 950 x 550 pixels,
and use the selections from disk.
Colors

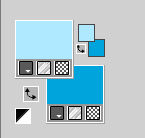
Set your foreground color to color 1 #afe9ff,
and your background color to color 2 #00a4dc.
1. Open canal alpha Incassable
This image, that will be the basis of your work, is not empty,
but contains a selection saved to alpha channel.
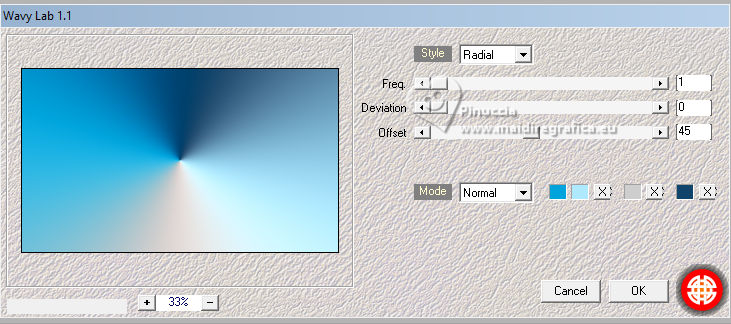
Effects>Plugins>Mehdi - Wavy Lab 1.1.
This filter creates gradients with the colors of your Materials palette.
The first is your background color, the second is your foreground color.
Change the last two colors created by the filtre:
the third color with color 3 #cecece and the fourth color with color 4 #11446b.
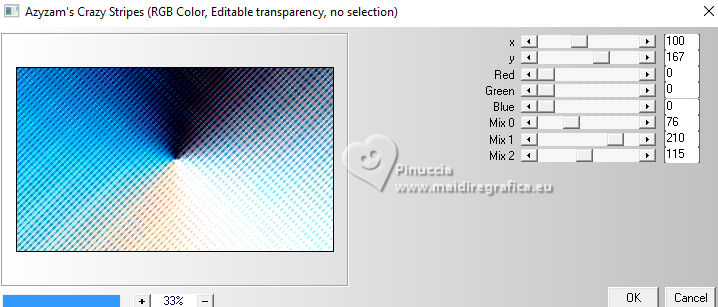
Effects>Plugins>Azyzam's - Crazy Stripes.
attention please, if the filter close your PSP, use the patched version
(in my filters list and in the material)
2. Layers>Duplicate.
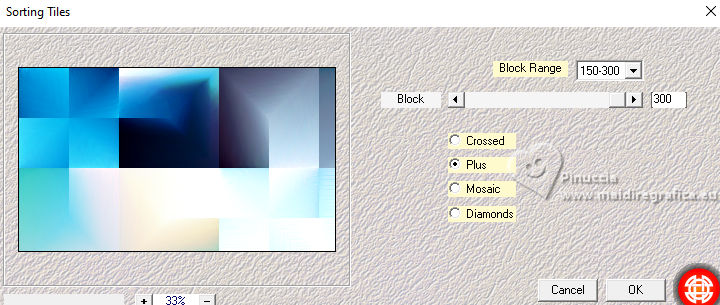
Effects>Plugins>Mehdi - Sorting Tiles.
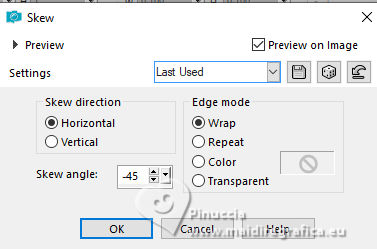
Effects>Geometric Effects>Skew.
Effects>Plugins>Filters Unlimited 2.0 - &<Bkg Kaleidoscope> - Nomads Rug, default settings.
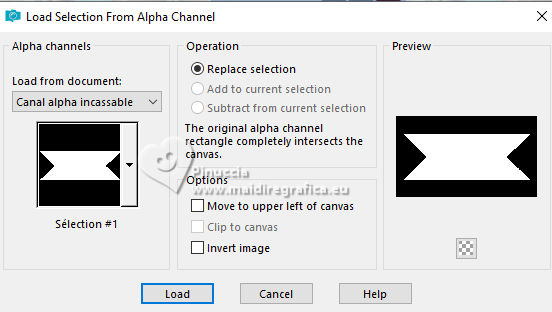
3. Selections>Load/Save Selection>Load Selection from Alpha Channel.
The selection sélection #1 is immediately available. You just have to click Load.
Press CANC on the keyboard 
Keep selected
4. Open the landscape Pont mistedMM 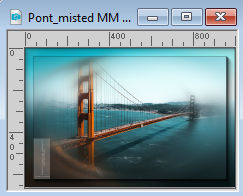
Edit>Copy.
Go back to your work and go to Edit>Paste as new layer.
Place  the tube on the selection, the tube on the selection,
leaving visible the part your prefer.
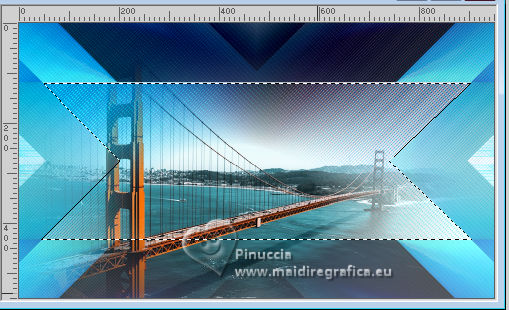
Selections>Invert.
Press CANC on the keyboard.
Again Selections>Invert.
Selections>Modify>Select Selection Borders.
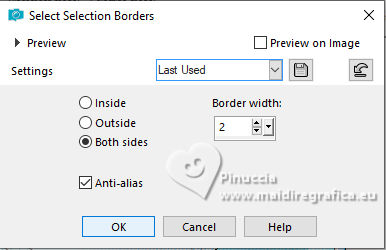
Layers>New Raster Layer.
Flood Fill  the selection with your background color. the selection with your background color.
Effects>3D Effects>Inner Bevel.
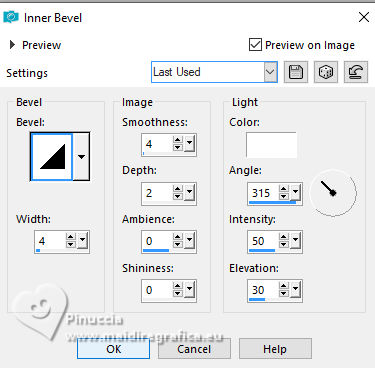
Selections>Select None.
Effects>3D Effects>Drop Shadow, color black.
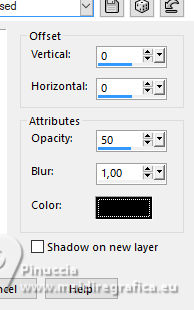
5. Layers>Merge>Merge Down.
Effects>3D Effects>Drop Shadow, color black.
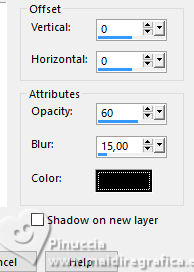
6. Activate the layer below.
Effects>3D Effects>Drop Shadow, same settings, but color 3 #cecece.
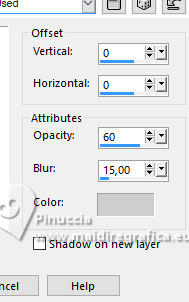
Change the Blend Mode of this layer to Hard Light, or according to your colors.
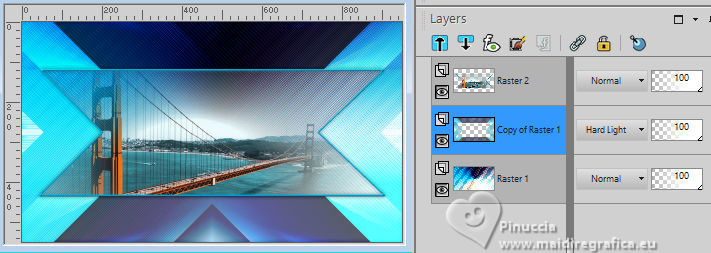
7. Activate the layer Raster 1.
Edit>Copy
Edit>Paste as new image, and minimize this image for the moment.
8. Go back to your work and activate the top layer.
Edit>Copy Special>Copy Merged.
Layers>New Raster Layer.
Selections>Load/Save Selection>Load Selection from Alpha Channel.
Load again the selection sélection #1

Edit>Paste into Selection
Keep selected
Close this layer and activate again your bottom layer, Raster 1.
Layers>Merge>Merge visible.
Keep always selected.
9. Open and activate your top layer.
Selections>Modify>Select Selection Borders, same settings.
Layers>New Raster Layer.
Flood Fill  with your background color. with your background color.
Effects>3D Effects>Inner Bevel, same settings.
Selections>Select None.
Layers>Merge>Merge Down.
Effects>3D Effects>Drop Shadow, same settings, but color black.

10. Layers>Duplicate.
Image>Resize, to 30%, resize all layers not checked.
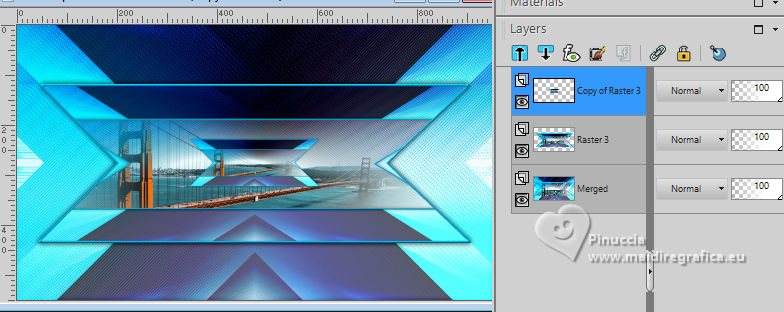
Effects>Plugins>Mura's Meister - Copies.
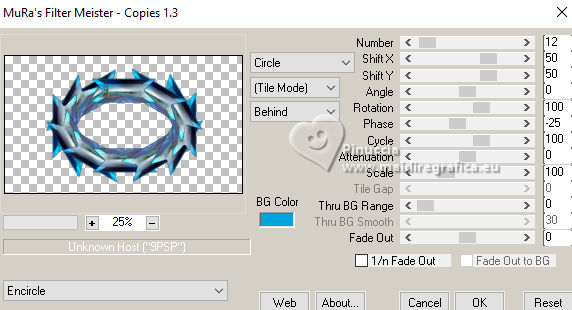
Image>Resize, to 80%, resize all layers not checked.
Move  the image to the right: the image to the right:
Objects>Align>Right
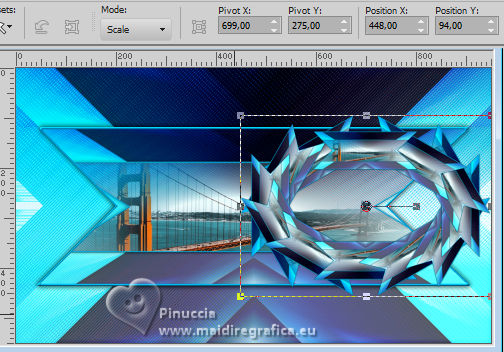
Adjust>Sharpness>Sharpen.
Effects>3D Effects>Drop Shadow, same settings.
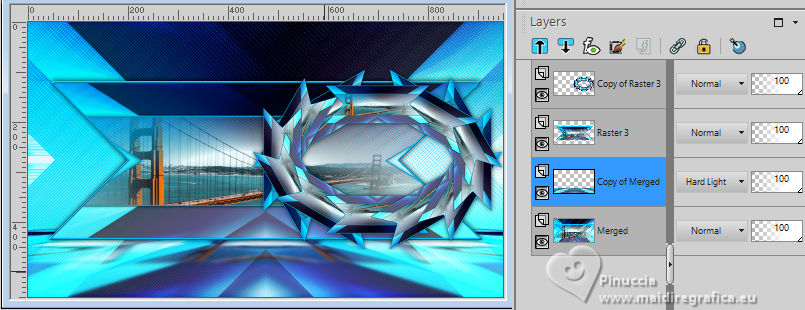
11. Activate the layer Merged.
Layers>Duplicate.
Adjust>Blur>Gaussian Blur - radius 10.

Effects>Plugins>Mura's Meister - Perspective Tiling.
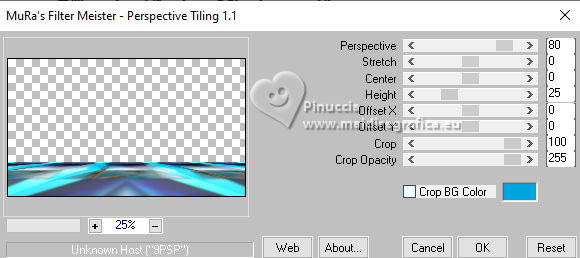
Effects>Reflection Effects>Rotating Mirror.

Change the Blend Mode of this layer to Hard Light.
12. Activate your top layer.
Open the woman's tube AR969 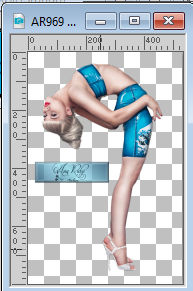
Erase the watermark and go to Edit>Copy.
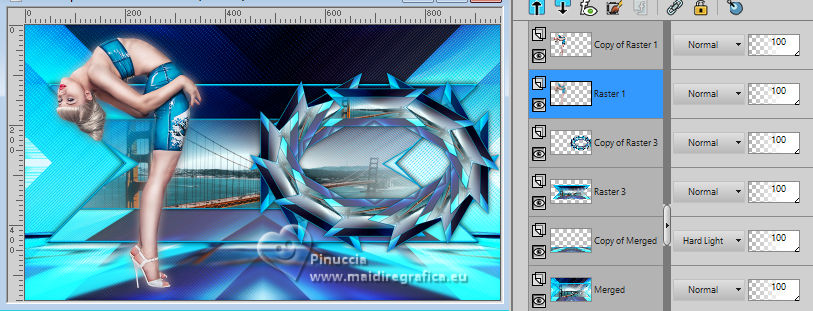
Go back to your work and go to Edit>Paste as new layer.
Image>Resize, to 70%, resize all layers not checked.
Adjust>Sharpness>sharpen.
K key to activate your Pick Tool 
and set Position X: 62,00 and Position Y: 24,00.

M key to deselect the Tool.
13. Layers>Duplicate.
Activate the layer below of the original.
Adjust>Blur>Gaussian Blur - radius 10.

(or, according to your tube, apply a Drop Shadow at your choice).
14. Image>Add borders, 2 pixels, symmetric, background color.
Image>Add borders, 1 pixel, symmetric, color 4 #11446b.
Image>Add borders, 2 pixels, symmetric, background color.
Selections>Select All.
15. Image>Add borders, 40 pixels, symmetric, foreground color.
Selections>Invert.
Activate the image minimized at step 7 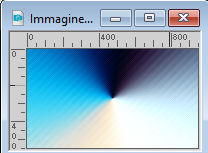
Edit>Copy.
Go back to your work and go to Edit>Paste into selection.
Adjust>Sharpness>sharpen.
Selections>Invert.
Effects>3D Effects>Drop Shadow, same settings.

Selections>Select None.
16. Open the tube titre 
Edit>Copy.
Go back to your work and go to Edit>Paste as new layer.
K key to activate your Pick Tool 
and set Position X: 593,00 and Position Y: 499,00.

M key to deselect the tool.
Adjust>Sharpness>Sharpen.
17. Sign your work.
Add the author and translator's watermarks.
Image>Add borders, 1 pixel, symmetric, color 4 #11446b.
18. Image>Resize, 950 pixels width, resize all layers checked.
Save as jpg.
For the misted of this version thanks Jeanne

If you have problems or doubts, or you find a not worked link,
or only for tell me that you enjoyed this tutorial, write to me.
3 Ottobre 2023

|

