|
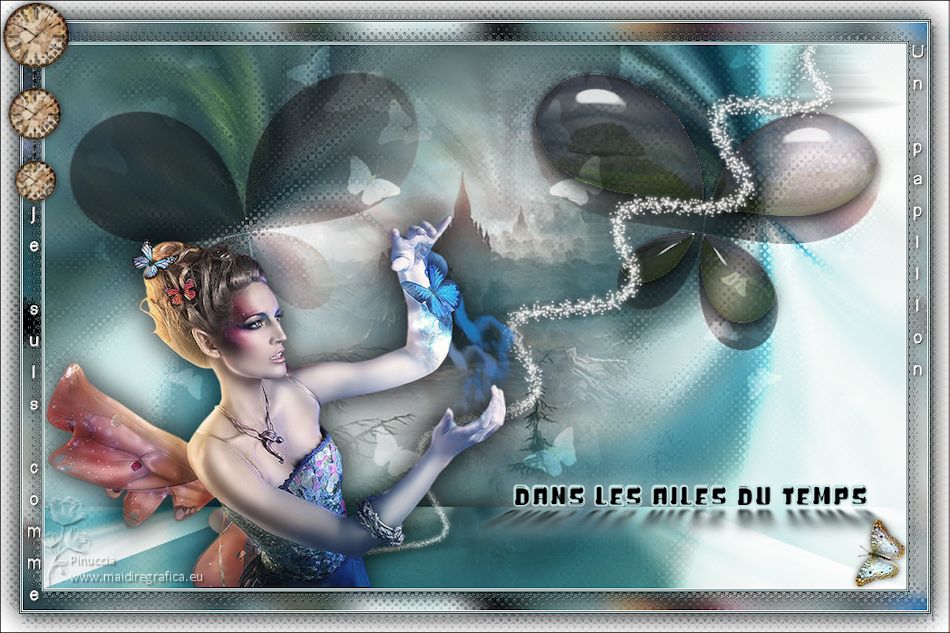
DANS LES AILES DU TEMPS


Thanks Irene for the invitation to translate your tutorials

This tutorial was written with PSPX8 and translated with PSPX7 and PSPX3, but it can also be made using other versions of PSP.
Since version PSP X4, Image>Mirror was replaced with Image>Flip Horizontal,
and Image>Flip with Image>Flip Vertical, there are some variables.
In versions X5 and X6, the functions have been improved by making available the Objects menu.
In the latest version X7 command Image>Mirror and Image>Flip returned, but with new differences.
See my schedule here
 italian translation here italian translation here
 Your versions qui Your versions qui

For this tutorial, you will need:

Thanks for the tubes Danimage.
The rest of the material is by Moi-Même.
(The links of material creators here).

consult, if necessary, my filter section here
Filters Unlimited 2.0 here
Kang 4 - Bubblecross Waves here
Flaming Pear - Flexify 2 here
Mura's Meister - Perspective Tiling here
Alien Skin Eye Candy 5 Impact - Glass here
Filters Kang can be used alone or imported into Filters Unlimited.
(How do, you see here)
If a plugin supplied appears with this icon  it must necessarily be imported into Unlimited it must necessarily be imported into Unlimited

You can change Blend Modes according to your colors.

Copy the preset for Flexify in a folder of your choice.
From this folder you will import it when you need it.
If you have problems with alpha channel,
open a new transparent image 950 x 600 pixels,
and use the selection from disk.
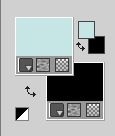
Set your foreground color to #c6e6e5,
and your background color to black #000000.
1. Open canal alpha les ailesMai 3
This image, which will be the basis of your work, is not empty,
but contains a selection saved on the alpha channel.
Selections>Select All.
2. Open the jpg image temple-4933682_640 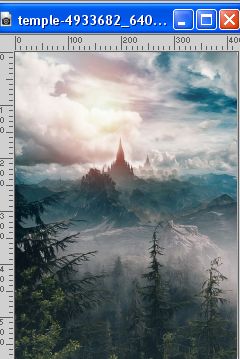
Edit>Copy.
Go back to your work and go to Edit>Paste into Selection.
Selections>Select None.
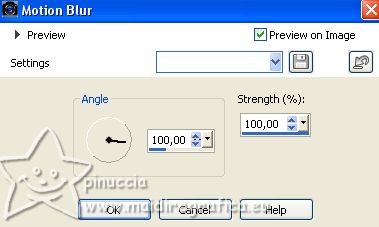
Adjust>Blur>Motion Blur.
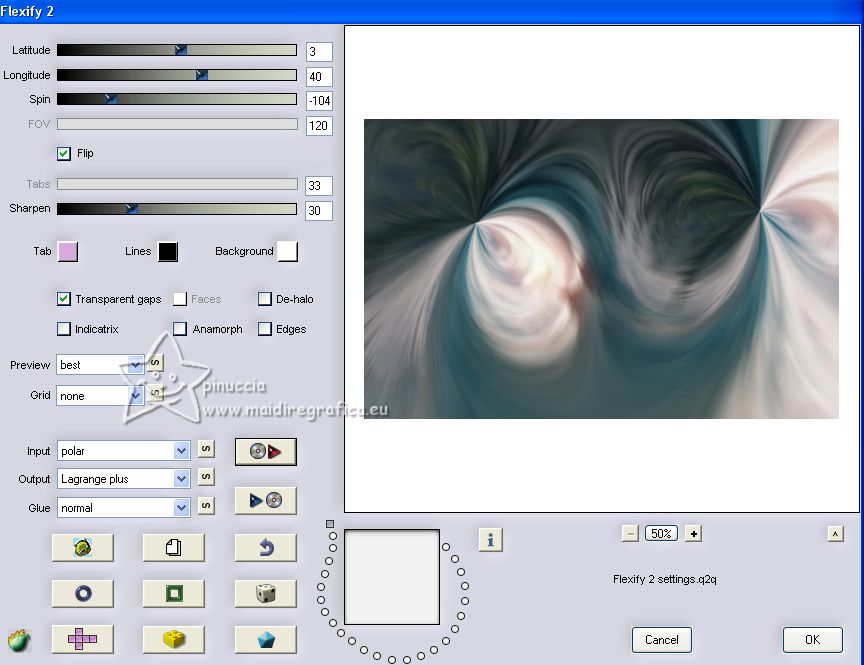
Effects>Plugins>Flaming Pear - Flexify 2
Click on the red button and look for the preset in the folder where you copied it.
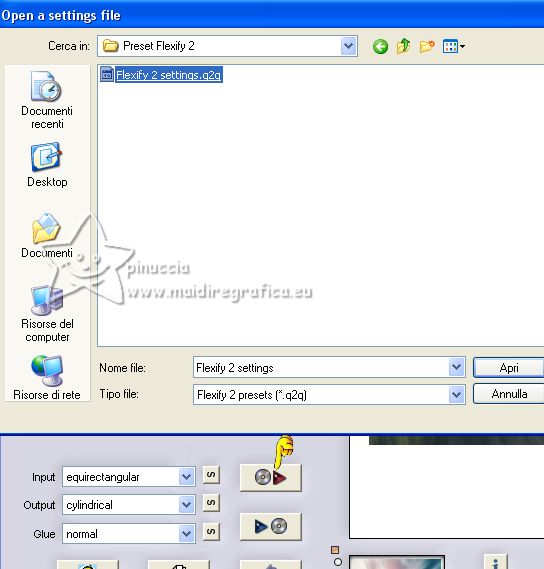
Here below the settings.
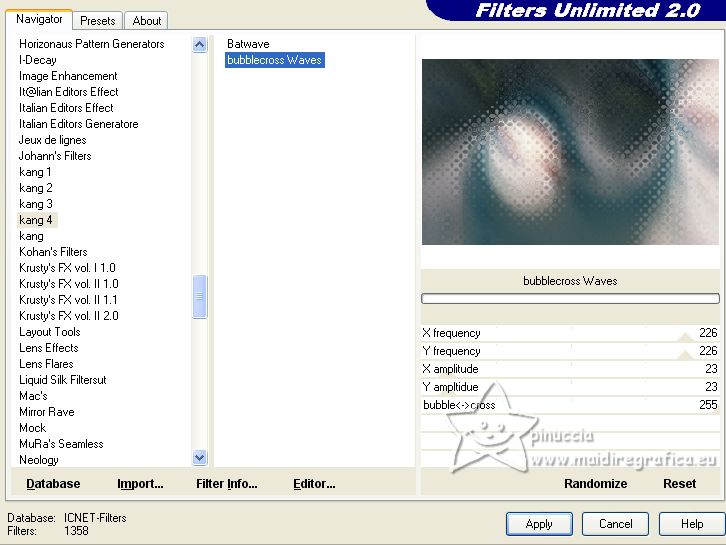
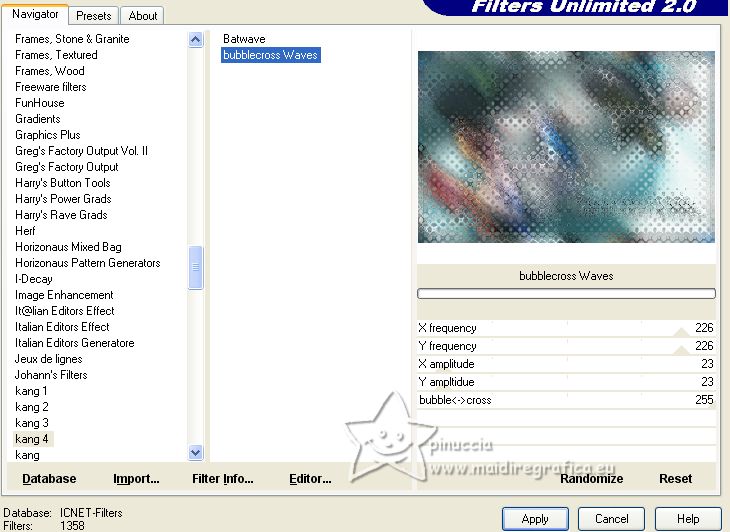
Effects>Plugins>Filters Unlimited 2.0 - Kang 4 - Bubblecross waves, default settings.
Adjust>Sharpness>Sharpen.
3. Layers>New Raster Layer.
Flood Fill  the layer with your light foreground color. the layer with your light foreground color.
Image>Resize, to 70%, resize all layers not checked.
4. Effects>Plugins>Flaming Pear - Flexify 2, same settings.
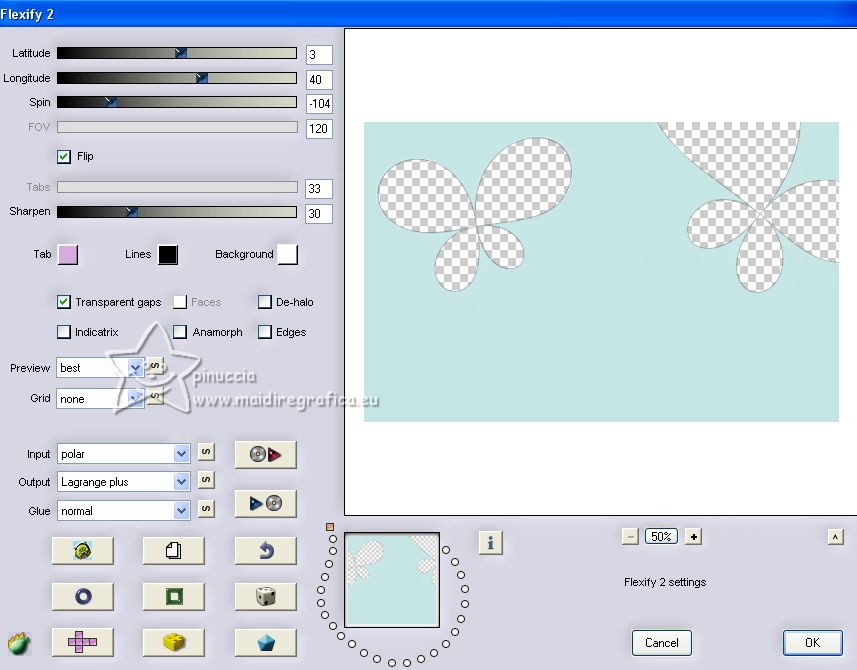
Effects>Reflection Effects>Rotating Mirror.

(if necessary, in the material you find the result of this effect)
Effects>Plugins>Filters Unlimited 2.0 - Kang 4 - Bubblecross waves, same settings.
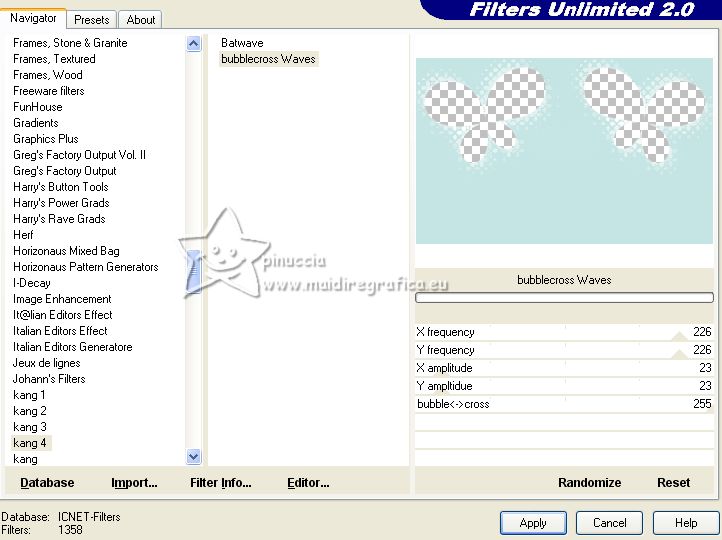
Change the Blend Mode of this layer to Overlay.
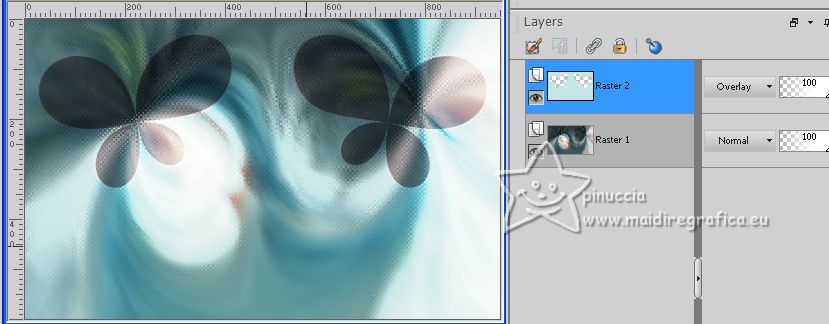
5. Activate your background layer, Raster 1.
Selections>Load/Save Selection>Load Selection from Alpha Channel.
The selection sélection #1 is immediately available. You just have to click Load.
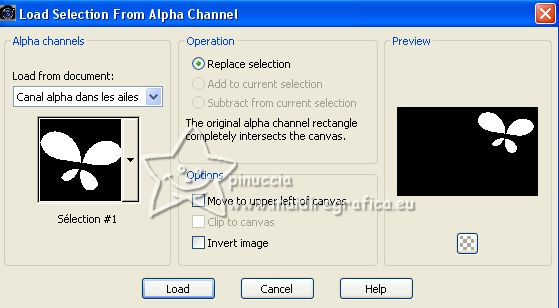
Selections>Promote Selection to Layer.
Layers>Arrange>Bring to Top.
Selections>Modify>Select Selection Borders.
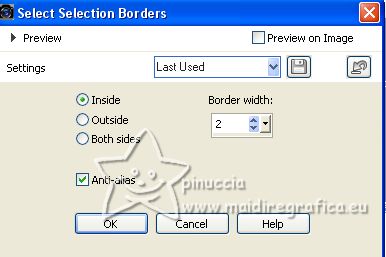
Effects>Plugins>Filters Unlimited 2.0 - Kang 4 - Bubblecross waves, same settings.
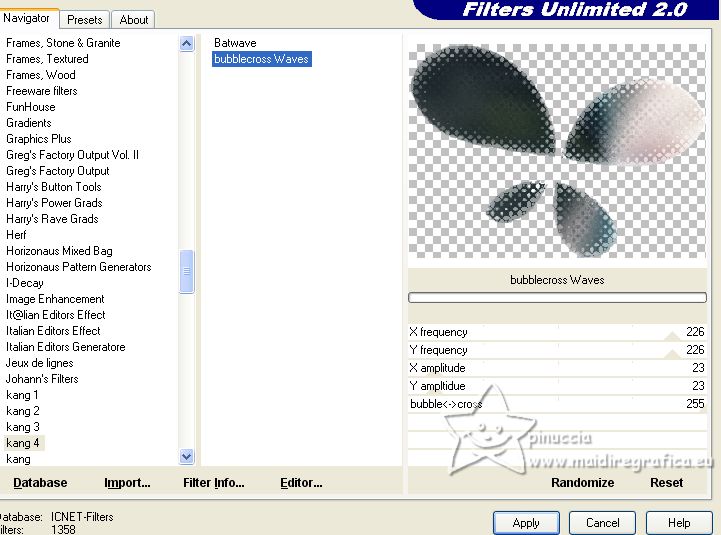
Selections>Load/Save Selection>Load Selection from Alpha Channel.
Load again the selection sélection #1

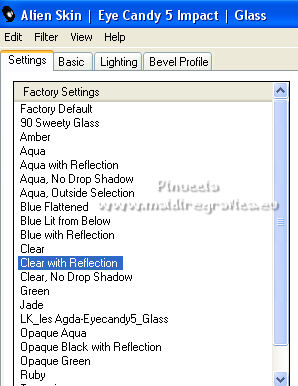
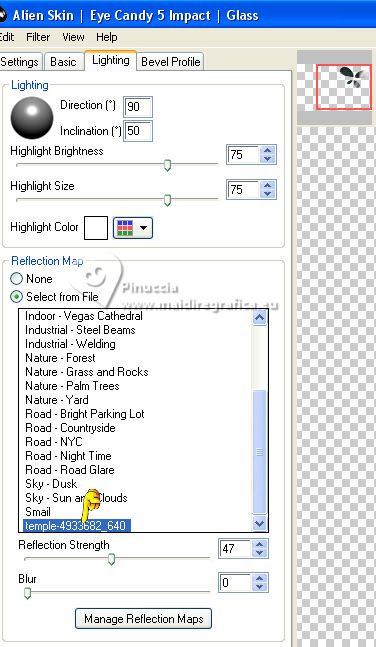
Effects>Plugins>Alien Skin Eye Candy 5 Impact - Glass.
Select the preset Clear with reflection e ok.
Optional: if you want to use use your mirror image:
under the Lighting tab, click on Manage reflections maps,
and in the window that opens click on Import
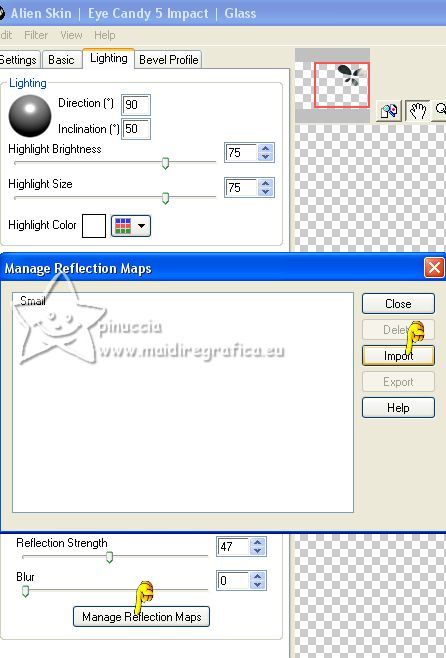
Search and select your image in the folder where you saved it,
click on the successful import message,
and on Close or on the red cross, to close the window.
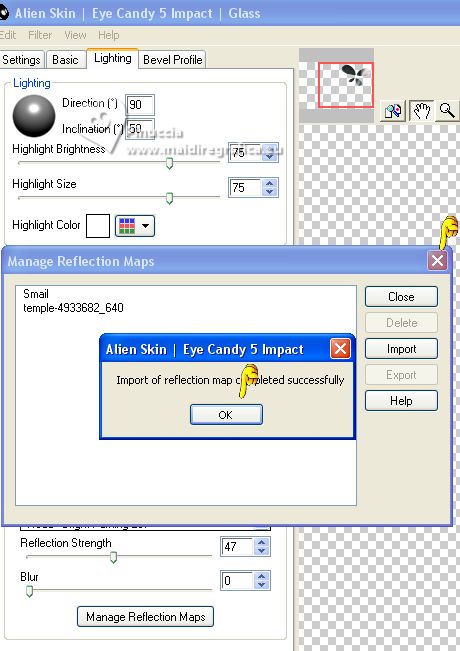
And the imported image will be added in the list.
Select the image and ok.
Selections>Select None.
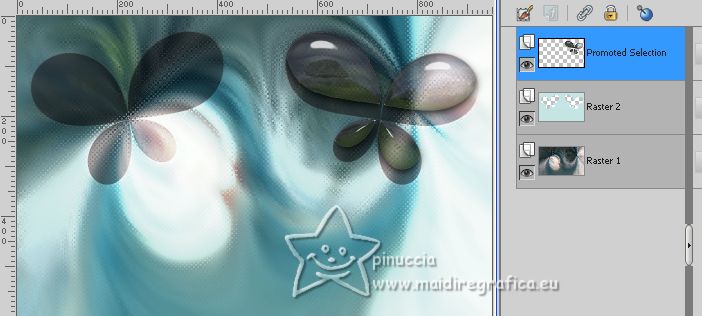
You should have this:
6. Activate your Background color, Raster 1.
Layers>Duplicate.
Layers>Arrange>Bring to Top.
Effects>Plugins>Mura's Meister - Perspective Tiling.
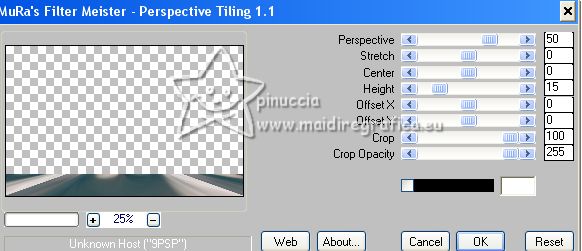
Change the Blend Mode of this layer to Overlay.
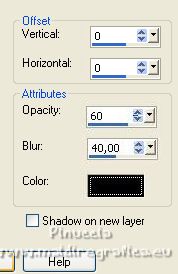
Effects>3D Effects>Drop shadow, color black.
7. Activate the layer Raster 2.
Open the landscape tube temple_misted MM 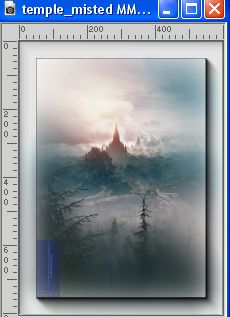
Edit>Copy.
Go back to your work and go to Edit>Paste as new layer.
Don't move it.
Reduce the opacity of this layer to 70%, or according your tube.
8. Activate your top layer.
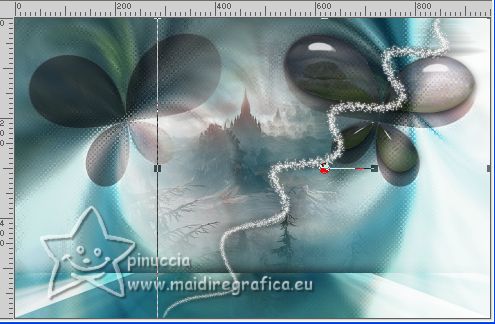
Open the tube déco étoiles 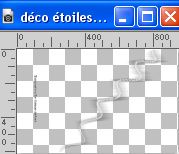
Erase the watermark and go to Edit>Copy.
Go back to your work and go to Edit>Paste as new layer.
Move  the tube to the right side. the tube to the right side.
(Objects>Align>Right)
9. Activate again the bottom layer Raster 1.
Open the tube déco papillons 
Edit>Copy.
Go back to your work and go to Edit>Paste as new layer.
Move  the tube up. the tube up.
(Objects>Align>Top)
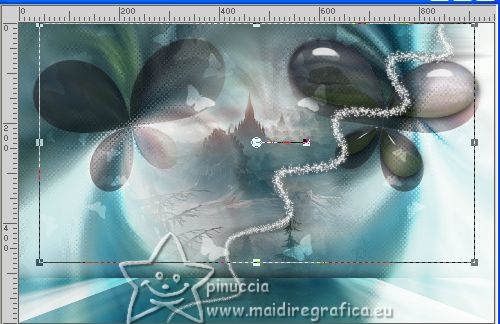
Change the Blend Mode of this layer to Overlay.
Layers>Arrange>Move up.
10. Activate your top layer.
Open the tube tube_danimage_gael_-2- 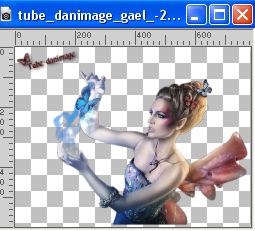
Erase the watermark and go to Edit>Copy.
Go back to your work and go to Edit>Paste as new layer.
Image>Mirror.
Image>Resize, to 80%, resize all layers not checked.
Move  the tube at the bottom left. the tube at the bottom left.
Objects>Align>Left.
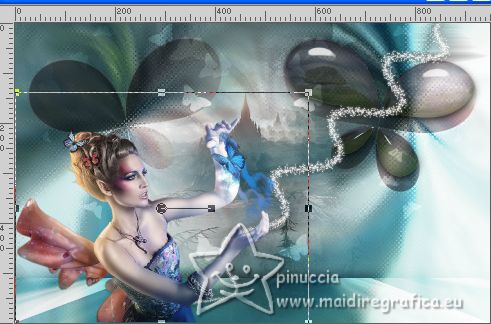
Adjust>Sharpness>Sharpen.
Effects>3D Effects>Drop Shadow, color black.

Edit>Repeat Drop Shadow.
(adapt to your tube).
11. Note: To change the color of the tubes and test,
you can use the Change to Target Brush 
Open the tube titre 
Edit>Copy.
Go back to your work and go to Edit>Paste as new layer.
Move  it at the bottom right it at the bottom right
or K key to activate your Pick Tool 
and sed Position X: 445,00 and Position Y: 485,00.

M key to deselect the Tool.
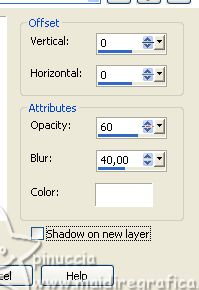
Effects>3D Effects>Drop Shadow, color white.
12. Image>Add borders, 1 pixel, symmetric, color white.
Image>Add borders, 1 pixel, symmetric, color black.
Image>Add borders, 1 pixel, symmetric, colore di primo piano.
Image>Add borders, 1 pixel, symmetric, color black.
Selections>Select All.
13. Image>Add borders, 20 pixels, symmetric, color white.
Effects>Image Effects>Seamless Tiling, default settings.

Selections>Invert.
Adjust>Blur>Motion Blur, same settings.

Effects>Plugins>Filters Unlimited 2.0 - Kang 4 - Bubblecross waves, same settings.
Adjust>Sharpness>Sharpen.
Selections>Invert.
Effects>3D Effects>Drop shadow, color black.

Selections>Select None.
14. Image>Add borders, 1 pixel, symmetric, color white.
Image>Add borders, 1 pixel, symmetric, color black.
Image>Add borders, 1 pixel, symmetric, colore di primo piano.
Image>Add borders, 1 pixel, symmetric, color black.
Selections>Select All.
15. Image>Add borders, 20 pixels, symmetric, color white.
Effects>3D Effects>Drop shadow, color black.

Selections>Invert.
Effects>Plugins>Filters Unlimited 2.0 - - Kang 4 - Bubblecross waves, same settings.
Selections>Invert.
Effects>3D Effects>Drop shadow, same settings.
Selections>Select None.
16. Open the tube déco final 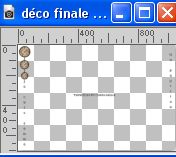
Erase the watermark and go to Edit>Copy.
Go back to your work and go to Edit>Paste as new layer.
K key to activate your Pick Tool 
and set Position X: -6,00 and Position Y: -7,00.

M key to deselect the tool.
17. Open the tube papillon 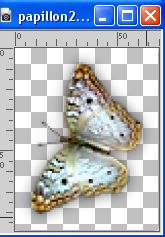
Edit>Copy.
Go back to your work and go to Edit>Paste as new layer.
Move  the tube to the lower right corner. the tube to the lower right corner.
18. Sign your work on a new layer.
Add the author and watermark's watermarks.
19. Image>Add borders, 1 pixel, symmetric, color black.
20. Image>Resize, 950 pixels width, resize all layers checked.
Save as jpg.
For the tubes of this version thanks Wieske and Mds; the misted is mine.

If you have problems or doubts, or you find a not worked link,
or only for tell me that you enjoyed this tutorial, write to me.
8 May 2023

|

