|
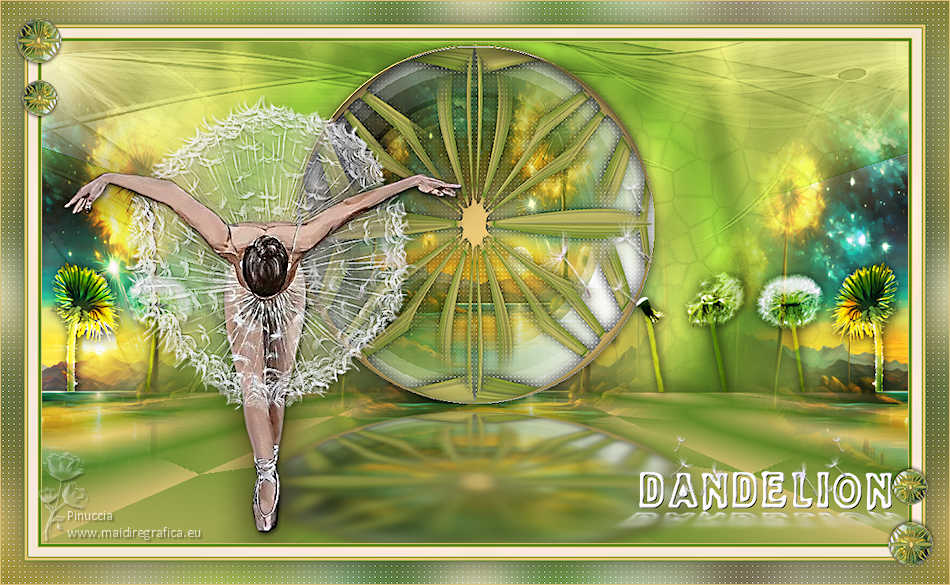
DANDELION


Thanks Irene for the invitation to translate your tutorials

This tutorial was written with PSPX8 and translated with PSPX9 and PSP2020, but it can also be made using other versions of PSP.
Since version PSP X4, Image>Mirror was replaced with Image>Flip Horizontal,
and Image>Flip with Image>Flip Vertical, there are some variables.
In versions X5 and X6, the functions have been improved by making available the Objects menu.
In the latest version X7 command Image>Mirror and Image>Flip returned, but with new differences.
See my schedule here
 italian translation here italian translation here
 Your versions here Your versions here

For this tutorial, you will need:

For the tube thanks Riet.
The rest of the material is by Moi-Méme.
(The links of material creators here).

consult, if necessary, my filter section here
Filters Unlimited 2.0 here
Filter Factory Gallery A - Round Button, Zoom out here
Filter Factory Gallery F - Radial Replicate here
Flaming Pear - Flexify 2 here
Carolaine and Sensibility CS-LDots here
Mura's Meister - Perspective Tiling here
Alien Skin Eye Candy 5 Impact - Glass, Perspective Shadow here
Alien Skin Eye Candy 5 Textures - Texture Noise here
Filters Factory Gallery can be used alone or imported into Filters Unlimited.
(How do, you see here)
If a plugin supplied appears with this icon  it must necessarily be imported into Unlimited it must necessarily be imported into Unlimited

You can change Blend Modes according to your colors.
In the newest versions of PSP, you don't find the foreground/background gradient (Corel_06_029).
You can use the gradients of the older versions.
The Gradient of CorelX here
Copy the presets  in the folder of the plugin Alien Skin Eye Candy 5 Impact>Settings>Glass/Shadow. in the folder of the plugin Alien Skin Eye Candy 5 Impact>Settings>Glass/Shadow.
One or two clic on the file (it depends by your settings), automatically the preset will be copied in the right folder.
why one or two clic see here

If you have problems with the canal alpha, open a new transparent image 950 x 550 pixels,
and use the selections from disk.

1. Set your foreground color to #e2c47b,
and your background color to #618926.
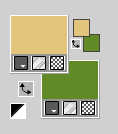
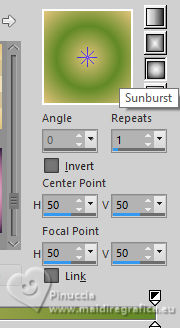
Sete your foreground color to a Foreground/Background Gradient, style Sunburst.
2. Open canal_alpha_dandelion
This image, that will be the basis of your work is not empty,
but contains the selections saved to alpha channel.
Flood Fill  the transparent image with your Gradient. the transparent image with your Gradient.
3. Layers>Duplicate.
Effects>Plugins>Filters Unlimited 2.0 - Filter Factory Gallery A - Round Button.
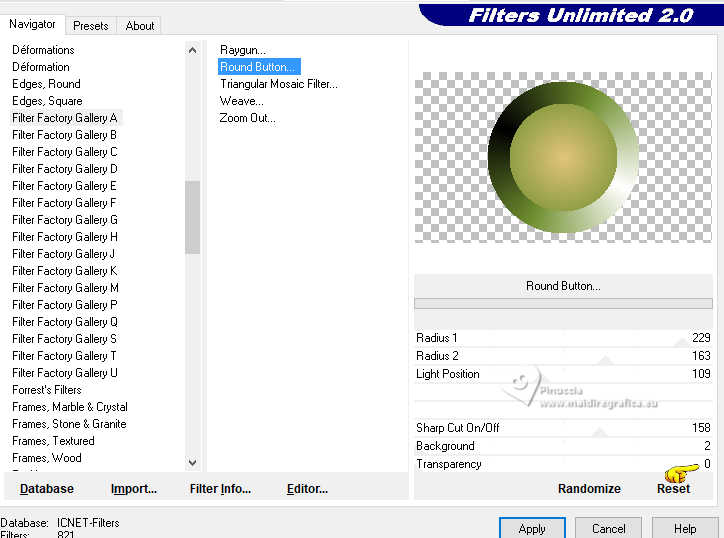
Effects>Plugins>Filters Unlimited 2.0 - Filter Factory Gallery A - Zoom out, default settings.
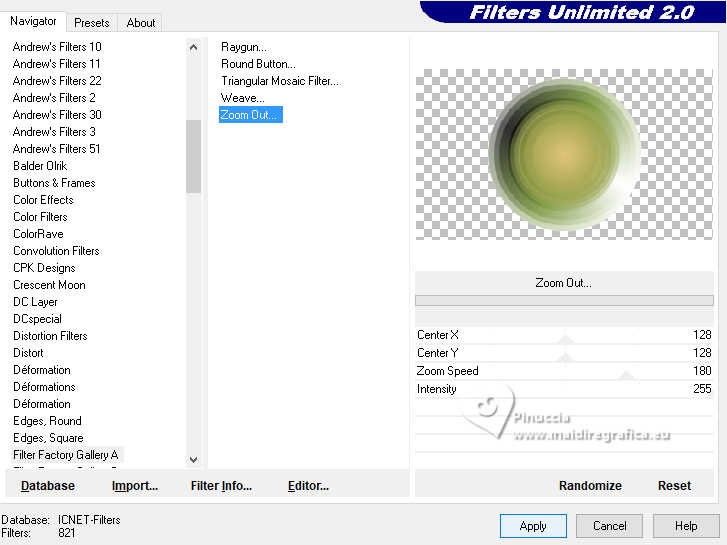
4. Activate the layer below.
Effects>Plugins>Filters Unlimited 2.0 - Filter Factory Gallery F - Radial Replicate.
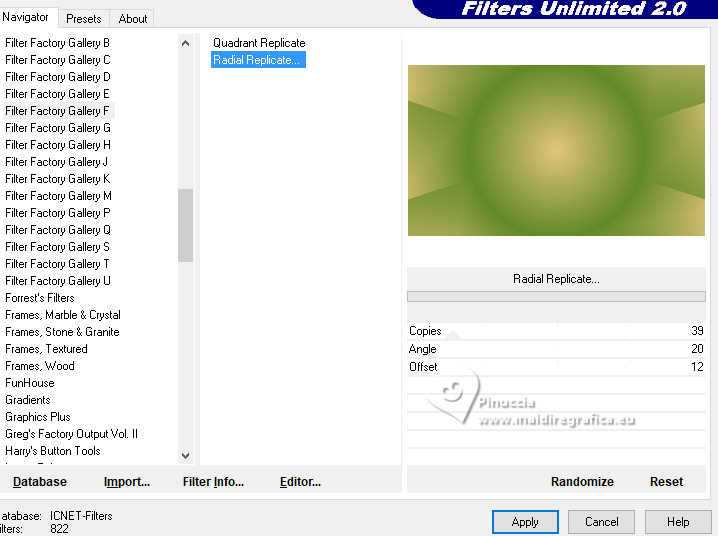
Effects>Edge Effects>Enhance.
5. Selections>Load/Save Selection>Load Selection from Alpha Channel.
The selection sélection #1 is immediately available. You just have to click Load.
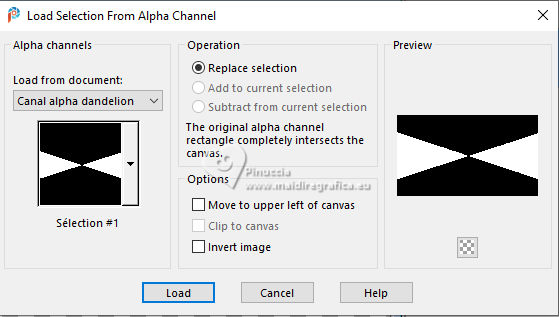
Selections>Promote Selection to layer.
Layers>Arrange>Bring to Top.
6. Effects>Plugins>Alien Skin Eye Candy 5 Textures - Texture Noise - Setting: Heavy Rain
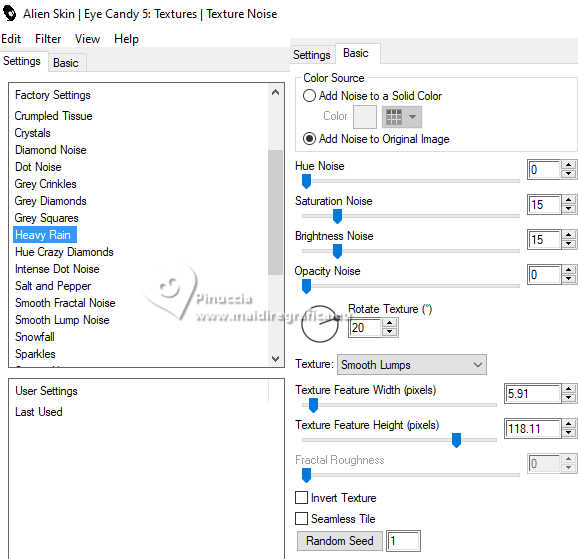
Selections>Select None.
Effects>Plugins>Flaming Pear - Flexify 2.
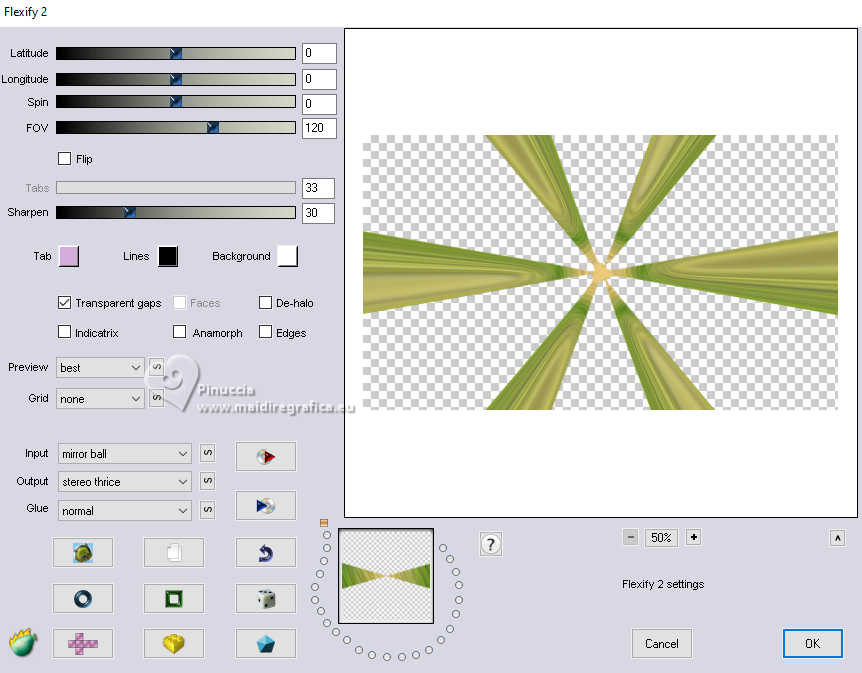
Repeat this Effect another time.
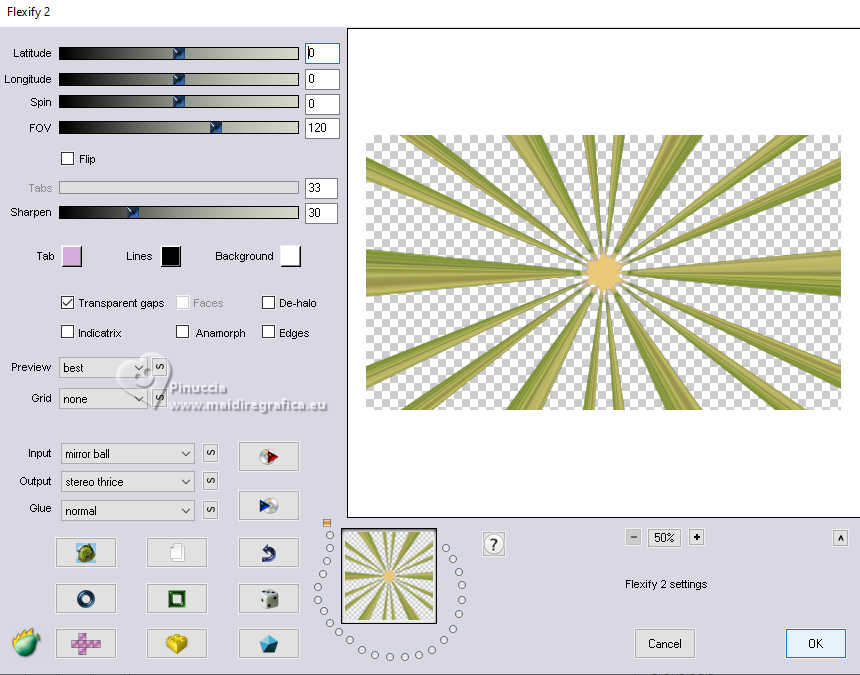
Effects>Image Effects>Seamless Tiling, default settings.

Effects>Geometric Effects>Circle.

Image>Resize, to 90%, resize all layers not checked.
Effects>3D Effects>Drop Shadow, color black - shadow on a new layer checked.

7. Stay on the layer of the shadow.
Effects>Plugins>Carolaine and Sensibility - CS-LDots.
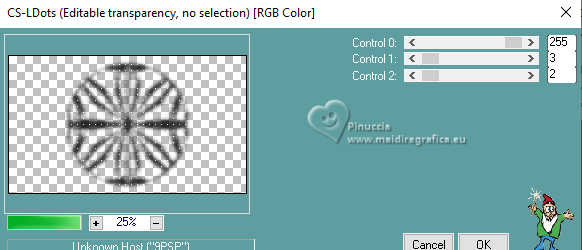
Repeat the Effect another time.
Image>Resize, to 98%, resize all layers not checked.
8. Activate the layer Raster 1.
Layers>Duplicate.
Effects>Plugins>Mura's Meister - Perspective Tiling.
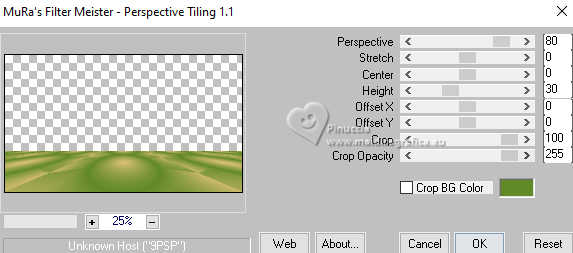
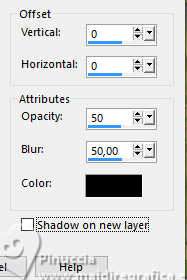
Effects>3D Effects>Drop Shadow, color black - shadow on a new layer not checked.
9. Activate again the layer Raster 1.
Open déco 1 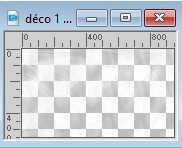
Edit>Copy.
Go back to your work and go to Edit>Paste as new layer.
Change the Blend Mode of this layer to Overlay (adapt to your colors).
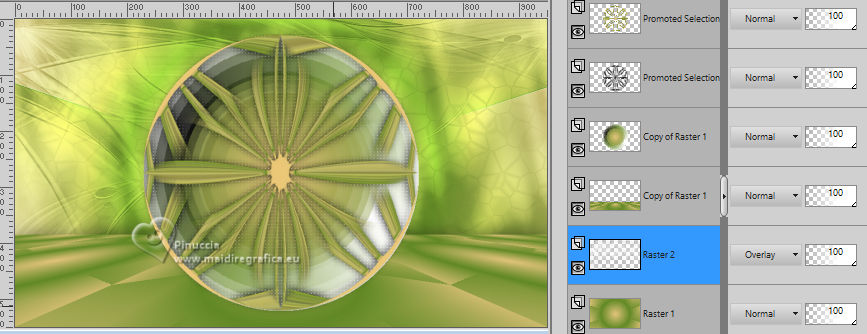
10. Activate the layer above, Copy of Raster 1.
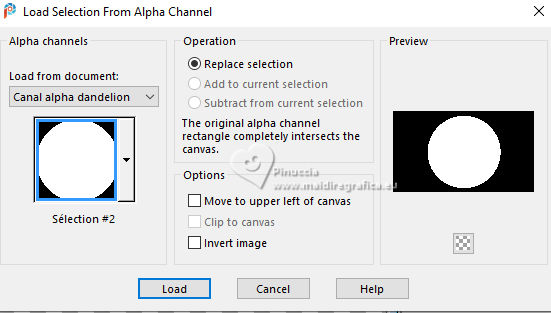
Selections>Load/Save Selection>Load Selection from Alpha Channel.
Open the Selections menu and load the selection sélection #2.
Layers>New Raster Layer.
Open ai-generated-paysage_misted par MM 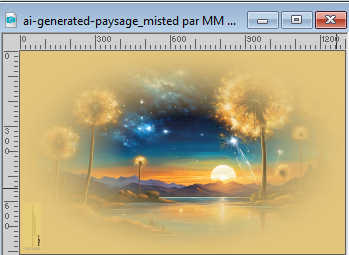
Edit>Copy.
Go back to your work and go to Edit>Paste into Selection.
Layers>Arrange>Move up.
Selections>Select None.
Change the Blend Mode of this layer to Overlay.
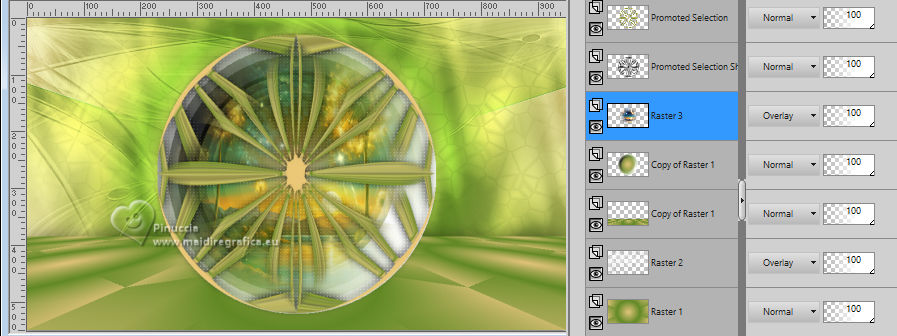
11. Layers>Duplicate.
Effects>Image Effects>Seamless Tiling.
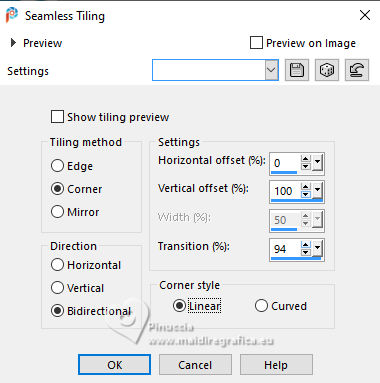
Change the Blend Mode of this layer to Hard Light (adapt to your landscape and to your colors).
Layers>Arrange>Move Down - 2 times
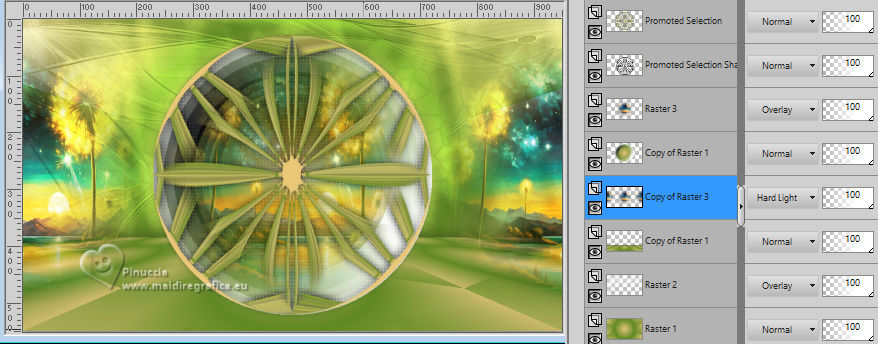
12. Close the 4 bottom layer and activate the layer below.
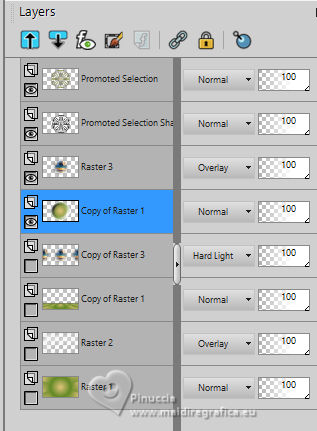
Layers>Merge>Merge visible.
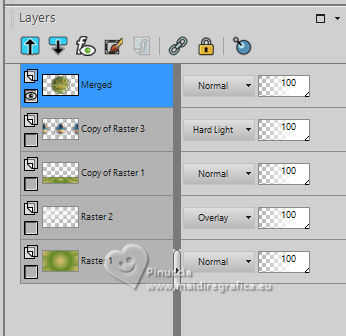
Layers>View>All.
13. Stay on the layer Merged.
Selections>Load/Save Selection>Load Selection from Alpha Channel.
Open the Selections menu and load again the selection sélection #2.

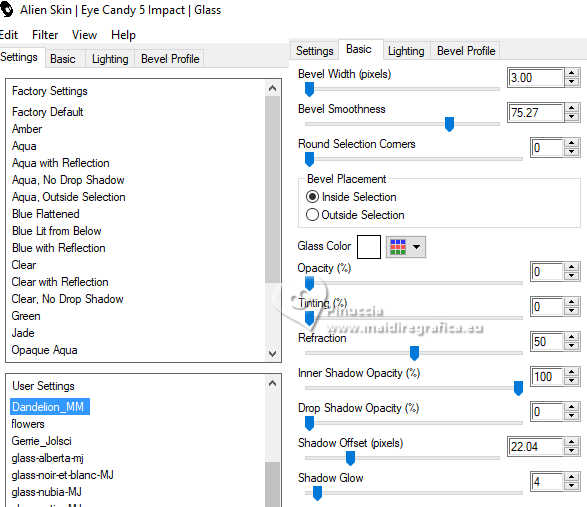
Effects>Plugins>Alien Skin Eye Candy 5 Impact - Glass
Select the preset Dandelion_MM - Glass Color: white.
14. Edit>Copy.
Edit>Paste as new image, and minimize this image.
(possibly, for caution, save the image as png or pspimage).
Selections>Select None.
15. Stay always on the layer Merged.
Image>Resize, to 80%, resize all layers not checked.
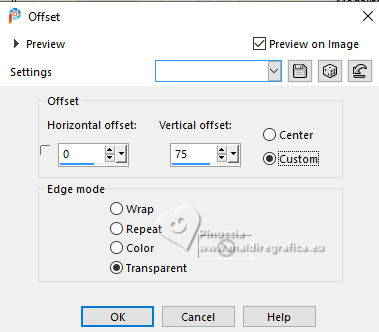
Effects>Image Effects>Offset.
Adjust>Sharpness>Sharpen.
Effects>Plugins>Alien Skin Eye Candy 5 Impact - Perspective Shadow
select the preset DandelionMM
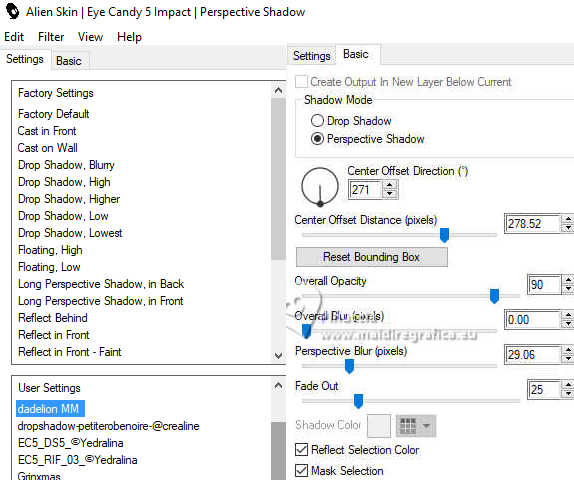
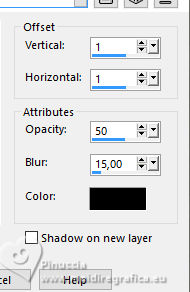
Effects>3D Effects>Drop Shadow, color black.
16. Open déco 2 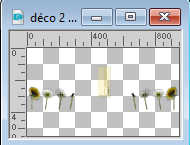
Erase the watermark and go to Edit>Copy.
Go back to your work and go to Edit>Paste as new layer.
Change the Blend Mode of this layer to Hard Light.
K key to activate your Pick Tool 
keep Position X: 8,00 and set Position Y: 242,00

Effects>3D Effects>Drop Shadow, same settings.
17. Activate the layer below.
Open déco 3 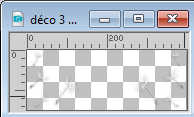
Edit>Copy.
Go back to your work and go to Edit>Paste as new layer.
keep Position X: 276,00 and set Position Y: 146,00

18. Activate your top layer.
Open the tube Riet_1051+250823 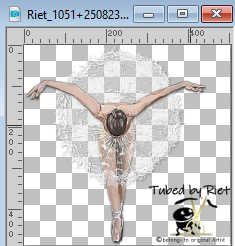
Erase the watermark and go to Edit>Copy.
Go back to your work and go to Edit>Paste as new layer.
Position X: 19,00 and Position Y: 57,00

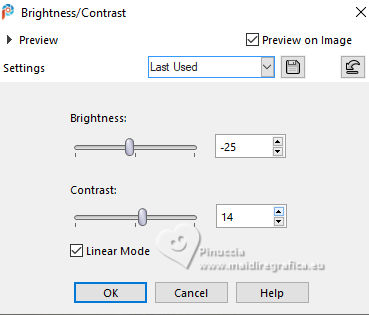
Optional, according to your tube:
Adjust>Brightness and Contrast>Brightness and Contrast
19. Layers>Duplicate.
Activate the layer below.
Adjust>Blur>Gaussian Blur - radius 20.

Change the Blend Mode of this layer to Multiply.
20. Activate your top layer.
Open titre 
Edit>Copy.
Go back to your work and go to Edit>Paste as new layer.
Position X: 620,00 and Position Y: 430,00

M key to deselect the Tool.
21. Image>Add borders, 1 pixel, symmetric, foreground color.
Image>Add borders, 3 pixels, symmetric, background color.
Image>Add borders, 1 pixel, symmetric, foreground color.
Image>Add borders, 10 pixels, symmetric, color 3 #f5e9cf.
Image>Add borders, 1 pixel, symmetric, background color.
Image>Add borders, 3 pixels, symmetric, foreground color.
Image>Add borders, 1 pixel, symmetric, background color.
Selections>Select All.
22. Image>Add borders, 25 pixels, symmetric, color 3 #f5e9cf.
Effects>Image Effects>Seamless Tiling, default settings.

Selections>Invert.
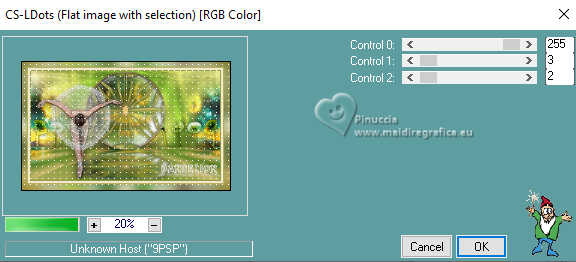
Adjust>Blur>Gaussian Blur - radius 30.

Effects>Plugins>Carolaine and Sensibility - CS-LDots, same settings.
Selections>Invert.
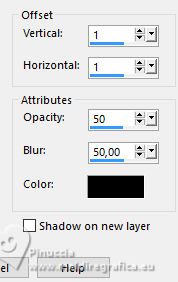
Effects>3D Effects>Drop Shadow, color black.
Selections>Select None.
23. Activate the image minimized at step 14 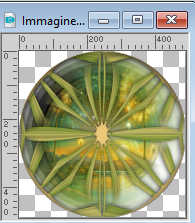
Edit>Copy.
Go back to your work and go to Edit>Paste as new layer.
Image>Resize, to 10%, resize all layers not checked.
K key to activate your Pick Tool 
Position X: 17,00 and Position Y: 19,00

24. Layers>Duplicate.
Image>Resize, to 80%, resize all layers not checked.
Position X: 23,00 and Position Y: 87,00.

M key to deselect the Tool.
Layers>Merge>Merge Down.
Adjust>Sharpness>Sharpen.
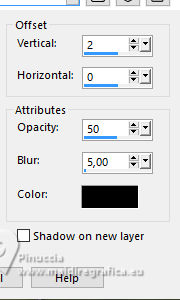
Effects>3D Effects>Drop Shadow, color black.
25. Layers>Duplicate.
Image>Mirror>Mirror vertical.
Image>Mirror>Mirror horizontal.
26. Sign your work.
Add the author and translatos watermarks.
27. Image>Add borders, 1 pixel, symmetric, foreground color.
Image>Resize, 950 pixels width, resize all layers checked.
Adjust>Sharpness>Unsharp Mask - Soft.

Save as jpg.
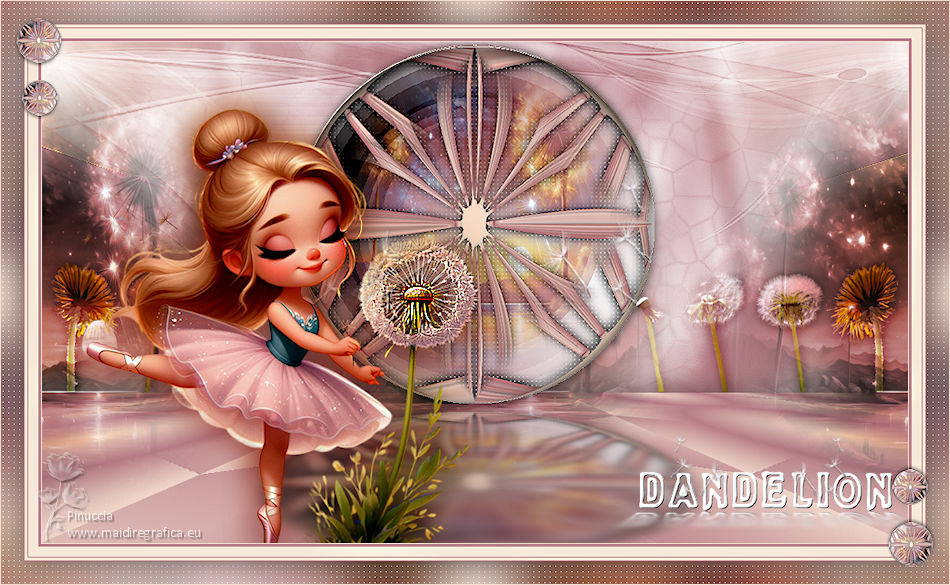
For the tubes of this version thanks

If you have problems or doubts, or you find a not worked link,
or only for tell me that you enjoyed this tutorial, write to me.
5 May 2024

|

