|
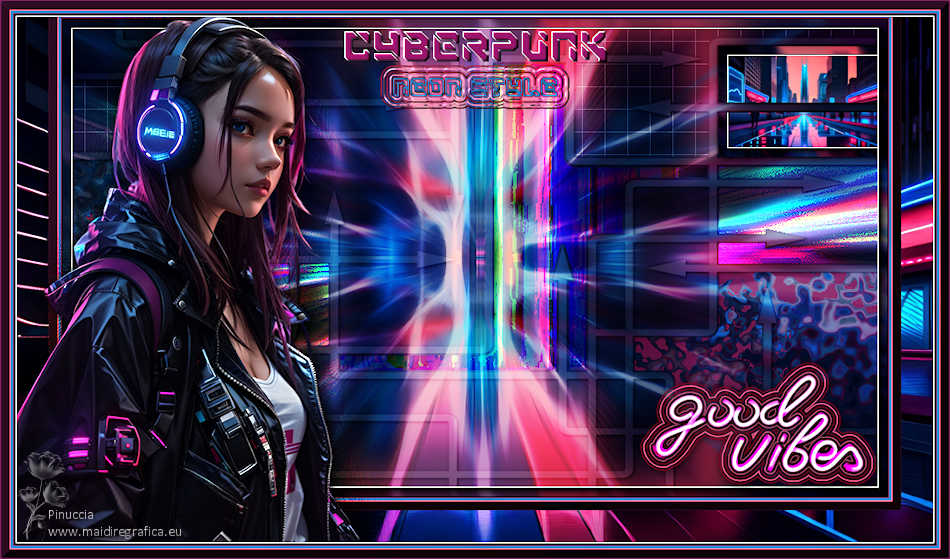
CYBER PUNK, NEON STYLE


Thanks Irene for the invitation to translate your tutorials

This tutorial was written with PSPX8 and translated with PSPX9 and PSP2020, but it can also be made using other versions of PSP.
Since version PSP X4, Image>Mirror was replaced with Image>Flip Horizontal,
and Image>Flip with Image>Flip Vertical, there are some variables.
In versions X5 and X6, the functions have been improved by making available the Objects menu.
In the latest version X7 command Image>Mirror and Image>Flip returned, but with new differences.
See my schedule here
 italian translation here italian translation here

For this tutorial, you will need:

For the image and the deco tube thanks Pixabay.
The rest of the material is by Moi-Méme.
You can find themed tubes by Moi-Méme here
(The links of material creators here).

consult, if necessary, my filter section here
Filters Unlimited 2.0 here
&<Bkg Designer sf10IV> - Grid (da importare in Unlimited) here
Redfield - Fractalius here
Mehdi - Melt 1.1. here
AAA Filters / AAA Frames here

You can change Blend Modes according to your colors.

If you have problems with the canal alpha, open a new transparent image 950 x 550 pixels,
and use the selections from disk.
1. Set your foreground color to #3182bb,
and your background color to #872765.
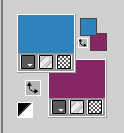
Color 3: #f97499 
2. Open Canal_alpha_Cyberpunk_NS
This image, that will be the basis of your work is not empty,
but contains the selections saved to alpha channel.
Selections>Select All.
Open the image Cyberpunk town_ai-generated 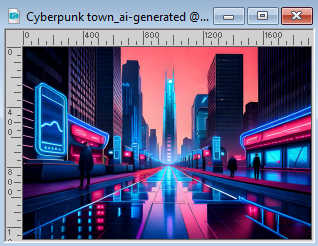
Edit>Copy.
Minimize the image.
Go back to your work and go to Edit>Paste into Selection.
Selections>Select None.
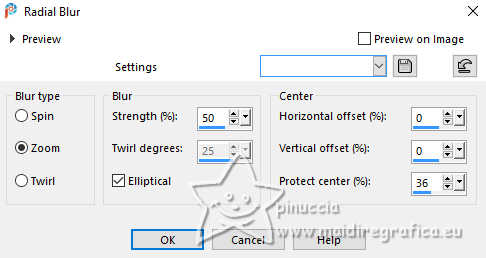
Adjust>Blur>Radial Blur.
2. Layers>Duplicate.
Image>Mirror>Mirror vertical (Image>Flip).
Reduce the opacity of this layer to 50%.
Layers>Merge>Merge Down.
Effects>Edge Effects>Enhance.
3. Layers>Duplicate.
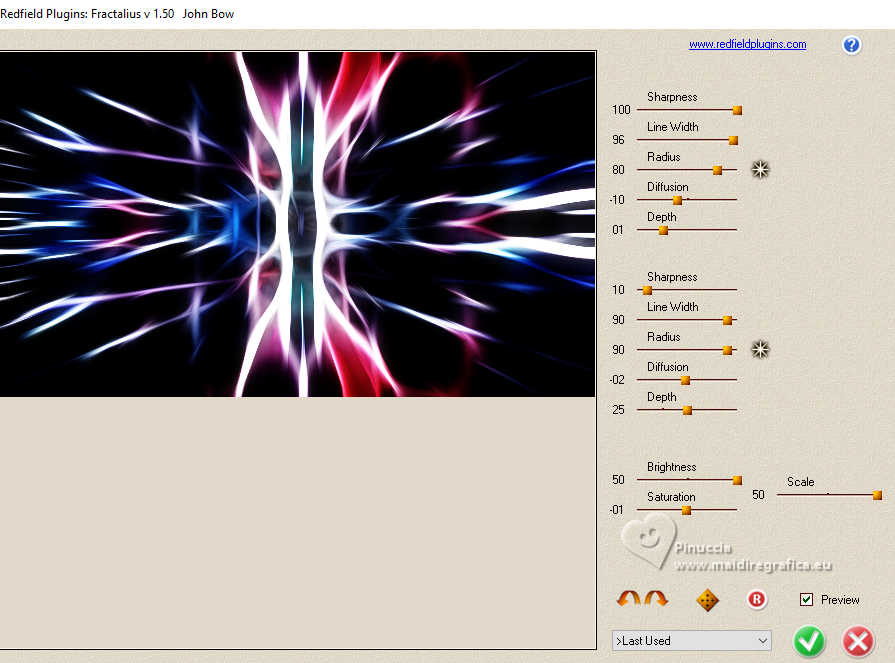
Effects>Plugins>Redfield - Fractalius
Effects>Plugins>AAA Filters - Transparent Vignette, default settings.
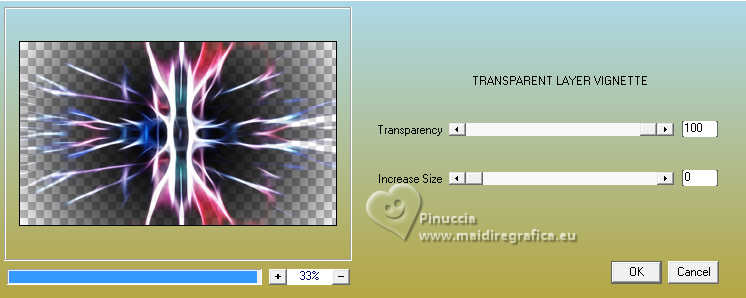
Repeat this Effect another time.
Change the Blend Mode of this layer to Soft Light.
4. Open déco 1 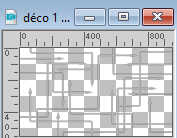
Edit>Copy.
Go back to your work and go to Edit>Paste as new layer.
Change the Blend Mode of this layer to Soft Light.
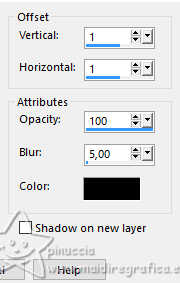
Effects>3D Effects>Drop Shadow, color black.
5. Activate the layer Raster 1.
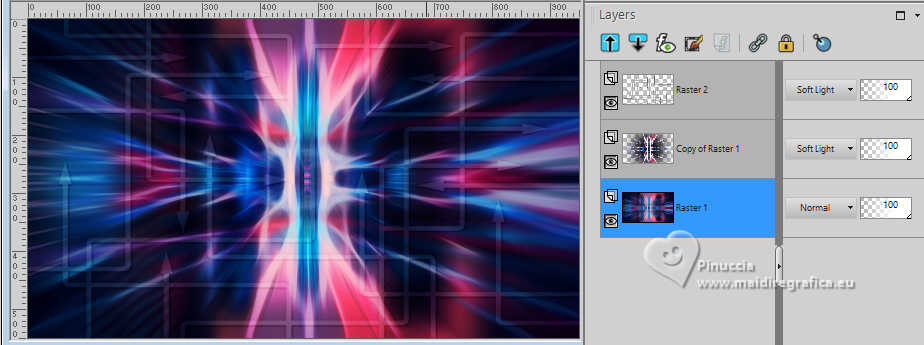
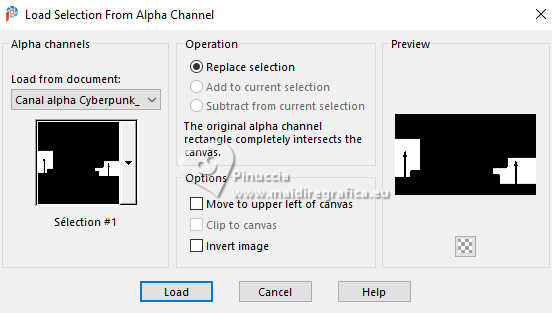
Selections>Load/Save Selection>Load Selection from Alpha Channel.
The selection sélection #1 is immediately available. You just have to click Load.
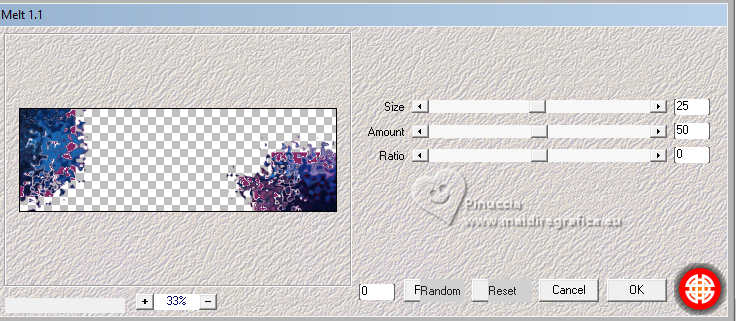
Selections>Promote Selection to layer.
Effects>Plugins>Mehdi - Melt 1.1., default settings.
Note: the next selection replaces the previous one; otherwise Deselect.
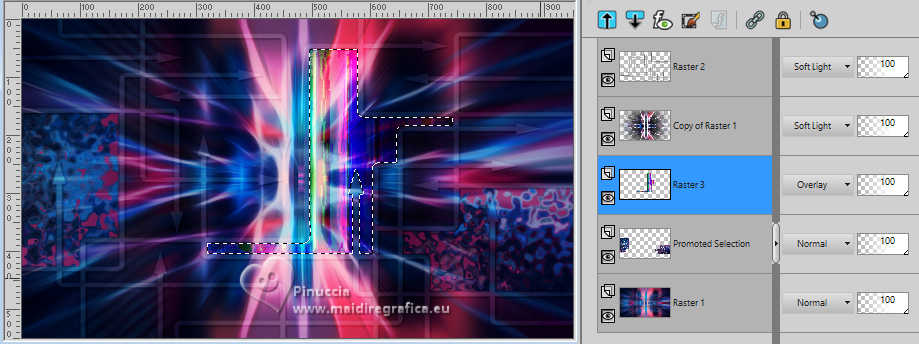
6. Layers>New Raster Layer.
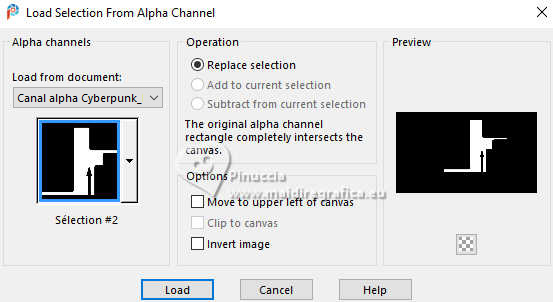
Selections>Load/Save Selection>Load Selection from Alpha Channel.
Open the Selections menu and load the selection sélection #2.
Open the image image néons 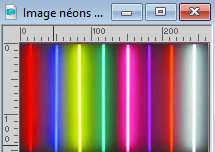
Edit>Copy.
Go back to your work and go to Edit>Paste into Selection.
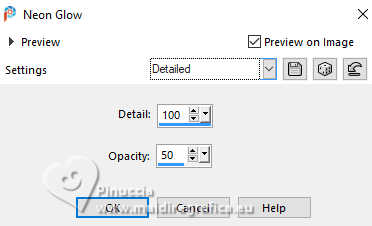
Effects>Artistic Effects>Neon Glow - preset Detailed.
Change the Blend Mode of this layer to Overlay.
7. Activate your background layer, Raster 1.
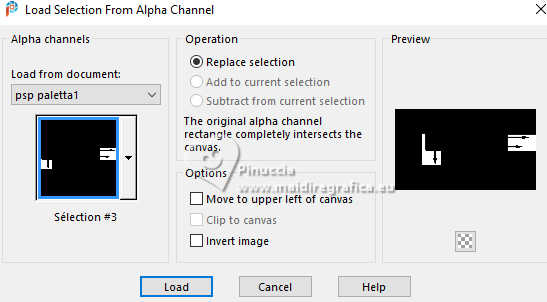
Selections>Load/Save Selection>Load Selection from Alpha Channel.
Open the Selections menu and load the selection sélection #3.
Selections>Promote Selection to Layer.
Layers>Arrange>Move Up.
Effects>Artistic Effects>Neon Glow, same settings.
Change the Blend Mode of this layer to Dodge.
8. Activate again the layer Raster 1.
Layers>New Raster Layer.
Selections>Load/Save Selection>Load Selection from Alpha Channel.
Open the Selections menu and load the selection sélection #4.
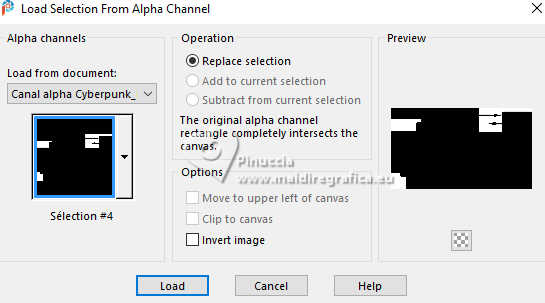
Effects>Plugins>Filters Unlimited 2.0 - &<Bkg Designer sf10IV> - Grid
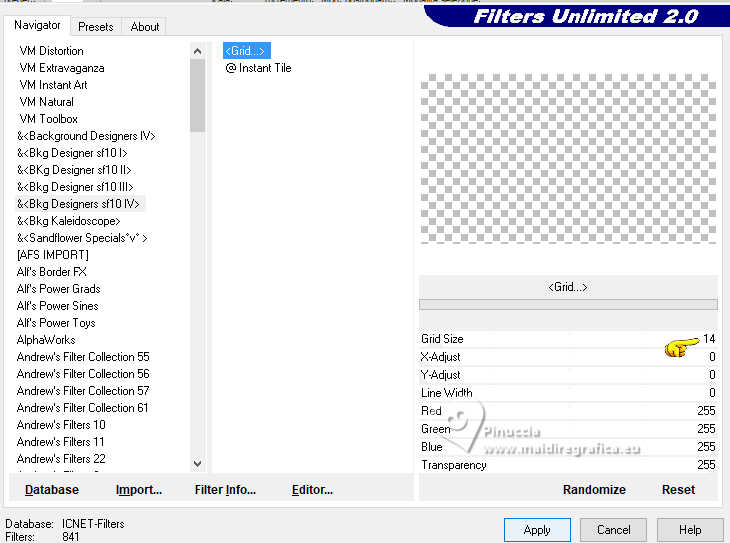
Change the Blend Mode of this layer to Soft Light.
9. Activate your top layer.
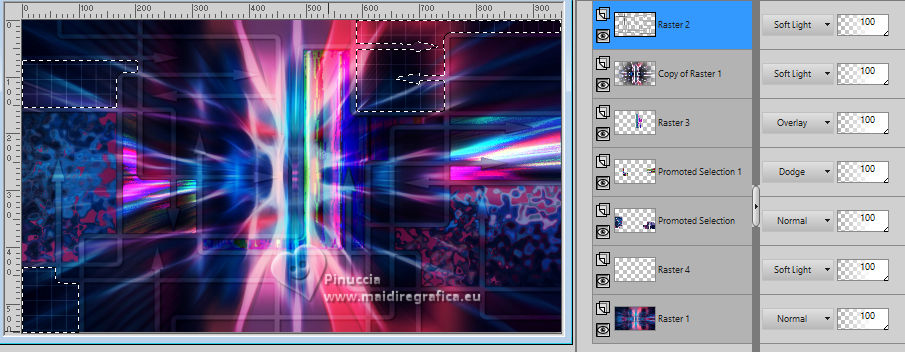
Layers>New Raster Layer.
Selections>Load/Save Selection>Load Selection from Alpha Channel.
Open the Selections menu and load the selection sélection #5.
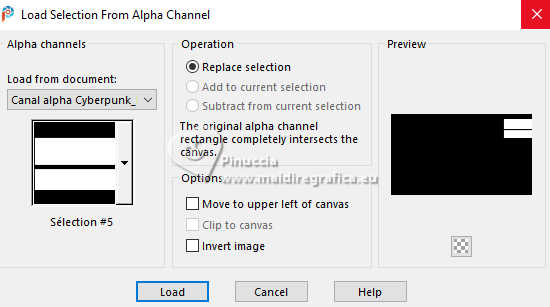
Activate again the first image Cyberpunk town_ai-generated and go to Edit>Copy.
Go back to your work and go to Edit>Paste into Selection.
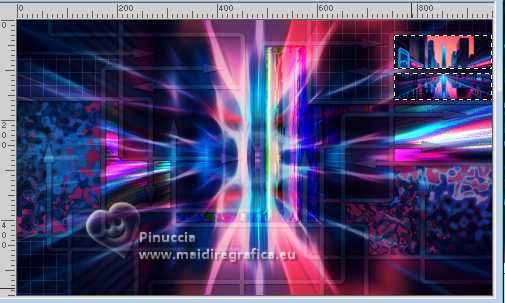
Effects>Plugins>AAA Frames - Foto Frame.
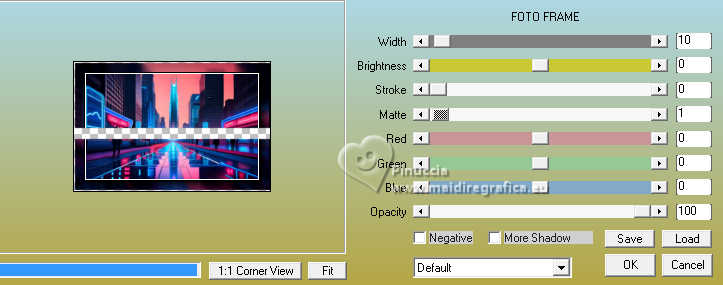
Selections>Select None.
Effects>3D Effects>Drop Shadow, color black.

10. Image>Add borders, 1 pixel, symmetric, background color.
Image>Add borders, 3 pixels, symmetric, foreground color.
Image>Add borders, 1 pixel, symmetric, color 3 #f97499 
Selections>Select All.
11. Image>Add borders, symmetric not checked, color 3 #f97499.
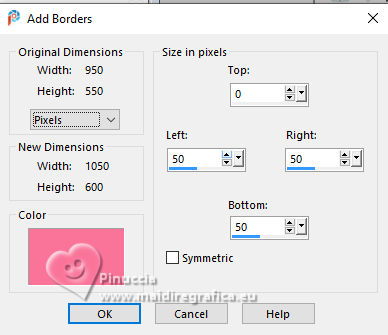
Selections>Invert.
Edit>Paste into Selection (the image is still in memory).
Selections>Promote Selection to layer.
Effects>Plugins>Redfield - Fractalius, same settings.
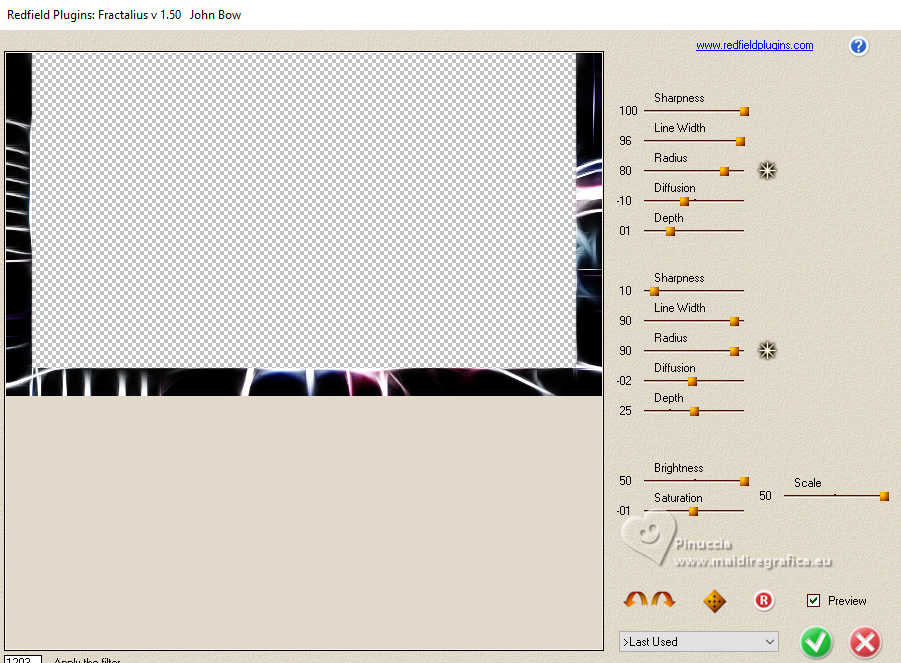
Effects>Plugins>AAA Filters - Transparent Vignette, same settings.
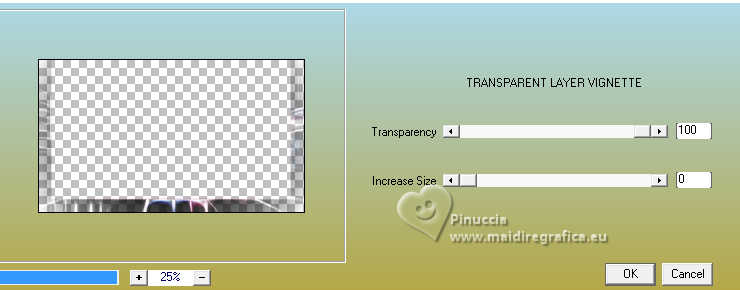
Change the Blend Mode of this layer to Soft Light, or according to your work.
Effects>Edge Effects>Enhance.
Layers>Merge>Merge Down.
Selections>Invert.
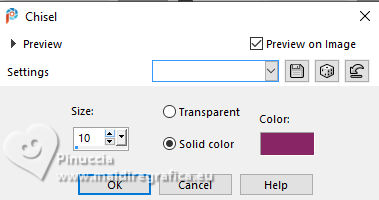
Effects>3D Effects>Chisel, background color.
Selections>Modify>Contract - 5 pixels.
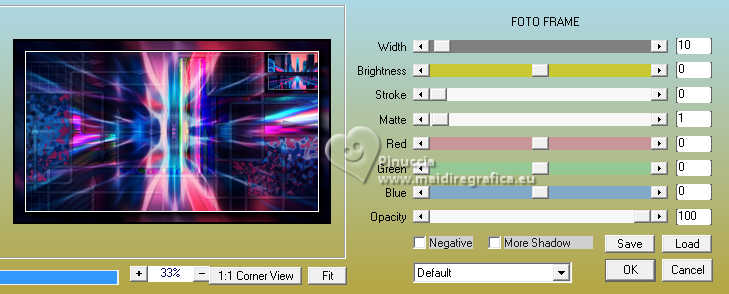
AAA Frames - Foto Frame, same settings.
Selections>Select None.
12. Open the tube cyberpunk-neon style_2tube MM 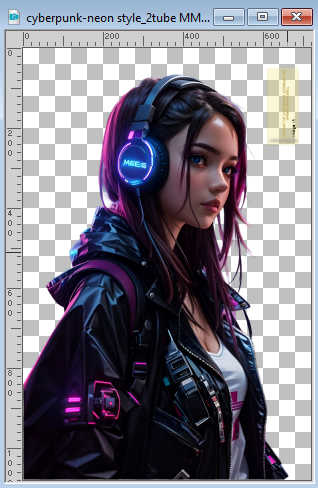
Erase the watermark and go to Edit>Copy.
Go back to your work and go to Edit>Paste as new layer.
Image>Resize, to 60%, resize all layers not checked.
Objects>Align>Left.
Objects>Align>Bottom.
Or K key to activate your Pick Tool 
Set Position X: 0,00 and Position Y: 2,00.

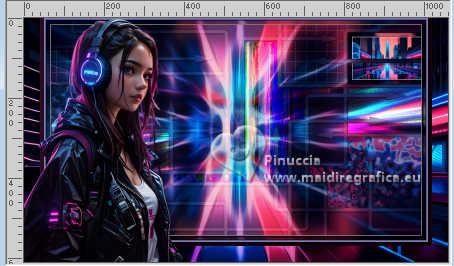
M key to deselect the Tool.
13. Layers>Duplicate.
Activate the layer below of the original.
Adjust>Blur>Gaussian Blur - radius 30.

Effects>Artistic Effects>Neon Glow, same settings.

Change the Blend Mode of this layer to Overlay, or according to your work.
Activate the layer above of the copy.
Effects>3D Effects>Drop Shadow, same settings.

14. Open déco Néon 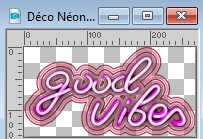
Edit>Copy.
Go back to your work and go to Edit>Paste as new layer.
K key to activate your Pick Tool 
set Position X: 719,00 and Position Y: 400,00.

M key to deselect the Tool.
Effects>3D Effects>Drop Shadow, same settings.
15. Image>Add borders, 1 pixel, symmetric, background color.
Image>Add borders, 3 pixels, symmetric, foreground color.
Image>Add borders, 1 pixel, symmetric, color 3 #f97499 
Selections>Select All.
16. Image>Add borders, 10 pixels, symmetric, background color.
Effects>3D Effects>Chisel, same settings.
Selections>Modify>Contract -5 pixels.
Effects>Plugins>AAA Frames - Foto Frame.
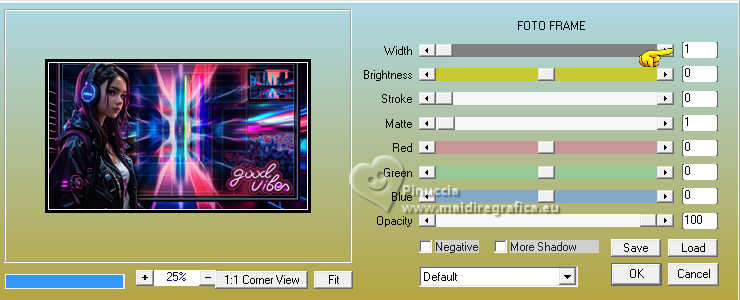
Selections>Select None.
17. Open the text titre 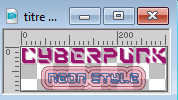
Edit>Copy.
Go back to your work and go to Edit>Paste as new layer.
(Colorize to adapt it to your work).
K key to activate your Pick Tool 
set Position X: 394,00 and Position Y: 34,00.

M key to deselect the Tool.
(adapt the place according to your tube, modify the Blend Mode to your liking).
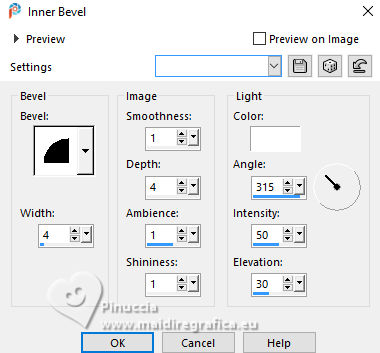
Effects>3D Effects>Inner Bevel.
18. Sign your work on a new layer.
Add the author's signature, without forgetting that of the translator.
19. Image>Add borders, 1 pixel, symmetric, background color.
20. Image>Resize, 950 pixels width, resize all layers checked.
Adjust>Sharpness>Unsharp Mask - Soft.

Save as jpg.
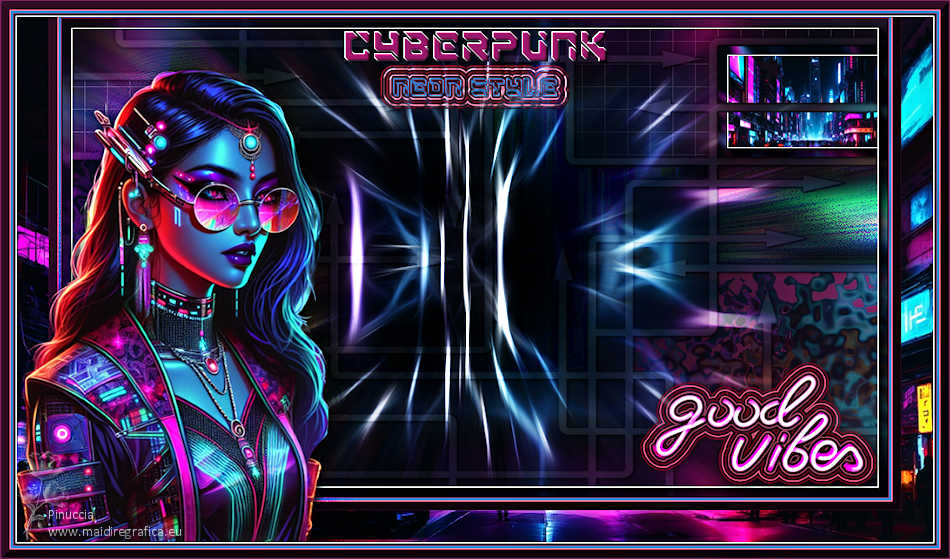
For the tube of this version thanks Moi-Même

If you have problems or doubts, or you find a not worked link,
or only for tell me that you enjoyed this tutorial, write to me.
15 May 2024

|

