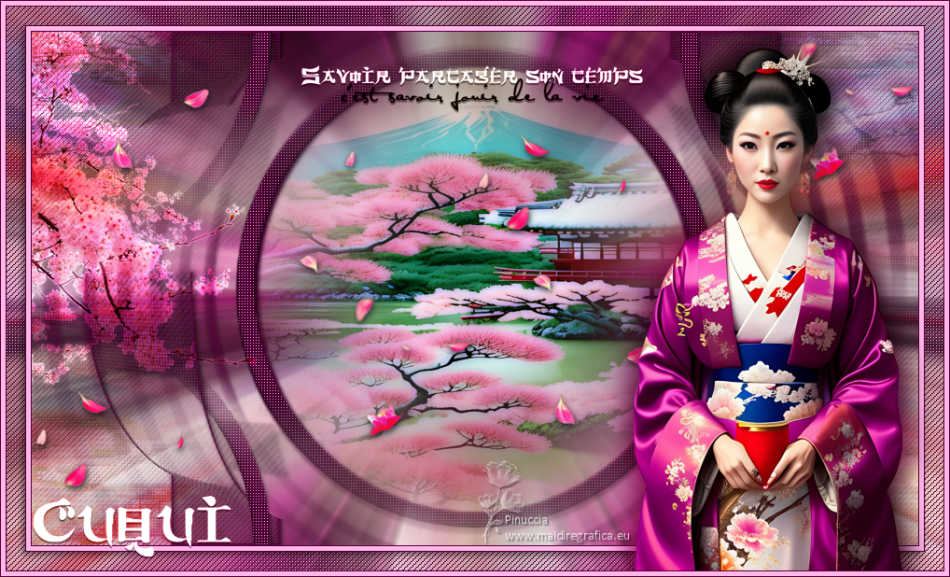
|
CUQUI


Thanks Irene for the invitation to translate your tutorials

This tutorial was written with PSPX8 and translated with PSPX7 and PSPX3, but it can also be made using other versions of PSP.
Since version PSP X4, Image>Mirror was replaced with Image>Flip Horizontal,
and Image>Flip with Image>Flip Vertical, there are some variables.
In versions X5 and X6, the functions have been improved by making available the Objects menu.
In the latest version X7 command Image>Mirror and Image>Flip returned, but with new differences.
See my schedule here
 italian translation here italian translation here
 Your versions here Your versions here

For this tutorial, you will need:

Thanks for the tube Cuqui Alonso and for the masks Narah.
The rest of the material is by Moi-Même.
(The links of material creators here).

consult, if necessary, my filter section here
Xero XL - Porcelain here

You can change Blend Modes according to your colors.

Open the masks in PSP and minimize them with the rest of the material.
If you have problems with alpha channel,
open a new transparent image 950 x 550 pixels,
and use the selections from disk.
Set your foreground color to #ffb7e8,
and your background color to #530036.

1. Open canal alpha cuqui
This image, that will be the basis of your work, is not empty,
but contains a selection saved to alpha channel.
Selections>Select All.
2. Apri il tube della donna CAD_mujeres_012 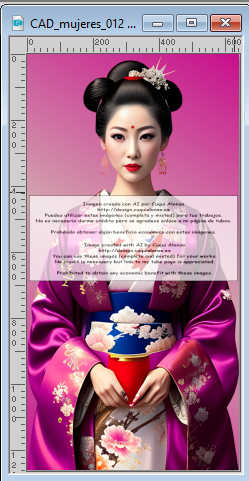
Edit>Copy.
Go back to your work and go to Edit>Paste into selection.
Selections>Select None.
3. Effects>Image Effects>Seamless Tiling, default settings.

Adjust>Blur>Radial Blur.
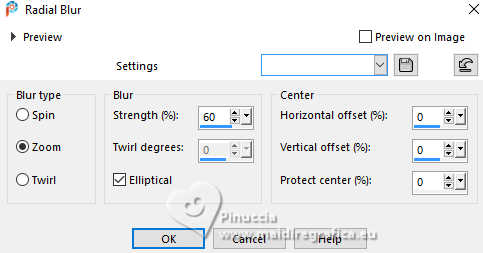
Layers>Merge>Merge All.
Layers>Promote Background Layer.
4. Layers>Duplicate.
Layers>New Mask layer>From image
Open the menu under the source window and you'll see all the files open.
Select the mask NarahsMasks_1767
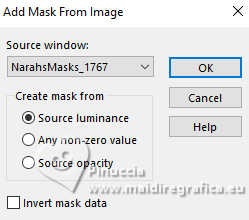
Layers>Merge>Merge Group.
don't worry if you don't see the difference; this is normal.
Effects>Texture Effects>Weave
weave color: background color
gap color: foreground color.
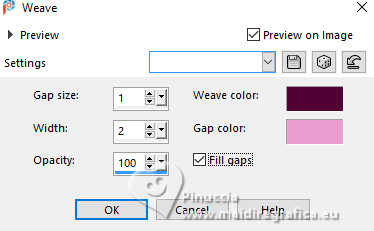
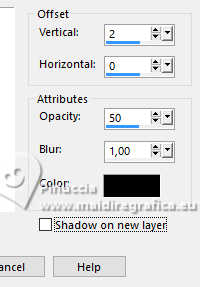
Effects>3D Effects>Drop Shadow, color black.
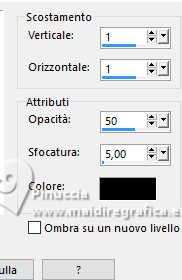
5. Layers>New Raster Layer.
Flood Fill  the layer with your background color. the layer with your background color.
Layers>New Mask layer>From image
Open the menu under the source window
and select again the mask NarahsMasks_1767

Layers>Duplicate.
Layers>Merge>Merge Group.
Effects>3D Effects>Drop Shadow, same settings.
Layers>Merge>Merge Down.
Effects>3D Effects>Drop Shadow, same settings.
Effects>Geometric Effects>Spherize.
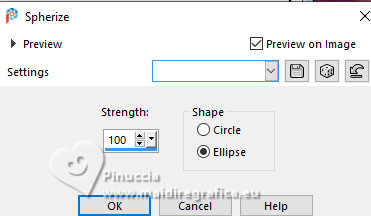
6. Activate your background layer, Raster 1.
Layers>New Raster Layer.
Flood Fill  the layer with your background color. the layer with your background color.
Layers>New Mask layer>From image
Open the menu under the source window
and select the mask NarahsMasks_1763
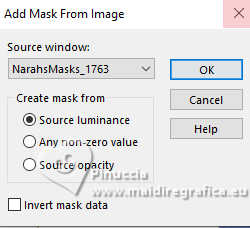
Layers>Merge>Merge Group.
Effects>Edge Effects>Enhance.
Effects>3D Effects>Drop Shadow, same settings.
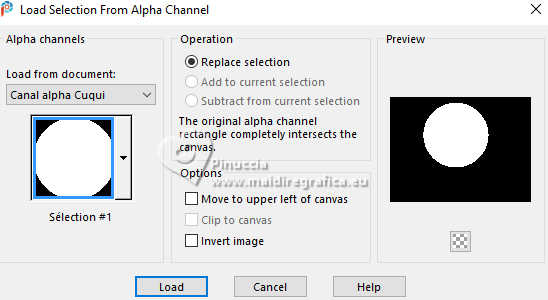
7. Selections>Load/Save Selection>Load Selection from Alpha Channel.
The selection sélection #1 is immediately available. You just have to click Load.
Layers>New Raster Layer.
Open CAD_misted_007_paisaje 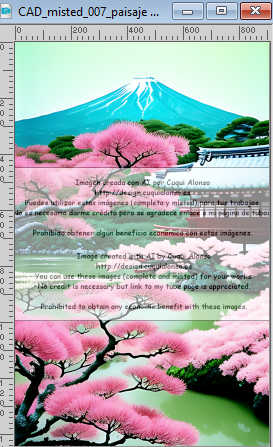
Edit>Copy.
Go back to your work and go to Edit>Paste into selection.
*****
Optional, if you use a jpg image:
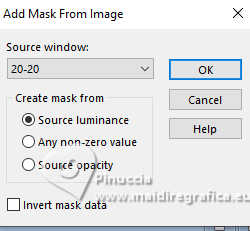
Layers>New Mask layer>From image
Open the menu under the source window
and select the mask 20-20.
Layers>Merge>Merge Group.
*****
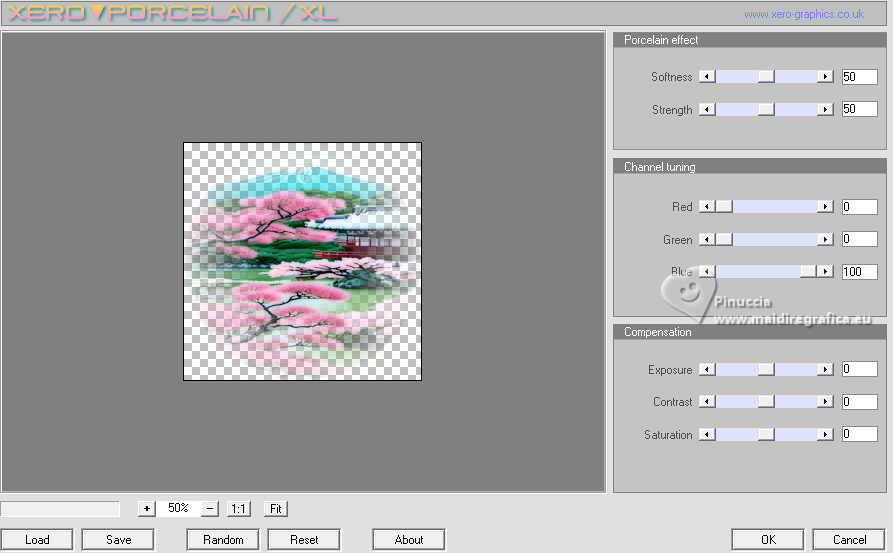
Effects>Plugins>Xero - Porcelain, default settings.
If you are using the previous version of this filter,
only take the settings Porcelain effect and Channel tunning
Keep selected.
8. Activate the layer Group-raster 1, the second from the bottom.
Selections>Modify>Select Selection Borders.
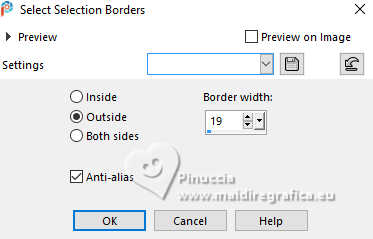
Selections>Promote Selection to layer.
Effects>Texture Effects>Weave, same settings.
Effects>3D Effects>Inner Bevel.
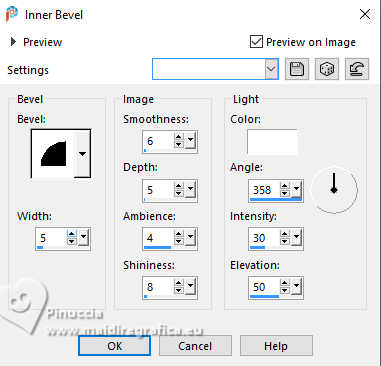
Selections>Select None.
Effects>3D Effects>Drop Shadow, same settings.
Layers>Arrange>Bring to Top.
9. Layers>Duplicate.
Activate the layer below.
Effects>Image Effects>Seamless Tiling, default settings.

10. Activate the landscape's layer, Raster 2.
Layers>Duplicate.
Layers>Arrange>Move Down.
Effects>Image Effects>Seamless Tiling, default settings.
Change the Blend Mode of this layer to Overlay and reduce the opacity to 50%.
Effects>Texture Effects>Weave, same settings.
Selections>Load/Save Selection>Load Selection from Alpha Channel.
Load again the selection sélection #1

Press CANC on the keyboard 
Selections>Select None.
11. Activate your top layer.
Open déco fleurs 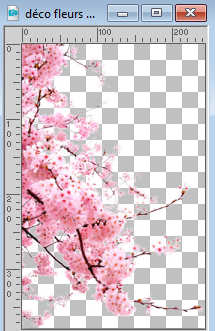
Edit>Copy.
Go back to your work and go to Edit>Paste as new layer.
(Adjust>Hue and Saturation>Colorize, to colorize if necessary).
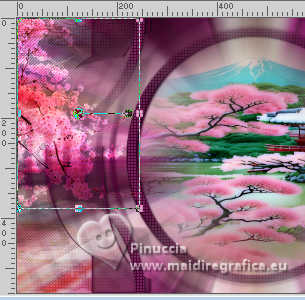
Move  the tube at the upper left. the tube at the upper left.
Objects>Align>Top
Objects>Align>Left.
Change the Blend Mode of this layer to Overlay.
12. Open déco pétales 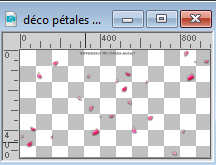
Erase the watermark e vai a Edit>Copy.
Go back to your work and go to Edit>Paste as new layer.
(Adjust>Hue and Saturation>Colorize, to colorize if necessary).
13. Activate your bottom layer, Raster 1.
Edit>Copy.
Edit>Paste as new image, for caution, and minimize the image.
14. Go back to your work
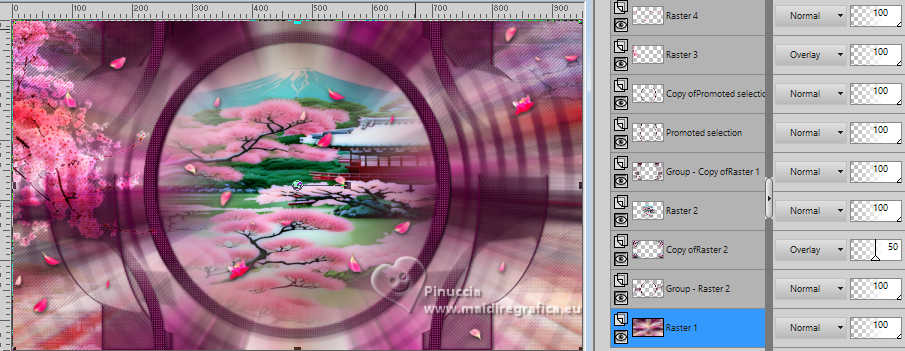
Image>Add borders, 1 pixel, symmetric, background color.
Image>Add borders, 5 pixels, symmetric, foreground color.
Image>Add borders, 1 pixel, symmetric, background color.
Selections>Select All.
15. Image>Add borders, 20 pixels, symmetric, foreground color.
Selections>Invert.
Edit>Paste into Selection
Effects>Texture Effects>Weave, same settings.
Selections>Invert.
Effects>3D Effects>Drop Shadow, color black.
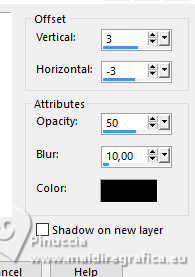
Selections>Select None.
16. Activate again your main tube CAD_mujeres_012 and go to Edit>Copy.
Go back to your work and go to Edit>Paste as new layer.
Image>Resize, to 45%, resize all layers not checked.
Move  the tube at the bottom right, the tube at the bottom right,
or Pick Tool 
and set Position X: 671,00 and Position Y: 36,00.

Layers>Duplicate.
Activate the layer below.
Adjust>Blur>Gaussian Blur - radius 15.

Change the Blend Mode of this layer to Multiply.
17. Activate your top layer.
Open deco texte et titre 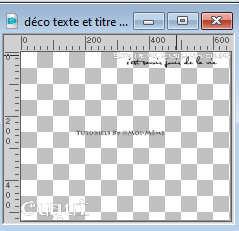
Erase the watermark and go to Edit>Copy.
Go back to your work and go to Edit>Paste as new layer.
Change the Blend Mode of this layer to Luminance (legacy).
Effects>3D Effects>Drop Shadow, color black.
Pick Tool (k) 
and set Position X: 27,00 and Position Y: 63,00.

M key to deselect the Tool.
18. Sign your work.
Add the author and translator watermarks.
19. Image>Add borders, 1 pixel, symmetric, background color.
Image>Add borders, 5 pixels, symmetric, foreground color.
Selections>Select All.
Effects>3D Effects>Drop Shadow, color black.

Selections>Select None.
20. Image>Add borders, 1 pixel, symmetric, background color.
Image>Resize, 950 pixels width, resize all layers not checked.
Save as jpg.
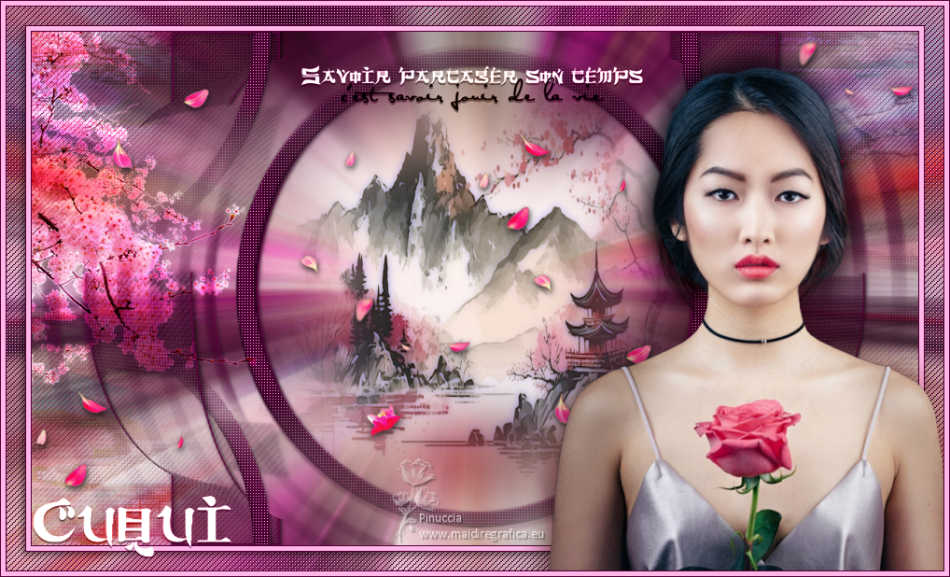
For the tube of this version thanks Lana; the misted is mine

If you have problems or doubts, or you find a not worked link,
or only for tell me that you enjoyed this tutorial, write to me.
13 November 2023

|

