|
CONTE DE NOËL
 CHRISTMAS TALE CHRISTMAS TALE

Thanks Irene for the invitation to translate your tutorials

This tutorial was written with PSPX8 and translated with PSPX7 and PSPX3, but it can also be made using other versions of PSP.
Since version PSP X4, Image>Mirror was replaced with Image>Flip Horizontal,
and Image>Flip with Image>Flip Vertical, there are some variables.
In versions X5 and X6, the functions have been improved by making available the Objects menu.
In the latest version X7 command Image>Mirror and Image>Flip returned, but with new differences.
See my schedule here
 italian translation here italian translation here
 Your versions here Your versions here

For this tutorial, you will need:

For the tube thanks Tine.
The rest of the material is by Moi-Même.
(The links of material creators here).

consult, if necessary, my filter section here
Filters Unlimited 2.0 qui
&<Bkg Designer sf10I> - Cruncher (to import in Unlimitedx) here
Mehdi - Sorting Tiles, Edge FX qui
Mura's Meister - Perspective Tiling qui
Alien Skin Eye Candy 5 Impact - Perspective Tiling qui

You can change Blend Modes according to your colors.
Copy the preset  in the folder of the plugin Alien Skin Eye Candy 5 Impact>Settings>Shadow. in the folder of the plugin Alien Skin Eye Candy 5 Impact>Settings>Shadow.
One or two clic on the file (it depends by your settings), automatically the preset will be copied in the right folder.
why one or two clic see here

Set your foreground color to #daf6bb,
and your background color to #88bd19.
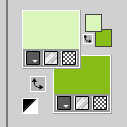
colore 3 #ba0e22
colore 4 #ffffff
Open a new transparente image 950 x 550 pixels
Flood Fill  the transparent image with your foreground color. the transparent image with your foreground color.
2. Open your main tube fetes_noel44_tine_11.2011-527 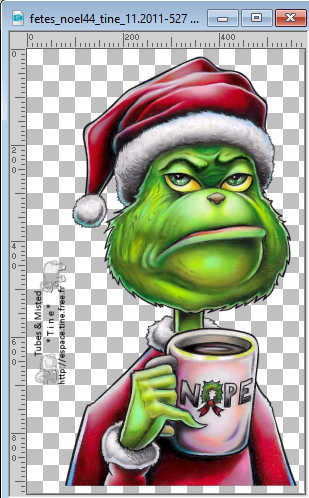
Edit>Copy.
Go back to your work and go to Edit>Paste into Selection.
Selections>Select None.
Effects>Image Effects>Seamless Tiling, Side by Side.

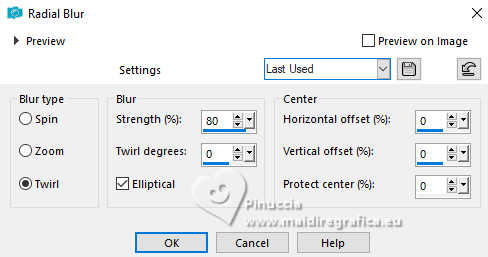
Adjust>Blur>Radial Blur.
Adjust>Blur>Gaussian Blur - radius 30.

Effects>Plugins>Mehdi - Sorting Tiles
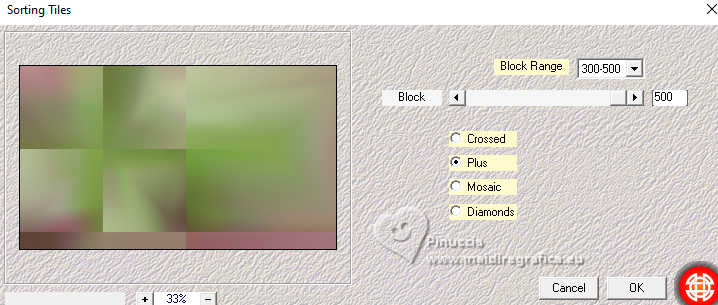
3. Layers>Duplicate.
Image>Mirror.
Image>Flip.
Reduce the opacity of this layer to 50%.
Layers>Merge>Merge Down.
4. Effects>Plugins>Mehdi - Edges FX.
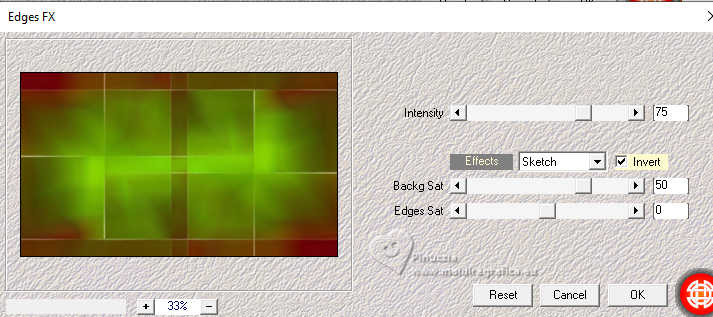
(adapt Backg Sat to your colors)
5. Layers>Duplicate.
Effects>Plugins>Mura's Meister - Perspective Tiling.
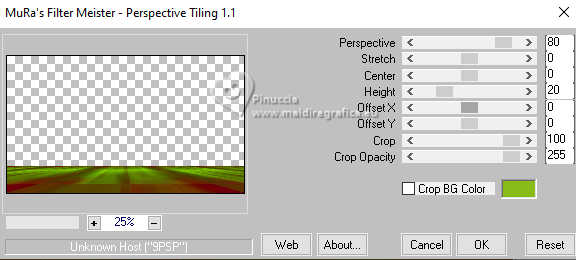
Layers>Duplicate.
Effects>Distortion Effects>Warp.
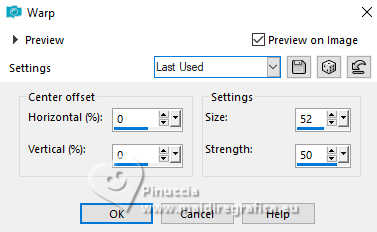
Image>Flip.
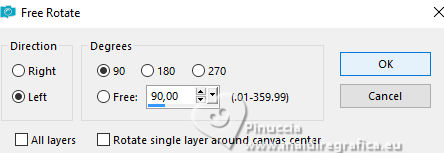
Image>Free Rotate - 90 degrees to left.
K key to activate your Pick Tool 
and set Position X: 0,00 and Position Y: -200,00

6. Layers>Duplicate.
Image>Mirror.
Set Position X: 107,00 and keep Position Y: -200,00.

M key to deselect the Tool.
Layers>Merge>Merge Down.
7. Activate your Magic Wand Tool  tolerance and feather 0 tolerance and feather 0
Click on the central transparent part to select it.
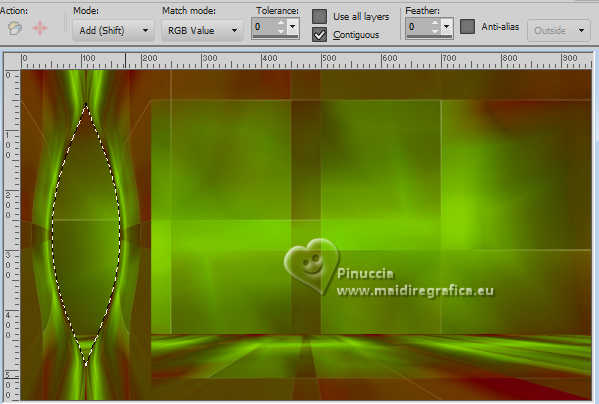
Selections>Modify>Expand - 3 pixels.
Layers>New Raster Layer.
Open déco 1 
Edit>Copy.
Go back to your work and go to Edit>Paste into Selection.
Layers>Arrange>Move Down.
Selections>Select None.
8. Activate again your top layer.
Activate your Magic Wand Tool  tolerance and feather 0 tolerance and feather 0
and select again the transparent center of the layer.
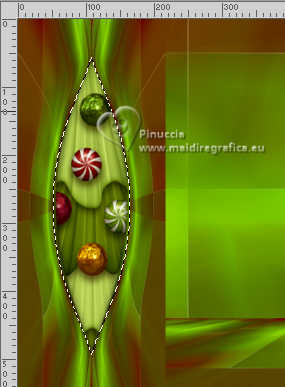
Layers>New Raster Layer.
Selections>Modify>Select Selection Borders.
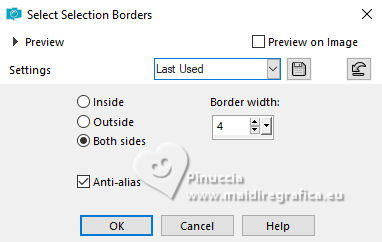
Flood Fill  with your background color. with your background color.
Effects>Texture Effects>Textile - both color #ba0e22 (color 3)
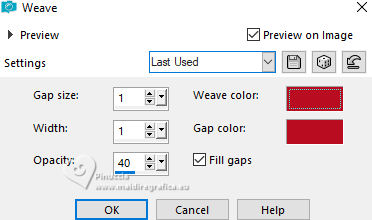
Effects>3D Effects>Inner Bevel.
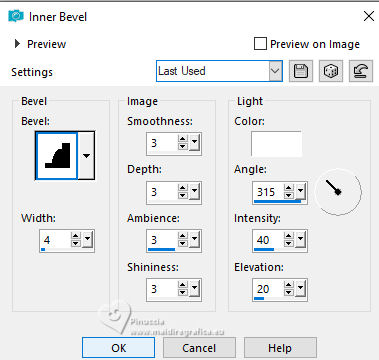
Keep selected.
9. Selections>Modify>Select Selection Borders.
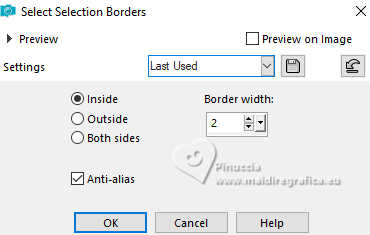
Flood Fill  with your foreground color. with your foreground color.
Selections>Select None.
Effects>3D Effects>Drop Shadow, color black.
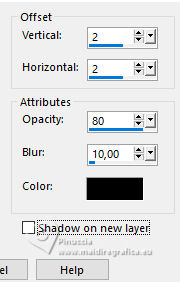
Layers>Merge>Merge Down.
Edit>Repeat Merge Down.
10. Layers>Duplicate.
Image>Mirror.
Layers>Merge>Merge Down.
Effects>3D Effects>Drop Shadow, default settings.
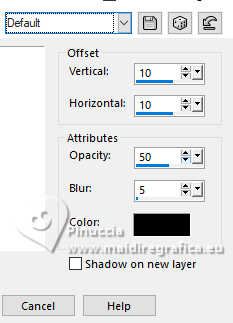
Image>Mirror.
Repeat Ecfects>3D Effects>Drop Shadow, same settings.
11. Layers>Duplicate.
Effects>Plugins>Filters Unlimited 2.0 - &<Bkg Designer sf10I> - Cruncher.
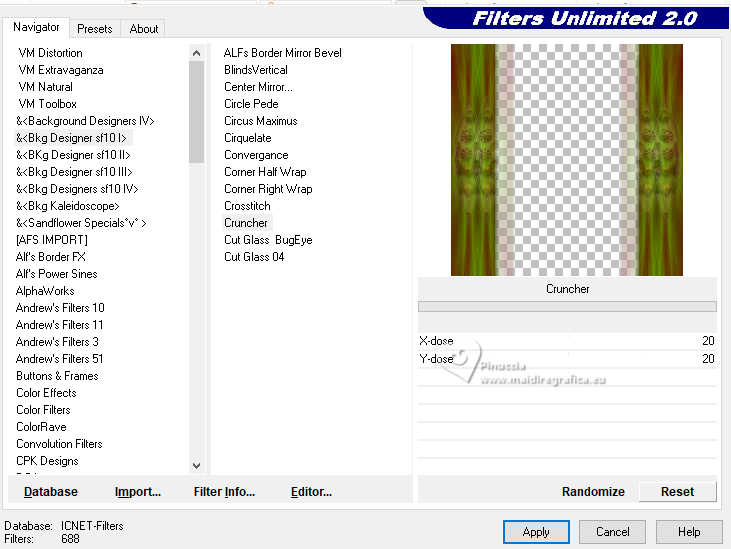
Change the Blend Mode of this layer to Screen.
Layers>Arrange>Move Down.
12. Activate your top layer.
Selection Tool 
(no matter the type of selection, because with the custom selection your always get a rectangle)
clic on the Custom Selection 
and set the following settings.
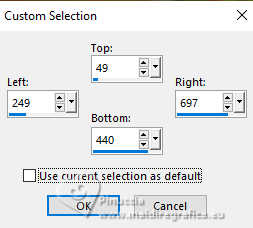
Layers>New Raster Layer.
Open your landscape tube village-7612605_1920 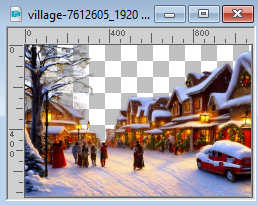
Edit>Copy.
Go back to your work and go to Edit>Paste into Selection.
Selections>Select None.
Change the Blend Mode of this layer to Overlay, or according to your colors).
Effects>Plugins>Alien Skin Eye Candy 5 Impact - Perspective Shadow.
Select the preset Grinxmas and ok.
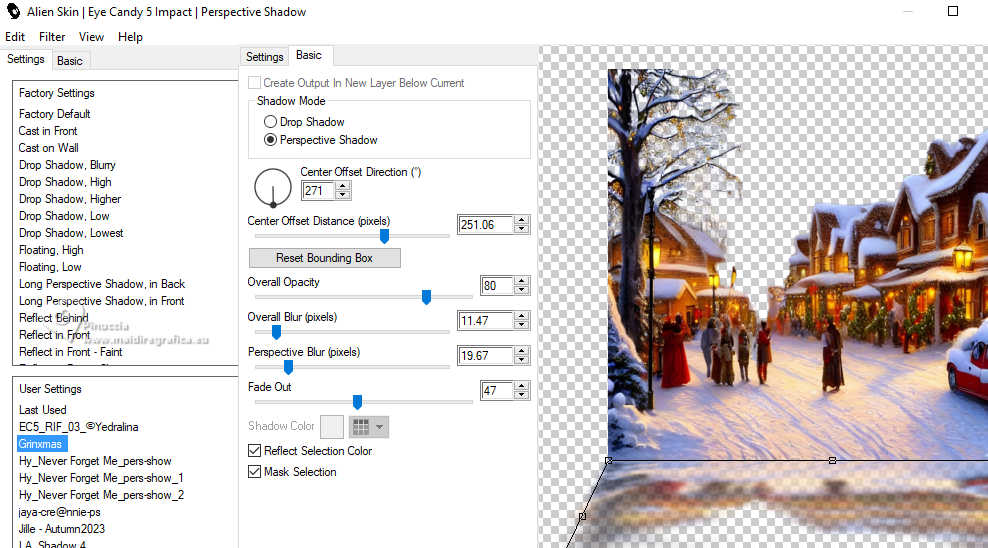
13. Layers>New Raster Layer.
Custom Selection  same settings. same settings.

Selections>Modify>Select Selection Borders.
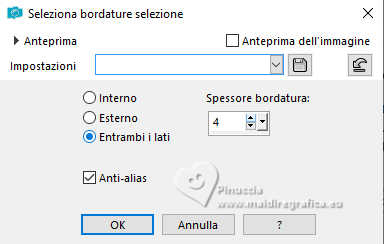
Flood Fill  width your background color. width your background color.
Effects>Texture Effects>Weave, same settings.
Effects>3D Effects>Inner Bevel, same settings.
Layers>New Raster Layer.
Selections>Modify>Select Selection Borders.

Flood Fill  with your foreground color. with your foreground color.
Selections>Select None.
Layers>Merge>Merge Down.
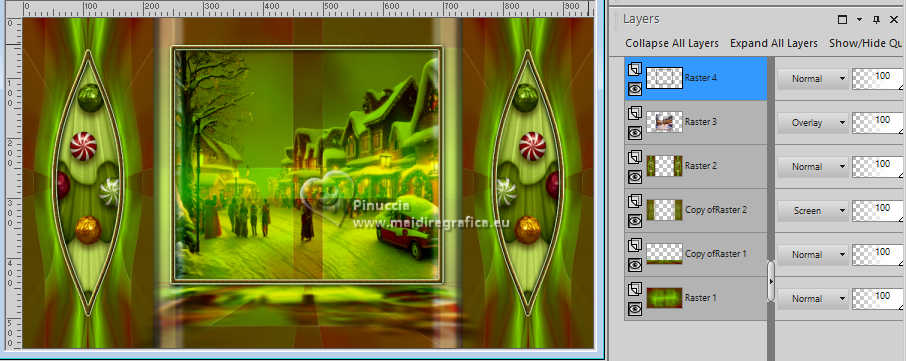
Effects>3D Effects>Drop Shadow, color black.

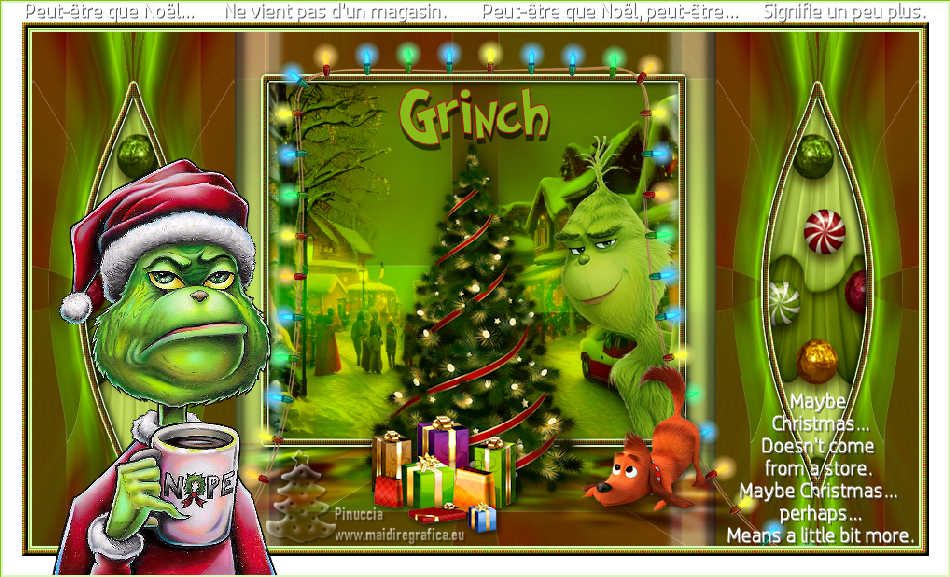
You should have this
14. Open déco 2 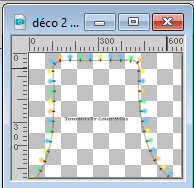
Erase the watermark and go to Edit>Copy.
Go back to your work and go to Edit>Paste as new layer.
K key to activate your Pick Tool 
and set Position X: 180,00 and Position Y: 8,00

15. Activate the layer below.
Open déco 3 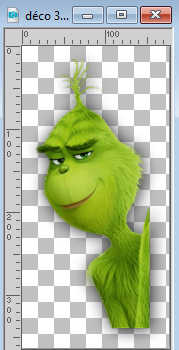
Edit>Copy.
Go back to your work and go to Edit>Paste as new layer.
Set Position X: 541,00 and Position Y: 95,00

M key to deselect the Tool.
Layers>Arrange>Move Down.
16. Image>Add Borders, 2 pixels, symmetric, foreground color.
Image>Add borders, 1 pixel, symmetric, background color.
Image>Add Borders, 2 pixels, symmetric, foreground color.
17. Open déco sapin 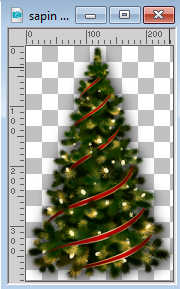
Edit>Copy.
Go back to your work and go to Edit>Paste as new layer.
K key to activate your Pick Tool 
and set Position X: 358,00 and Position Y: 121,00

M key to deselect the Tool.
Open the other tubes 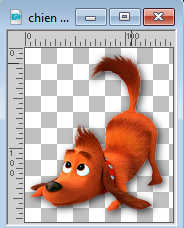 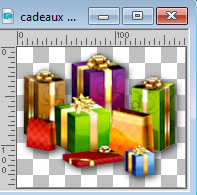
Edit>Copy.
Go back to your work and go to Edit>Paste as new layer.
Place  them as in my exemple, or to your liking. them as in my exemple, or to your liking.
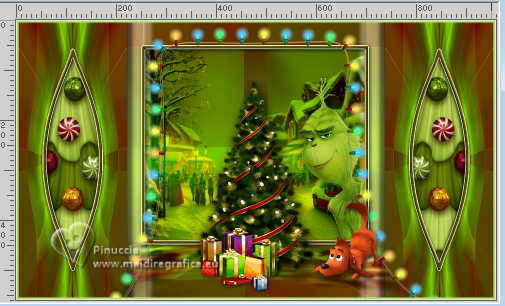
18. Selections>Select All.
Image>Add borders, 6 pixels, symmetric, background color.
Selections>Invert.
Effects>Texture Effects>Weave, same settings.
Effects>3D Effects>Inner Bevel, same settings.
Selections>Select None.
Image>Add borders, 20 pixels, symmetric, color white.
18. Activate again your main tube fetes_noel44_tine_11.2011-527 and go to Edit>Copy.
Go back to your work and go to Edit>Paste as new layer.
Image>Resize, to 50%, resize all layers not checked.
Adjust>Sharpness>Sharpen.
K key to activate your Pick Tool 
and set Position X: 51,00 and Position Y: 165,00

M key to deselect the Tool.
19. Sign your work.
Add the watermark of the author and of the translator.
20. Open déco texte 
Erase the watermark and go to Edit>Copy.
Go back to your work and go to Edit>Paste as new layer.
Place  correctly the text on the border. correctly the text on the border.
Or write your text with a font at your choice.
Font used for this text

Foreground and Background color: white.
Effects>3D Effects>Drop Shadow, color black (2 times, if it is necessary).

21. Optional, according to your theme:
Open the text titre 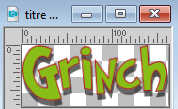
Edit>Copy.
Go back to your work and go to Edit>Paste as new layer.
Move  it as in my example. it as in my example.
22. Image>Add Borders, 2 pixels, symmetric, foreground color.
Image>Add borders, 1 pixel, symmetric, background color.
Image>Resize, 950 pixels width, resize all layers not checked.
Save as jpg.
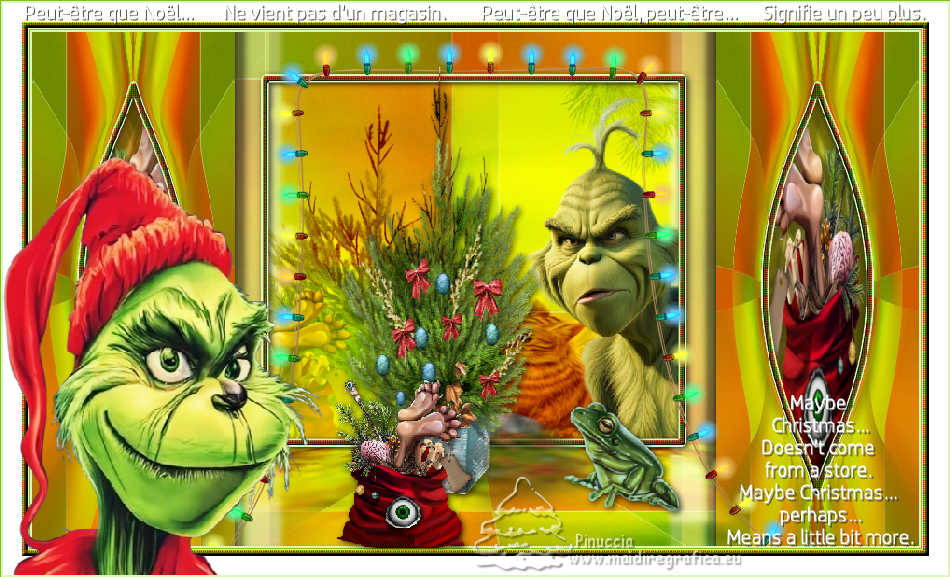

If you have problems or doubts, or you find a not worked link,
or only for tell me that you enjoyed this tutorial, write to me.
6 December 2023

|
 CHRISTMAS TALE
