|
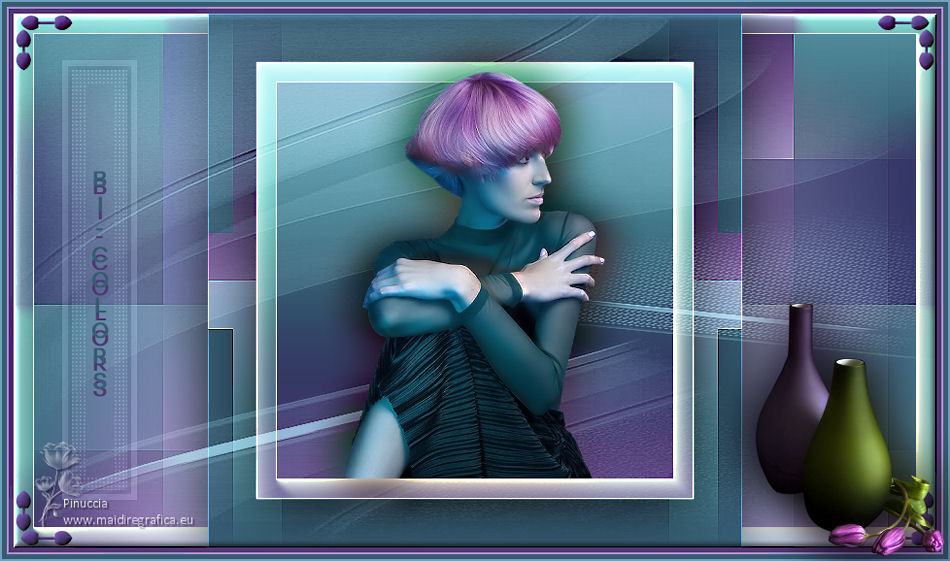
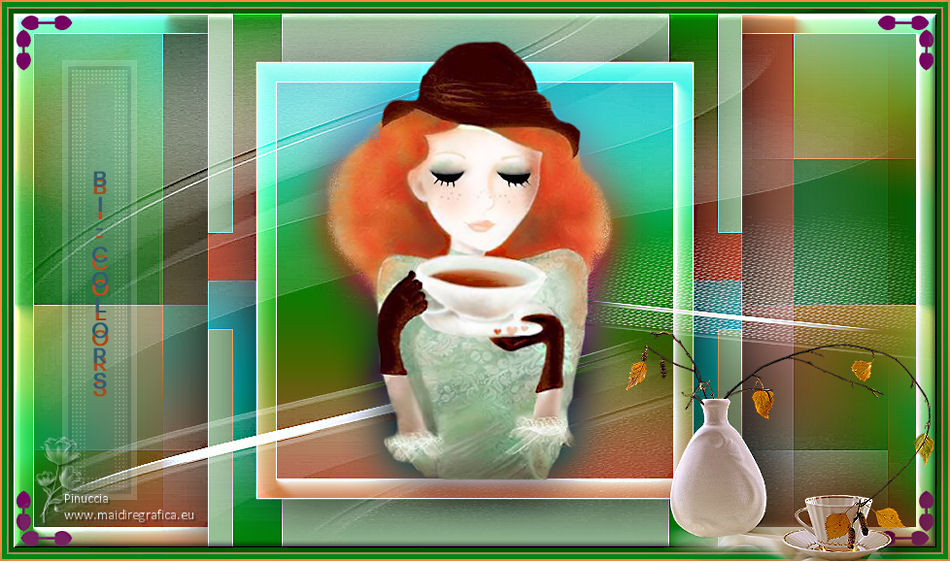
BI-COLORS


Thanks Irene for the invitation to translate your tutorials

This tutorial was written with PSPX8 and translated with PSPX7 and PSPX3, but it can also be made using other versions of PSP.
Since version PSP X4, Image>Mirror was replaced with Image>Flip Horizontal,
and Image>Flip with Image>Flip Vertical, there are some variables.
In versions X5 and X6, the functions have been improved by making available the Objects menu.
In the latest version X7 command Image>Mirror and Image>Flip returned, but with new differences.
See my schedule here
 italian translation here italian translation here
For this tutorial, you will need:
Material here
Thanks for the tube and the mask Nena Silva and Silvie.
The vase tube is not signed.
The rest of the material is by Moi-Même.
(The links of material creators here).
consult, if necessary, my filter section here
Filters Unlimited 2.0 here
Mehdi - Wavy Lab 1.1 here
Mehdi - Sorting Tiles here
AAA Frames - Foto Frame here

You can change Blend Modes according to your colors.

(Don't forget to erase the watermarks of the tubes and don't save the modifications when you'll close them)
Open the mask in PSP and minimize it with the rest of the material.
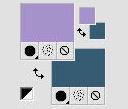
1. Choose a color from your tube (color 1).
Then with the help of the cursor, choose the second, darker color (color 2).
For the background choose the dark color (color 3),
then in the same way choose a lighter color (color 4).

2. Set your foreground color with color 1
and your background color with color 3.
1. Open a new transparent image 950 x 550 pixels.
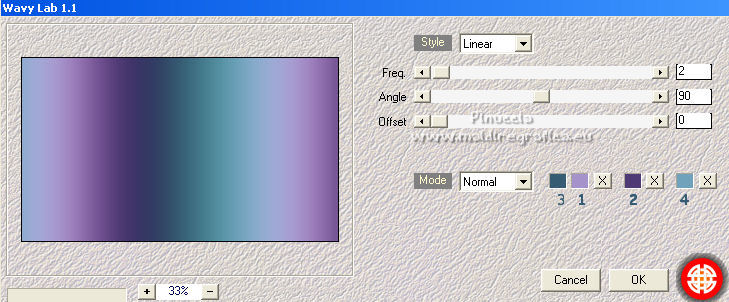
Effects>Plugins>Mehdi - Wavy Lab 1.1.
This filters creates gradients with the colors of your Materials palette.
The first is your background color, the second is your foreground color.
Change the last two colors created by the filtre:
the third with color 2 and the forth with color 4.
Layers>Duplicate.
Image>Free Rotate - 90 degrees to left.

4. Activate the layer Raster 1.
Selections>Select All.
Image>Crop to Selection.
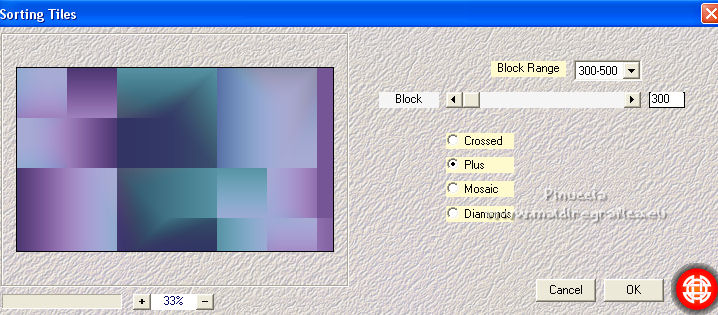
Effects>Plugins>Mehdi - Sorting Tiles.
Effects>Edge Effects>Enhance.
Effects>Image Effects>Seamless Tiling, Side by Side.

5. Activate your top layer.
Selections>Select All.
Selections>Float.
Selections>Modify>Contract - 50 pixels.
Edit>Cut (to keep the image in memory).
Keep Selected.
Edit>Paste as new layer.
Effects>Plugins>AAA Frames - Foto Frame
select the preset Dark with gray shadow and change the settings as below.
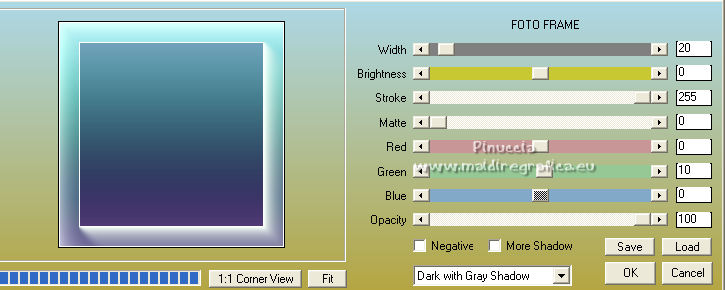
Selections>Select None.
Effects>3D Effects>Drop Shadow, color black.
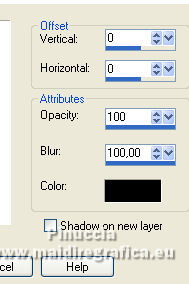
6. Activate the layer below.
Effects>Plugins>Filters Unlimited 2.0 - Tile & Mirror - XY offset 50% (negative).
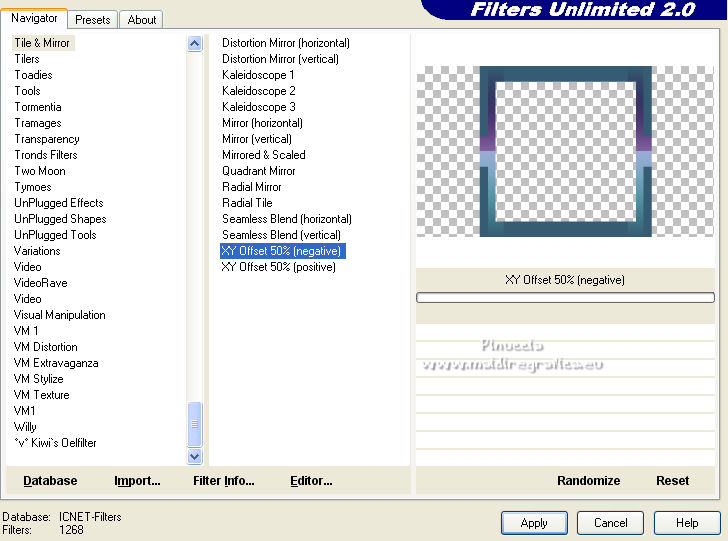
attention, please, the version of Unlimited used in this tutorial is the software version.
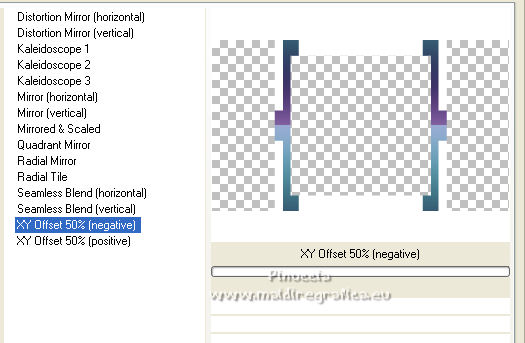
If you are using the version that doesn't need installation because it is made up of files in 8bf format,
you'll get this
Effects>Edge Effects>Enhance.
Effects>3D Effects>Drop Shadow, same settings.

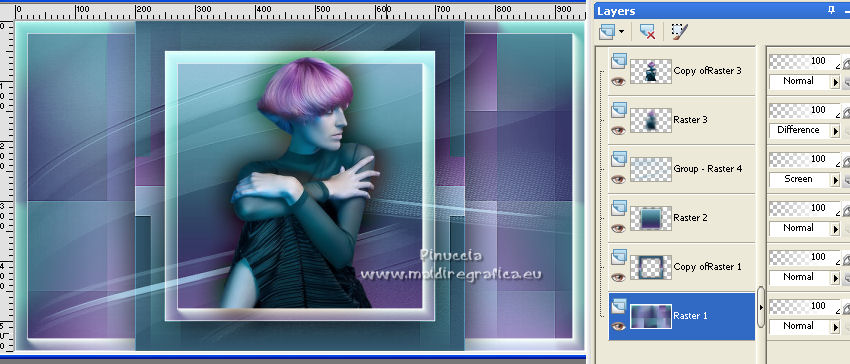
7. Activate your top layer.
Open the main tube (or a female bust of your choice), and go to Edit>Copy.
Go back to your work and go to Edit>Paste as new layer.
Image>Resize, to 65%, resize all layers not checked.
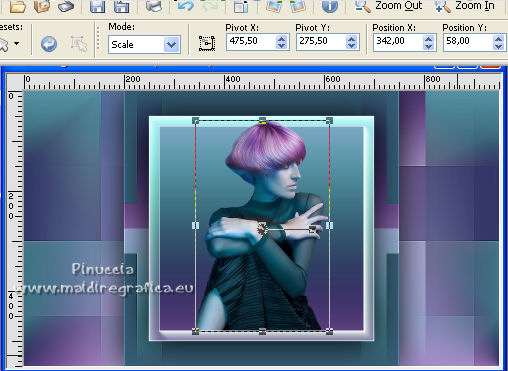
Place  the tube as in my example. the tube as in my example.
Or K key to activate your Pick Tool 
and set Position X: 342,00 and Position Y: 58,00.
M key to deselect the Tool.
8. Layers>Duplicate.
Activate the layer below of the original.
Adjust>Blur>Gaussian Blur - radius 25.

Change the Blend Mode of this layer to Difference.
9. Activate the layer below.
Set your foreground color to color 4.
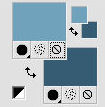
Layers>New Raster Layer.
Flood Fill  the layer with your foreground color. the layer with your foreground color.
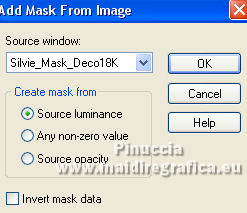
Layers>New Mask layer>From image
Open the menu under the source window and you'll see all the files open.
Select the mask Silvie _Mask_Deco18K.
Effects>Edge Effects>Enhance.
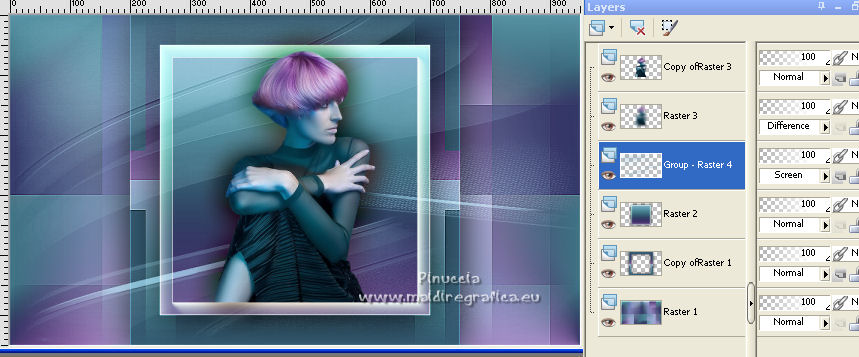
Layers>Merge>Merge Group.
Change the Blend Mode of this layer to Screen.
10. Activate your bottom layer.
Effects>Plugins>AAA Frames - Foto Frame, same settings

11. Selections>Select All.
Image>Add borders, 5 pixels, symmetric, color 2  . .
Image>Add borders, 2 pixels, symmetric, color 1  . .
Image>Add borders, 5 pixels, symmetric, color 3  . .
Image>Add borders, 2 pixels, symmetric, color 4  . .
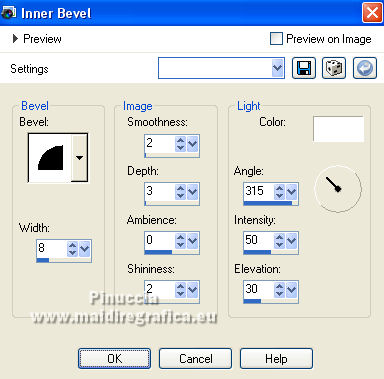
Effects>3D Effects>Inner Bevel.
Selections>Select None.
12. Open the tube of the vase and go to Edit>Copy.
Go back to your work and go to Edit>Paste as new layer.
Image>Resize, to 65%, resize all layers not checked.
Move  the tube at the bottom right; the tube at the bottom right;
or K key to activate your Pick Tool 
and set Position X: 777,00 and Position Y: 312,00.

Layers>Duplicate.
Activate the layer below of the original.
Adjust>Blur>Gaussian Blur, same settings.

Change the Blend Mode of this layer to Multiply.
13. Open the tube déco sous texte and go to Edit>Copy.
Go back to your work and go to Edit>Paste as new layer.
Set Position X: 60,00 and Position Y: 58,00.

Change the Blend Mode of this layer to Luminance (legacy).
14. Open the tube Titre and go to Edit>Copy.
Go back to your work and go to Edit>Paste as new layer.
Set Position X: 94,00 and Position Y: 176,00.

M key to deselect the Tool.
(Colorize according to your color with your Color Changer Tool 
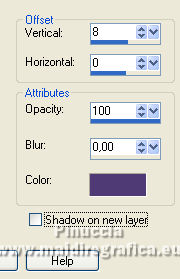
Effects>3D Effects>Drop Shadow, color 2.
15. Activate your bottom layer.
Open the tube déco and go to Edit>Copy.
Go back go your work and go to Edit>Paste as new layer.
Colorize according to your colors.
Effects>3D Effects>Inner Bevel, same settings.
16. Sign your work on a new layer.
Add, if you want, the author's and translator's watermarks.
17. Layers>Merge>Merge All.
Image>Resize, 950 pixels width, resize all layers checked.
Adjust>Sharpness>Unsharp Mask - Soft

Save as jpg.
For the tubes of this version thanks Luz Cristina and Maryse

Your versions. Thanks
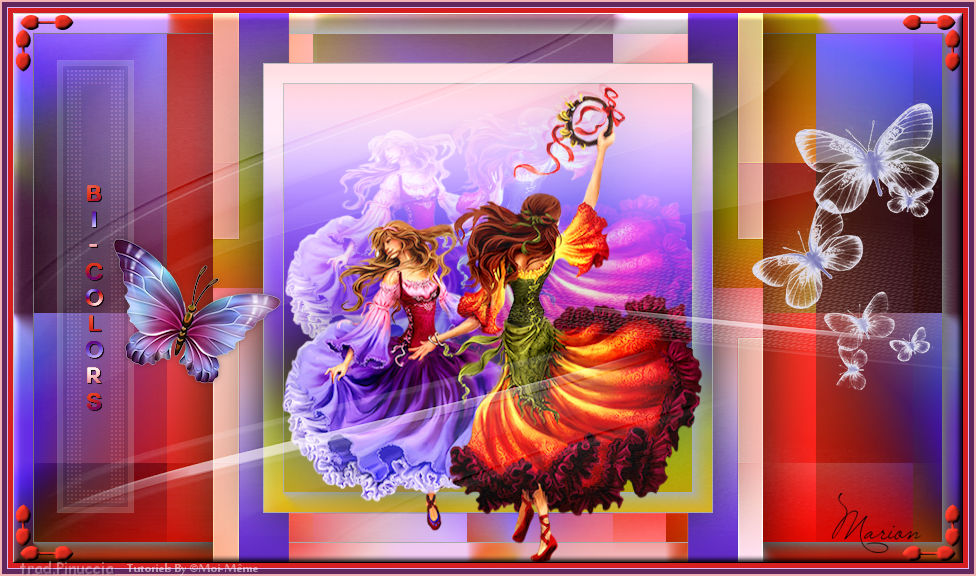
Marion
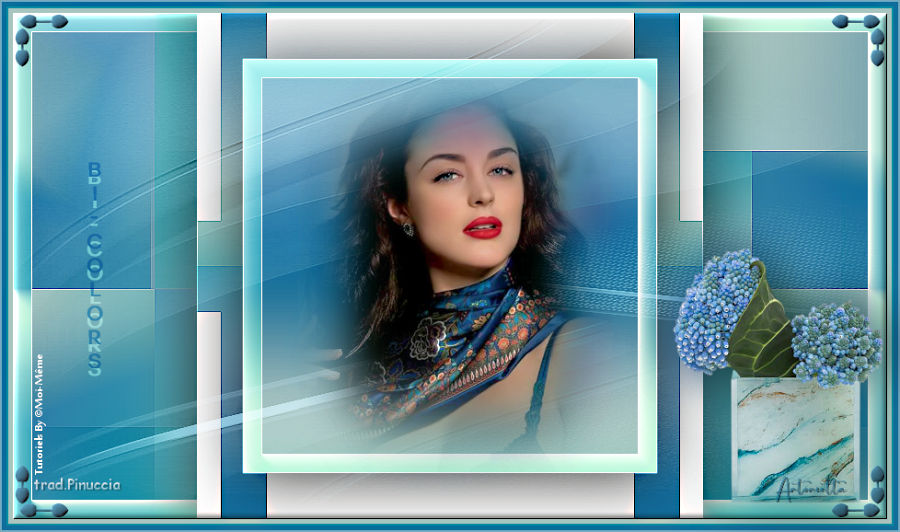
Antonietta

If you have problems or doubts, or you find a not worked link,
or only for tell me that you enjoyed this tutorial, write to me.
17 May 2022

|

