|
ZURI

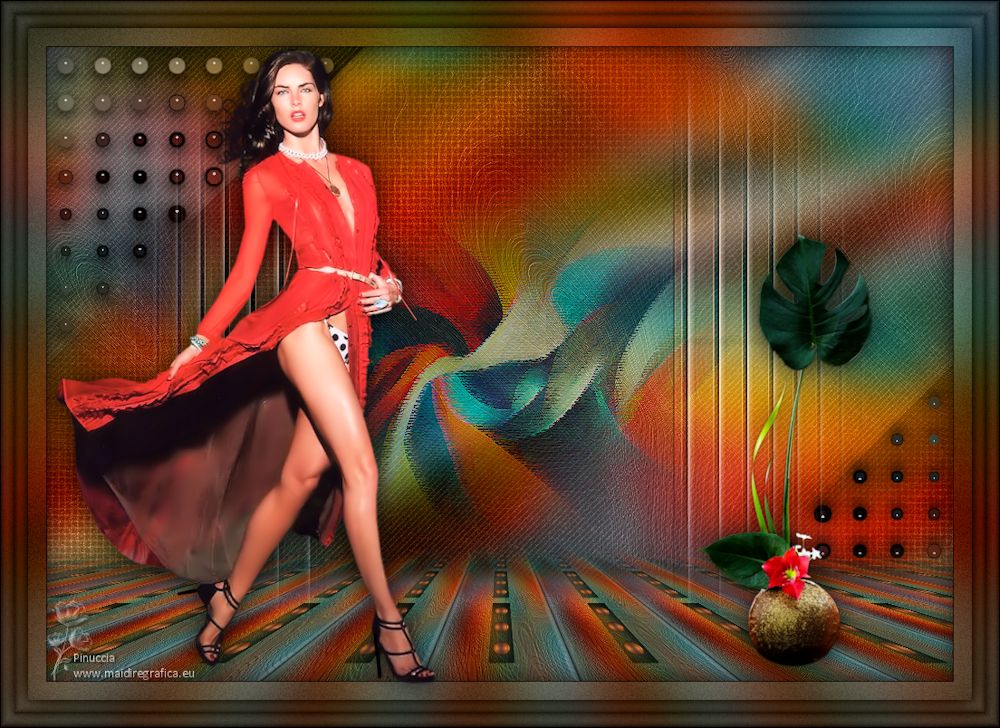
Thanks Maria José for your invitation to translate your tutorial

This tutorial has been translated with PSPX2 and PSPX3, but it can also be made using other versions of PSP.
Since version PSP X4, Image>Mirror was replaced with Image>Flip Horizontal,
and Image>Flip with Image>Flip Vertical, there are some variables.
In versions X5 and X6, the functions have been improved by making available the Objects menu.
In the latest version X7 command Image>Mirror and Image>Flip returned, but with new differences.
See my schedule here
 French translation here French translation here
 your versions ici your versions ici
For this tutorial, you will need:

Thanks for the deco Manola and for the mask Tine.
The rest of the material is by Maria José.
(you find here the links to the material authors' sites)

consult, if necessary, my filter section here
Filters Unlimited 2.0 here
PhotoEffex - Scanlines here
Tramages - Perforator 1 here
VM Extravaganza - Vasarely here
Mura's Meister - Copies here
Mura's Meister - Perspective Tiling here
Alien Skin Eye Candy 5 Impact - Glass here
Filters Tramages and VM Extravaganza can be used alone or imported into Filters Unlimited.
(How do, you see here)
If a plugin supplied appears with this icon  it must necessarily be imported into Unlimited it must necessarily be imported into Unlimited

You can change Blend Modes according to your colors.
Copy the preset  in the folder of the plugin Alien Skin Eye Candy 5 Impact>Settings>Glass. in the folder of the plugin Alien Skin Eye Candy 5 Impact>Settings>Glass.
One or two clic on the file (it depends by your settings), automatically the preset will be copied in the right folder.
why one or two clic see here

1. Open Alphachannel
Window>Duplicate or, on the keyboard, shift+D to make a copy.

I created this gif in 2015, after weeks of searching for the right keyboard
and the "right" fingers to place on the keys.
I was very sorry to see it in a tutorial, manipulated to remove my signature
and add that of the person who took it from my site, without asking my permission.
If he had, I wouldn't have denied it.
I hope thes people realize the impropriety and remove the gif from their tutorials.
Close the original.
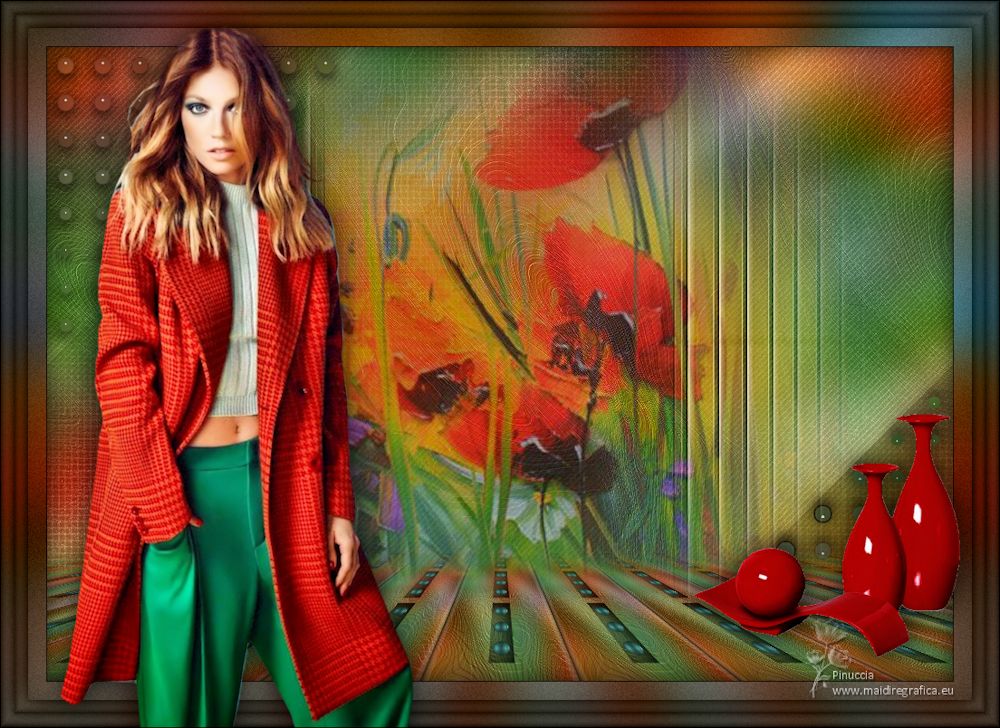
The copy, that will be the basis of your work, is not empty,
but contains the selections saved to alpha channel.
2. Selections>Select All.
Open the image grafico 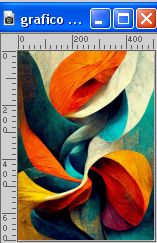
Edit>Copy.
Go back to your work and go to Edit>Paste into Selection.
Selections>Select None.
3. Effects>Image Effects>Seamless Tiling.

4. Adjust>Blur>Gaussian Blur - radius 30.

5. Adjust>Add/Remove Noise>Add Noise.
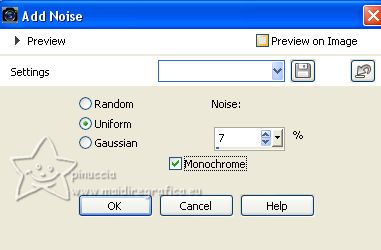
Layers>Duplicate.
6. Effects>Plugins>PhotoEffex - Scanlines
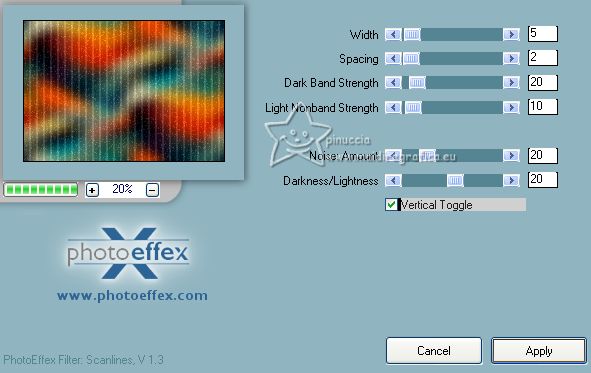
7. Effects>Plugins>Tramages - Perforator 1, default settings.
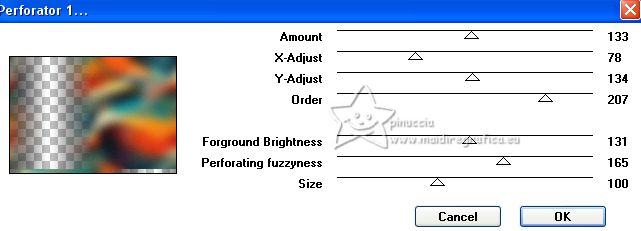
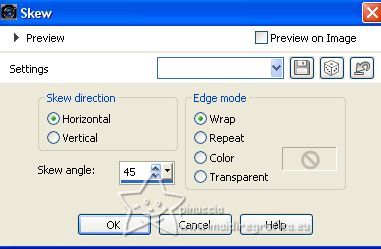
8. Effects>Geometric Effects>Skew.
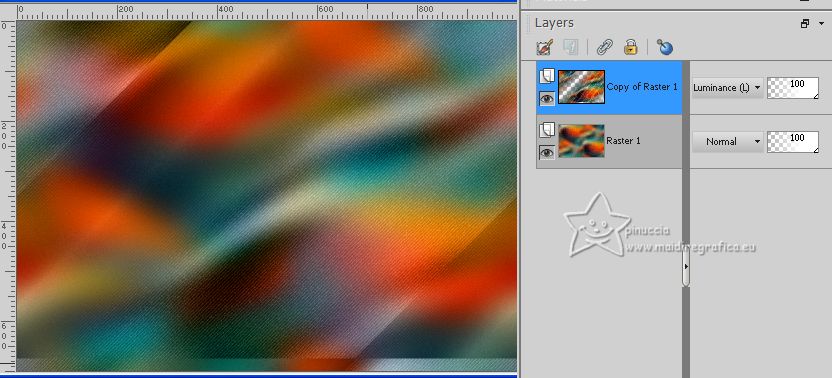
Change the Blend Mode of this Layer to Luminance (legacy).
9. Activate the layer Raster 1.
Selections>Load/Save Selection>Load Selection from Alpha Channel.
Open the selections menu and load the selection selection #3.
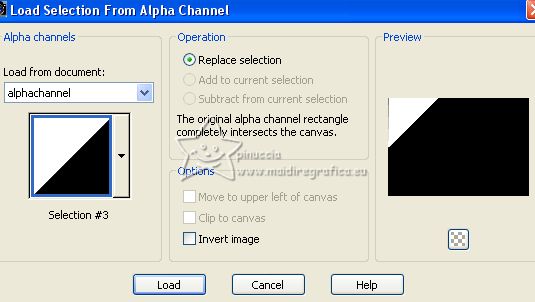
Selections>Promote Selection to layer.
Layers>Arrange>Bring to Top.
Selections>Select None.
10. Effects>Plugins>VM Extravaganza - Vasarely.
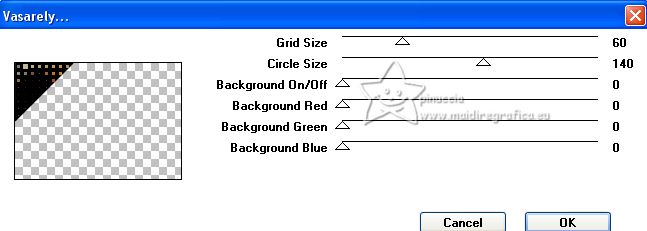
11. Selections>Load/Save Selection>Load Selection from Alpha Channel.
Open the selections menu and load the selection selection #4.
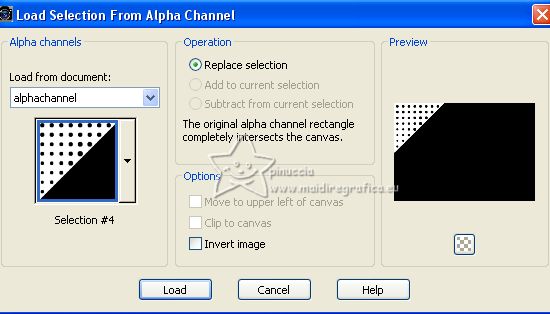
Press CANC on the keyboard 
Selections>Select None.
12. Effects>Plugins>Alien Skin Eye Candy 5 Impact - Glass.
Select the preset glass-majo and ok.
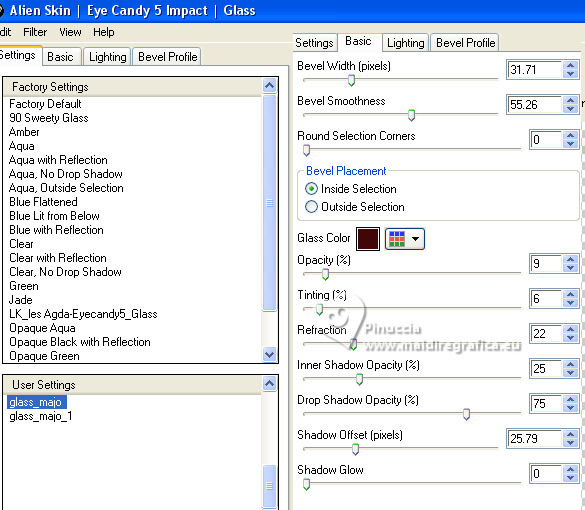
13. Effects>3D Effects>Drop Shadow, color black.

14. Layers>Duplicate.
Image>Flip.
Image>Mirror.
15. Open deco-zuri 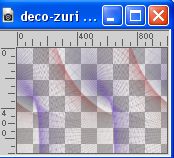
Edit>Copy.
Go back to your work and go to Edit>Paste as new layer.
16. Effects>Artistic Effects>Enamel.
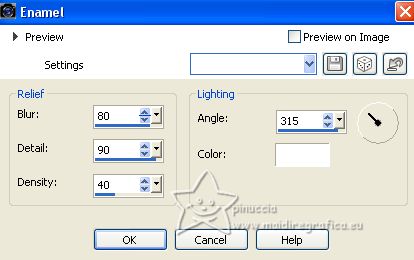
Change the Blend Mode of this Layer to Luminance (legacy).
17. Adjust>Sharpness>Sharpen More.
Layers>Arrange>Move Down - 2 times.
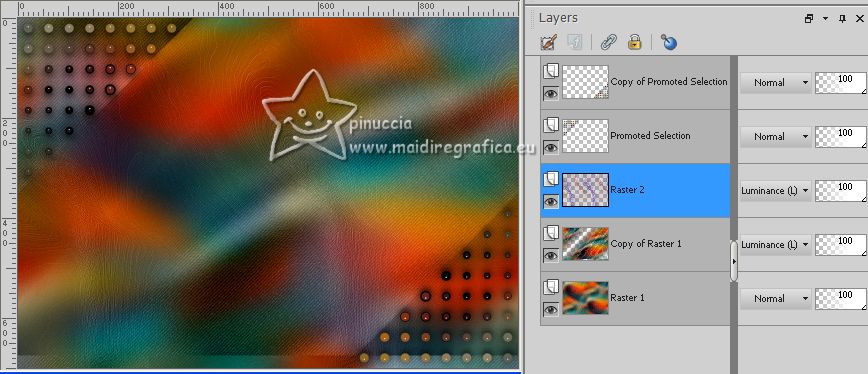
18. Activate the layer Raster 1.
Effects>Plugins>PhotoEffex - Scanlines
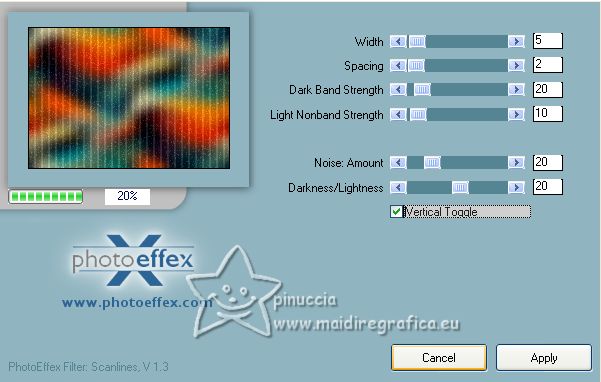
Repeat Effects>Plugins>PhotoEffex - Scanlines, Vertical not checked

19. Activate the top layer, Copy of Promoted Selection.
Edit>Copy Special>Copy Merged.
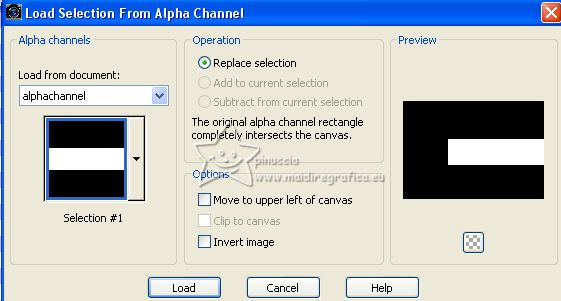
20. Selections>Load/Save Selection>Load Selection from Alpha Channel.
The selection selection #1 is immediately available. You just have to click Load.
21. Layers>New Raster Layer.
Edit>Paste into Selection.
22. Effects>Artistic Effects>Enamel, same settings.

23. Effects>3D Effects>Buttonize, with a color of your image; for me #929c84.
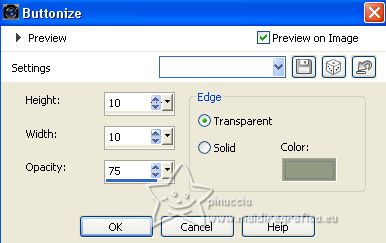
Effects>3D Effects>Drop Shadow, color black.

Selections>Select None.
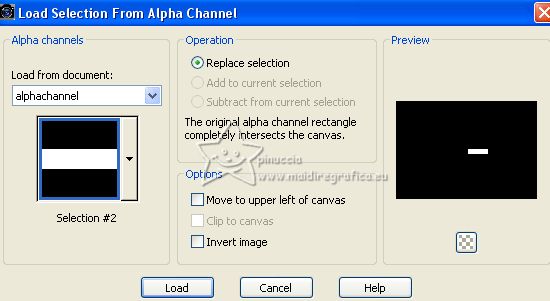
24. Selections>Load/Save Selection>Load Selection from Alpha Channel.
Open the selections menu and load the selection selection #2.
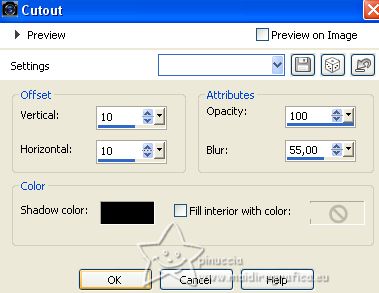
25. Layers>New Raster Layer.
Effects>3D Effects>Cutout.
Selections>Select None.
26. Open deco-2-mj 
Edit>Copy.
Go back to your work and go to Edit>Paste as new layer.
Place  correctly the tube correctly the tube
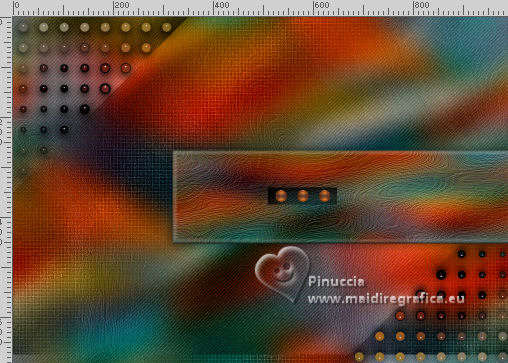
Layers>Merge>Merge Down.
27. Effects>Plugins>Mura's Meister - Copies.
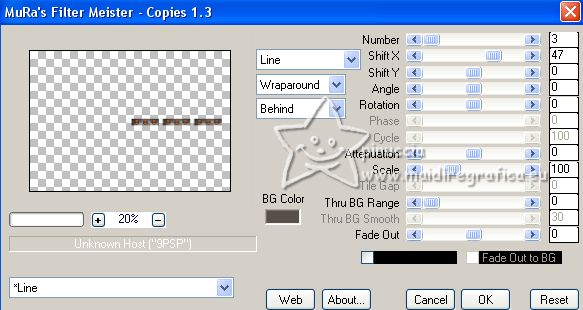
Layers>Merge>Merge Down.
Result
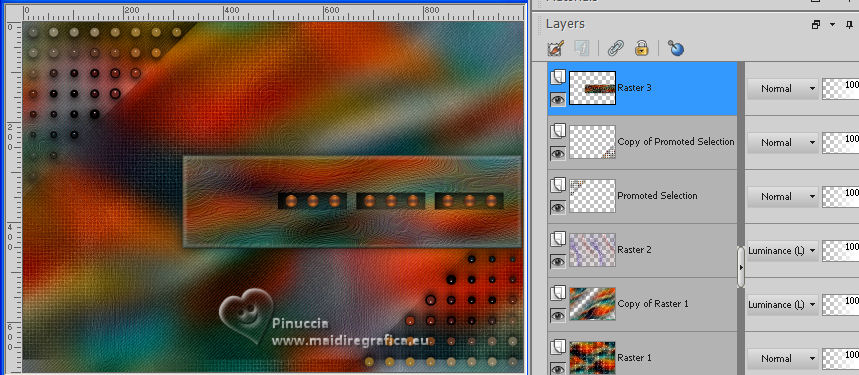
28. Image>Free Rotate - 90 degrees to right.

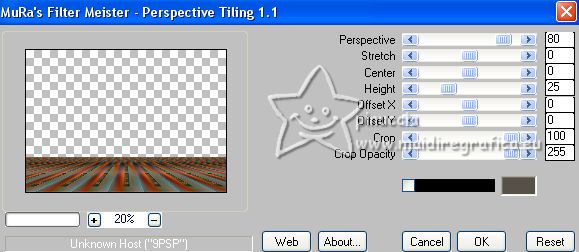
29. Effects>Plugins>Mura's Meister - Perspective Tiling.
30. Activate your Magic Wand Tool  , feather 60 , feather 60

Click on the transparent part to select it.
Press +/- 10 times CANC on the keyboard.
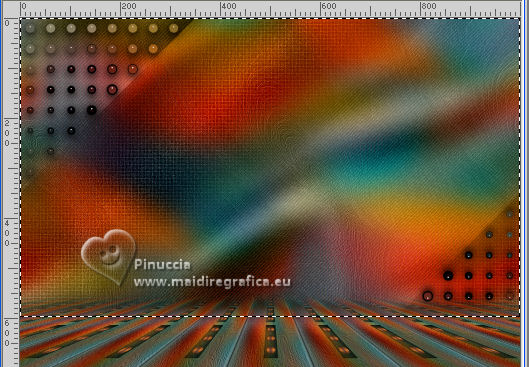
Selections>Select None.
31. Open the misted misted-mj 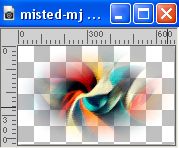
Edit>Copy.
Go back to your work and go to Edit>Paste as new layer.
Layers>Arrange>Move Down - 4 times.
Reduce the opacity of this layer to 73%.
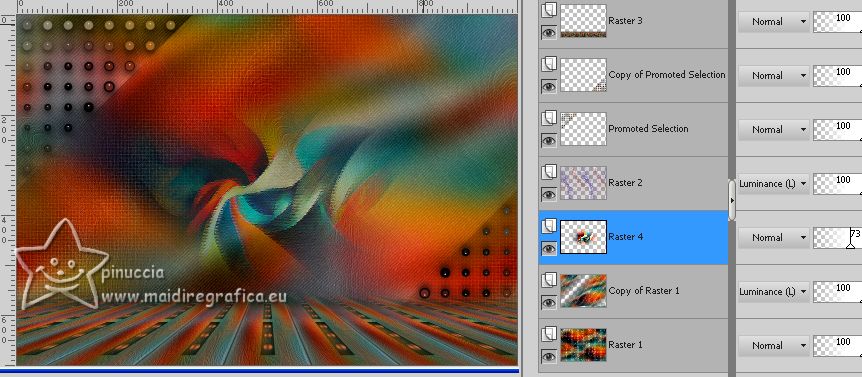
32. Open deco-zuri-1 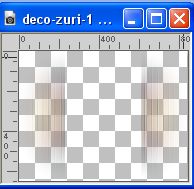
Edit>Copy.
Go back to your work and go to Edit>Paste as new layer.
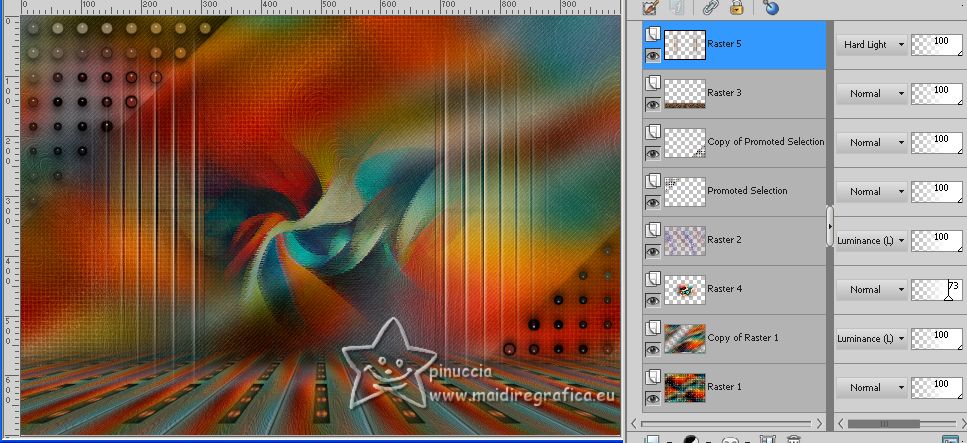
33. Objects>Align>Top,
or activate your Pick Tool 
and set Position Y to 0,00

Layers>Arrange>Bring to Top.
Change the Blend Mode of this layer to Hard Light.
Your tag and the layers - Blend Mode and opacity to your liking.
34. Image>Add borders, 1 pixel, symmetric, color black.
35. Selections>Select All.
Edit>Copy.
Image>Add borders, 50 pixels, symmetric, color white.
36. Selections>Invert.
Edit>Paste into Selection.
37. Adjust>Blur>Gaussian Blur - radius 30.

Selections>Promote Selection to Layer.
38. Open frame-MJ 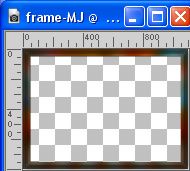
Edit>Copy.
Go back to your work and go to Edit>Paste into Selection.
Change the Blend Mode of this layer to Luminance (legacy).
Keep selected.
Layers>Merge>Merge visible.
Effects>3D Effects>Drop Shadow, color black.

Selections>Select None.
39. Open the woman's tube TubeNaraPamplona 1494 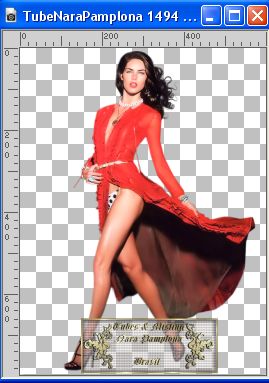
Edit>Copy.
Go back to your work and go to Edit>Paste as new layer.
Image>Resize, to 90%, resize all layers not checked.
Image>Mirror.
Move  the tube to the left. the tube to the left.
Effects>3D Effects>Drop Shadow, at your choice.
40. Open the tube vasofolha_mj 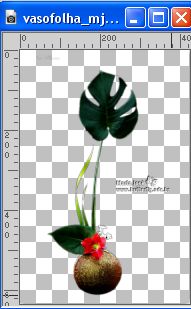
Erase the watermark and go to Edit>Copy.
Go back to your work and go to Edit>Paste as new layer.
Image>Resize, to 85%, resize all layers not checked.
Move  the tube to the right. the tube to the right.
Effects>3D Effects>Drop Shadow, at your choice.
41. Sign your work.
Image>Add borders, 1 pixel, symmetric, color black.
42. Image>Resize, 1000 pixels width, resize all layers checked.
Save as jpg.
For the tubes of these version thanks
Suizabella e Nena Silva
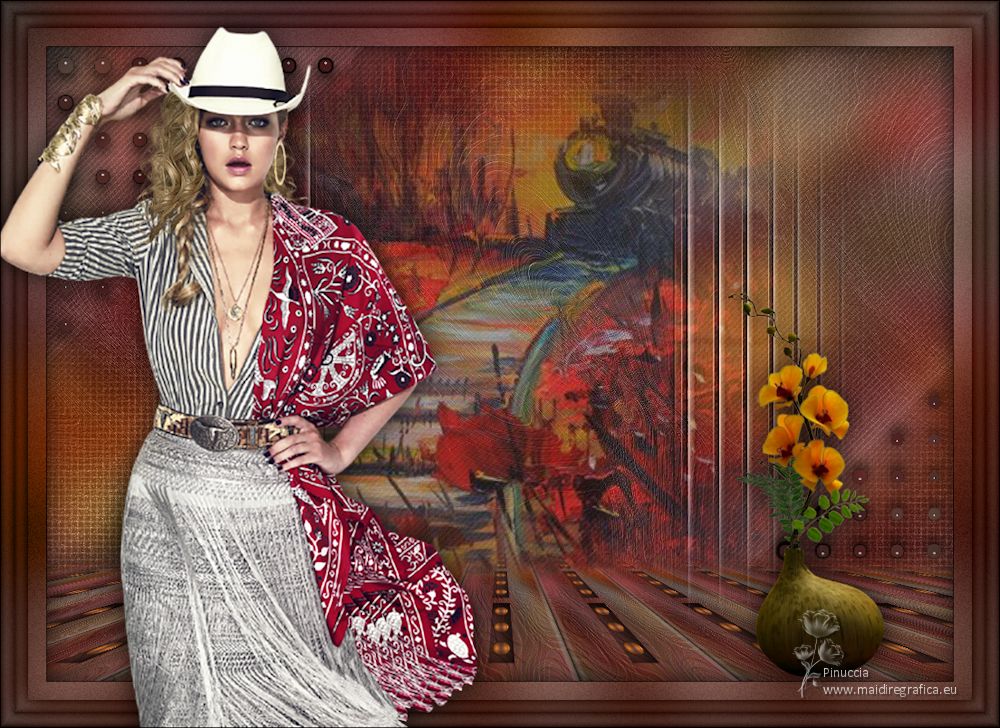
Azalée and Nena Silva

If you have problems or doubts, or you find a not worked link,
or only for tell me that you enjoyed this tutorial, write to me.
12 May 2023

|

