|
ZENITH

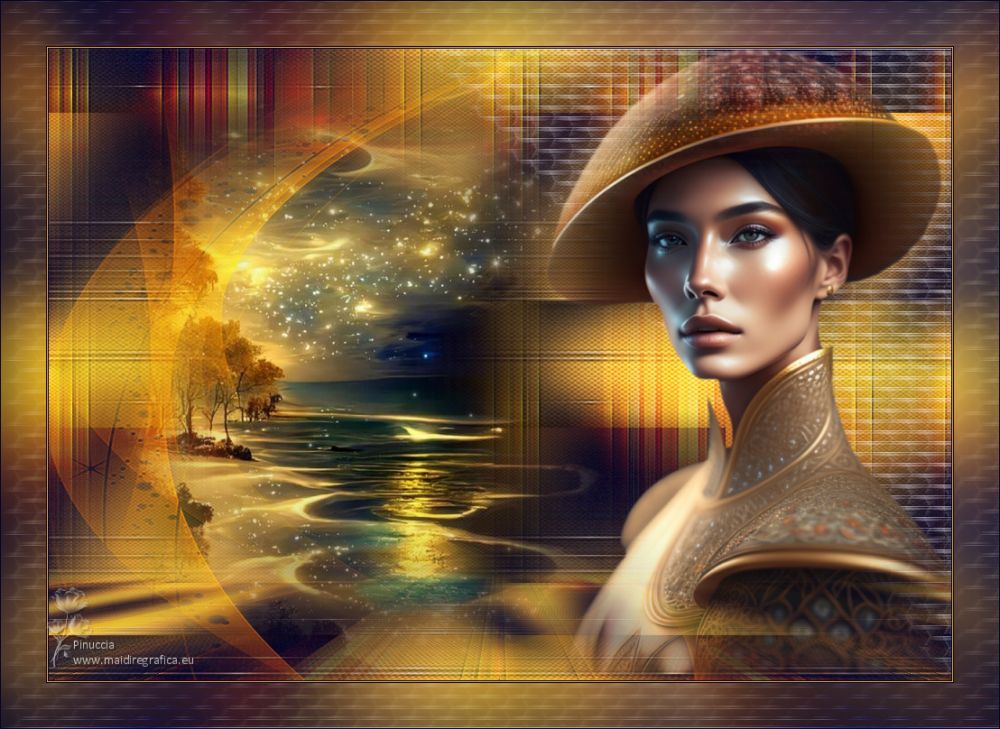
Thanks Maria José for your invitation to translate your tutorial

This tutorial has been translated with PSPX2 and PSPX3, but it can also be made using other versions of PSP.
Since version PSP X4, Image>Mirror was replaced with Image>Flip Horizontal,
and Image>Flip with Image>Flip Vertical, there are some variables.
In versions X5 and X6, the functions have been improved by making available the Objects menu.
In the latest version X7 command Image>Mirror and Image>Flip returned, but with new differences.
See my schedule here
 French translation here French translation here
 your versions ici your versions ici
For this tutorial, you will need:

For the selection thanks Renée.
(you find here the links to the material authors' sites)

consult, if necessary, my filter section here
Mehdi - Wavy Lab 1.1. here
Mura's Meister - Perspective Tiling here

You can change Blend Modes according to your colors.

Copy the Selection in the Selections Folder.
Copy the texture esp_orange_mesk in the Textures Folder.
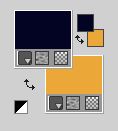
Set your foreground color to #040625,
and your background color to #eba738.
1. Open a new transparent image 1000 x 700 pixels.
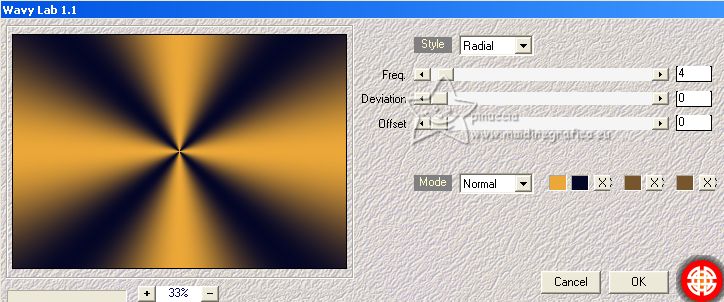
2. Effects>Plugins>Mehdi - Wavy Lab 1.1.
This filter creates gradients with the colors of your Materials palette.
The first is your background color, the second is your foreground color.
Keep the last two colors created by the filtre:
3. Adjust>Blur>Gaussian Blur - radius 25.

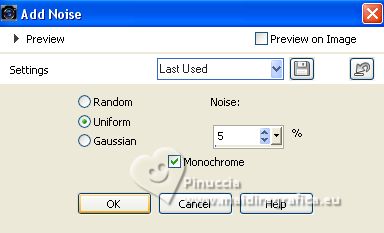
4. Adjust>Add/Remove Noise>Add Noise.
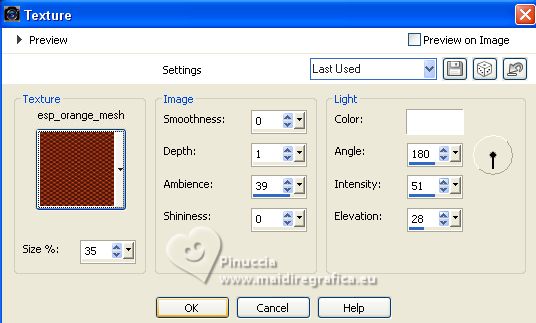
5. Effects>Texture Effects>Texture - select the texture esp_orange_mesh
6. Layers>Duplicate.
Image>Resize, to 80%, resize all layers not checked.
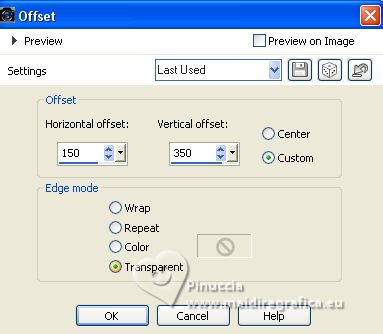
7. Effects>Image Effects>Offset.
8. Layers>Duplicate.
Image>Flip.
9. Objects>Align>Left (Position X: 0,00)
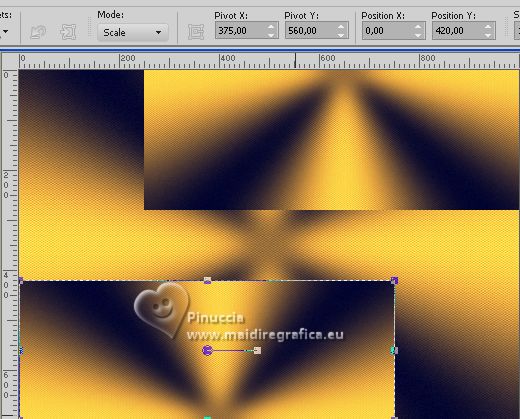
Layers>Merge>Merge Down.
10. Effects>Image Effects>Seamless Tiling.

Effects>3D Effects>Drop Shadow, color black.

11. Open MJ-deco 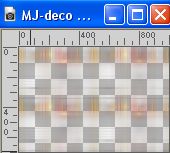
Edit>Copy.
Go back to your work and go to Edit>Paste as new layer.
Change the Blend Mode of this layer to Hard Light.
12. Layers>New Raster Layer.
Selections>Load/Save Selection>Load Selection from Disk.
Look for and load the selection renee-printemps
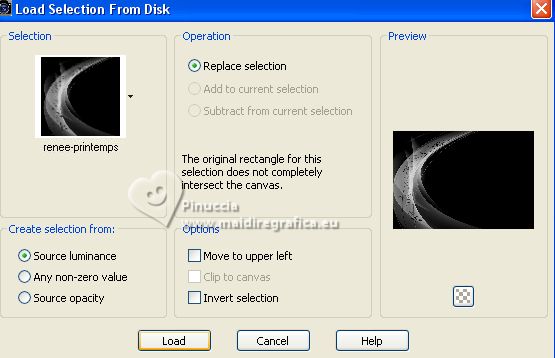
Reduce the opacity of your Flood Fill Tool to 80%
Flood Fill  the selection with your light color. the selection with your light color.
13. Adjust>Sharpness>Sharpen.
Selections>Select None.
don't forget to set again the opacity of your Flood Fill Tool to 100
Change the Blend Mode of this layer to Hard Light.
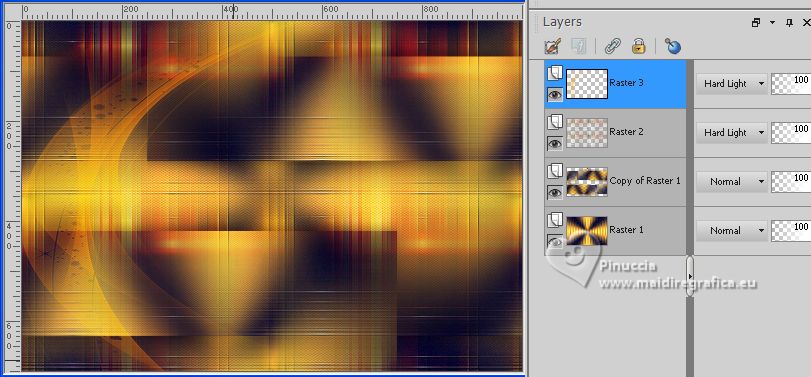
14. Edit>Copy Special>Copy Merged.
Edit>Paste as new layer.
Image>Mirror.
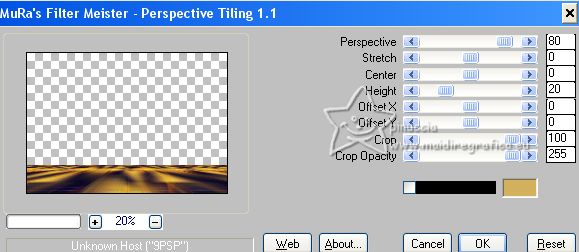
15. Effects>Plugins>Mura's Meister - Perspective Tiling.
16. Activate your Magic Wand Tool  , feather 50, , feather 50,
and click in the transparent part to select it.
Press +/-10 times CANC on the keyboard 
Selections>Select None.
Layers>Arrange>Move Down.
17. Open the misted misted-4-MJ 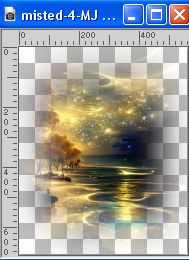
Edit>Copy.
Go back to your work and go to Edit>Paste as new layer.
18. K key to activate your Pick Tool 
and set Position X: 52,00 and Position Y: 8,00.

M key to deselect the Tool.
19. Open MJ-deco-1 
Edit>Copy.
Go back to your work and go to Edit>Paste as new layer.
20. Objects>Align>Right (Position X: 410,00).
Change the Blend Mode of this layer to Screen.
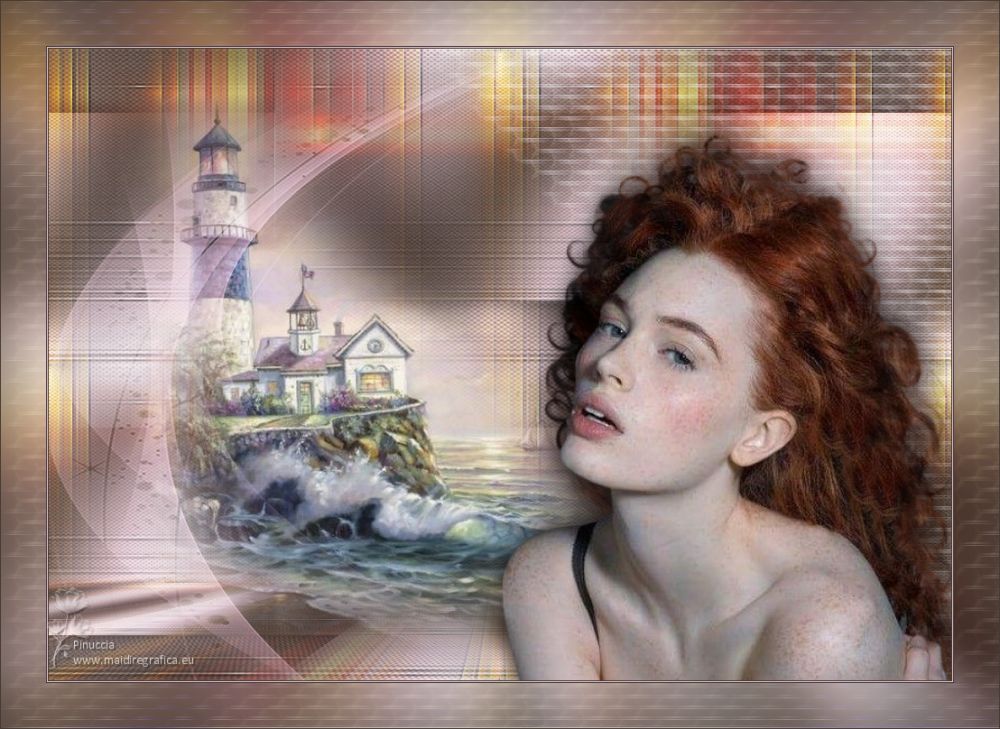
Your tag and the layers - adapt Blend Mode and opacity to your liking
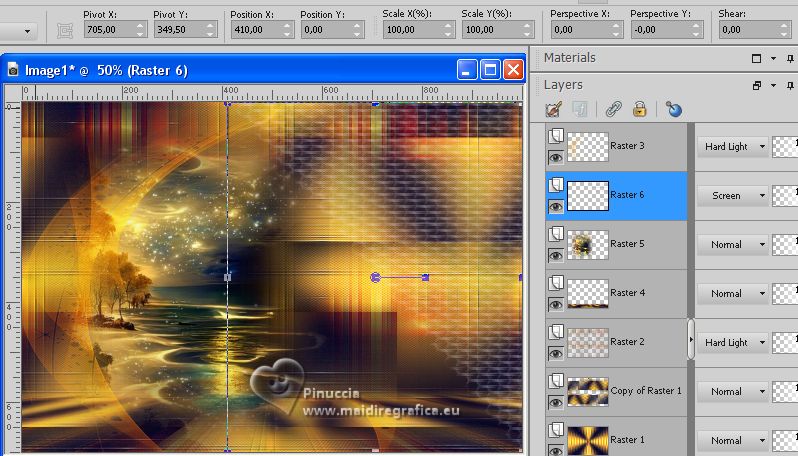
21. Activate your top layer.
Open the woman tube mistedface-MJ 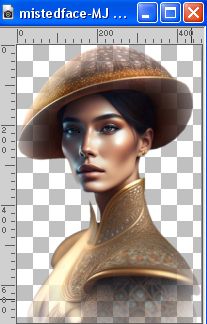
Edit>Copy.
Go back to your work and go to Edit>Paste as new layer.
Move  the tube to the right. the tube to the right.
22. Image>Add borders, 1 pixel, symmetric, dark color.
Image>Add borders, 1 pixel, symmetric, light color.
Image>Add borders, 1 pixel, symmetric, dark color.
23. Selections>Select All.
Edit>Copy.
Image>Add borders, 50 pixels, symmetric, color white.
24. Selections>Invert.
Edit>Paste into Selection.
25. Adjust>Blur>Gaussian Blur - radius 25.

Keep selected.
26. Layers>New Raster Layer.
Open bordas-MJ 
Edit>Copy.
Go back to your work and go to Edit>Paste into Selection.
Change the Blend Mode to Screen, ou according to your colors.
27. Effects>3D Effects> Drop Shadow, color black.

Selections>Select All.
28. Sign your work on a new layer.
29. Image>Add borders, 1 pixel, symmetric, dark black.
30. Image>Resize, 1000 pixels width, resize all layers checked.
Save as jpg.
For the tubes of this version thanks Yoka and Jewel

If you have problems or doubts, or you find a not worked link,
or only for tell me that you enjoyed this tutorial, write to me.
24 March 2023

|

