|
VASTI

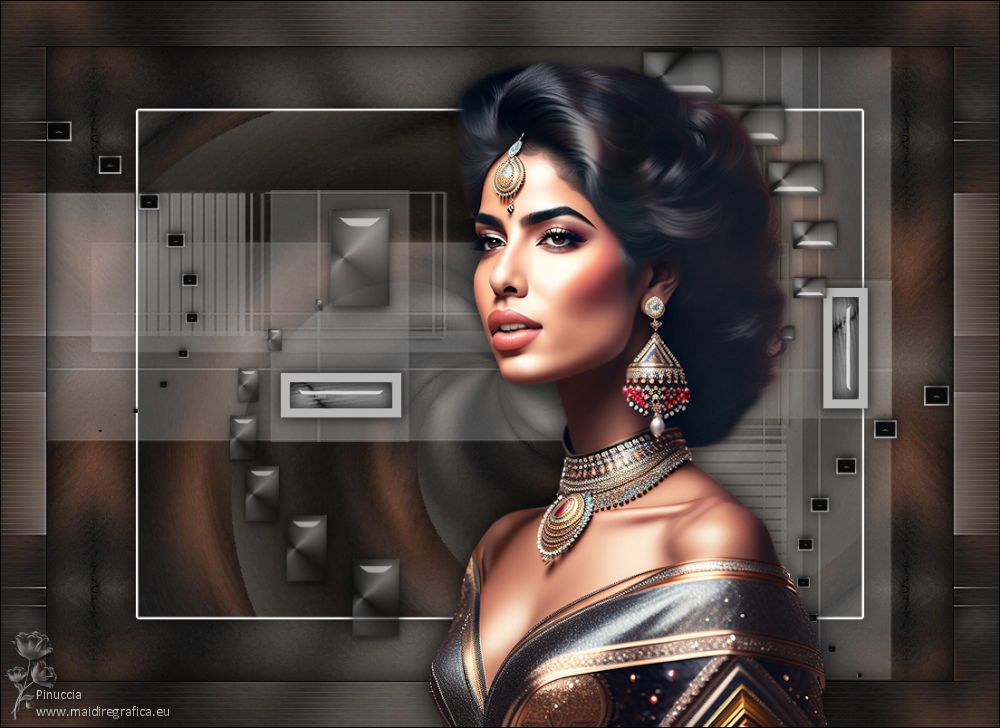
Thanks Maria José for your invitation to translate your tutorial

This tutorial has been translated with PSPX2 and PSPX3, but it can also be made using other versions of PSP.
Since version PSP X4, Image>Mirror was replaced with Image>Flip Horizontal,
and Image>Flip with Image>Flip Vertical, there are some variables.
In versions X5 and X6, the functions have been improved by making available the Objects menu.
In the latest version X7 command Image>Mirror and Image>Flip returned, but with new differences.
See my schedule here
 French translation here French translation here
 your versions ici your versions ici
For this tutorial, you will need:

The material is by Maria José.
(you find here the links to the material authors' sites)

consult, if necessary, my filter section here
Filters Unlimited 2.0 here
Contours - Aérographe here
Brush Strokes - Sprayed Strokes here
Graphics Plus - Vertical Mirror here
Simple - Top Left Mirror here
[AFS IMPORT] - win_053 (to import in Unlimited) here
the single effect is in the material
Carolaine and Sensibility - CS_LDots here
Filters Toadies, Simple et Mura's Seamless can be used alone or imported into Filters Unlimited.
(How do, you see here)
If a plugin supplied appears with this icon  it must necessarily be imported into Unlimited it must necessarily be imported into Unlimited

You can change Blend Modes according to your colors.

Copy the selection in the Selection Folder.
Open the mask in PSP and minimize it with the rest of the material.
1. Open a new transparent image 1000 x 700 pixels.
Selections>Select All.
Open the background image background 
Edit>Copy.
Go back to your work and go to Edit>Paste into Selection.
Selections>Select None.
2. Effects>Geometric Effects>Skew.

3. Effects>Image Effects>Seamless Tiling.

Effects>Edge Effects>Enhance more.
4. Effects>Reflection Effects>Rotating Mirror, default settings.

5. Effects>Plugins>Graphics Plus - Vertical Mirror, default settings.
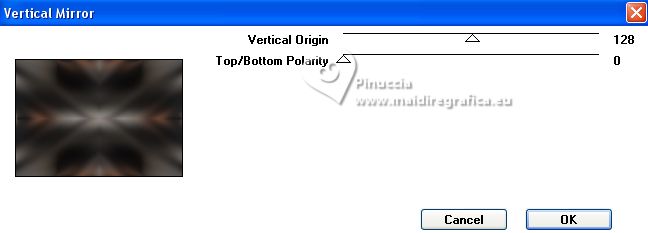
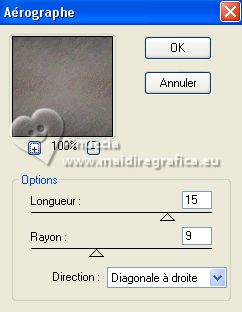
6. Effects>Plugins>Contours - Aérographe
or Effects>Plugins>Brush Strokes - Sprayed Strokes
7. Effects>Reflection Effects>Rotating Mirror.

8. Effects>Plugins>Simple - Top Left Mirror.

9. Layers>Duplicate.
Image>Resize, to 80%, resize all layers not checked.
10. Selections>Select All.
Selections>Float.
Selections>Defloat.
11. Effects>Plugins>Filters Unlimited 2.0 - [AFS IMPORT] - win_053

if after importing in Unlimited the effect provided in the material,
you can't find it in the filter list,
it may happen that he placed himself under Winnies 006 - win_053

12. Selections>Modify>Select Selection Borders.

Set your foreground color to white #ffffff.
Flood Fill  the selection with color white. the selection with color white.
Selections>Select None.
13. Effects>3D Effects>Drop shadow, color black.

14. Layers>New Raster Layer.
Reduce the opacity of your Flood Fill Tool to 70%.
Flood Fill  the layer with color white. the layer with color white.
don't forget to set again the opacity to 100
15. Layers>New Mask layer>From image
Open the menu under the source window and you'll see all the files open.
Select the mask 103Mask

Layers>Merge>Merge Group.
16. Selections>Load/Save Selection>Load Selection from Disk.
Look for and load the selection MJP-06-06-23

Press CANC on the keyboard 
Selections>Select None
17. Effects>Image Effects>Offset.

18. Layers>Duplicate.
Image>Free Rotate - 90 degrees to right.

19. Effects>Image Effects>Offset.

20. Layers>Merge>Merge Down.
Reduce the opacity of this layer +/-61%.
21. Open the tube layerdecos-MJ 
Edit>Copy.
Go back to your work and go to Edit>Paste as new layer.
Effects>Image Effects>Offset.

22. Activate the layer Raster 1.
Edit>Copy.
Edit>Paste as new image, and minimize this image.
Your tag and the layers - adapt Blend Mode and opacity according to your colors.

23. Image>Add borders, 1 pixel, symmetric, color black.
24. Selections>Select All.
Image>Add borders, 50 pixels, symmetric, color white.
25. Selections>Invert.
Edit>Paste into Selection (the image minimized is still in memory)
26. Effects>Plugins>Carolaine and Sensibility - CS-LDots.

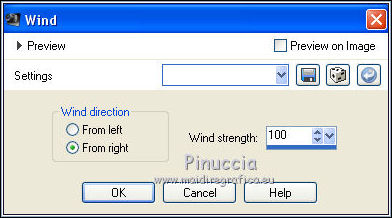
27. Effects>Distortion Effects>Wind - from right, strength 100.
28. Effects>Plugins>Simple - Top Left Mirror.

29. Adjust>Sharpness>Sharpen More.
30. Effects>3D Effects>Drop shadow, color black.

Selections>Select None.
31. Open the woman's tube mariajoseMJ-370 
Erase the watermark and go to Edit>Copy.
Go back to your work and go to Edit>Paste as new layer.
Move  the tube to the right. the tube to the right.
Effets>Effets 3D>Ombre portée, at your choice.
32. Sign your work.
Image>Add borders, 1 pixel, symmetric, color black.
33. Image>Resize, 1000 pixels width, resize all layers checked.
Save as jpg.
For the tubes of these versions thanks
Renée
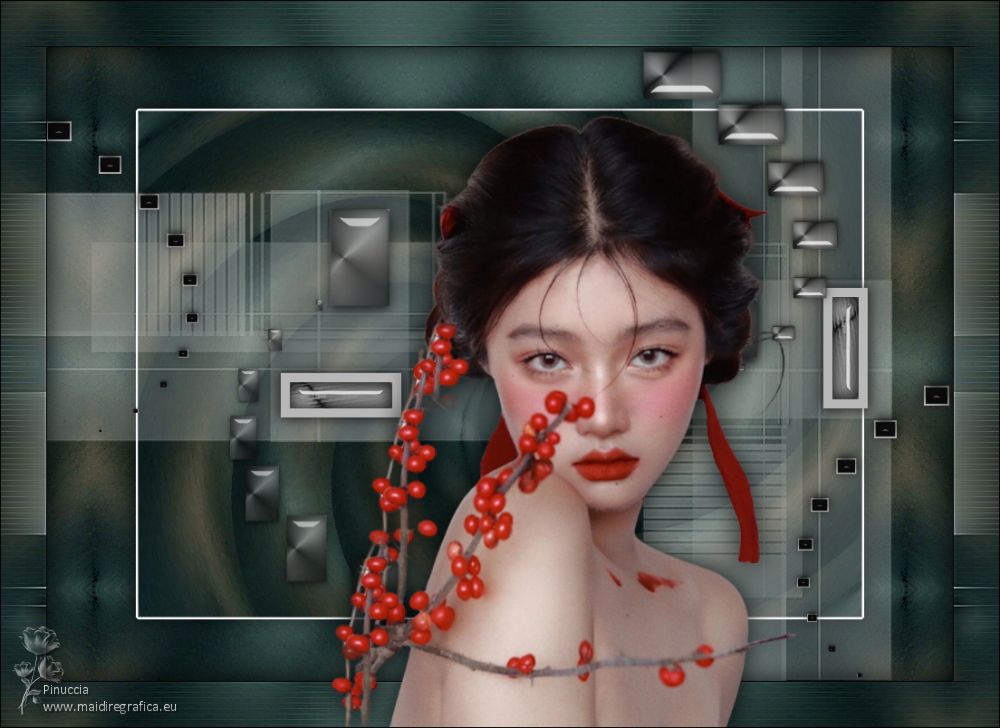
Beatriz
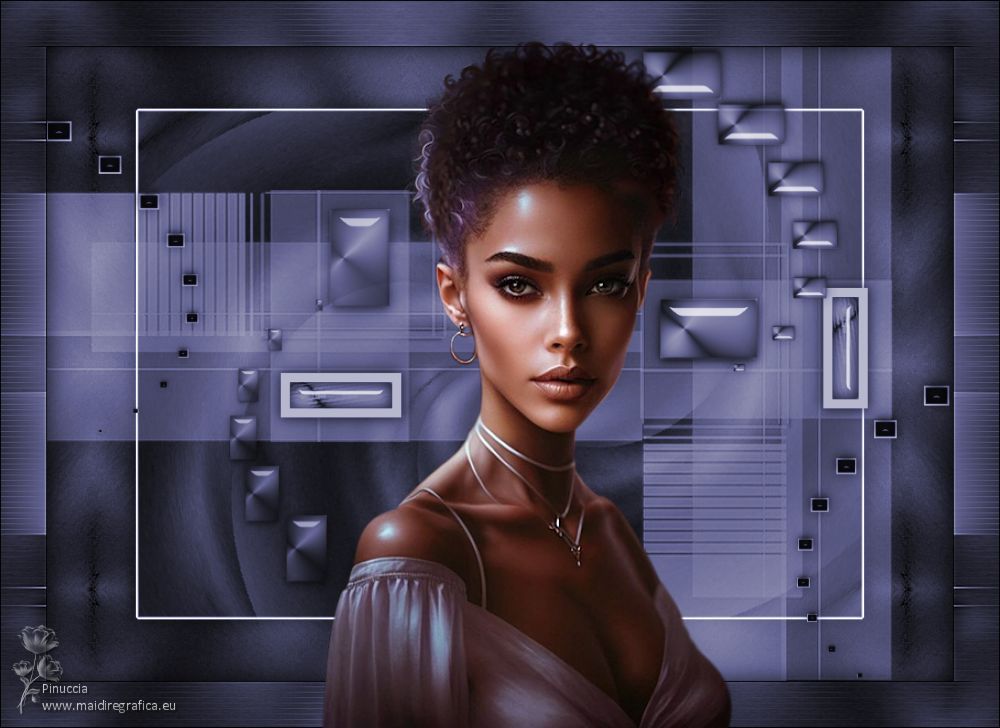

If you have problems or doubts, or you find a not worked link,
or only for tell me that you enjoyed this tutorial, write to me.
23 June 2023

|

