|
SUIZABELLA

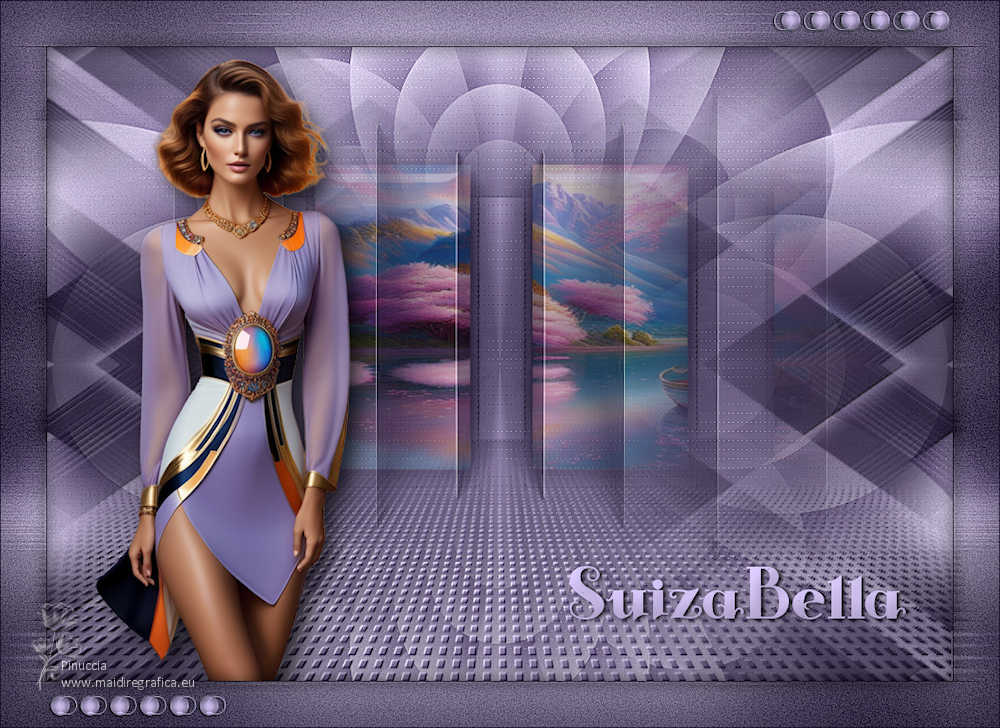
Thanks Maria José for your invitation to translate your tutorial

This tutorial has been translated with PSPX9 and PSP2019, but it can also be made using other versions of PSP.
Since version PSP X4, Image>Mirror was replaced with Image>Flip Horizontal,
and Image>Flip with Image>Flip Vertical, there are some variables.
In versions X5 and X6, the functions have been improved by making available the Objects menu.
In the latest version X7 command Image>Mirror and Image>Flip returned, but with new differences.
See my schedule here
 French translation here French translation here
 your versions here your versions here
For this tutorial, you will need:

For a mask thanks Noisette,
the material of the material is by Maria José.
(you find here the links to the material authors' sites)

consult, if necessary, my filter section here
Filters Unlimited 2.0 here
Flaming Pear - Flexify 2 here
Simple - Top Left Mirror here
Mura's Seamless - Emboss at Alpha here
L&K's - L&K's Zitah here
Alien Skin Eye Candy 5 Impact - Glass here
Filters Simple and Mura's Seamless can be used alone or imported into Filters Unlimited.
(How do, you see here)
If a plugin supplied appears with this icon  it must necessarily be imported into Unlimited it must necessarily be imported into Unlimited

You can change Blend Modes according to your colors.
In the newest versions of PSP, you don't find the foreground/background gradient (Corel_06_029).
You can use the gradients of the older versions.
The Gradient of CorelX here
Copy the preset  in the folder of the plugin Alien Skin Eye Candy 5 Impact>Settings>Glass. in the folder of the plugin Alien Skin Eye Candy 5 Impact>Settings>Glass.
One or two clic on the file (it depends by your settings), automatically the preset will be copied in the right folder.
why one or two clic see here
Copy the Flexify preset in a folder of your choice.
I usually leave it in the material folder.
You will import it from this folder when you need it.

Copy the Selection in the Selections Folder.
Copy the mask 20-20 in the Masks Folder.
Open the other masks in PSP and minimize them with the rest of the material.
Set your foreground color to #c6b7e5
and your background color to #180f29.
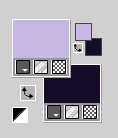
Set your foreground color to a Foreground/Background Gradient, style Sunburst.
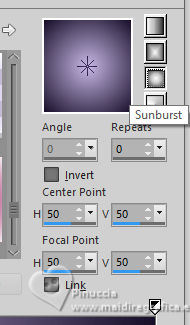
1. Open a new transparent image 1000 x 700 pixels.
Flood Fill  the transparent image with your Gradient. the transparent image with your Gradient.
2. Effects>Texture Effects>Blinds - dark color.
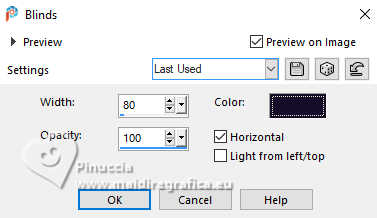
3. Repeat Effects>Texture Effects>Blinds - light color, horizontal checked.
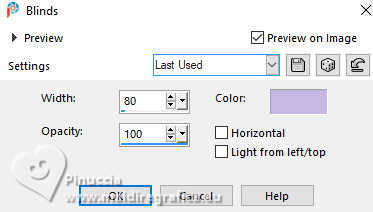
4. Effects>Reflection Effects>Rotating Mirror, default settings.

Layers>Duplicate.
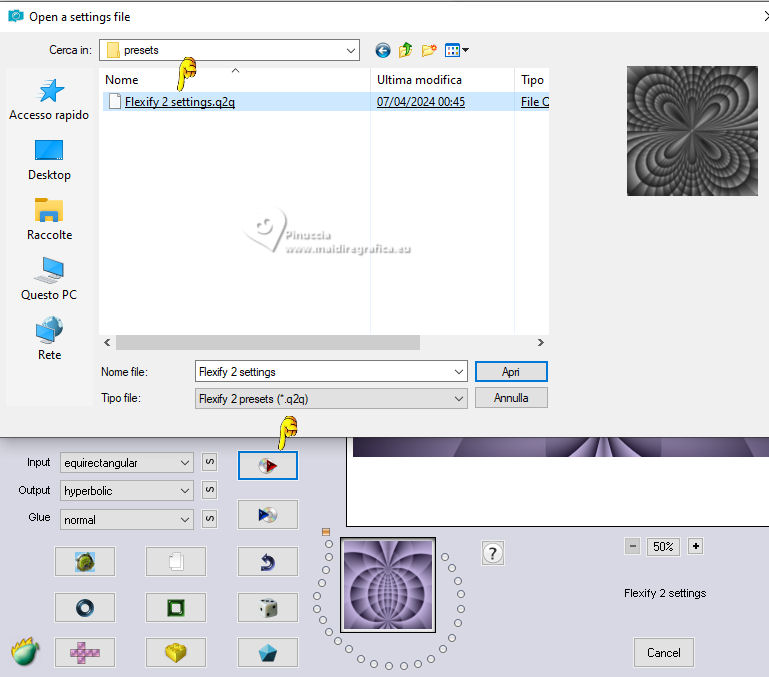
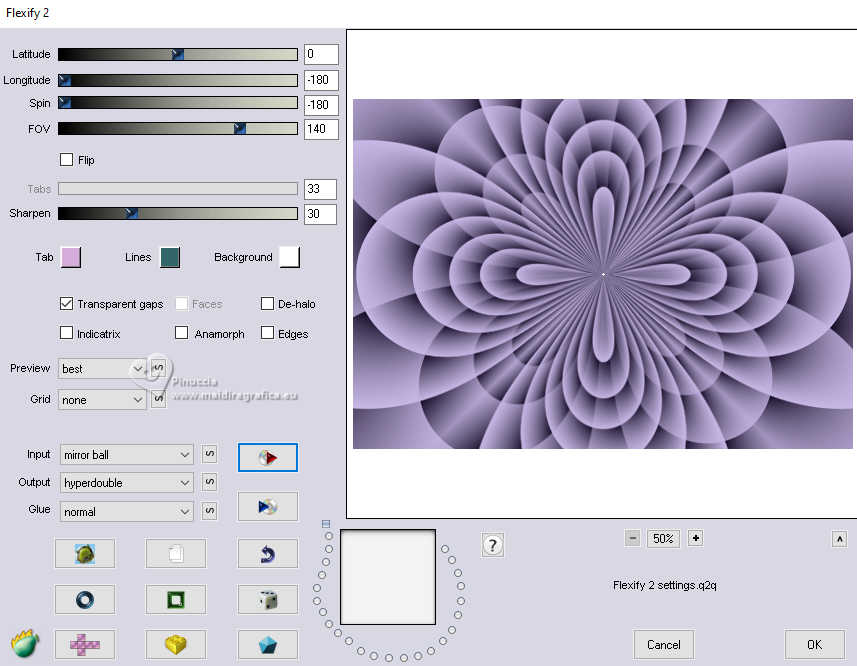
5. Effects>Plugins>Flaming Pear - Flexify 2.
Click on the red botton, look for and select the preset in the folder where you saved it.
Here below the settings, in case of problems.
6. Layers>Load/Save Mask>Load Mask from Disk.
Look for and load the mask 20-20.
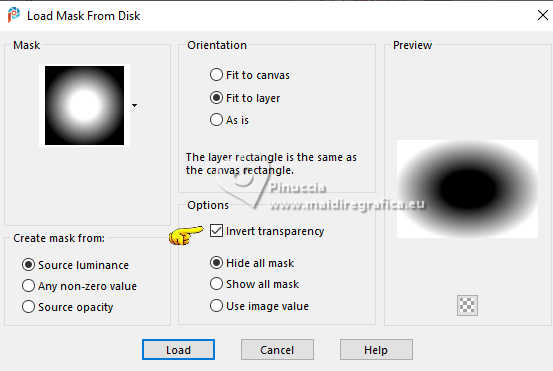
Layers>Duplicate.
Layers>Merge>Merge Group.
7. Adjust>Add/Remove Noise>Add Noise.
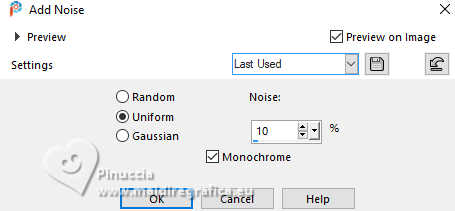
8. Adjust>Sharpness>Sharpen More.
Change the Blend Mode of this layer to Screen.
9. Activate the layer Raster 1.
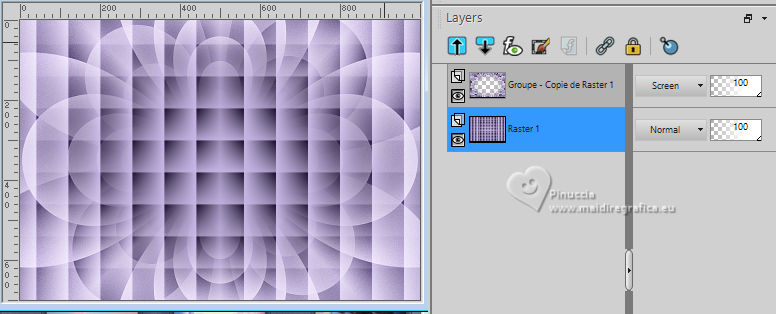
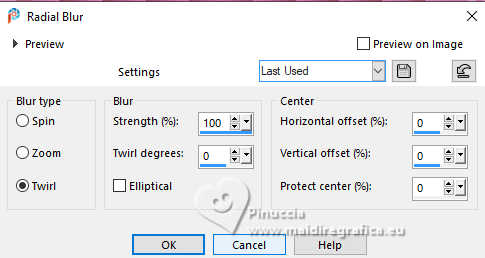
Adjust>Blur>Radial Blur.
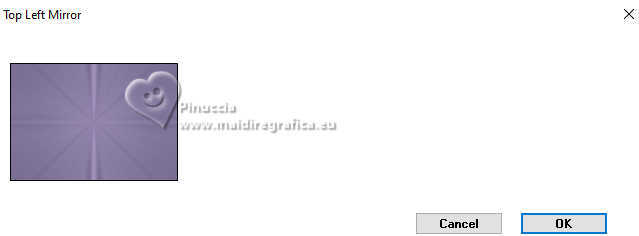
10. Effects>Plugins>Simple - Top Left Mirror
11. Effects>Plugins>L&K's - L&K's Zitah.
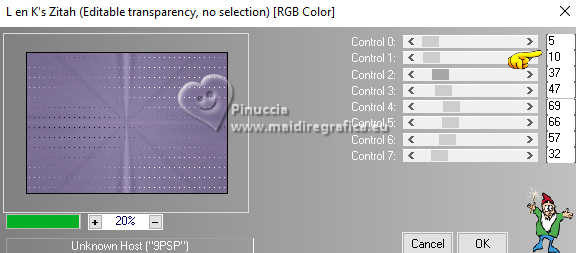
Adjust>Sharpness>Sharpen More.
12. Layers>New Raster Layer.
Layers>Arrange>Bring to top.
Flood Fill  the layer with your dark background layer. the layer with your dark background layer.
13. Layers>New Mask layer>From image
Open the menu under the source window and you'll see all the files open.
Select the mask mask-04-MJ.
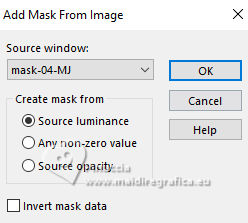
Layers>Merge>Merge Group.
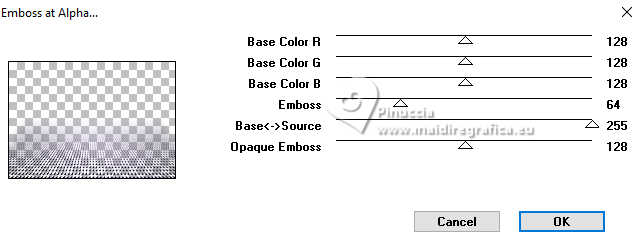
14. Effects>Plugins>Mura's Seamless - Emboss at alpha, default settings.
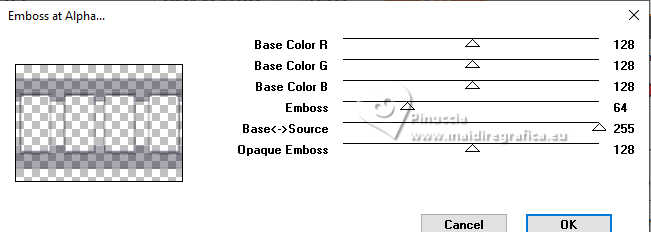
15. Selections>Load/Save Selection>Load Selection from Disk.
Look for and load the selection mask-MJ
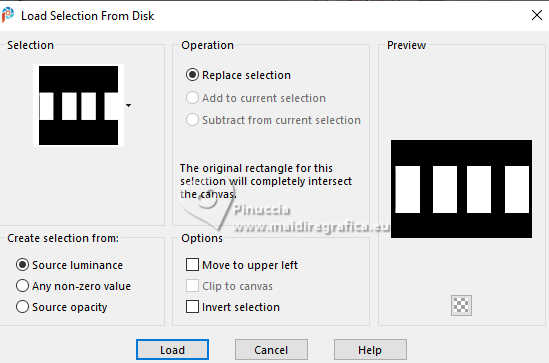
16. Layers>New Raster Layer.
Open the image gráfico-Sb-MJ 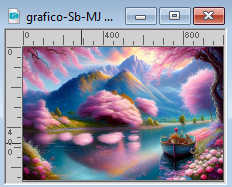
Edit>Copy.
Go back to your work and go to Edit>Paste into Selection.
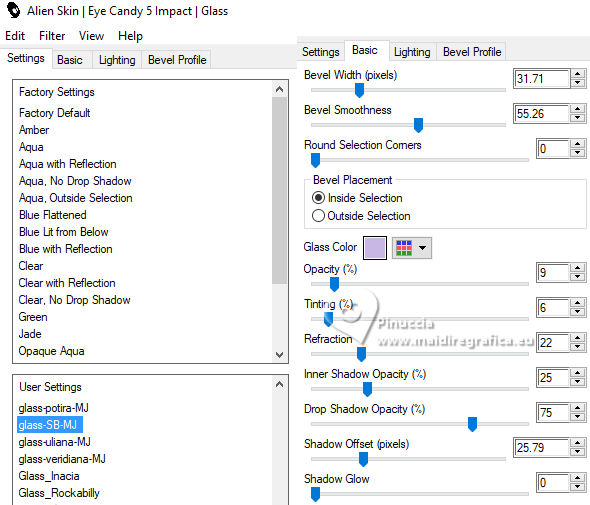
17. Effects>Plugins>Alien Skin Eye Candy 5 Impact - Glass.
Select the preset glass-SB-MJ
Glass Color: light foreground color.
18. Layers>Arrange>Move Down.
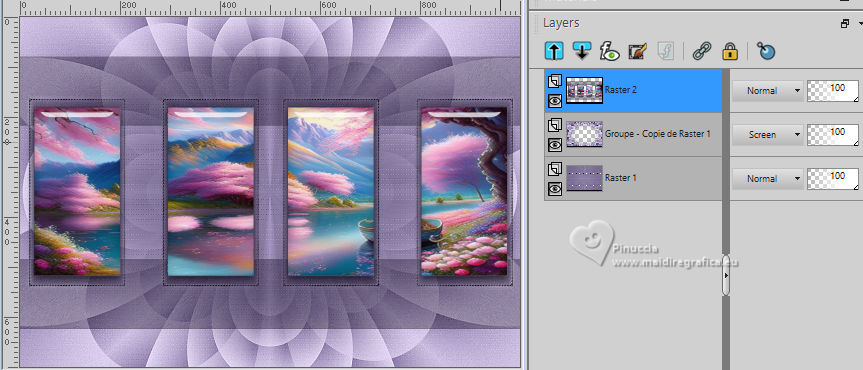
19. Activate the layer Gruppo-Raster 2.
Layers>Merge>Merge Down.
Selections>Select None.
20. Layers>Load/Save Mask>Load Mask from Disk.
Look for and load the mask 20-20.
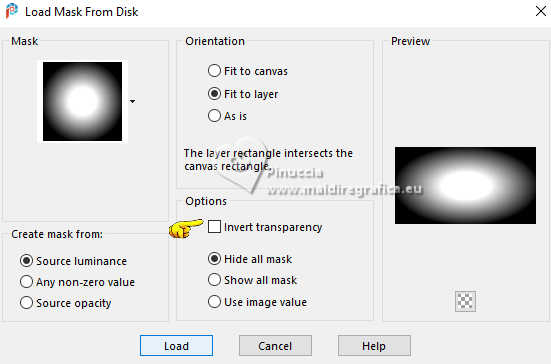
Layers>Duplicate.
Layers>Merge>Merge Group.
21. K key to activate your Pick Tool 
keep Position X: 17,00 and set Position Y: 28,00.

22. Open deco-SB-1-MJ 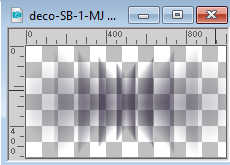
Edit>Copy.
Go back to your work and go to Edit>Paste as new layer.
23. Keep Position X: 0,00 and set Position Y: 28,00.

M key to deselect the Tool.
Reduce the opacity of this layer +/-80%.
24. Layers>New Raster Layer.
Flood Fill  the layer with your dark background color. the layer with your dark background color.
25. Layers>New Mask layer>From image
Open the menu under the source window
and select the mask mask-SB-MJ.
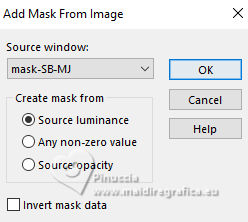
Layers>Merge>Merge Group.
26. Effects>Plugins>Mura's Seamless - Emboss at Alpha, default settings.
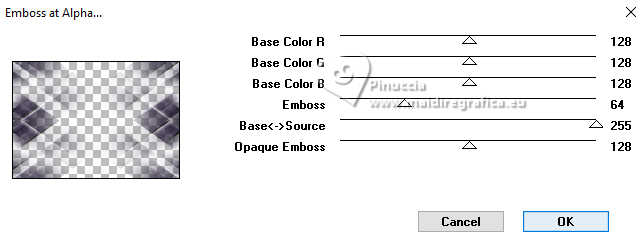
27. Layers>New Raster Layer.
Flood Fill  the layer with your Gradient. the layer with your Gradient.
28. Layers>New Mask layer>From image
Open the menu under the source window
and select the mask masque17-noisette.
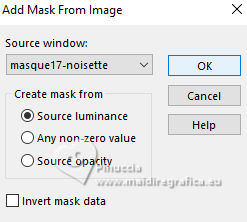
Layers>Merge>Merge Group.
29. Effects>Plugins>Mura's Seamless - Emboss at Alpha, default settings.
30. K key to activate your Pick Tool 
keep Position X: 0,00 and set Position Y: 400,00

Effects>3D Effects>Drop Shadow, color black.

Layers>Arrange>Move Down - 3 times.
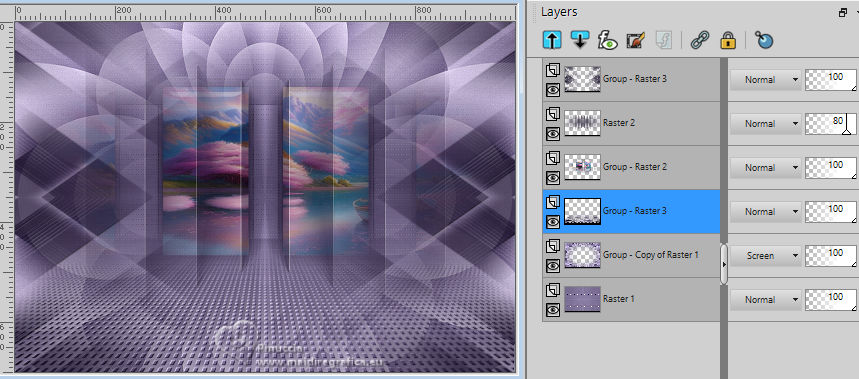
Your tag and the layers - adapt Blend Mode and opacity to your liking.
31. Activate your top layer.
Open the woman's tube image-AI-tubed-MJ 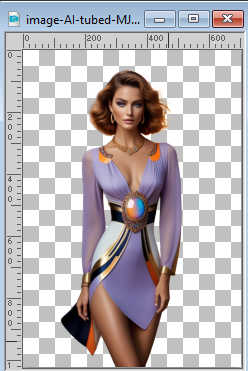
Edit>Copy.
Go back to your work and go to Edit>Paste as new layer.
Image>Resize, to 72%, resize all layers not checked.
Effects>3D Effects>Drop Shadow, at your choice.
32. Open texto 
Edit>Copy.
Go back to your work and go to Edit>Paste as new layer.
Move  the text at the bottom right. the text at the bottom right.
33. Image>Add borders, 1 pixel, symmetric, dark color.
34. Selections>Select All.
Edit>Copy
Image>Add borders, 50 pixels, symmetric, color white.
35. Selections>Invert.
Edit>Paste into Selection
36. Adjust>Blur>Gaussian Blur - radius 30.

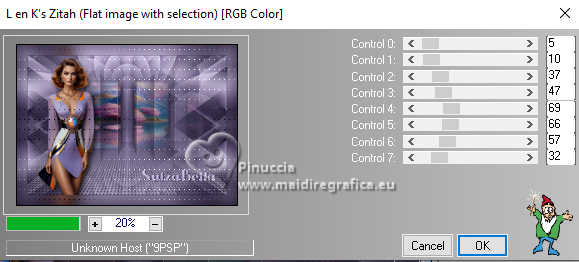
37. Effects>Plugins>L&K's - L&K's Zitah, same settings.
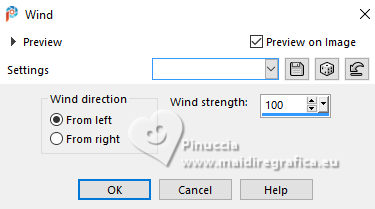
38. Effects>Distortion Effects>Wind - from left, strenghth 100.
39. Effects>Reflection Effects>Rotating Mirror, default settings.

40. Adjust>Add/Remove Noise>Add Noise.

41. Adjust>Sharpness>Sharpen More.
42. Effects>3D Effects>Drop shadow, color black.

43. Selections>Invert.
Repeat Effects>3D Effects>Drop Shadow, same settings.
Selections>Select None.
44. Open deco-borders-MJ 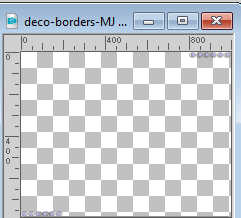
Edit>Copy.
Go back to your work and go to Edit>Paste as new layer.
45. Image>Add borders, 1 pixel, symmetric, dark color.
46. Image>Resize, 1000 pixels width, resize all layers checked.
47. Sign your work and save as jpg.
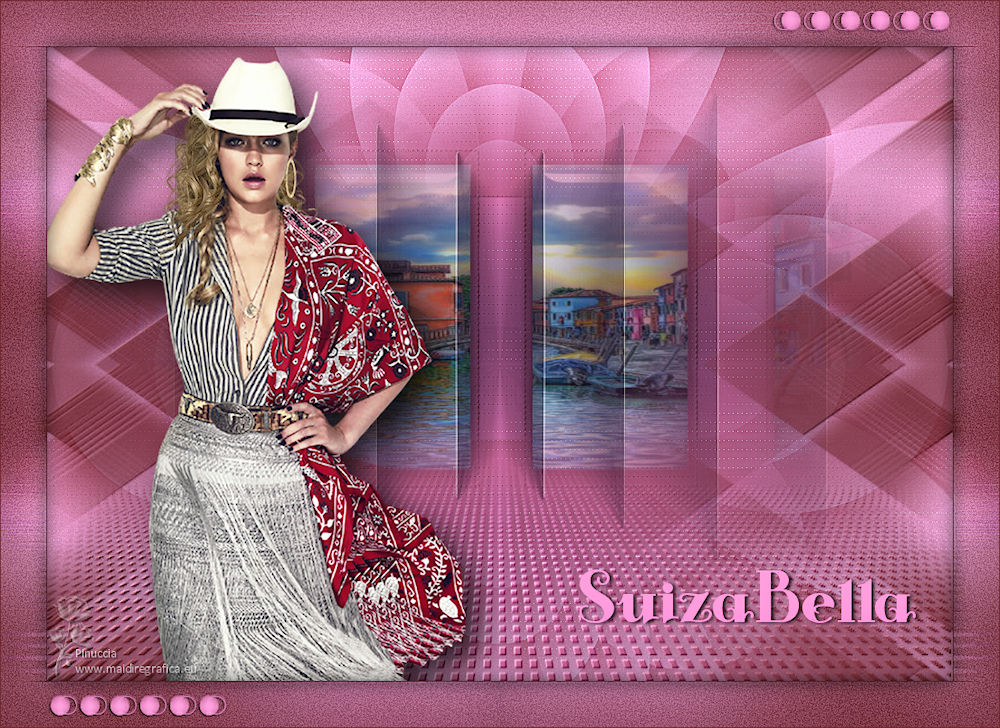
For the tube of this version thanks Suizabella

If you have problems or doubts, or you find a not worked link,
or only for tell me that you enjoyed this tutorial, write to me.
11 May 2024

|

