|
STRANGER

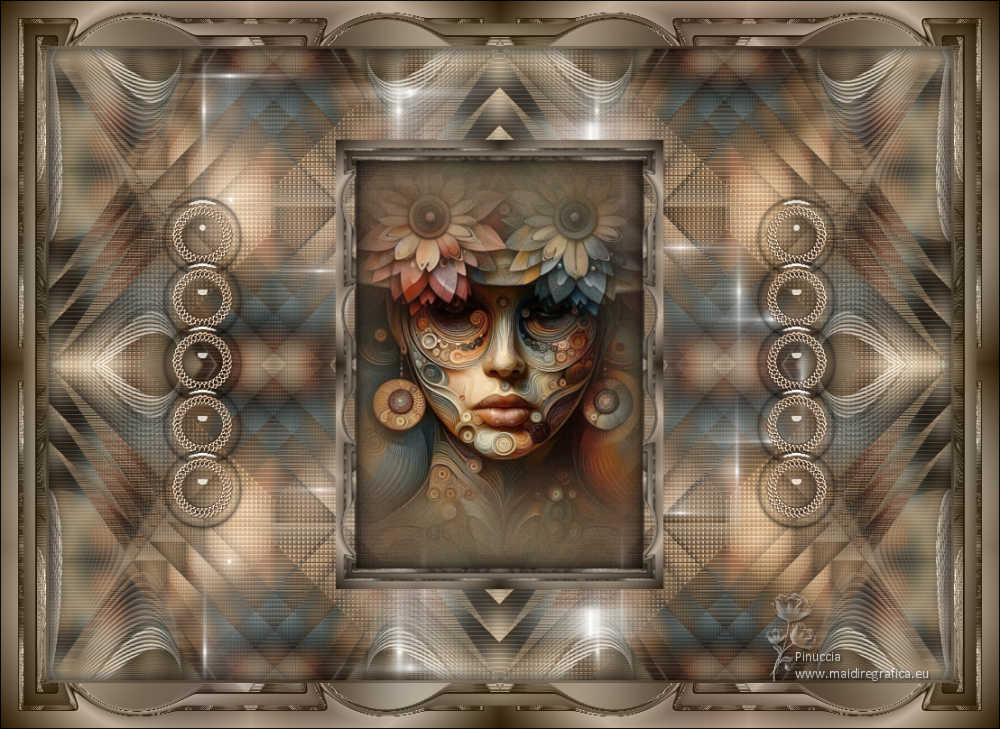
Thanks Maria José for your invitation to translate your tutorial

This tutorial has been translated with PSPX9 and PSP2019, but it can also be made using other versions of PSP.
Since version PSP X4, Image>Mirror was replaced with Image>Flip Horizontal,
and Image>Flip with Image>Flip Vertical, there are some variables.
In versions X5 and X6, the functions have been improved by making available the Objects menu.
In the latest version X7 command Image>Mirror and Image>Flip returned, but with new differences.
See my schedule here
 French translation here French translation here
 your versions here your versions here
For this tutorial, you will need:

Material by Maria José
(you find here the links to the material authors' sites)

consult, if necessary, my filter section here
Filters Unlimited 2.0 here
&<Bkg Designers sf10IV> - @Instant Tile (à importer dans Unlimited) here
Simple - Pizza Slice Mirror here
Carolaine and Sensibility - CS-Texture, CS-Linear-H here
Filters Simple can be used alone or imported into Filters Unlimited.
(How do, you see here)
If a plugin supplied appears with this icon  it must necessarily be imported into Unlimited it must necessarily be imported into Unlimited

You can change Blend Modes according to your colors.

1. Open alphachannel-stranger-MJ
Window>Duplicate or, on the keyboard, shift+D to make a copy.

2. Close the original.
The copy, that will be the basis of your work, is not empty,
but contains the selections saved to alpha channel.
Selections>Select All.
3. Open the image gráfico-MJ 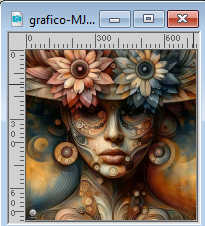
Edit>Copy.
Go back to your work and go to Edit>Paste into Selection.
Selections>Select None.
4. Effects>Image Effects>Seamless Tiling, default settings.

5. Adjust>Blur>Gaussian Blur 30.

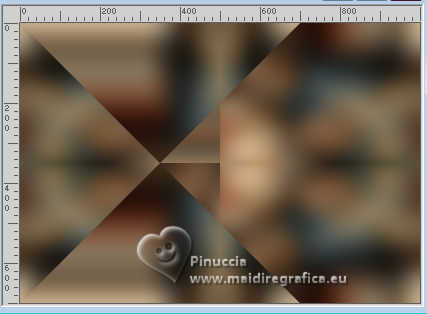
6. Effects>Plugins>Simple - Pizza Slice Mirror.
This effect works without window; result
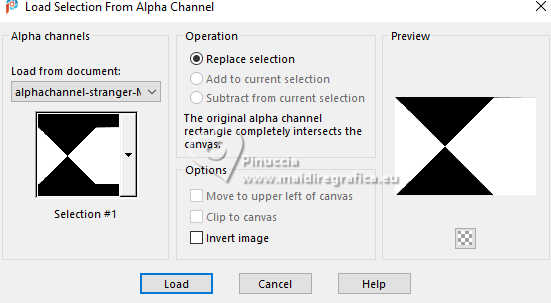
7. Selections>Load/Save Selection>Load Selection from Alpha Channel.
The selection Selection #1 is immediately available.
You just have to click Load.
8. Effects>Plugins>Carolaine and Sensibility - CS-Texture, default settings.
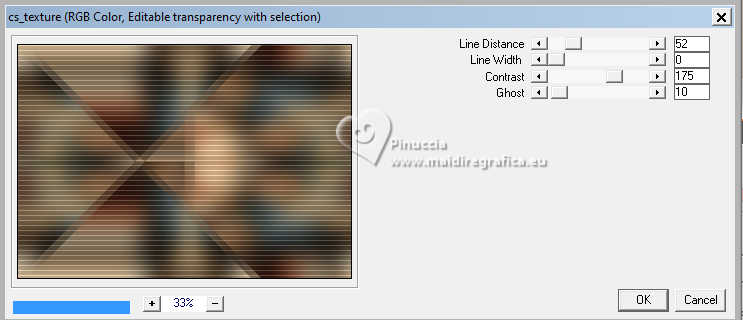
Selections>Invert.
9. Effects>Plugins>Carolaine and Sensibility - CS-Linear-H
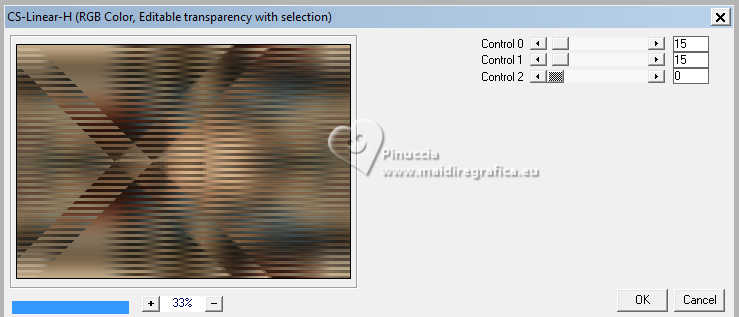
Selections>Select None.
10. Effects>Plugins>Filters Unlimited 2.0 - &<Bkg Designers sf10IV> - @Instant Tile, default settings.
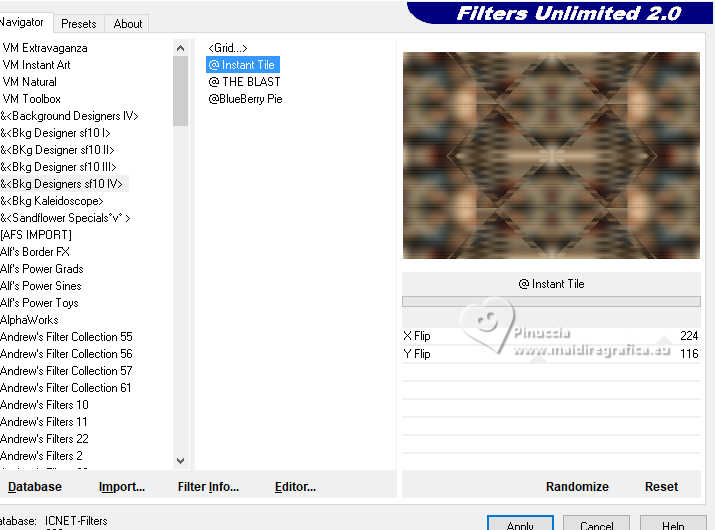
11. Selections>Load/Save Selection>Load Selection from Alpha Channel.
Open the selections menu and load the selection Selection #2
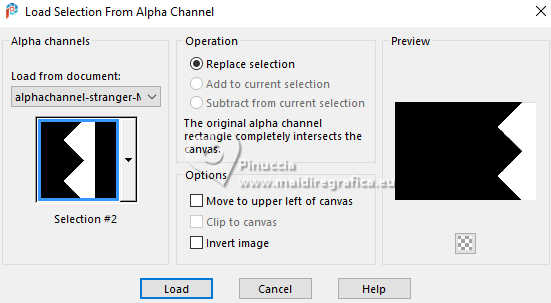
Selections>Promote Selection to Layer.
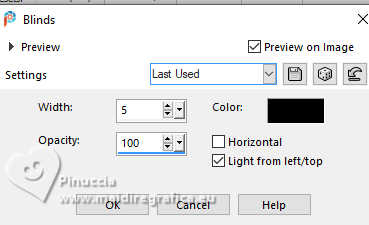
12. Effects>Texture Effects>Blinds, color black
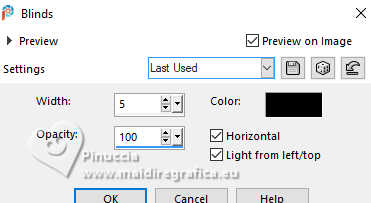
Repeat Effets>Effets de textures>Stores, Horizontal not checked.
Selections>Select None.
13. Effects>3D Effects>Drop Shadow, color black.

14. Effects>Reflection Effects>Rotating Mirror, default settings.

15. Effects>Image Effects>Seamless Tiling, default settings.

16. Adjust>Sharpness>Sharpen More.
Change the Blend Mode of this layer to Screen.
17. Open deco-1-MJ 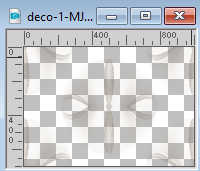
Edit>Copy.
Go back to your work and go to Edit>Paste as new layer.
18. Adjust>Sharpness>Sharpen.
Change the Blend Mode of this layer to Screen.
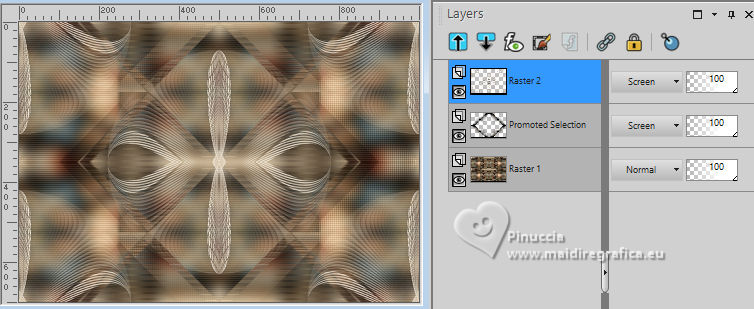
19. Edit>Copy Special>Copy Merged.
20. Selections>Load/Save Selection>Load Selection from Alpha Channel.
Open the selections menu and load the selection Selection #3
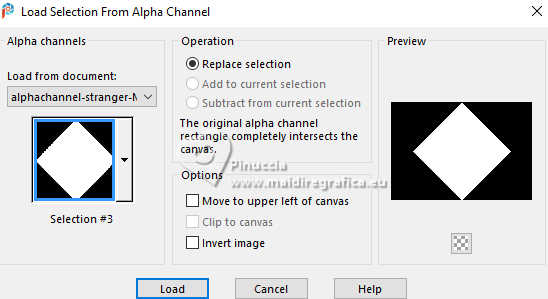
21. Layers>New Raster Layer.
Edit>Paste into Selection.
Effects>3D Effects>Drop Shadow, same settings.

22. Selections>Modify>Contract - 30 pixels.
Edit>Paste into Selection.
Effects>3D Effects>Drop Shadow, same settings.

23. Again Selections>Modify>Contract - 30 pixels.
Edit>Paste into Selection.
Effects>3D Effects>Drop Shadow, same settings.

Your tag and the layers
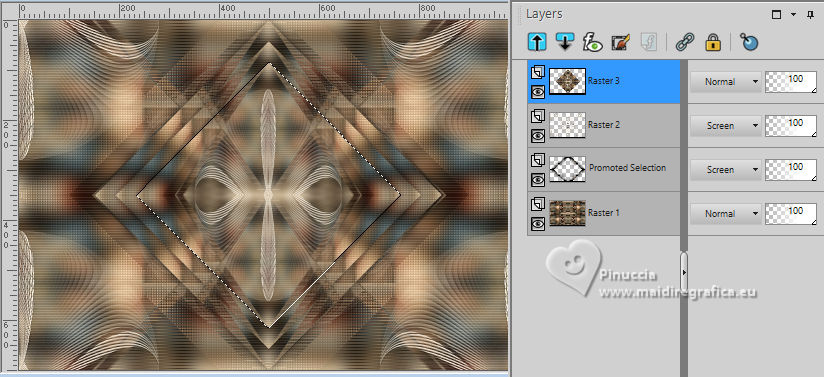
Selections>Select None.
24. Effects>Image Effects>Seamless Tiling, Horizontal checked.

25. Effects>Image Effects>Seamless Tiling, default settings.

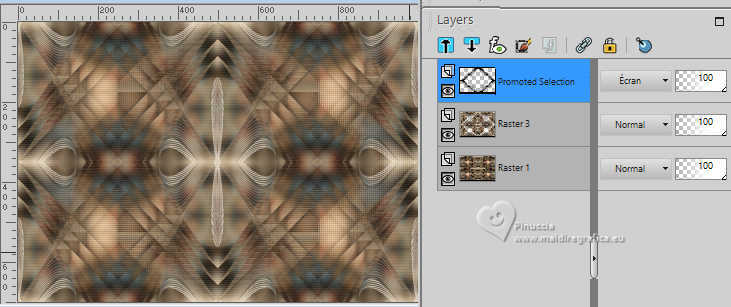
26. Layers>Arrange>Move Down - 2 times.
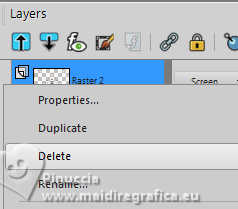
Delete the layer Raster 2.
27. Open deco-transp-MJ 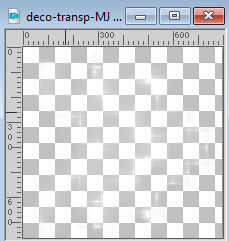
Edit>Copy.
Go back to your work and go to Edit>Paste as new layer.
28. Open new-deco-tuto-MJ 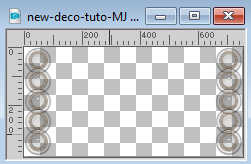
Edit>Copy.
Go back to your work and go to Edit>Paste as new layer.
29. Open cadre-tuto-MJ 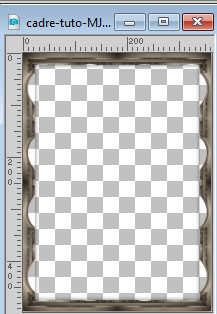
Edit>Copy.
Go back to your work and go to Edit>Paste as new layer.
Activate the layer Raster 1.
30. Selections>Load/Save Selection>Load Selection from Alpha Channel.
Open the selections menu and load the selection Selection #4
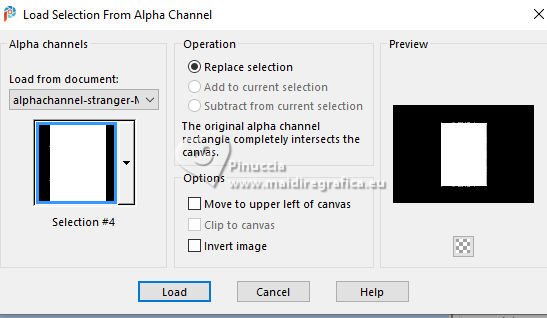
Selections>Promote Selection to Layer.
Layers>Arrange>Bring to Top.
31. Adjust>Blur>Gaussian Blur - radius 30.

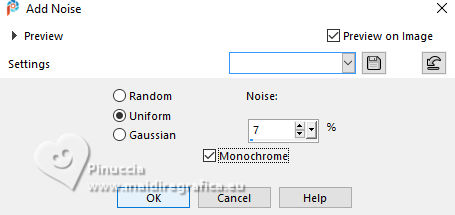
32. Adjust>Add/Remove Noise>Add Noise.
33. Open the misted misted-original 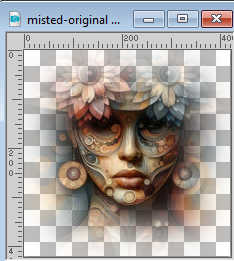
Edit>Copy.
Go back to your work and go to Edit>Paste as new layer.
Selections>Invert.
Press CANC on the keyboard 
Selections>Invert.
34. Layers>New Raster Layer.
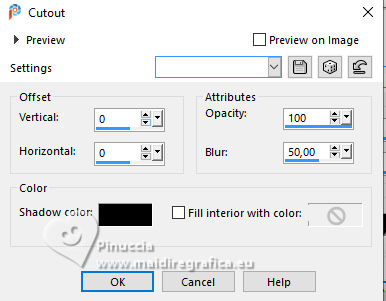
Effects>3D Effects>Cutout.
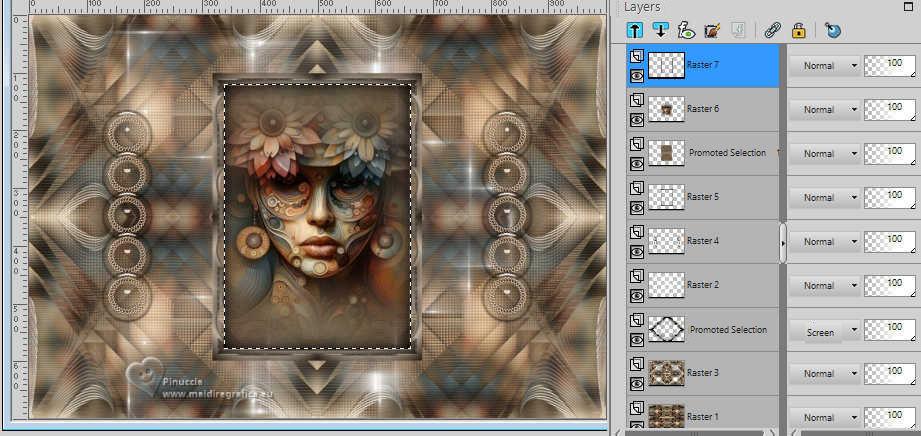
Selections>Select None.
35. Layers>Merge>Merge Down - 2 times.
Layers>Arrange>Move Down.
36. Activate your top layer (the frame).
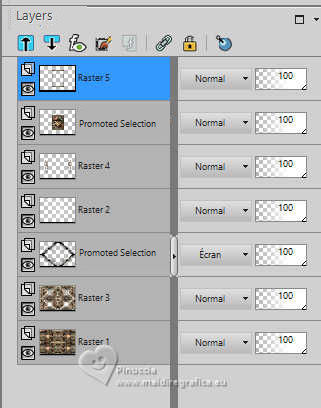
Layers>Merge>Merge Down.
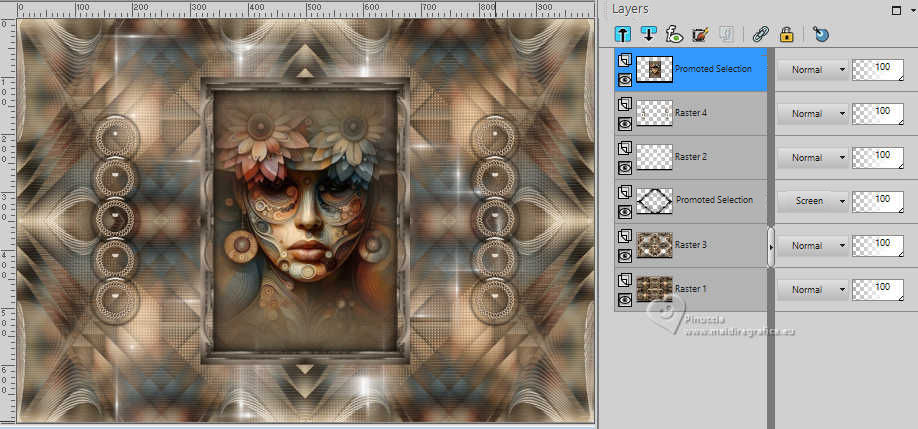
37. Layers>Merge>Merge visible.
Selections>Select All.
Edit>Copy
38. Image>Add borders, 53 pixels, symmetric, color white.
39. Selections>Invert.
Edit>Paste into Selection - the image of step 37 .
40. Adjust>Blur>Gaussian Blur 30.

Effects>3D Effects>Drop Shadow, color black.

41. Layers>New Raster Layer.
Open borders-MJ 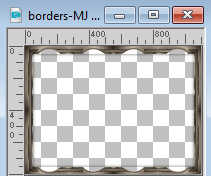
Edit>Copy.
Go back to your work and go to Edit>Paste into Selection.
Change the Blend Mode of this layer to Luminance (legacy).
42. Layers>Merge>Merge visible.
Repeat Effects>3D Effects>Drop Shadow, same settings.
Selections>Select None.
43. Sign your work
Image>Add borders, 1 pixel, symmetric, color black.
44. Image>Resize, 1000 pixels width, resize all layers checked.
Save as jpg.
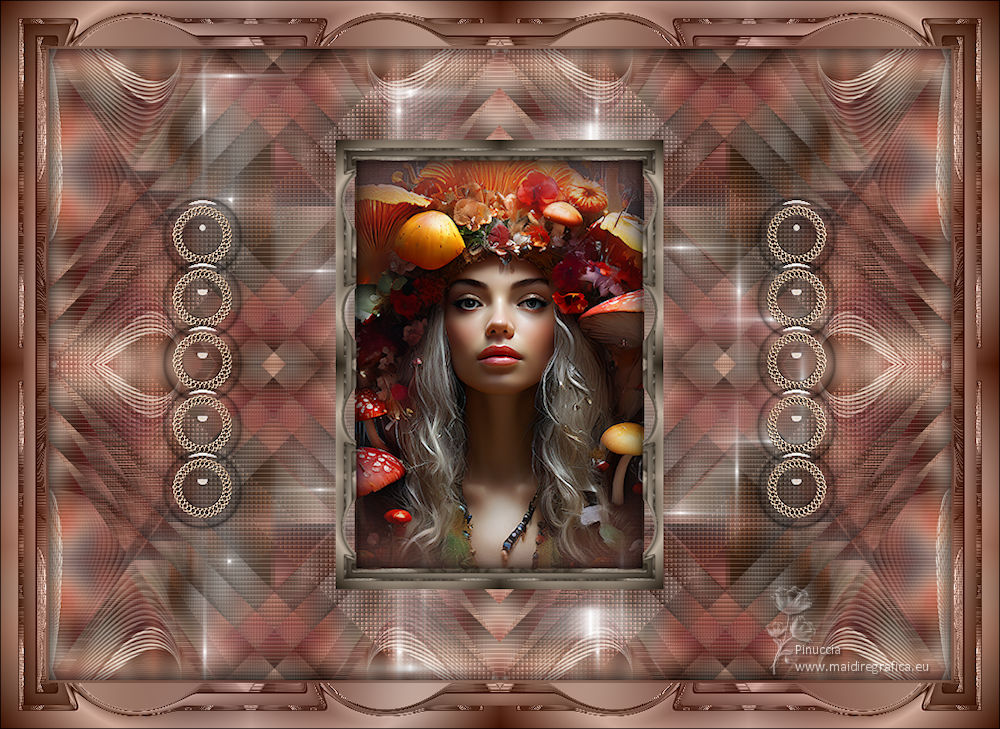
For the tube of this version thanks Mentali.

If you have problems or doubts, or you find a not worked link,
or only for tell me that you enjoyed this tutorial, write to me.
2 August 2024

|

