|
SCRATCHES

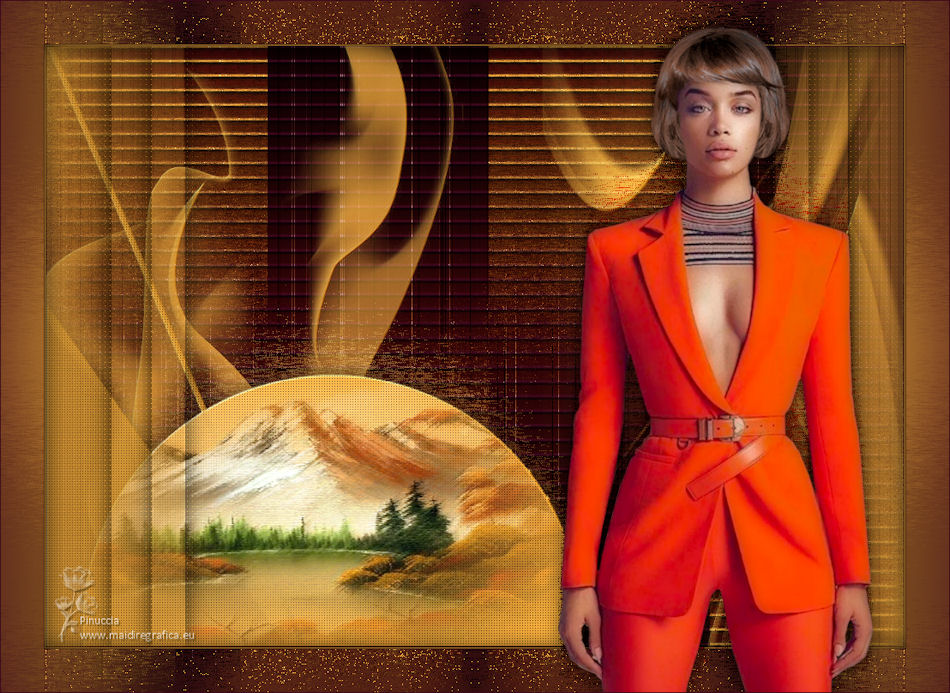
Thanks Maria José for your invitation to translate your tutorial

This tutorial has been translated with PSPX2 and PSPX3, but it can also be made using other versions of PSP.
Since version PSP X4, Image>Mirror was replaced with Image>Flip Horizontal,
and Image>Flip with Image>Flip Vertical, there are some variables.
In versions X5 and X6, the functions have been improved by making available the Objects menu.
In the latest version X7 command Image>Mirror and Image>Flip returned, but with new differences.
See my schedule here
 French translation here French translation here
 your versions ici your versions ici
For this tutorial, you will need:
Material here
The tubes and the mask are by Maria José (from images Pinterest).
(you find here the links to the material authors' sites)
Plugins
consult, if necessary, my filter section here
Filters Unlimited 2.0 here
DSB Flux - Linear Transmission here
Tramages - Wee Scratches here
Unplugged Tools - Spice Dots here
AP [Lines] - Lines SilverLining here
Mura's Seamless - Emboss at Alpha here
Simple - Top Left Mirror here
Filters Mura's Seamless, Tramages, Unplugged Tools and Simple can be used alone or imported into Filters Unlimited.
(How do, you see here)
If a plugin supplied appears with this icon  it must necessarily be imported into Unlimited it must necessarily be imported into Unlimited

You can change Blend Modes according to your colors.
In the newest versions of PSP, you don't find the foreground/background gradient (Corel_06_029).
You can use the gradients of the older versions.
The Gradient of CorelX here
Copy the selection in the Selections Folder.
Open the masks in PSP and minimize them with the rest of the material.
1. Set your foreground color to #3c081b,
and your background color to #ffb34f.
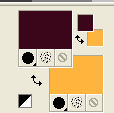
Set your foreground color to a Foreground/Background Gradient, style Linear.
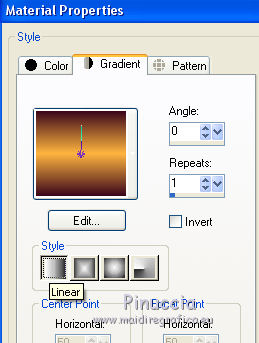
2. Open a new transparent image 1000 x 700 pixels.
Flood Fill  the transparent image with your Gradient. the transparent image with your Gradient.
3. Adjust>Add/Remove Noise>Add Noise.
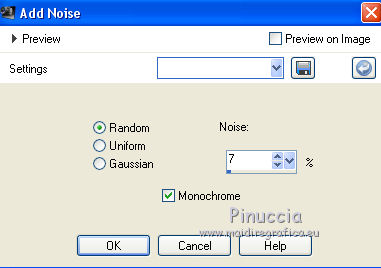
4. Effects>Plugins>DSB Flux - Linear Transmission.
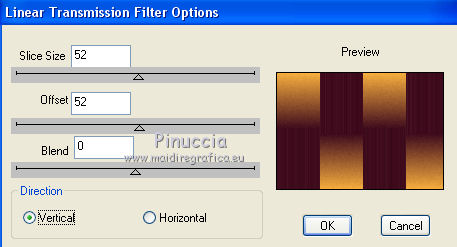
5. Effects>Plugins>Tramages - Wee Scratches, default settings.
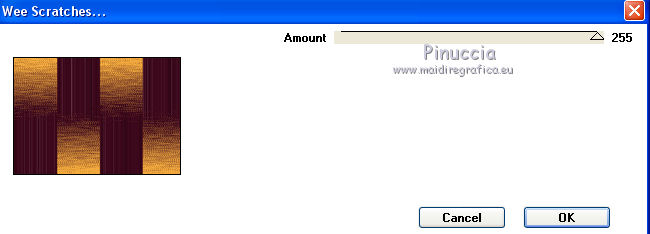
Repeat the Effect another time.
6. Layers>New Raster Layer.
Flood Fill  the layer with your Gradient. the layer with your Gradient.
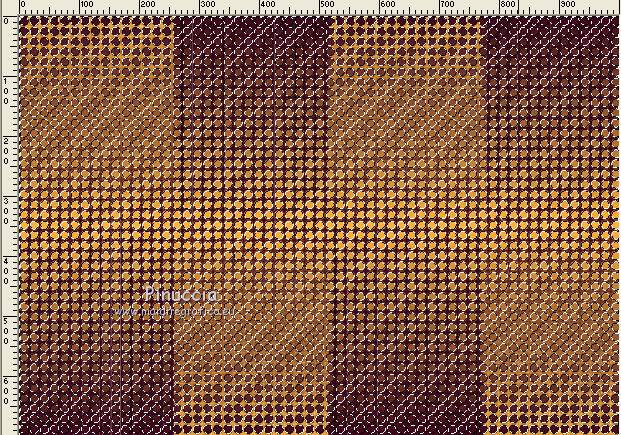
7. Effects>Plugins>Unplugged Tools - Spice Dots.
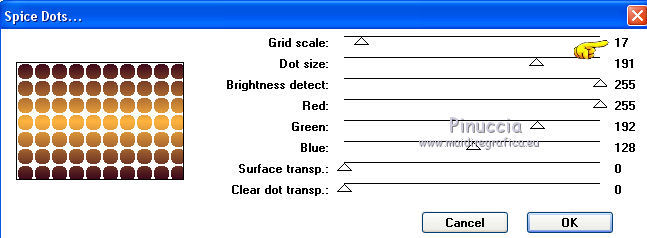
8. Activate your Magic Wand Tool  , tolerance and feather 0, , tolerance and feather 0,
and click on the white zone to select it;
zoom the image to see better.
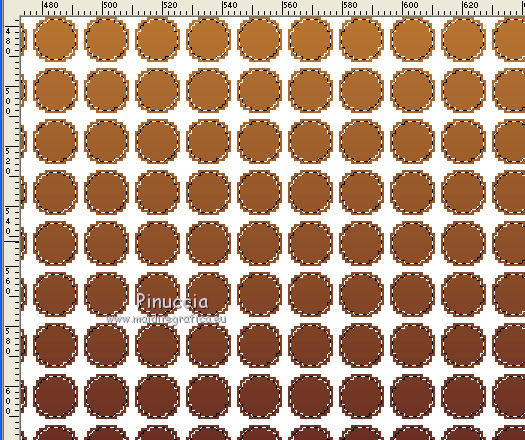
Press CANC on the keyboard 
9. Effects>3D Effects>Drop Shadow, color black.
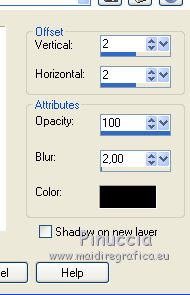
Selections>Select None.
10. Effects>Distortion Effects>Wind - from left, intensity 100.

11. Effects>Reflection Effects>Rotating Mirror.

Change the Blend Mode of this layer to Multiply.
12. Layers>New Raster Layer.
Flood Fill  the layer with your light color. the layer with your light color.
13. Layers>New Mask layer>From image
Open the menu under the source window and you'll see all the files open.
Select the mask 48-mask_mj.
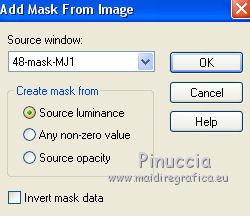
Layers>Merge>Merge Group.
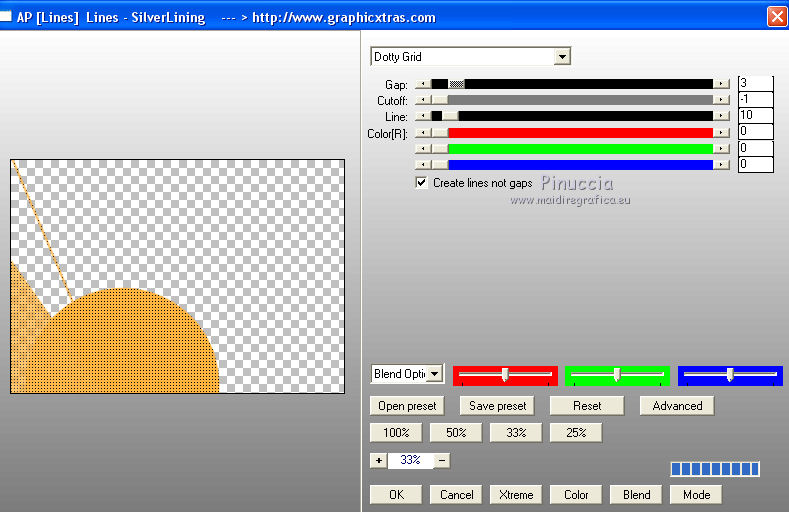
14. Effects>Plugins>AP [Lines] - Lines SilverLining.
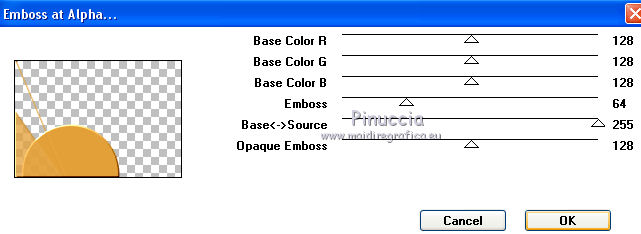
15. Effects>Plugins>Mura's Seamless - Emboss at Alpha, default settings.
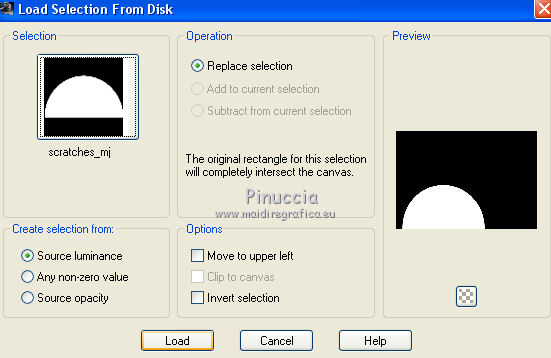
16. Selections>Load/Save Selection>Load Selection from Disk.
Look for and load the sélection scratches_mj.
17. Layers>New Raster Layer.
Open the misted and go to Edit>Copy.
Go back to your work and go to Edit>Paste into Selection.
Layers>Arrange>Move Down.
Selections>Select None.
Layers>Duplicate.
18. Effects>Plugins>Tramages - Wee Scratches, default settings.
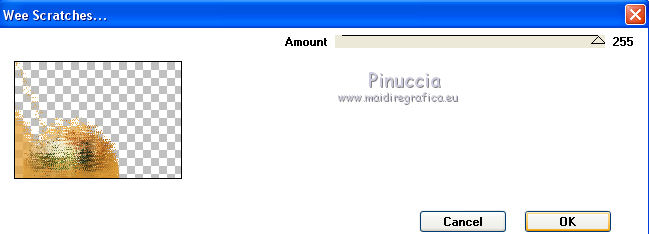
Change the Blend Mode of this layer to Screen and reduce the opacity to 40%.
Layers>Arrange>Move Down.
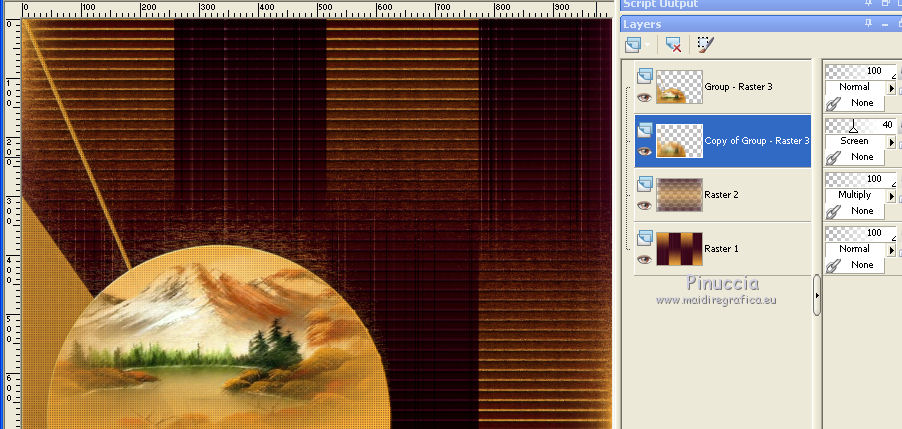
Activate your top layer, Group Raster 3.
Effects>3D Effects>Drop Shadow, color black.

19. Open the tube decolatamarelo_mj
(in the zip, you find the tube decolat_mj to colorize, if you use other colors)
Edit>Copy.
Go back to your work and go to Edit>Paste as new layer.
20. Layers>New Raster Layer.
Flood Fill  the layer with your light color. the layer with your light color.
21. Layers>New Mask layer>From image
Open the menu under the source window
and select the mask 46-mask-MJ.
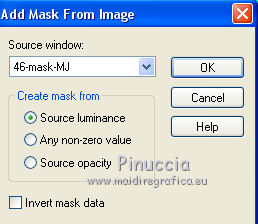
Layers>Merge>Merge Group.
22. EffetsMura's Seamless - Emboss at Alpha, default settings.
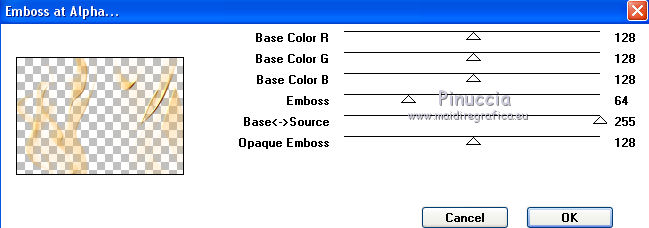
Change the Blend Mode of this layer to Screen.
Layers>Arrange>Move down - 2 times
Adapt Blend Modes and opacities to your liking.
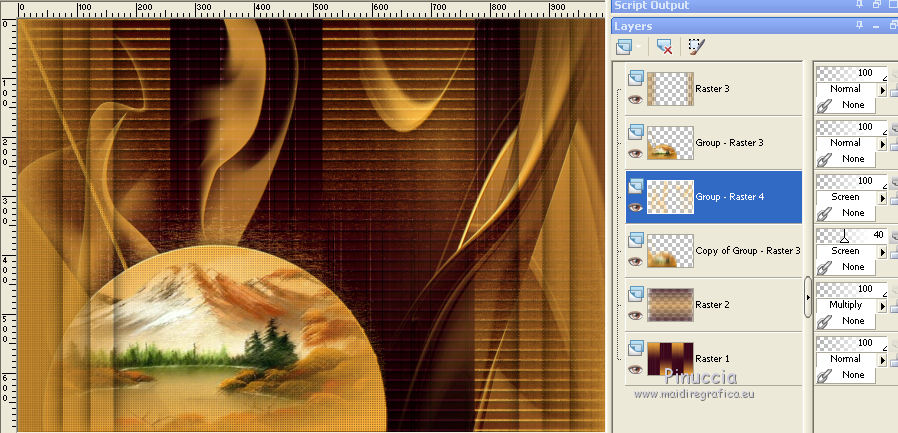
23. Image>Add borders, 1 pixel, symmetric, dark color.
Image>Add borders, 1 pixel, symmetric, light color.
Image>Add borders, 1 pixel, symmetric, dark color.
24. Selections>Select All.
Edit>Copy.
Image>Add borders, 50 pixels, symmetric, color white.
25. Selections>Invert.
Edit>Paste into Selection.
26. Adjust>Blur>Gaussian Blur - radius 30.

27. Effects>Plugins>Tramages - Wee Scratches, default settings.
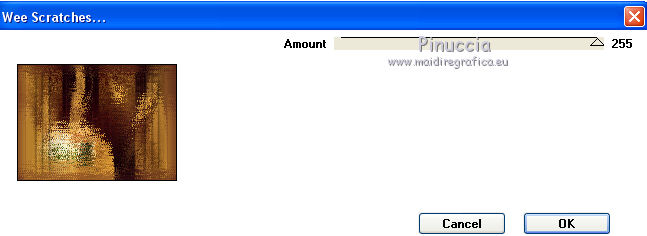
28. Effects>Reflection Effects>Rotating Mirror, default settings.

29. Effects>Plugins>Simple - Left Top Mirror.
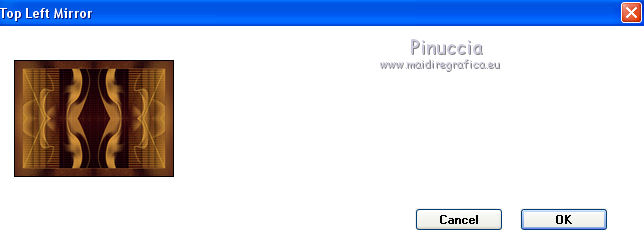
Effects>3D Effects>Drop Shadow, color black.
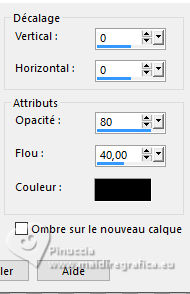
Selections>Select None.
30. Open the woman tube and go to Edit>Copy.
Go back to your work and go to Edit>Paste as new layer.
Image>Resize, to 85%, resize all layers not checked.
Move  the tube to the right side. the tube to the right side.
Layers>Duplicate.
31. Effects>Plugins>Tramages - Wee Scratches, default settings.
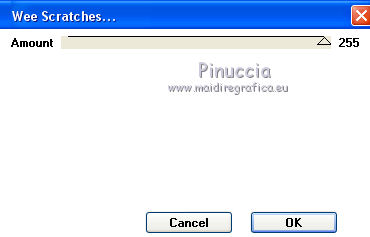
Layers>Arrange>Move Down.
Change the Blend Mode of this layer to Multiply.
32. Activate the layer above of the original tube.
Effects>3D Effects>Drop Shadow, color black.

33. Sign your work on a new layer.
Image>Add borders, 1 pixel, symmetric, dark color.
34. Image>Resize, 1000 pixels width, resize all layers checked.
Save as jpg.
Version with tubes by Luz Cristina and Jewel
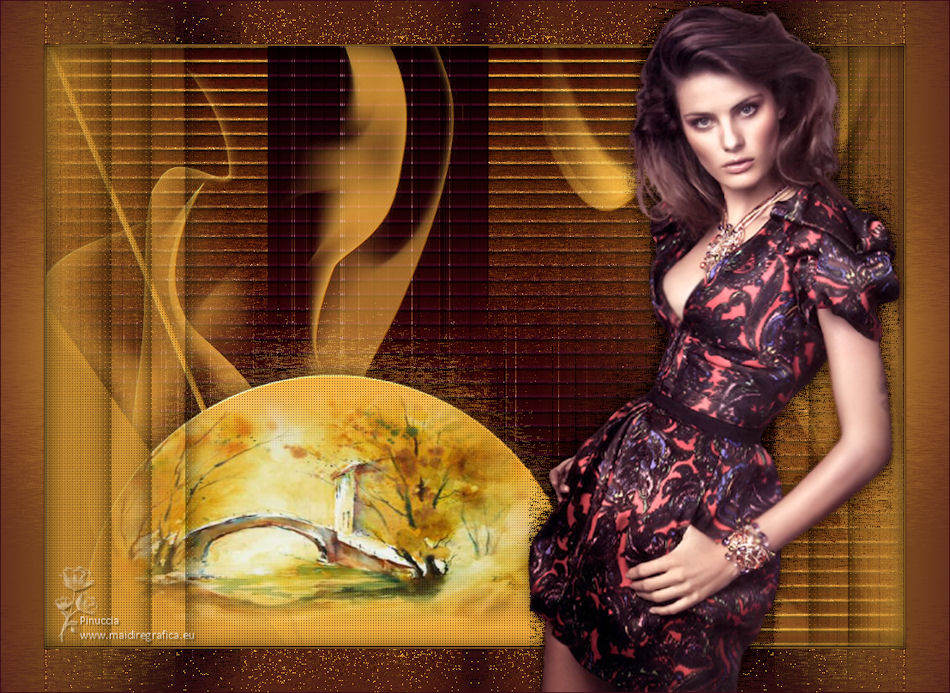
 Your versions here Your versions here

If you have problems or doubts, or you find a not worked link, or only for tell me that you enjoyed this tutorial, write to me.
31 Août 2021

|

