|
ROUND AND AROUND

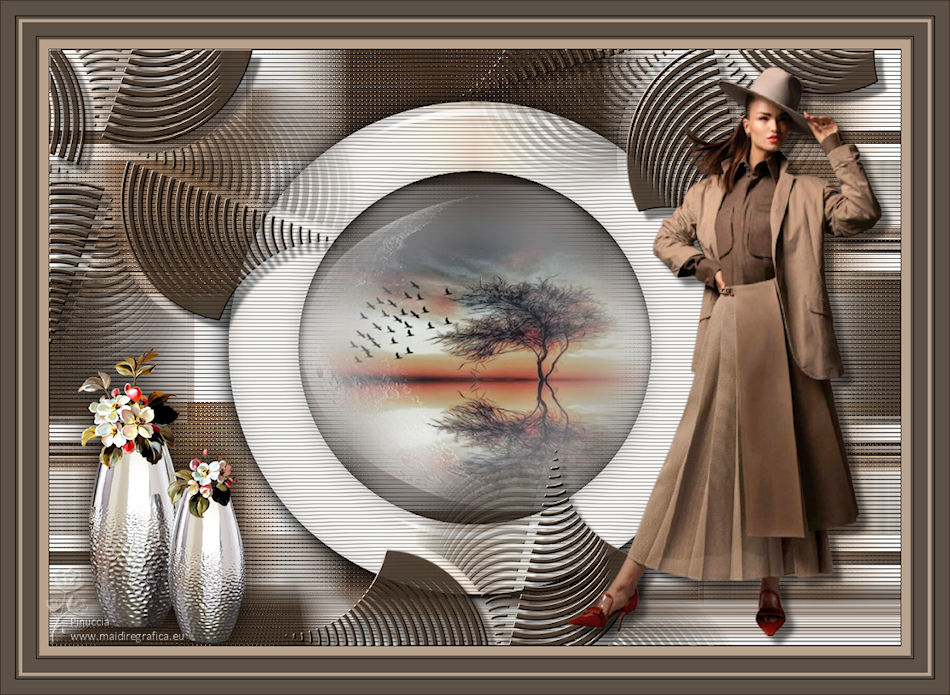
Thanks Maria José for your invitation to translate your tutorial

This tutorial has been translated with PSPX2 and PSPX3, but it can also be made using other versions of PSP.
Since version PSP X4, Image>Mirror was replaced with Image>Flip Horizontal,
and Image>Flip with Image>Flip Vertical, there are some variables.
In versions X5 and X6, the functions have been improved by making available the Objects menu.
In the latest version X7 command Image>Mirror and Image>Flip returned, but with new differences.
See my schedule here
 French translation here French translation here
 your versions ici your versions ici
For this tutorial, you will need:
Material here
For the tube thanks Renée.
The rest of the material is by Maria José.
(you find here the links to the material authors' sites)
Plugins
consult, if necessary, my filter section here
Filters Unlimited 2.0 here
Neology - Vasarely Mosaics here
Graphics Plus - Vertical Mirror here
Unplugged Tools - Round Button here
Toadies - Weaver here
Kohan's Filters - Autointerlace here
Alien Skin Eye Candy 5 Impact - Glass here
Simple - Top Left Mirror here
Mura's Meister - Perspective Tiling here
Mura's Seamless - Emboss at Alpha here
RCS Filter Pak 1.0 - RCS Coppertooling Simulator here
L&K's - L&K's Zitah here
L&K's - L&K's Adonis here
Filters Simple, Graphics Plus, Neology, Unplugged Tools, Toadies, Kohan, Mura's Seamless and RCS Filter Pak can be used alone or imported into Filters Unlimited.
(How do, you see here)
If a plugin supplied appears with this icon  it must necessarily be imported into Unlimited it must necessarily be imported into Unlimited

You can change Blend Modes according to your colors.
Copy the preset  in the folder of the plugin Alien Skin Eye Candy 5 Impact>Settings>Glass. in the folder of the plugin Alien Skin Eye Candy 5 Impact>Settings>Glass.
One or two clic on the file (it depends by your settings), automatically the preset will be copied in the right folder.
why one or two clic see here
Copy the Selections in the Selections Folder.
Open the mask in PSP and minimize it with the rest of the material.
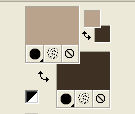
1. Set your foreground color to #b9a38d,
and your background color to #403124.
2. Open a new transparent image 1000 x 700 pixels.
3. Selections>Select All.
Open the mask maskcarey1_camerontags and go to Edit>Copy.
Go back to your work and go to Edit>Paste into Selection.
Selections>Select None.
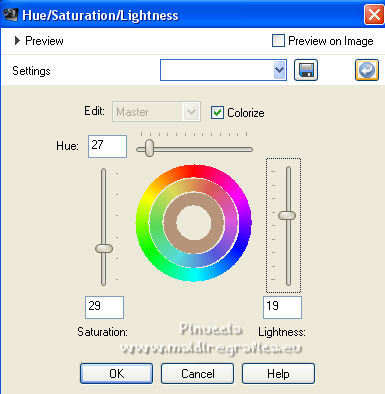
4. Colorize the image to your liking; for me:
Ajust>Hue and Saturation>Hue/Saturation>Brightness.
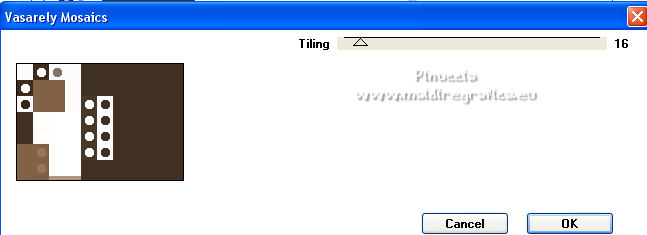
5. Effects>Plugins>Neology - Vasarely Mosaics
6. Effects>Reflections Effects>Rotating Mirror.

7. Effects>Plugins>Graphics Plus - Vertical Mirror, default settings
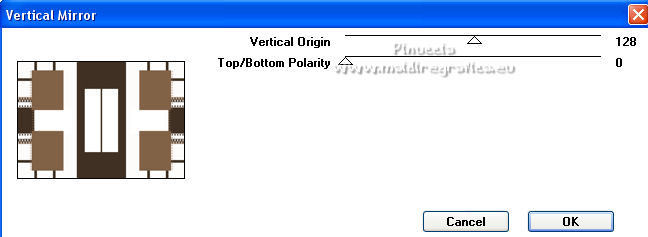
8. Adjust>Add/Remove Noise>Add Noise.
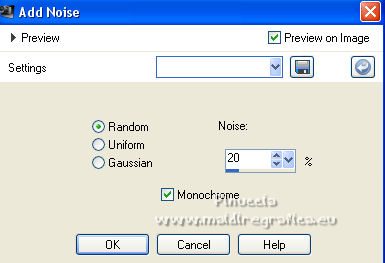
9. Effects>Distorsion>Wind - from left - strenght 100

10. Effects>Reflection Effects>Rotating Mirror, default settings.

Layers>Duplicate.
11. Effects>Plugins>Unplugged Tools - Round Botton
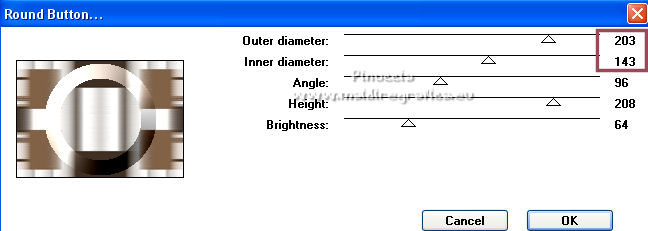
12. Selections>Load/Save Selection>Load Selection from Disk.
Look for and load the selection roundandround_mj
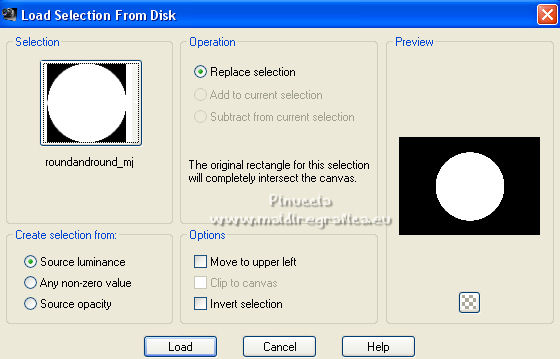
Press CANC on the keyboard 
You won't see anything, but that's normal
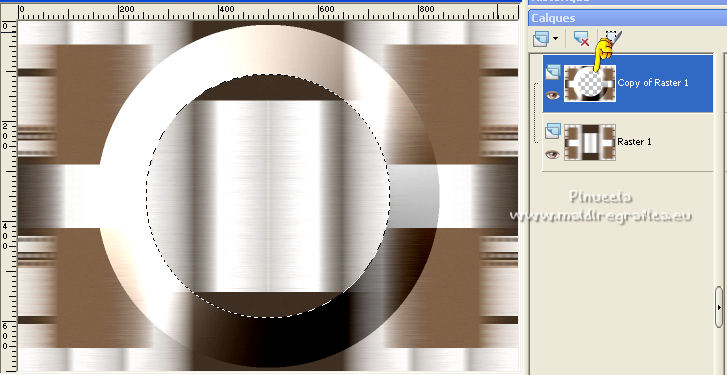
Selections>Select None.
13. Selections>Load/Save Selection>Load Selection from Disk.
Look for and load the selection roundandround_1_mj
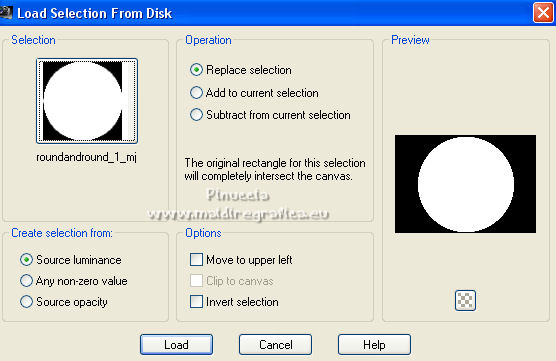
Selections>Invert.
Press CANC on the keyboard.
Keep selected.
14. Activate the layer Raster 1.
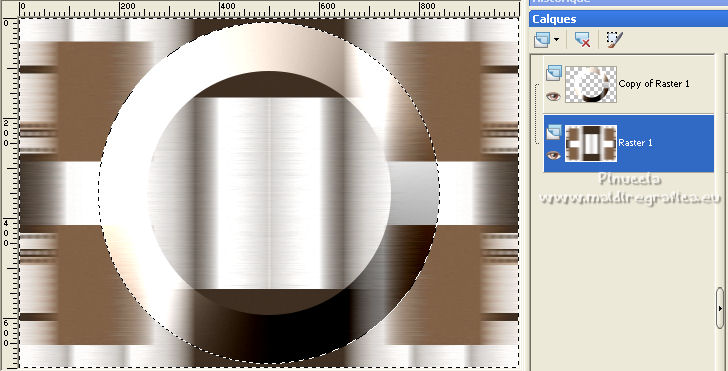
Selections>Promote Selection to Layer.
Selections>Select None.
15. Stay on this layer (Promoted Selection).
Effects>Plugins>Toadies - Weaver, default settings.
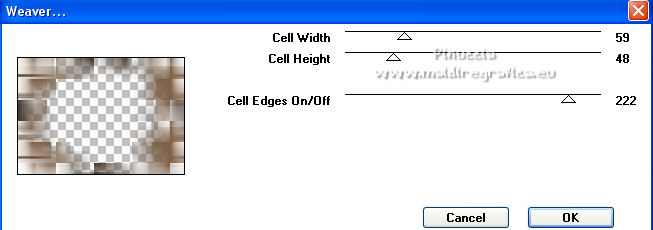
16. Effects>Plugins>Kohan's Filters - Autointerlace 1.0
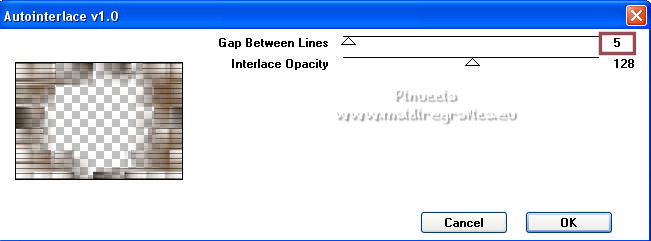
17. Effects>Plugins>Simple - Top Left Mirror
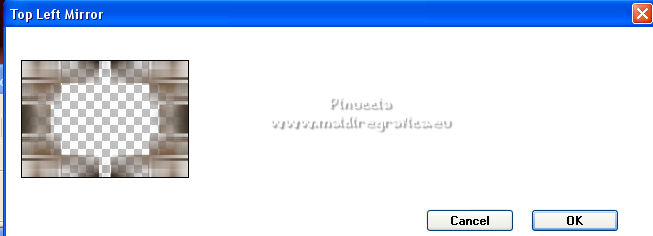
18. Adjust>Sharpness>Sharpen More.
Reduce the opacity of this layer to 65%.
19. Activate the top layer, Copy of Raster 1.
Effects>Plugins>Simple - Top Left Mirror.
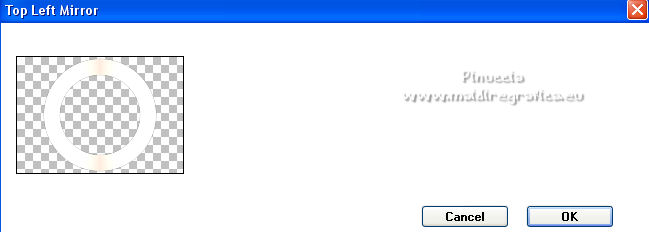
20. Effects>Plugins>Kohan's Filters - Autointerlace 1.0, same settings.
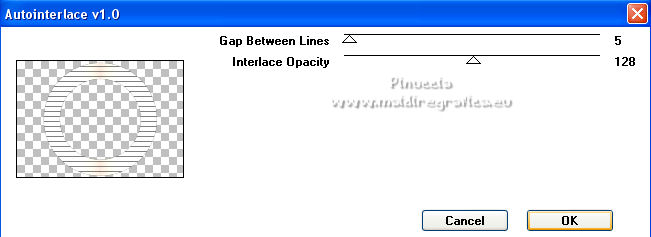
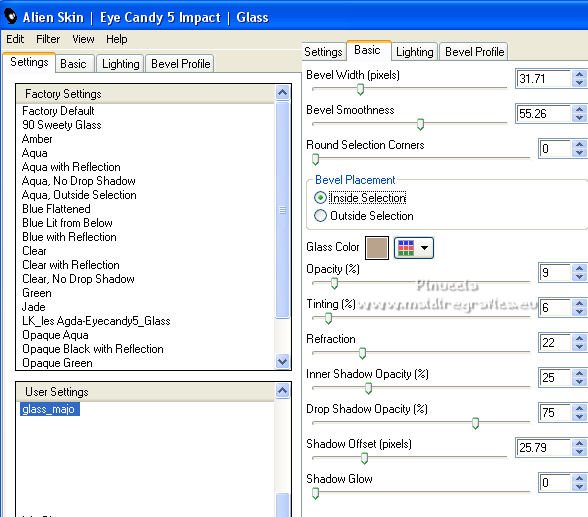
21. Effects>Plugins>Eye Candy 5 - Impact - Glass
Select the preset majo_glass
Basic: Glass Color - light foreground color #b9a38d.
22. Activate the layer Raster 1.
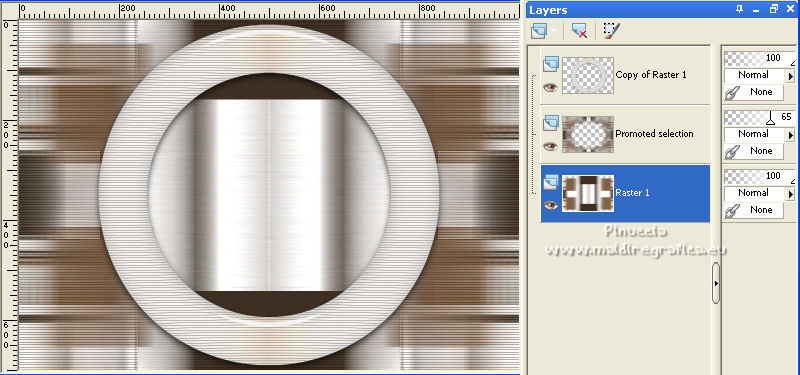
Selections>Load/Save Selection>Load Selection from Disk.
Look for and load again the selection roundandround_mj

Selections>Promote Selection to Layer.
Layers>Arrange>Move up.
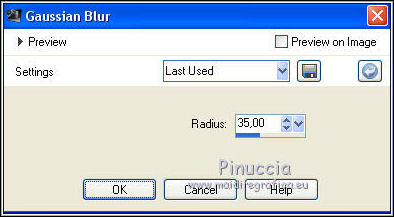
23. Adjust>Blur>Gaussian Blur, radius 35.
24. Layers>New Raster layer.
Open the misted and go to Edit>Copy.
Go back to your work and go to Edit>Paste into Selection.
25. Activate the layer Copy of Raster 1.
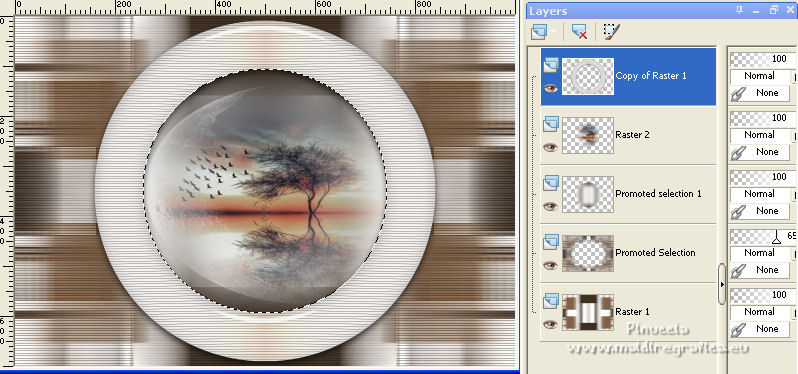
Layers>Merge>Merge Down - 2 times.
Selections>Select None.
26. Image>Resize, to 85%, resize all layers not checked.
Effects>3D Effects>Drop Shadow, color black.

27. Activate again the layer Raster 1.
Effects>Plugins>L&K's - L&K's Zitah
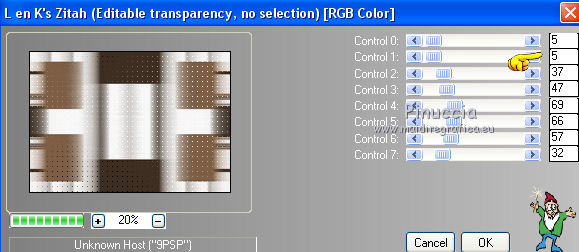
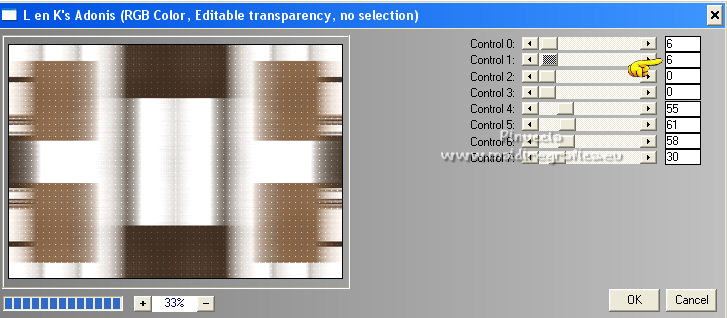
28. Effects>Plugins>L&K's - L&K's Adonis
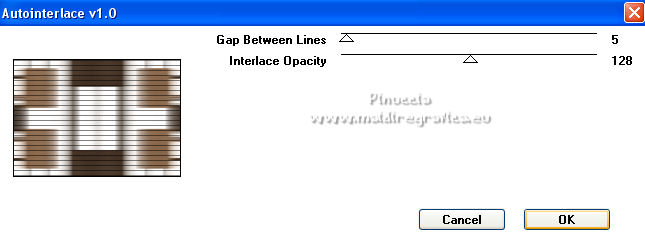
29. Effects>Plugins>Kohan's Filter - Autointerlace 1.0, same settings.
30. Adjust>Sharpness>Sharpen More.
Close the top layer (Promoted Selection).
31. Edit>Copy Special>Copy Merged.
Edit>Paste as new layer.
Layers>Arrange>Move Up.
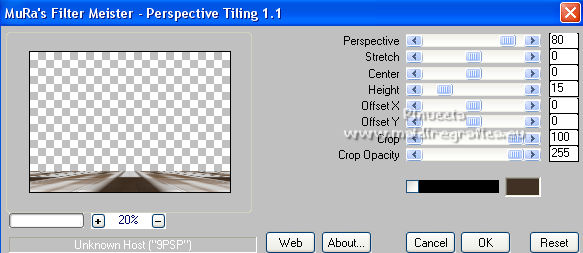
32. Effects>Plugins>MuRa's Meister - Perspective Tiling
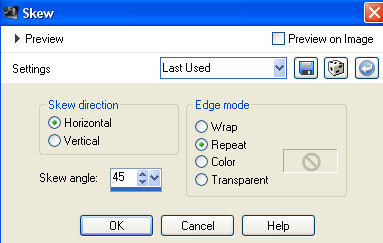
33. Effects>Geometric Effects>Skew.
34. Selections>Load/Save Selection>Load Selection from Disk.
Look for and load the selection roundandround_2_mj
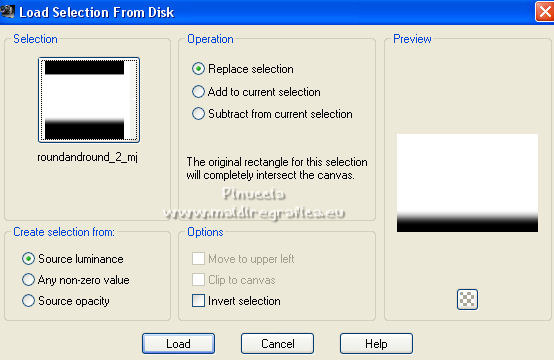
Press +/- 15 times CANC on the keyboard.
Selections>Select None.
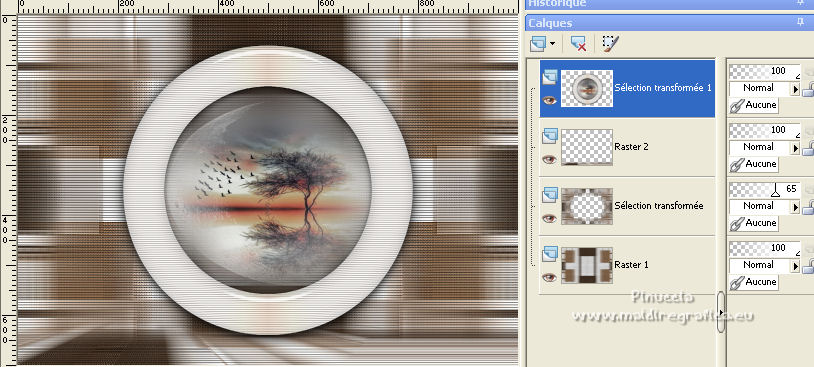
Open again and activate the top layer, Promoted Selection 1.
35. Layers>New Raster Layer.
Flood Fill  the selection with your dark background color #403124. the selection with your dark background color #403124.
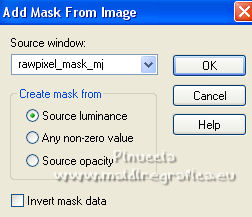
36. Layers>New Mask layer>From image
Open the menu under the source window and you'll see all the files open.
Select the mask rawpixel_mask_mj.
Layers>Merge>Merge Group.
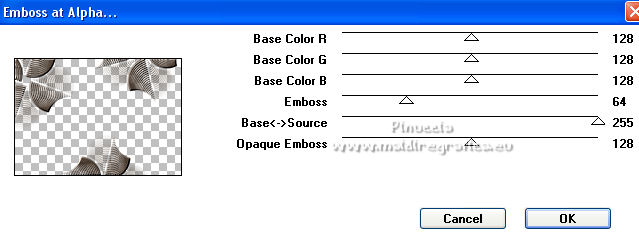
37. Effects>Plugins>MuRa's Seamless - Emboss at Alpha, default settings.
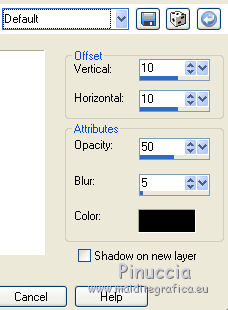
Effects>3D Effects>Drop Shadow, default settings.
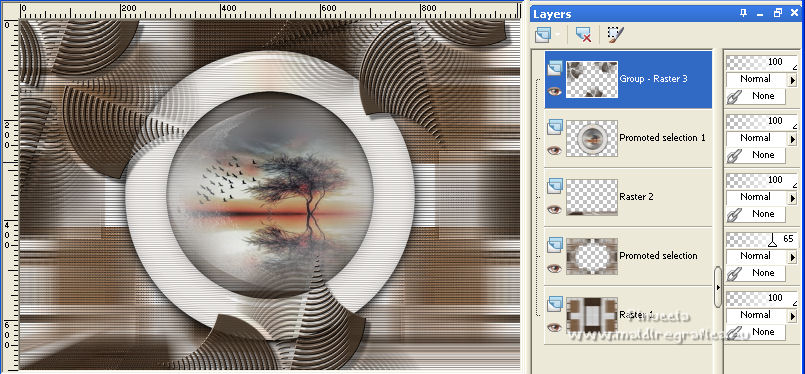
38. Your tag and the layers - adapt to your liking.
39. Open the woman tube and go to Edit>Copy.
Go back to your work and go to Edit>Paste as new layer.
Move  the tube to the right side. the tube to the right side.
Effects>3D Effects>Drop Shadow, at your choice.
40. Open your deco tube and go to Edit>Copy.
Go back to your work and go to Edit>Paste as new layer.
Image>Resize, to 65%, resize all layers not checked.
Move  the tube at the bottom left. the tube at the bottom left.
Effects>3D Effects>Drop Shadow, at your choice.
41. Image>Add borders, 1 pixel, symmetric, dark color #403124.
Image>Add borders, 10 pixels, symmetric, light color #b9a38d.
Image>Add borders, 1 pixel, symmetric, dark color #403124.
Image>Add borders, 20 pixels, symmetric, light color #b9a38d.
Activate your Magic Wand Tool 
and click on the last border to select it.
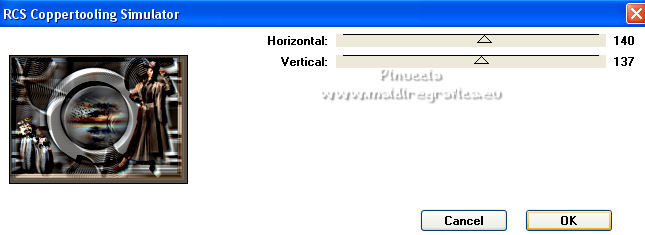
42. Effects>Plugins>RCS Filter Pak 1.0 - RCS Coppertooling Simulator.
43. Effects>Plugins>Simple - Top Left Mirror
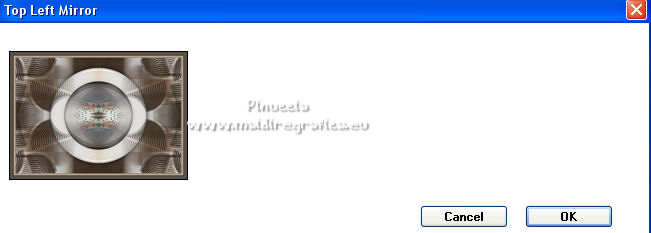
Edit>Copy.
Selections>Select All.
44. Image>Add borders, 25 pixels, symmetric, light color #b9a38d.
Selections>Invert.
Edit>Paste into Selection.
Selections>Select None.
45. Sign your work on a new layer.
Image>Add borders, 1 pixel, symmetric, dark color #403124.
46. Image>Resize, 1000 pixels width, resize all layers checked.
Save as jpg.
For the tubes of this version thanks Suizabella, Lana and Nena Silva
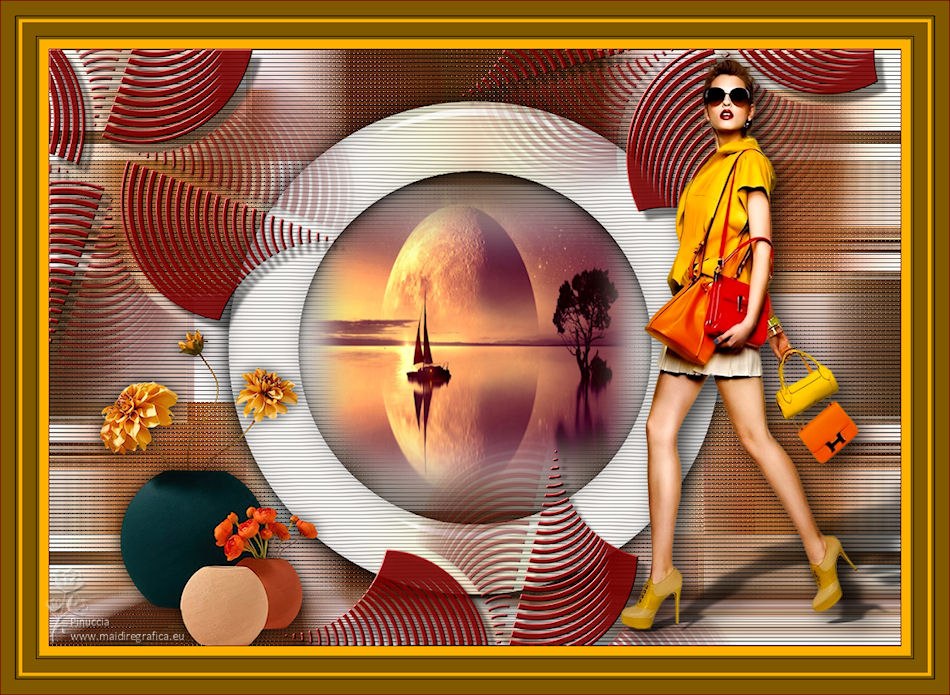
 Your versions here Your versions here

If you have problems or doubts, or you find a not worked link,
or only for tell me that you enjoyed this tutorial, write to me.
21 April 2022

|

