|
NOEMIE

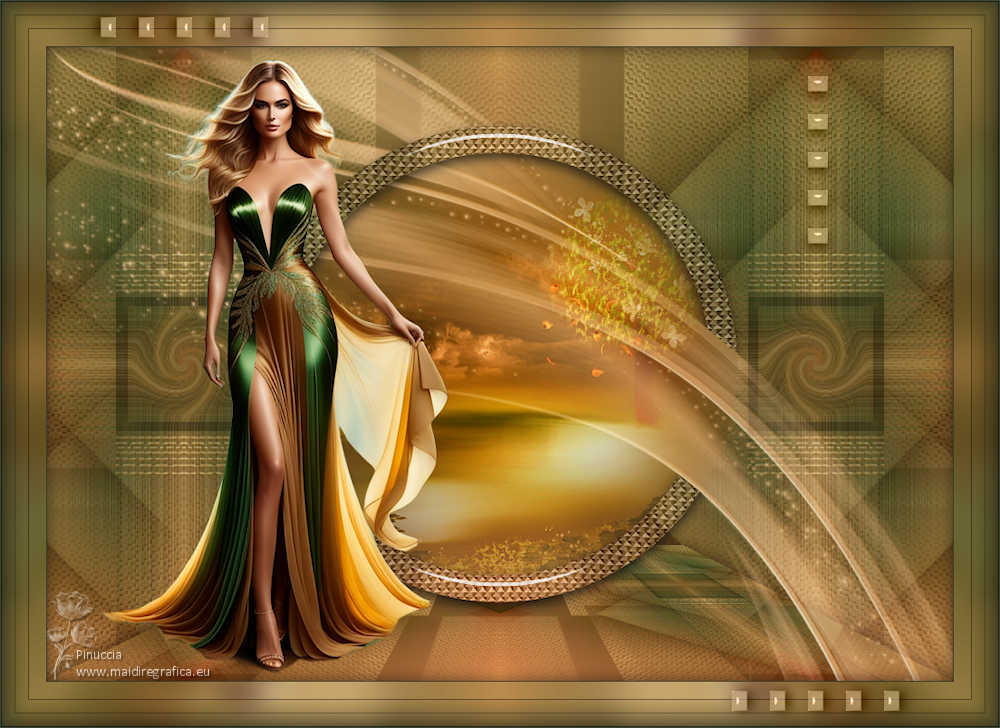
Thanks Maria José for your invitation to translate your tutorial

This tutorial has been translated with PSPX9 and PSP2019, but it can also be made using other versions of PSP.
Since version PSP X4, Image>Mirror was replaced with Image>Flip Horizontal,
and Image>Flip with Image>Flip Vertical, there are some variables.
In versions X5 and X6, the functions have been improved by making available the Objects menu.
In the latest version X7 command Image>Mirror and Image>Flip returned, but with new differences.
See my schedule here
 French translation here French translation here
 your versions here your versions here
For this tutorial, you will need:

(you find here the links to the material authors' sites)

consult, if necessary, my filter section here
Filters Unlimited 2.0 here
Mehdi - Sorting Tiles here
Simple - Top Left Mirror here
Photo Tools - optionnel here
Mura's Seamless - Emboss at Alpha here
CPK Designs - Glass here
Alien Skin Eye Candy 5 Impact - Glass here
AAA Frames here
Filters Simple, Cpk and Mura's Seamless can be used alone or imported into Filters Unlimited.
(How do, you see here)
If a plugin supplied appears with this icon  it must necessarily be imported into Unlimited it must necessarily be imported into Unlimited

You can change Blend Modes according to your colors.

Open the mask in PSP and minimize it with the rest of the material.
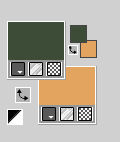
1. Set your foreground color to #3d4d37
and your background color to #e2a45f.
2. Open alphachannel-noemie
Window>Duplicate or, on the keyboard, shift+D to make a copy.

Close the original.
The copy, that will be the basis of your work, is not empty,
but contains the selections saved to alpha channel.
3. Selections>Select All.
Open the image back-color-MJ 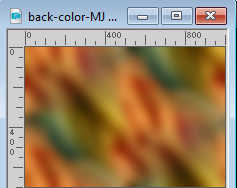
Edit>Copy.
Go back to your work and go to Edit>Paste into Selection.
Colorize to your liking with the Filter Adjust>Variations
Selections>Select None.
4. Adjust>Add/Remove Noise>Add Noise.
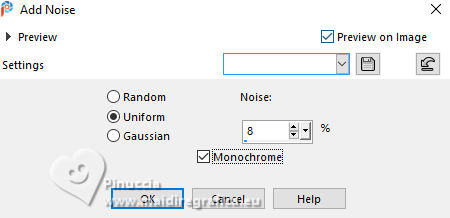
5. Adjust>Sharpness>Sharpen More.
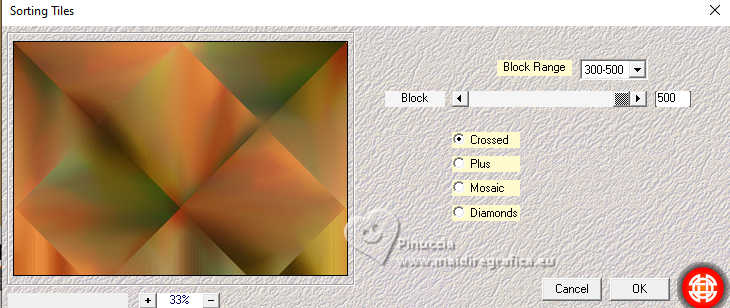
6. Effects>Plugins>Mehdi - Sorting Tiles.
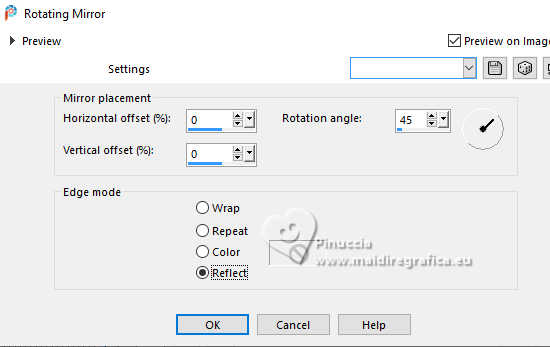
7. Effects>Reflections Effects>Rotating Mirror.
8. Effects>Image Effects>Seamless Tiling

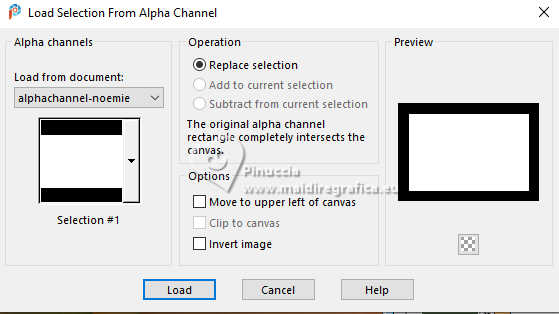
9. Selections>Load/Save Selection>Load Selection from Alpha Channel.
The selection Selection #1 is immediately available. You just have to click Load.
10. Layers>New Raster Layer.
Flood Fill  with your background color #e2a45f. with your background color #e2a45f.
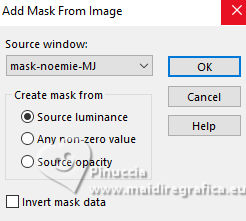
11. Layers>New Mask layer>From image
Open the menu under the source window and you'll see all the files open.
Select the mask mask-noemie-MJ
Layers>Merge>Merge Group.
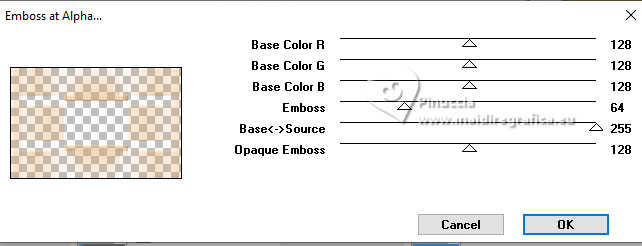
12. Effects>Plugins>Mura's Seamless - Emboss at Alpha, default settings.
13. Effects>3D Effects>Drop Shadow, color black.

Keep selected.
Layers>Merge>Merge Down.
14. Effects>Image Effects>Seamless Tiling.

Selections>Select None.
15. Effects>Reflection Effects>Rotating Mirror, same settings.

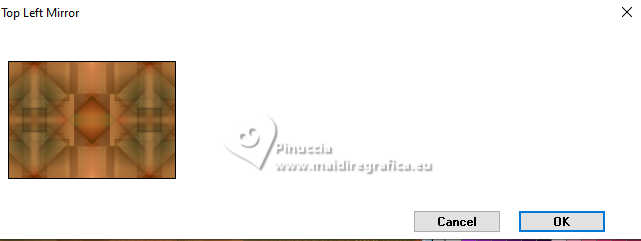
16. Effects>Plugins>Simple - Top Left Mirror
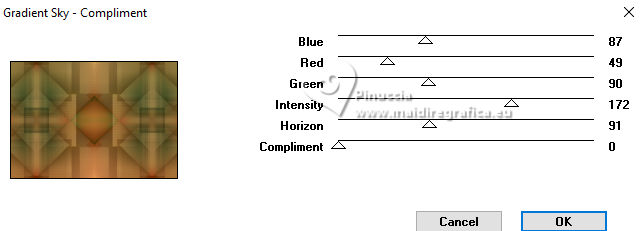
** Optional: Effects>Plugins>Photo Tools - Gradient Sky-Compliment.
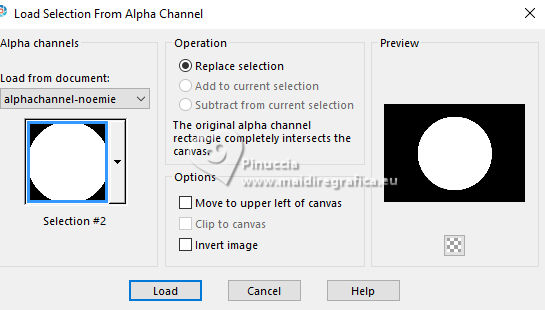
17. Selections>Load/Save Selection>Load Selection from Alpha Channel.
Open the selections menu and load the selection Selection #2
Selections>Promote Selection to Layer.
18. Adjust>Blur>Gaussian Blur - radius 25.

19. Selections>Modify>Select Selection Borders.
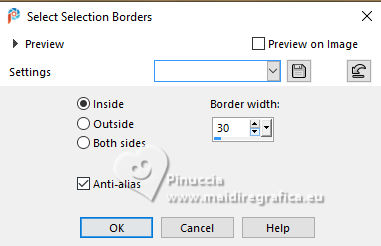
Activate the layer Raster 1.
Selections>Promote Selection to Layer.
Layers>Arrange>Bring to top.
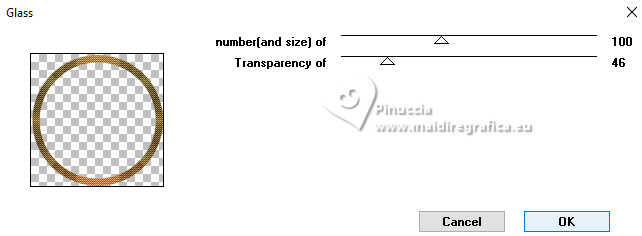
20. Effects>Plugins>CPK Designs - Glass
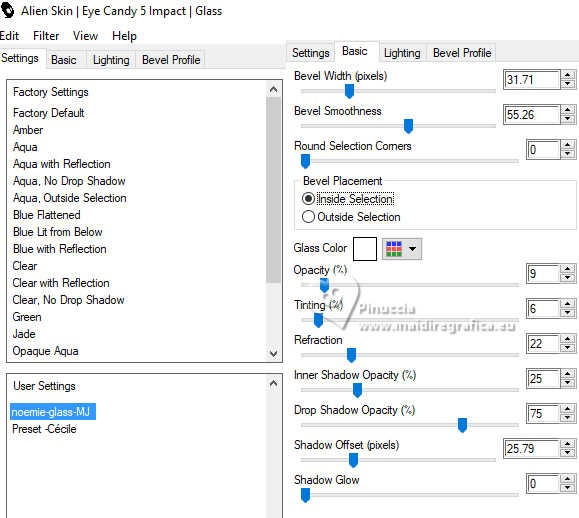
21. Effects>Plugins>Alien Skin Eye Candy 5 Impact - Glass.
Select the preset noemie-glass-MJ
Selections>Select None.
22. Selections>Load/Save Selection>Load Selection from Alpha Channel.
Open the selections menu and load again the selection Selection #2

Layers>New Raster Layer.
23. Open the misted misted-noemie-MJ 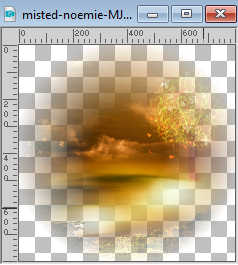
Edit>Copy.
Go back to your work and go to Edit>Paste into Selection.
Layers>Arrange>Move Down.
Layers>Merge>Merge Down.
Selections>Select None.
Activate the top layer Promoted Selection, the circle.
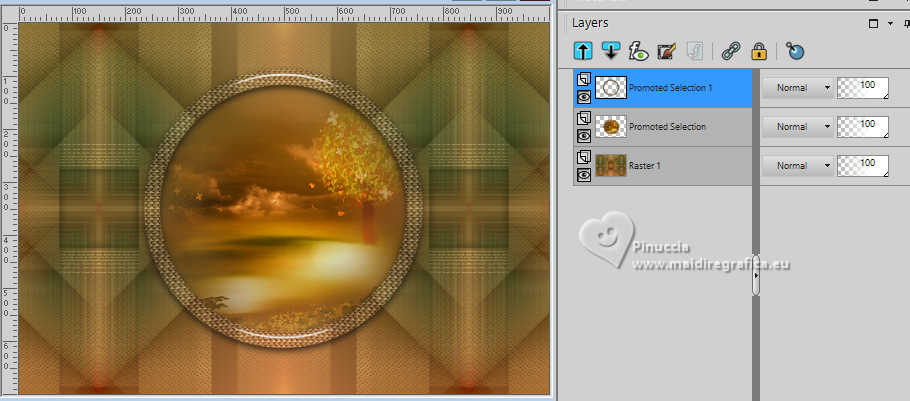
24. Selections>Load/Save Selection>Load Selection from Alpha Channel.
Open the selections menu and load the selection Selection #3
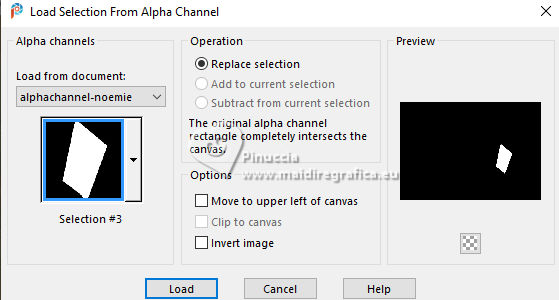
Press CANC on the keyboard 
Selections>Select None.
25. Open deco-1-MJ 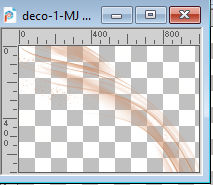
Edit>Copy.
Go back to your work and go to Edit>Paste as new layer.
Layers>Arrange>Move Down.
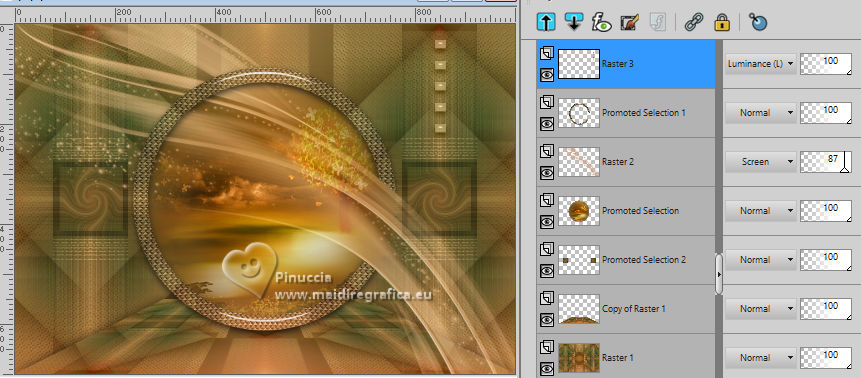
Change the Blend Mode of this layer to Screen and reduce the opacity to 87%.
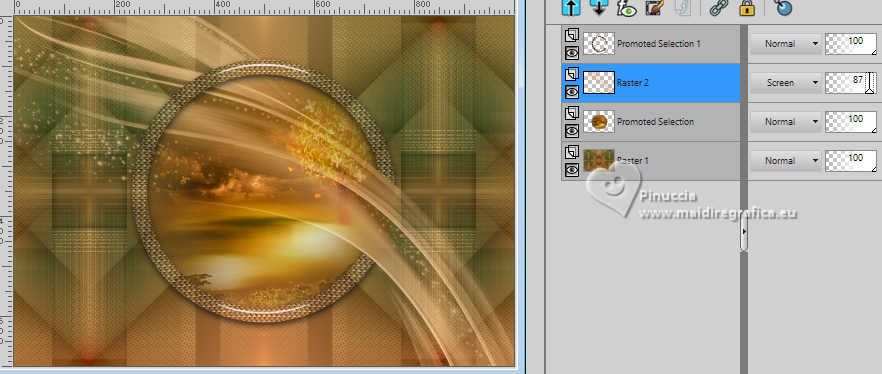
Activate the layer Raster 1.
26. Selections>Load/Save Selection>Load Selection from Alpha Channel.
Open the selections menu and load the selection Selection #4
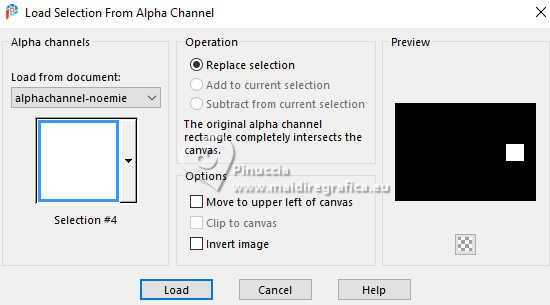
Selections>Promote Selection to Layer.
27. Effects>Distortion Effects>Twirl.
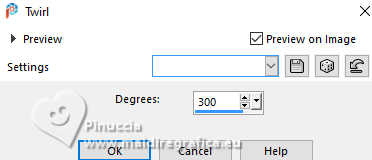
Effects>3D Effects>Drop Shadow, same settings.
Selections>Select None.
28. Effects>Reflection Effects>Rotating Mirror, default settings

Activate again the layer Raster 1.
Layers>Duplicate.
29. Effects>Geometric Effects>Perspective Vertical.
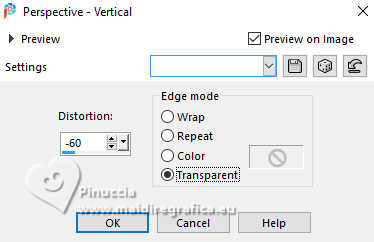
30. K key to activate your Pick Tool 
pull the central top node down, until 550 pixels.
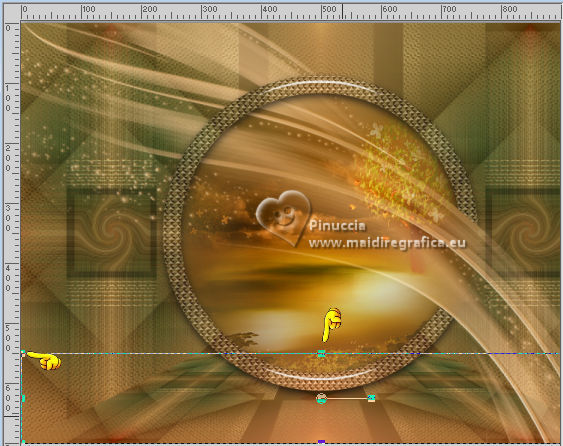
M key to deselect the Tool.
Effects>3D Effects>Drop Shadow, same settings.
31. Open deco-noemie-MJ 
Edit>Copy.
Go back to your work and go to Edit>Paste as new layer.
Layers>Arrange>Bring to Top.
Change the Blend mode of this layer to Luminance (legacy).
Move  the tube at the upper right, the tube at the upper right,
or Pick Tool 

Your tag and the layers - adapt Blend Mode and opacity to your liking.
32. Open the woman's tube Image-AI-tube-by-MJ 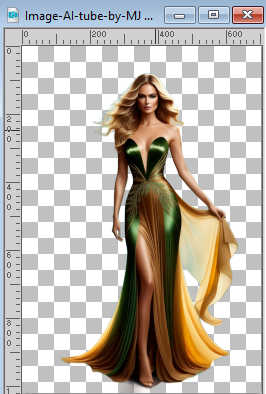
Edit>Copy.
Go back to your work and go to Edit>Paste as new layer.
Image>Resize, to 73%, resize all layers not checked.
Move  the tube to the left. the tube to the left.
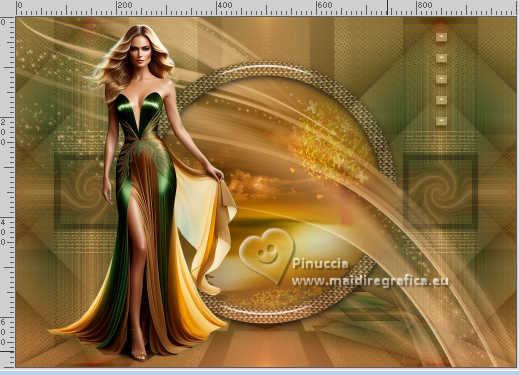
Effects>3D Effects>Drop Shadow, at your choice.
33. Image>Add borders, 1 pixel, symmetric, foreground color #3d4d37.
34. Selections>Select All.
Edit>Copy
Image>Add borders, 50 pixels. symmetric, color white.
35. Selections>Invert.
Edit>Paste into selection (the image of step 34).
36. Adjust>Blur>Gaussian Blur - radius 15.

37. Effects>Plugins>AAA Frames - Foto Frame
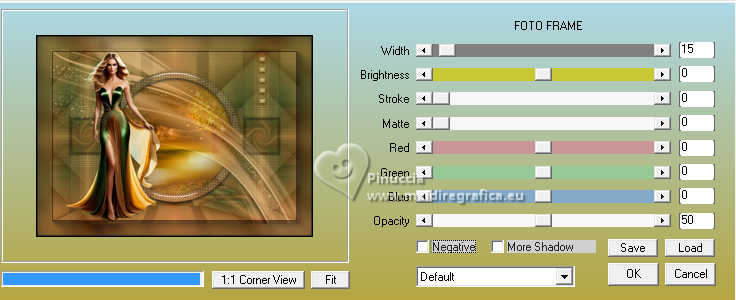
38. Repeat Effects>Plugins>AAA Frames - Foto Frame, width 30.
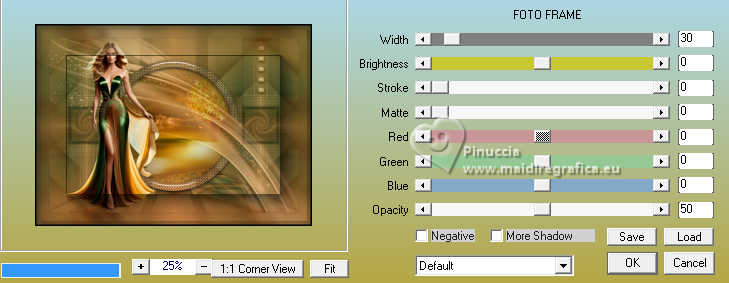
39. Effects>Plugins>Simple - Top Left Mirror
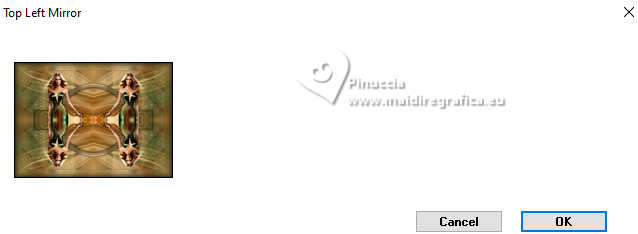
Effects>3D Effects>Drop Shadow, same settings.
Selections>Select None.
40. Open deco-bordas-MJ 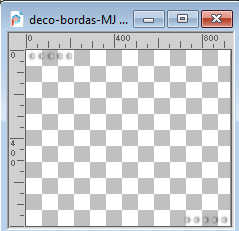
Edit>Copy.
Go back to your work and go to Edit>Paste as new layer.
Change the Blend Mode of this layer to Luminance (legacy).
41. Sign your work.
Image>Add borders, 1 pixel, symmetric, foreground color #3d4d37.
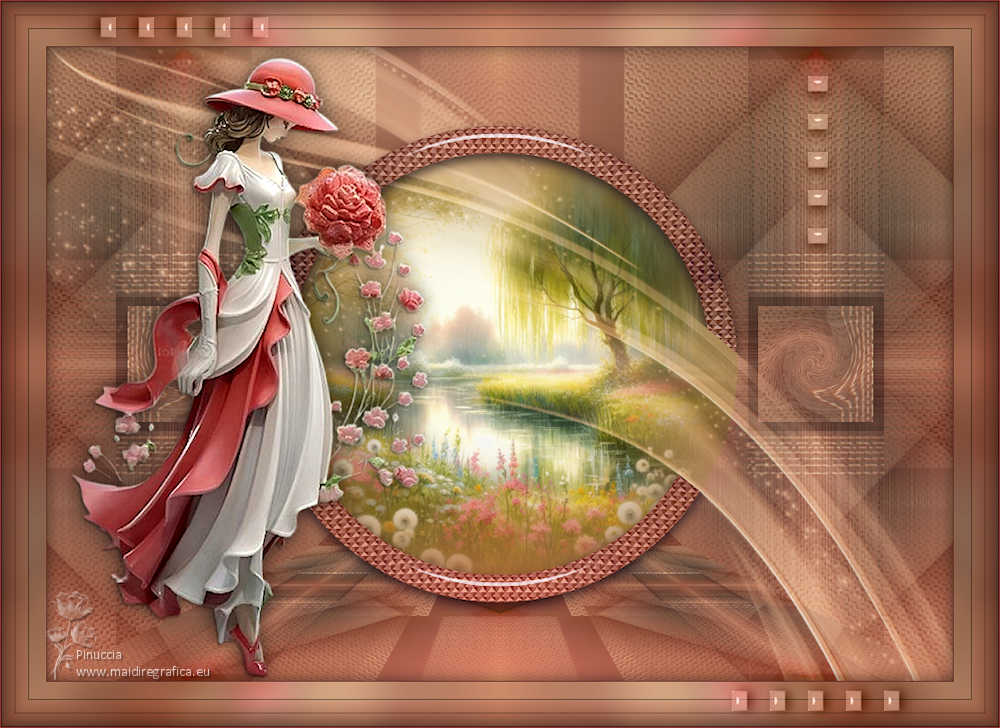
42. Image>Resize, 1000 pixels width, resize all layers checked.
Save as jpg.
For the tube of this version thanks Naise M.

If you have problems or doubts, or you find a not worked link,
or only for tell me that you enjoyed this tutorial, write to me.
22 May 2024

|


