|
MYLÈNE

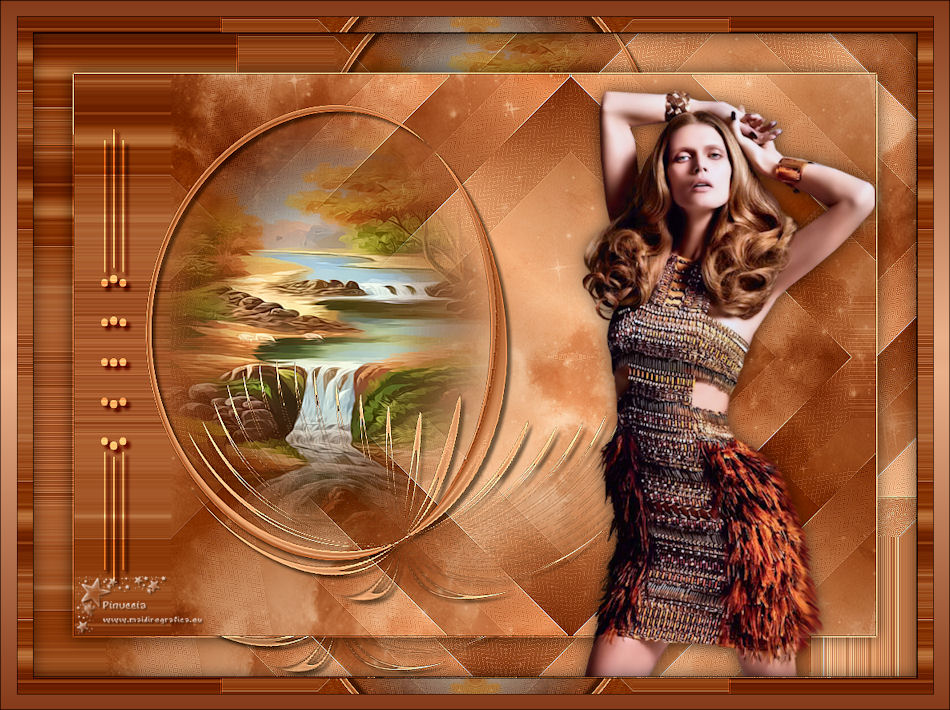
Thanks Maria José for your invitation to translate your tutorial

This tutorial was created with PSPX9 and translated with PSPX2 and PSPX3, but it can also be made using other versions of PSP.
Since version PSP X4, Image>Mirror was replaced with Image>Flip Horizontal,
and Image>Flip with Image>Flip Vertical, there are some variables.
In versions X5 and X6, the functions have been improved by making available the Objects menu.
In the latest version X7 command Image>Mirror and Image>Flip returned, but with new differences.
See my schedule here
 French translation here French translation here
 your versions ici your versions ici
For this tutorial, you will need:
Material here
Thanks for the tubes Azalée and Odette.
(you find here the links to the material authors' sites)
Plugins
consult, if necessary, my filter section here
Filters Unlimited 2.0 here
AP [Innovations] - Distort-ShiftMesh here
Simple - Diamonds, Blintz here
Flaming Pear - Flexify 2 here
Graphics Plus - Vertical Mirror here
DSB Flux - Gears here
VM Distortion - Distortion by Transparency here
Optionnel: AAA Filters - Custom here
Filters Simple, Graphics Plus and VM Distortion can be used alone or imported into Filters Unlimited.
(How do, you see here)
If a plugin supplied appears with this icon  it must necessarily be imported into Unlimited it must necessarily be imported into Unlimited

You can change Blend Modes according to your colors.
In the newest versions of PSP, you don't find the foreground/background gradient (Corel_06_029).
You can use the gradients of the older versions.
The Gradient of CorelX here
Copy the preset for Flexify in a folder at your choice.
Copy the Selections in the Selections Folder.
Set your foreground color to #803514,
and your background color to #eab08a.
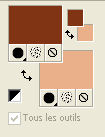
Set your foreground color to a Foreground/Background Gradient, style Linear.
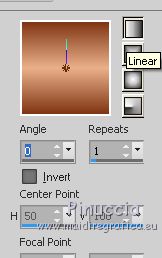
1. Open a new transparent image 1000 x 700 pixels.
Flood Fill  the transparent image with your Gradient. the transparent image with your Gradient.
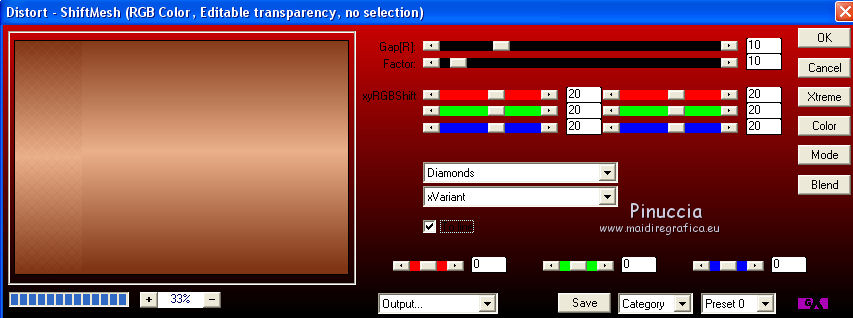
2. Effects>Plugins>AP 01 [Innovations] - Distort-ShiftMesh.
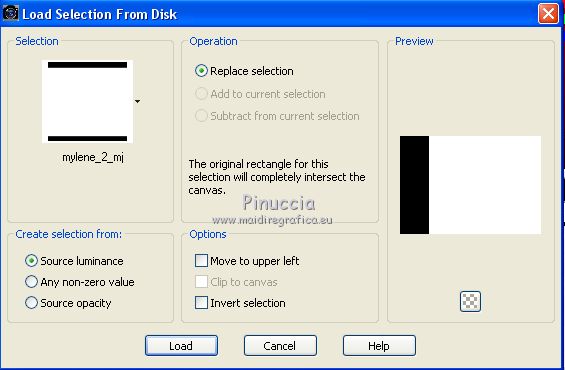
3. Selections>Load/Save Selection>Load Selection from Disk.
Look for and load the selection mylene_2_mj
4. Effects>Plugins>AP 01 [Innovations] - Distort-ShiftMesh.
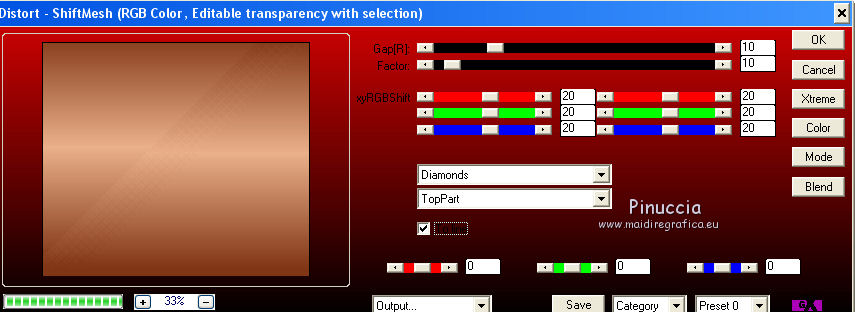
Selections>Select None.
5. Effects>Plugins>Simple - Diamonds.
6. Effects>Plugins>Simple - Blintz - 2 fois.
These effects of Simple's Filter work without window.
Result
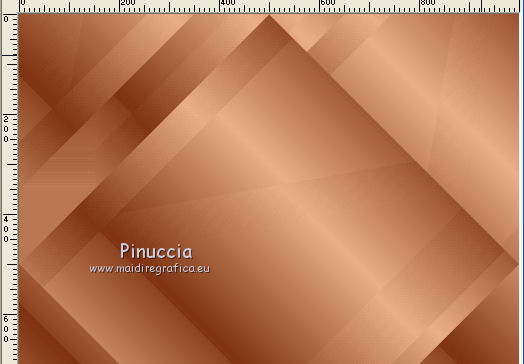
7. Effects>Reflection Effects>Rotating Mirror.

8. Effects>Plugins>Graphics Plus - Vertical Mirror, default settings.
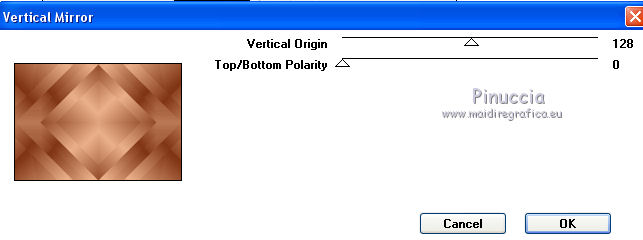
9. Effects>Edge Effects>Enhance.
10. Selections>Load/Save Selection>Load Selection from Disk.
Look for and load the selection mylene_mj
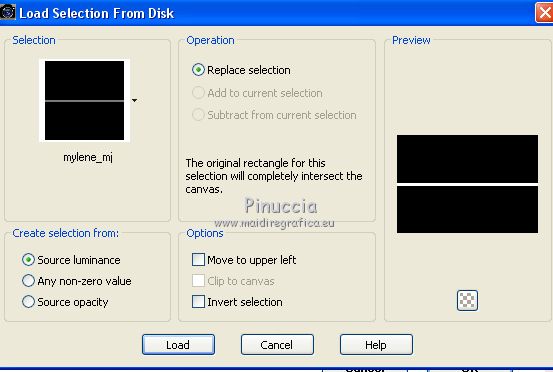
Selections>Promote Selection to Layer.
Selections>Select None.
11. Effects>Plugins>DSB Flux - Gears.
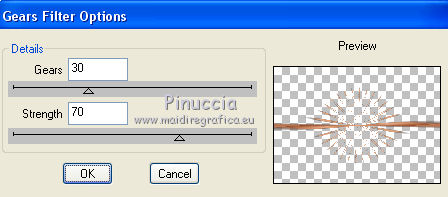
12. Effects>Plugins>Flaming Pear - Flexify 2
Click on the red botton and look for the preset in the folder where you saved it.
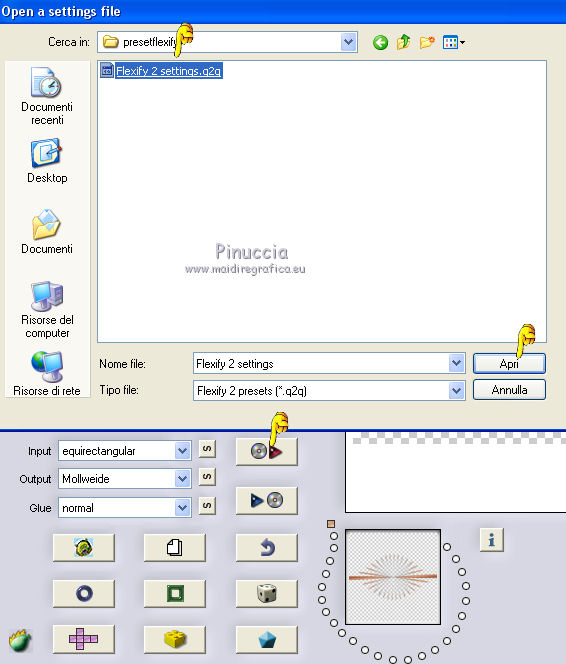
Click ok to apply
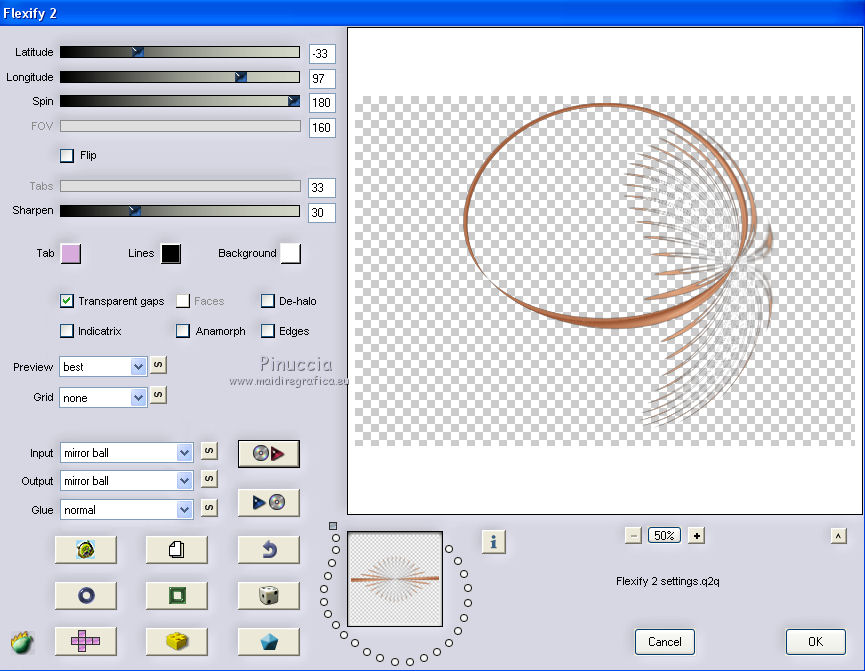
13. Image>Free rotate - 90 degrees to right

Image>Mirror.
14. Effects>Image Effects>Offset.
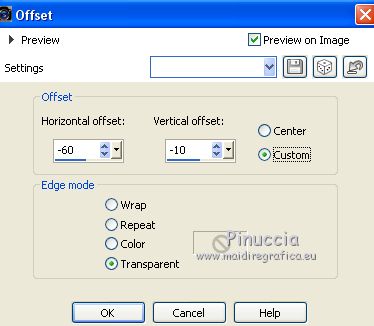
Adjust>Sharpness>Sharpen More.
15. Selections>Load/Save Selection>Load Selection from Disk.
Look for and load the selection mylene_1_mj
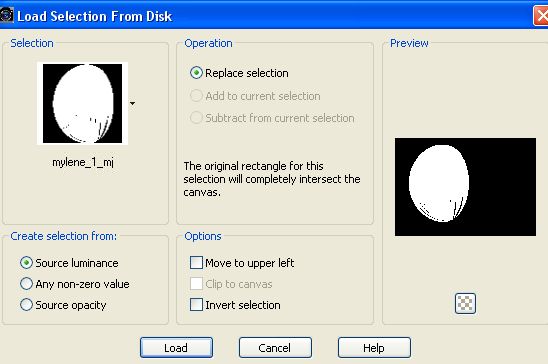
Layers>New Raster Layer.
Layers>Arrange>Move Down.
16. Open the misted and go to Edit>Copy.
Go back to your work and go to Edit>Paste into Selection.
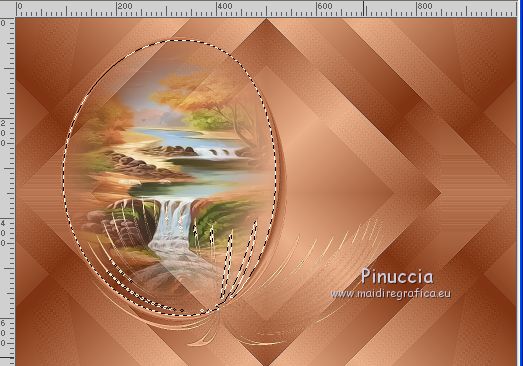
Activate the top layer Promoted Selection.
Layers>Merge>Merge Down.
Selections>Select None.
Effects>3D Effects>Drop Shadow, color black.
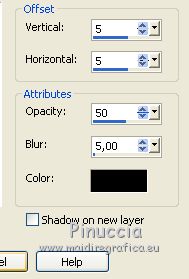
17. Activate the layer Raster 1.
Layers>New Raster Layer.
Selections>Select All.
18. Open the mask mask_star_mj and go to Edit>Copy.
Go back to your work and go to Edit>Paste into Selection.
Selections>Select None.
Change the Blend Mode of this layer to Soft Light.
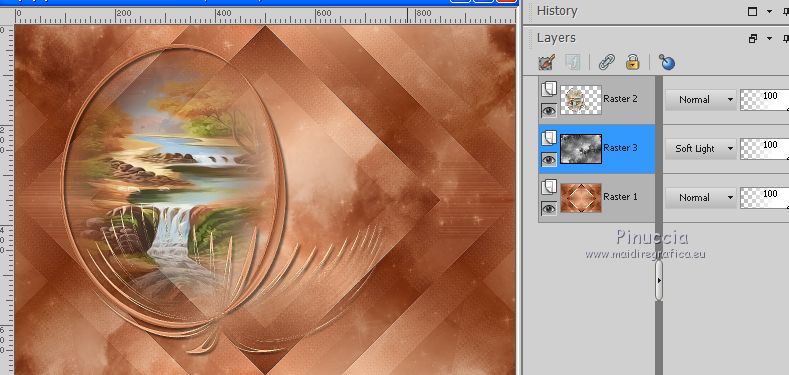
Layers>Merge>Merge Down.
19. Effects>Plugins>VM Distortion - Distortion by Transparency
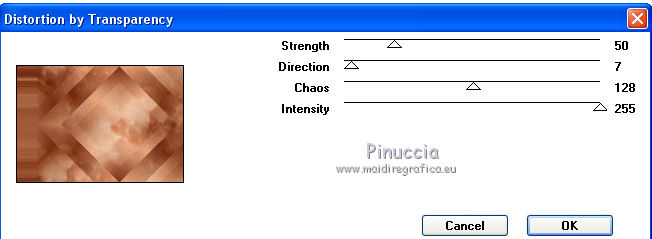
20. Image>Add borders, 1 pixel, symmetric, color black.
21. Selections>Select All.
Image>Add borders, 50 pixels, symmetric, background color.
22. Effects>3D Effects>Drop Shadow, color black.

Selections>Invert.
23. Effects>Plugins>VM Distortion - Distortion by Transparency
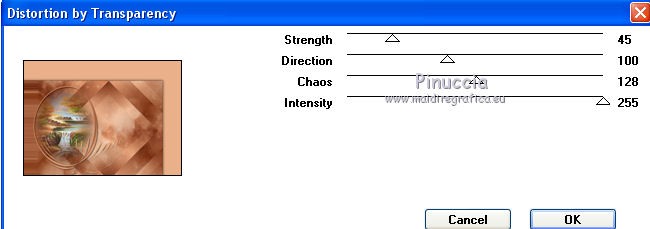
Adjust>Sharpness>Sharpen.
Selections>Select None.
24. Selections>Load/Save Selection>Load Selection from Disk.
Look for and load the selection mylene_3_mj
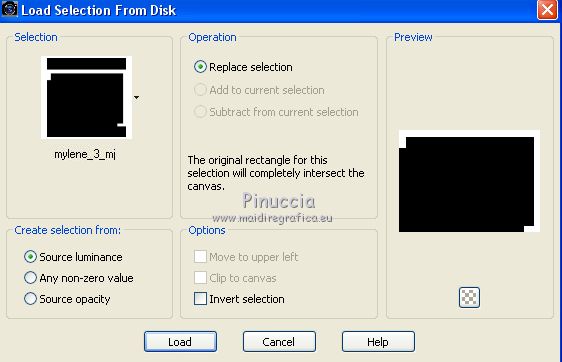
25. Effects>Plugins>VM Distortion - Distortion by Transparency
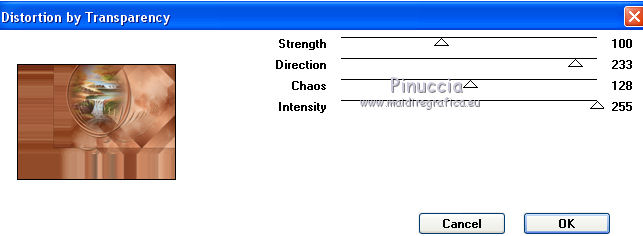
Adjust>Sharpness>Sharpen.
Selections>Select None.
26. Selections>Select All.
Selections>Modify>Contract - 48 pixels.
27. Effects>3D Effects>Drop Shadow, color black.

Selections>Select None.
28. Open the tube deco_mylene_mj and go to Edit>Copy.
Go back to your work and go to Edit>Paste as new layer.
Move  the tube to the left side. the tube to the left side.
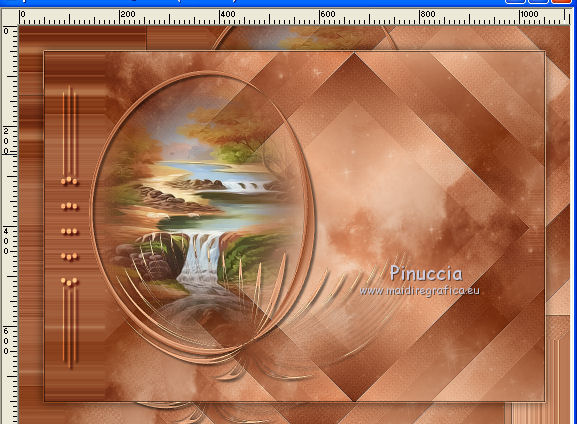
Change the Blend Mode of this layer to Overlay, or according to your colors.
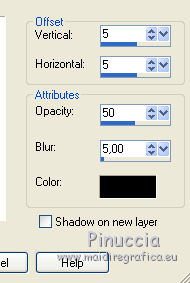
Effects>3D Effects>Drop Shadow, color black.
Layers>Merge>Merge visible.
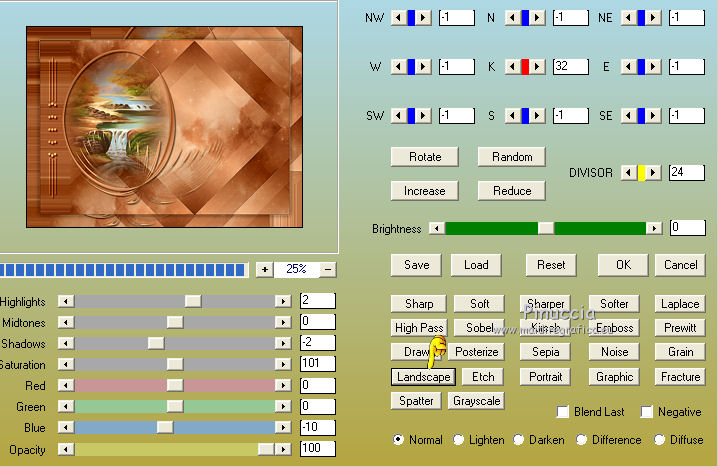
Optional: Effects>Plugins>AAA Filters - Custom - Landscape
29. Open the tube of the woman and go to Edit>Copy.
Go back to your work and go to Edit>Paste as new layer.
Move  the tube to the right side. the tube to the right side.
Effects>3D Effects>Drop Shadow, at your choice.
30. Image>Add borders, 1 pixel, symetric, color black.
Selections>Select All.
31. Image>Add borders, 40 pixels, symmetric, color white.
Selections>Invert.
Flood Fill  the selection with your gradient. the selection with your gradient.
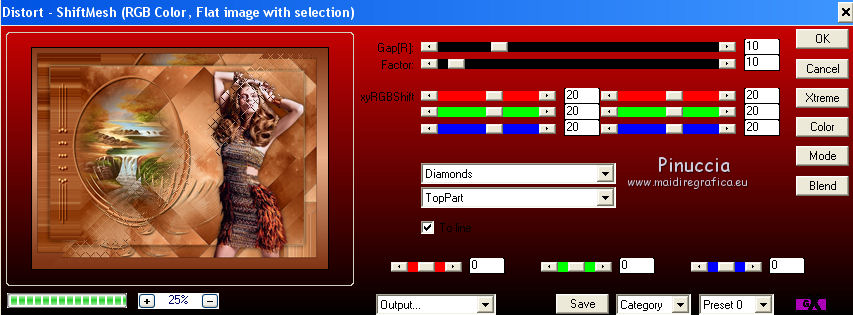
32. Effects>Plugins>AP 01 [Innovations] - Distort-ShiftMesh.
33. Effects>Reflection Effects>Rotating Mirror.

34. Effects>Plugins>Graphics Plus - Vertical Mirror, default settings.
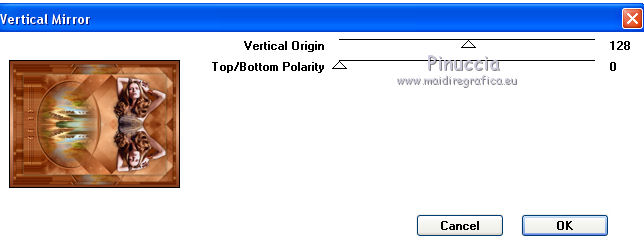
Effects>3D Effects>Drop Shadow, color black.

Selections>Select None.
Image>Add borders, 1 pixel, symmetric, color black.
35. Sign your work on a new layer.
Layers>Merge>Merge All.
36. Image>Resize, 1000 pixels width, resize all layers checked.
Save as jpg.
Version with tubes by Maryse and Cal
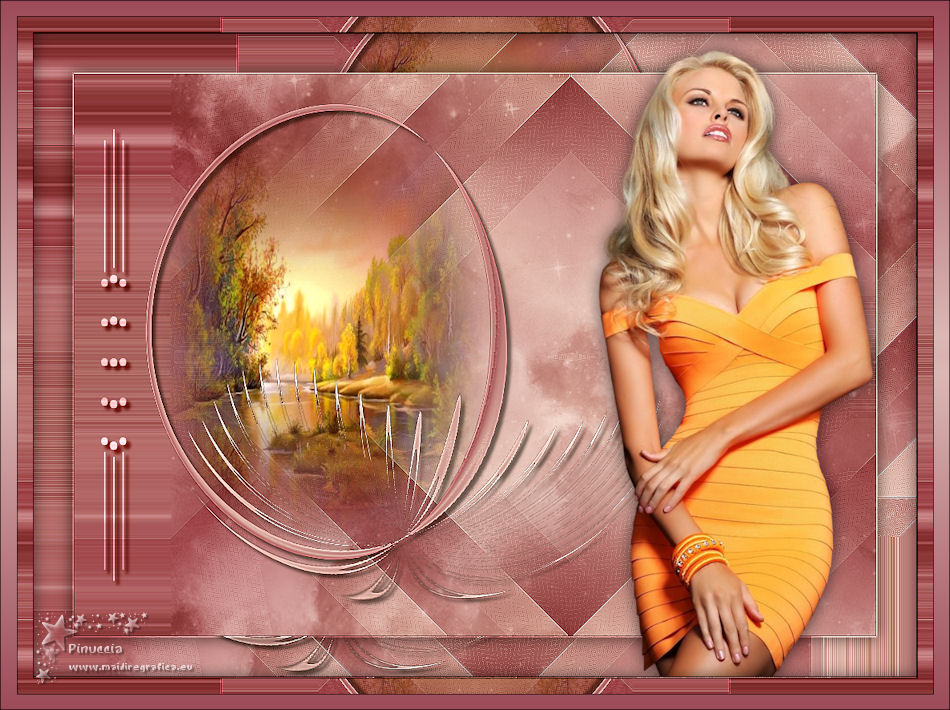
 Your versions here Your versions here

If you have problems or doubts, or you find a not worked link, or only for tell me that you enjoyed this tutorial, write to me.
15 November 2020
|


