|
MICHOUNETTE

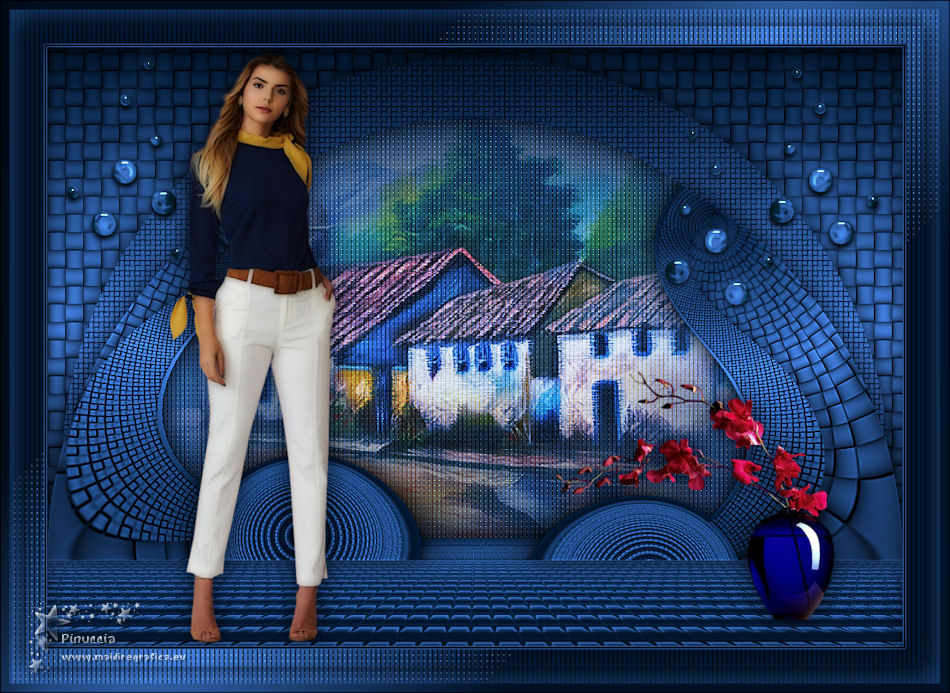
Thanks Maria José for your invitation to translate your tutorial

This tutorial has been translated with PSPX2 and PSPX3, but it can also be made using other versions of PSP.
Since version PSP X4, Image>Mirror was replaced with Image>Flip Horizontal,
and Image>Flip with Image>Flip Vertical, there are some variables.
In versions X5 and X6, the functions have been improved by making available the Objects menu.
In the latest version X7 command Image>Mirror and Image>Flip returned, but with new differences.
See my schedule here
 French translation here French translation here
 your versions ici your versions ici
For this tutorial, you will need:
Material here
For the tube thanks Guismo.
The rest of the material is by Maria José
(you find here the links to the material authors' sites)
Plugins
consult, if necessary, my filter section here
Filters Unlimited 2.0 here
Flaming Pear - Flexify 2 here
AP [Lines] - Lines SilverLining here
Carolaine and Sensibility - CS-LDots here
Mura's Meister - Perspective Tiling here

You can change Blend Modes according to your colors.
In the newest versions of PSP, you don't find the foreground/background gradient (Corel_06_029).
You can use the gradients of the older versions.
The Gradient of CorelX here
Copy the preset for Flexify dans un dossier at your choice.
Copy the selections in the Selection Folder.
1. Set your foreground color to #00162e,
and your background color to #4484e8.
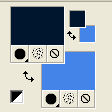
Set your foreground color to a Foreground/Background Gradient, style Linear.

2. Open a new transparent image 1000 x 700 pixels.
3. Selections>Load/Save Selection>Load Selection from Disk.
Look for and load the selection michounette_mj

Flood Fill  the selection with your Gradient. the selection with your Gradient.
4. Selections>Invert.
Selections>Modify>Expand - 70 pixels.
Selections>Promote Selection to layer.
5. Effects>Texture Effects>Weave.
Weave color: black
Gap color: foreground color #00162e.

6. Effects>3D Effects>Drop Shadow, color black.

Selections>Select None.
7. Activate the layer Raster 1.
Effects>Texture Effects>Weave.

8. Layers>New Raster Layer.
Flood Fill  the layer with your gradient. the layer with your gradient.
9. Effects>Texture Effects>Mosaic - Glass.

10. Effects>Plugins>Mura's Meister - Perspective Tiling.
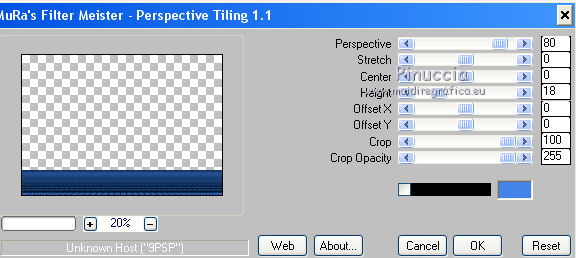
Layers>Arrange>Bring to Top.
Layers>Merge>Merge visible.
Effects>3D Effects>Drop Shadow, color black.

11. Layers>Duplicate.
Selections>Load/Save Selection>Load Selection from Disk.
Look for and load the selection michounette_1_mj

You should have this
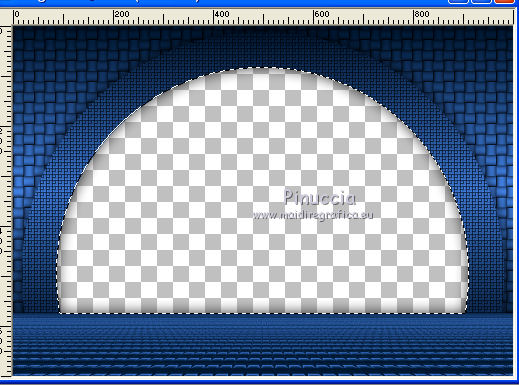
12. Selections>Modify>Select Selection Borders.

13. Layers>New Raster Layer.
Flood Fill  the selection with your Gradient. the selection with your Gradient.
14. Effects>3D Effects>Drop Shadow, color black.

Layers>Merge>Merge Down.
Selections>Select None.
15. Layers>Duplicate.
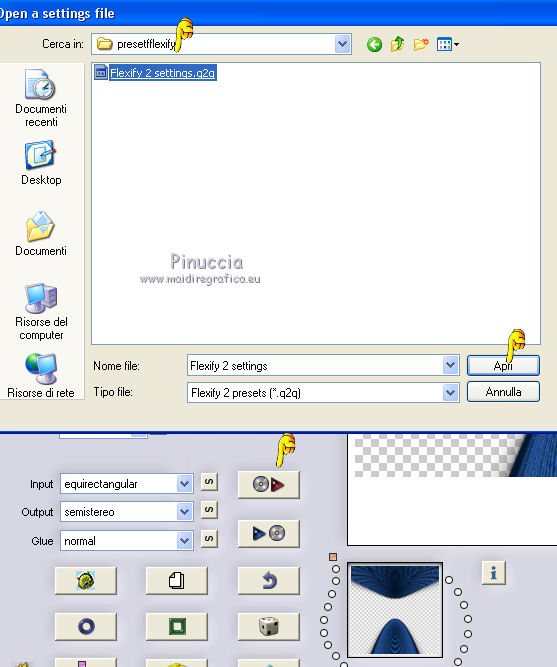
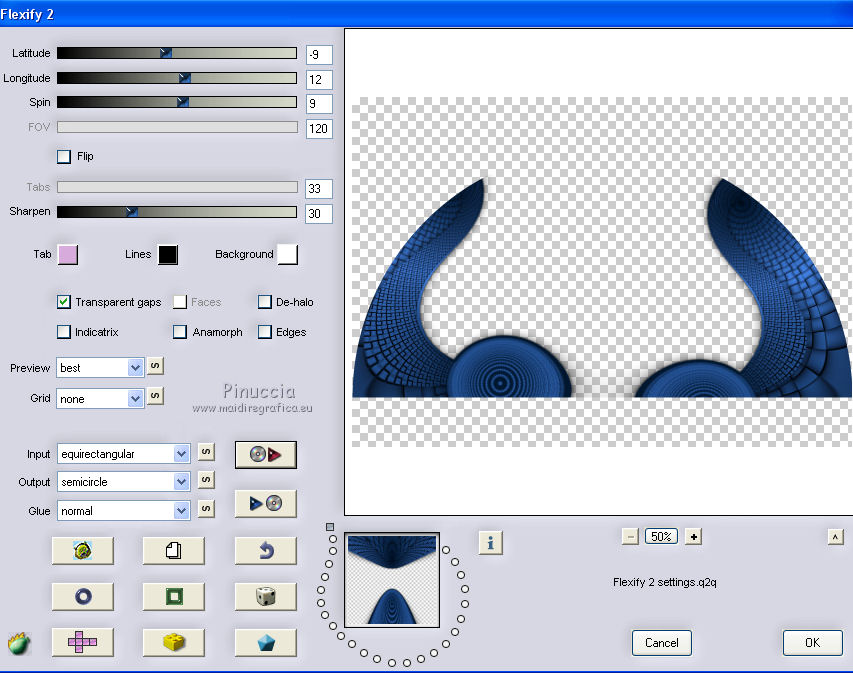
Effects>Plugins>Flaming Pear - Flexify 2
Click on the red button and look for the preset in the folder where you copied it
16. Adjust>Sharpness>Sharpen More.
Effects>3D Effects>Drop Shadow, color black.

17. Layers>New Raster Layer.
Layers>Arrange>Send to Bottom.
Flood fill  the layer with your Gradient. the layer with your Gradient.
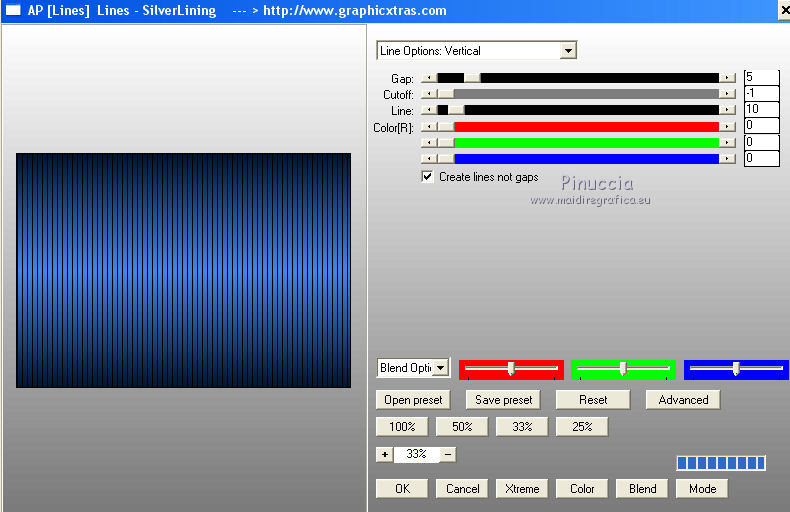
18. Effects>Plugins>AP [Lines] - Lines SilverLining.
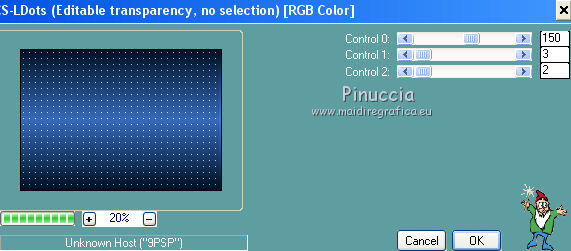
19. Effects>Plugins>Carolaine and Sensibility - CS-LDots.
20. Open the misted and go to Edit>Copy.
Go back to your work and go to Edit>Paste as new layer.
Image>Resize, to 90%, resize all layers not checked.
Change the Blend Mode of this layer to Hard Light, or other.
If necessary, reduce the opacity +/-90%.
The tag and the layers - adapt at your choice

21. Open the tube deco_michounette_mj and go to Edit>Copy.
Go back to your work and go to Edit>Paste as new layer.
Layers>Arrange>Bring to Top.
(Colorize or change the Blend Mode to Luminance legacy)
Place  correctly the tube. correctly the tube.

Effects>3D Effects>Drop Shadow, light color.

22. Open the woman tube, mariajoseMJ-127 and go to Edit>Copy.
Go back to your work and go to Edit>Paste as new layer.
Image>Mirror.
Image>Resize, to 75%, resize all layers not checked.
Move  the tube to the left side. the tube to the left side.
Effects>3D Effects>Drop Shadow, at your choice.
23. Open the tube of Guismo and go to Edit>Copy.
Go back to your work and go to Edit>Paste as new layer.
Image>Resize, 2 times to 75%, resize all layers not checked.
Move  the tube at the bottom right. the tube at the bottom right.
Effects>3D Effects>Drop Shadow, at your choice.
24. Activate the layer Raster 1.
Edit>Copy.
Edit>Paste as new image and work on this image.
Effects>Geometric Effects>Skew.

Edit>Copy and minimize this image.
25. Go back to your work.
Image>Add borders, 1 pixel, symmetric, light color.
Image>Add borders, 2 pixels, symmetric, dark color.
Image>Add borders, 1 pixel, symmetric, light color.
Selections>Select All.
Image>Add borders, 50 pixels, symmetric, color #ffffff.
Selections>Invert.
26. Edit>Paste into Selection (the image copied and minimized at step 24)
Effects>3D Effects>Drop Shadow, color black.

27. Selections>Select None.
Selections>Modify>Contract - 30 pixels.
Effects>3D Effects>Drop Shadow, same settings.
28. Selections>Select All.
Selections>Modify>Contract - 10 pixels.
Selectons>Invert.
29. Adjust>Blur>Gaussian Blur - radius 30.

Effects>3D Effects>Drop Shadow, light color.

Selections>Select None.
30. Sign your work on a new layer.
Image>Add borders, 1 pixel, symmetric, color black.
31. Image>Resize, 1000 pixels width, resize all layers checked.
Save as jpg.
Version with tubes by Maria José, Rooske and Nena Silva
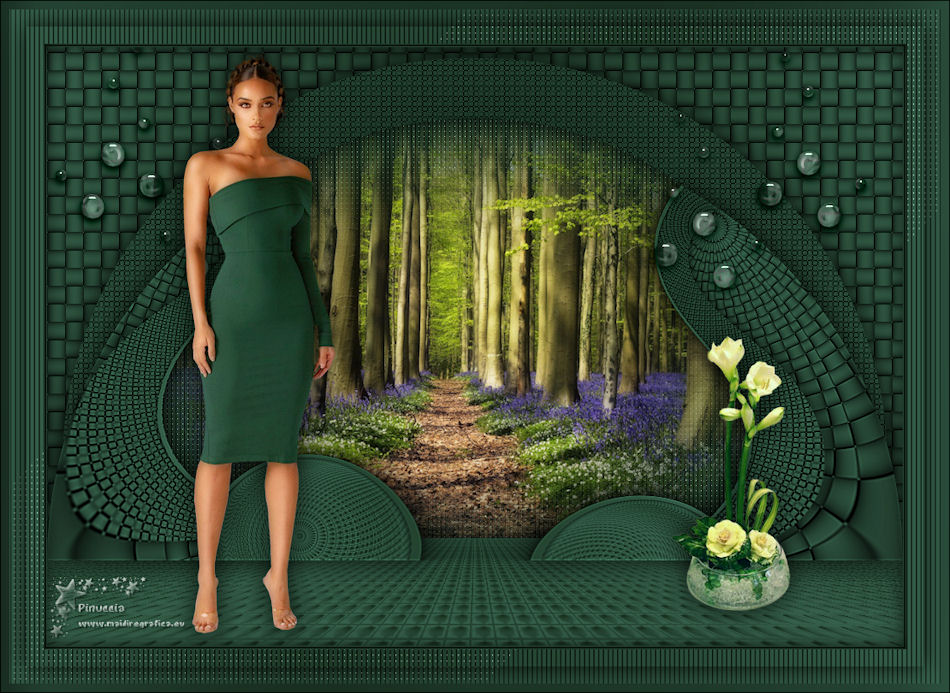
 Your versions here Your versions here

If you have problems or doubts, or you find a not worked link, or only for tell me that you enjoyed this tutorial, write to me.
5 Août 2021

|

