|
MEDITAÇÃO
 MEDITATION MEDITATION
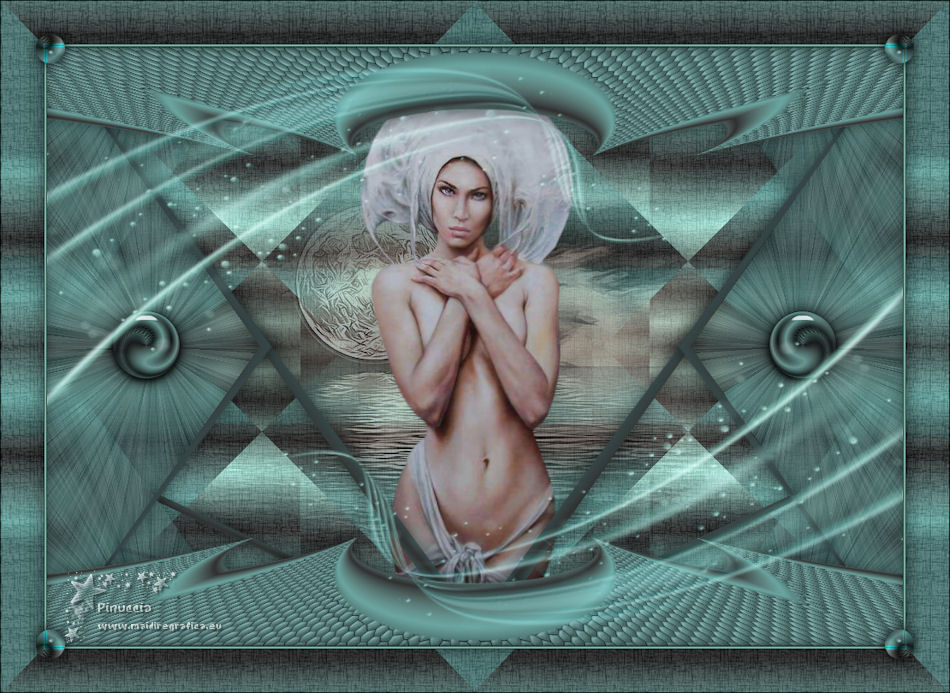
Thanks Maria José for your invitation to translate your tutorial

This tutorial has been translated with PSPX2 and PSPX3, but it can also be made using other versions of PSP.
Since version PSP X4, Image>Mirror was replaced with Image>Flip Horizontal,
and Image>Flip with Image>Flip Vertical, there are some variables.
In versions X5 and X6, the functions have been improved by making available the Objects menu.
In the latest version X7 command Image>Mirror and Image>Flip returned, but with new differences.
See my schedule here
 French translation here French translation here
 your versions ici your versions ici
For this tutorial, you will need:
Material here
Tubes and misted is by Maria José.
Images of Pinterest.
(you find here the links to the material authors' sites)
Plugins
consult, if necessary, my filter section here
Filters Unlimited 2.0 here
VM Distortion - Vision Impossible here
VM Instant Art - Tripolis here
VM Stylize - Zoom Blur here
Simple - Top Left Mirror here
Mura's Seamless - Emboss at Alpha here
Mura's Meister - Perspective Tiling here
Filters VM (Distortion, Instant Art, Stylize), Mura's Seamless and Simple can be used alone or imported into Filters Unlimited.
(How do, you see here)
If a plugin supplied appears with this icon  it must necessarily be imported into Unlimited it must necessarily be imported into Unlimited

You can change Blend Modes according to your colors.
In the newest versions of PSP, you don't find the foreground/background gradient (Corel_06_029).
You can use the gradients of the older versions.
The Gradient of CorelX here
Copy the selections in the Selection Folder.
Open the mask in PSP and minimize it with the rest of the material.
1. Set your foreground color to #aaecd7,
and your background color to #073e41.
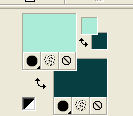
Set your foreground color to a Foreground/Background Gradient, style Linear.
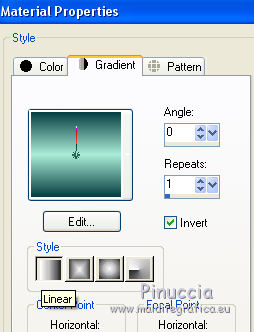
Open a new transparent image 1000 x 700 pixels.
Flood Fill  the transparent image with your Gradient. the transparent image with your Gradient.
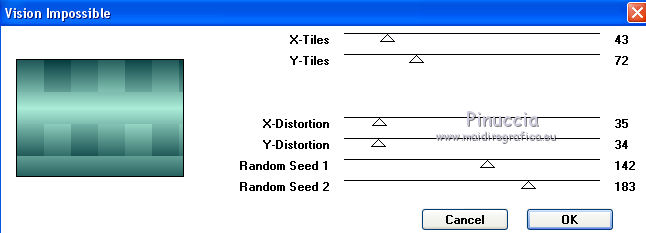
2. Effects>Plugins>VM Distortion - Vision Impossible, default settings.
3. Effects>Artistic Effects>Chrome.
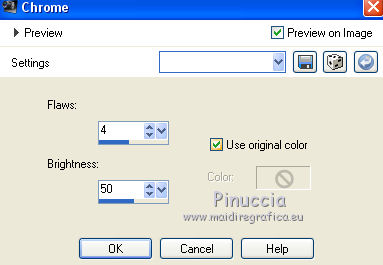
4. Layers>Duplicate.
Selections>Load/Save Selection>Load Selection from Disk.
Look for and load the selection meditacaoMJ.
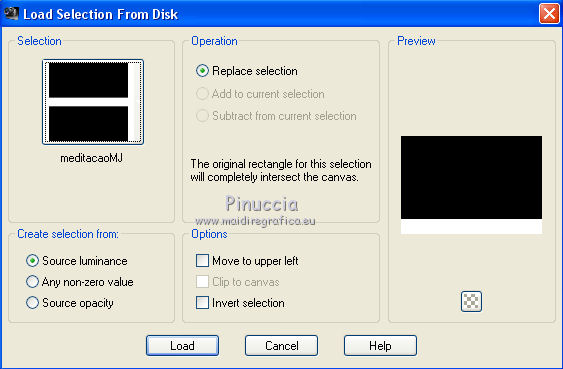
Selections>Promote Selection to Layer.
Selections>Select None.
5. Effects>Geometric Effects>Circle.

6. Selections>Load/Save Selection>Load Selection from Disk.
Look for and load the selection meditacao_1_MJ.
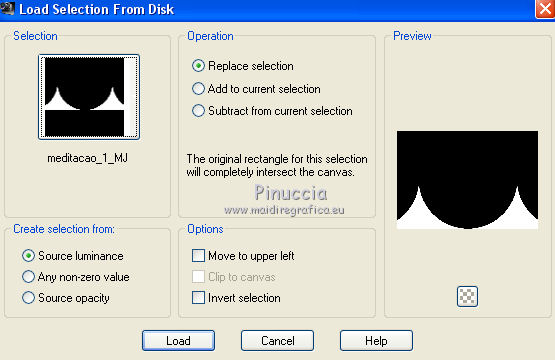
7. Effects>Texture Effects>Tiles.
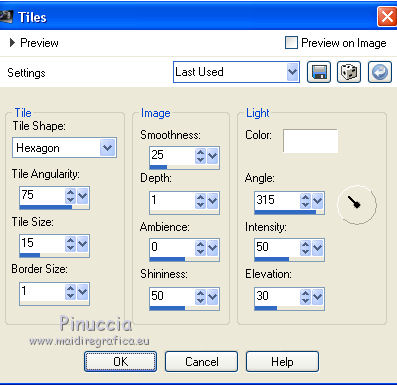
Selections>Select None.
8. Effects>Plugins>Mura's Meister - Perspective Tiling.
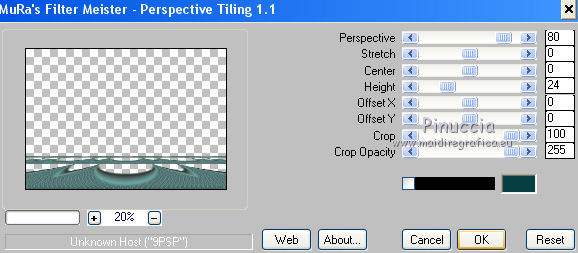
9. Selections>Load/Save Selection>Load Selection from Disk.
Look for and load the selection meditacao_2_MJ.
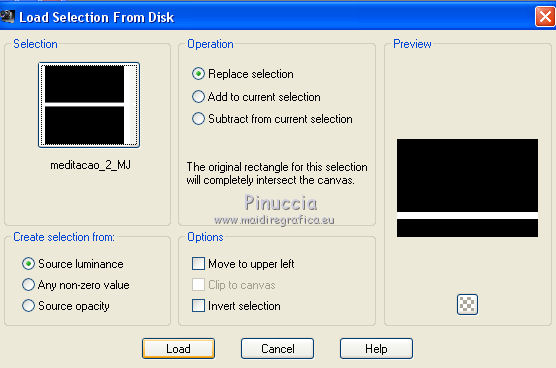
Press CANC on the keyboard 
Selections>Select None.
10. Layers>Duplicate.
Image>Flip.
Layers>Merge>Merge Down.
11. Effects>3D Effects>Drop Shadow, color black.

12. Activate the layer Copy of Raster 1.
Effects>Geometric Effects>Perspective horizontal.
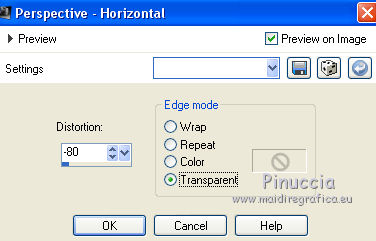
13. Effects>Geometric Effects>Perspective vertical
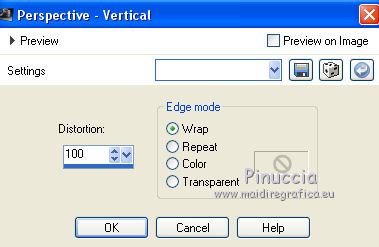
14. Effects>Reflection Effects>Rotating Mirror, default settings.

Effects>3D Effects>Drop Shadow, same settings.
15. Activate the layer Raster 1.
Effects>Plugins>VM Instant Art - Tripolis, default settings.
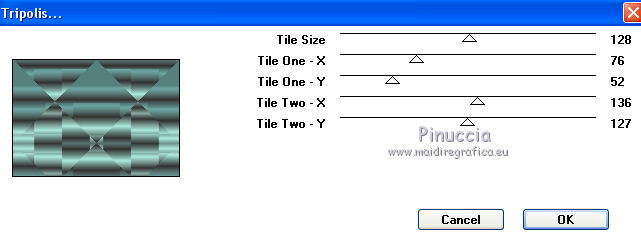
16. Effects>Plugins>Simple - Top Left Mirror.
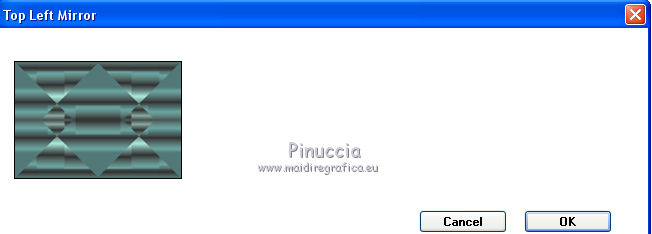
17. Effects>Plugins>Filters Unlimited 2.0 - Paper Texture - Papyrus, default settings.
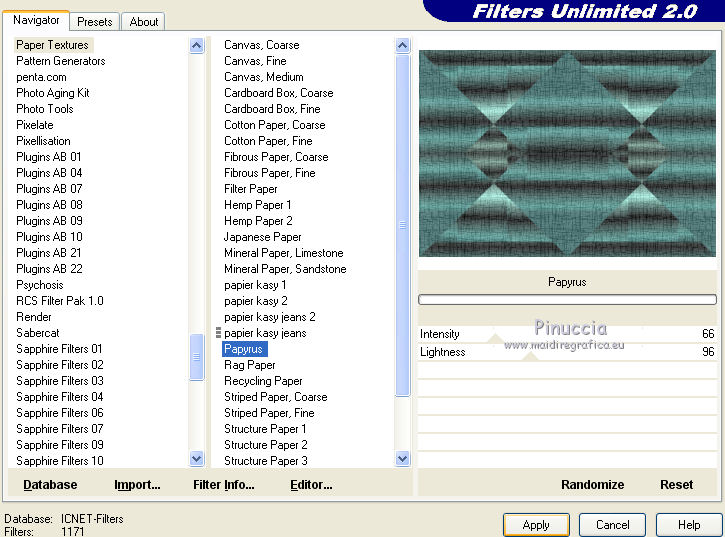
18. Activate the layer Copy of Raster 1.
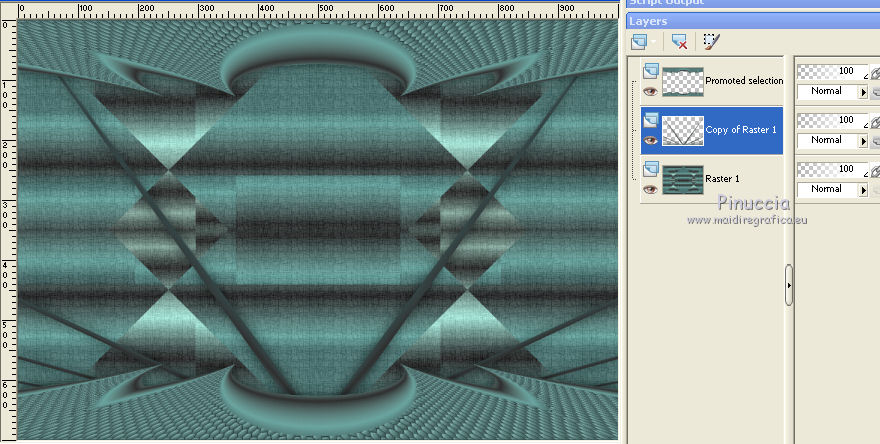
Layers>Duplicate.
Effects>Plugins>Simple - Top Left Mirror.
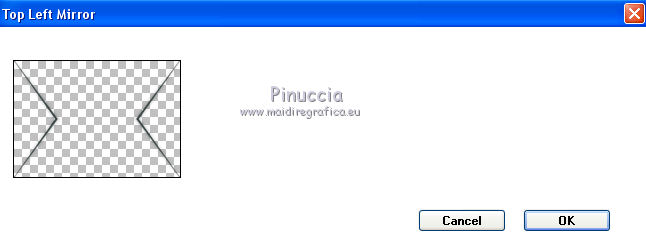
19. Activate the layer Raster 1.
Selections>Load/Save Selection>Load Selection from Disk.
Look for and load the selection meditacao_3_MJ.
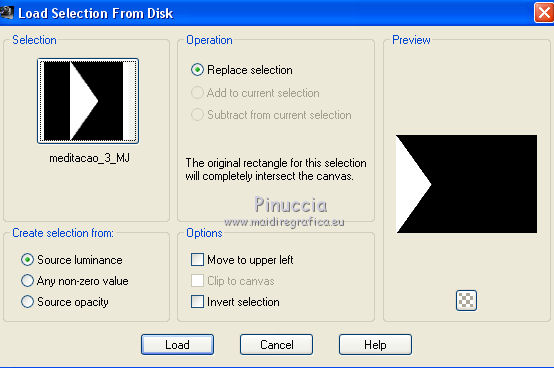
Selections>Promote Selection to Layer.
20. Layers>Arrange>Move up and keep selected.
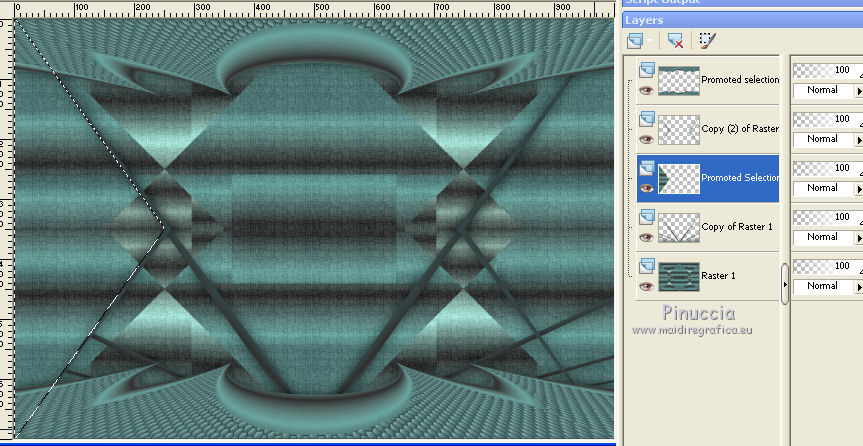
21. Effects>Plugins>VM Stylize - Zoom Blur, default settings.
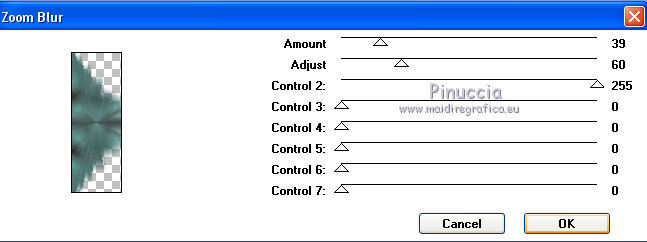
The author used an old version of this effects (you can find it in the material).
Due to the various manipulations of the VM series filters,
you may have a hard time finding the effect where it should be.
In this case, you can also use the version with only two voices
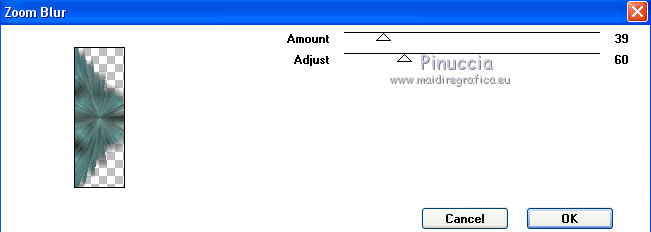
or imported in Unlimited
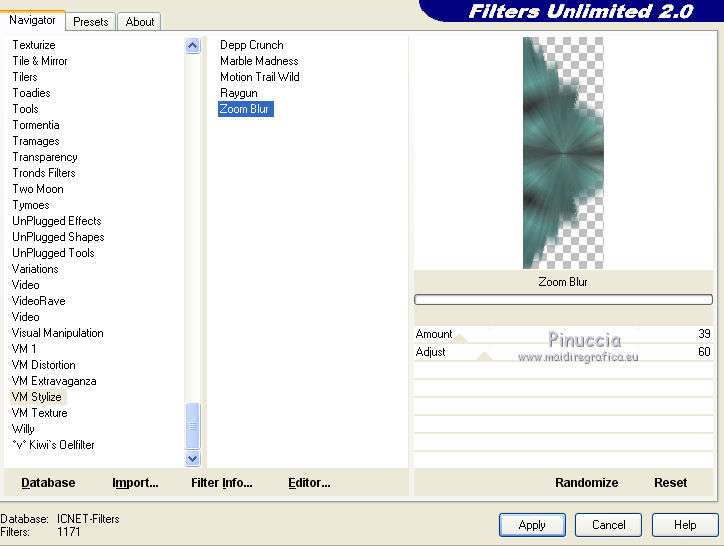
The result doesn't change.
22. Adjust>Sharpness>Sharpen.
Effects>3D Effects>Drop Shadow, same settings.
Selections>Select None.
23. Effects>Image Effects>Seamless Tiling.

24. Effects>Reflection Effects>Rotating Mirror.

25. Open the misted and go to Edit>Copy.
Go back to your work and go to Edit>Paste as new layer.
Layers>Arrange>Move down, 2 times.
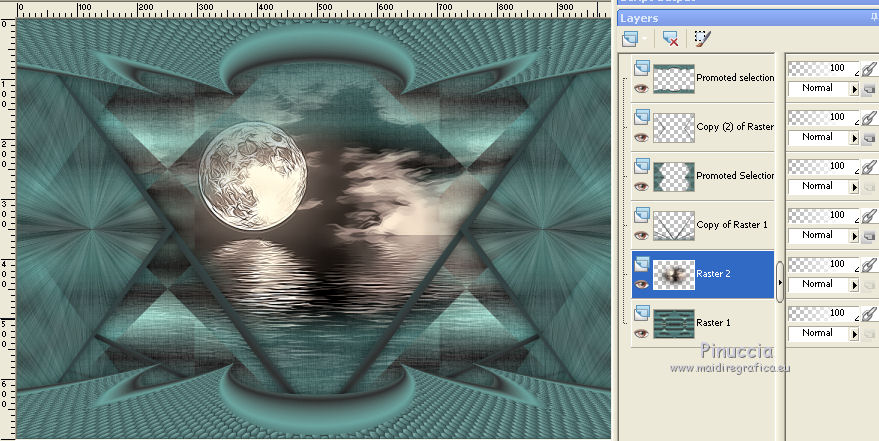
Change the layer at your liking; I reduced the opacity to 50%.
26. Open the tube decomeditação_mj and go to Edit>Copy.
Go back to your work and go to Edit>Paste as new layer.
Layers>Arrange>Bring to Top.
Change the Blend Mode of this layer to Luminance.
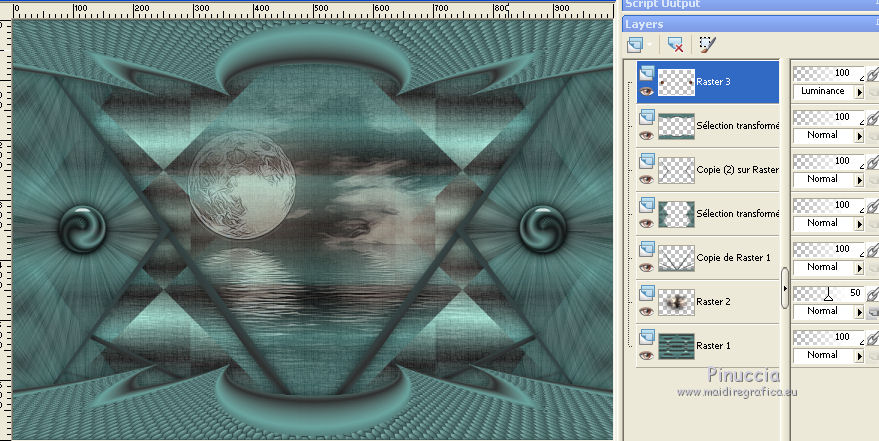
27. Activate the layer of the misted, Raster 2.
Open the woman tube and go to Edit>Copy.
Go back to your work and go to Edit>Paste as new layer.
Image>Resize, to 75%, resize all layers not checked.
Place  correctly the tube in the center. correctly the tube in the center.
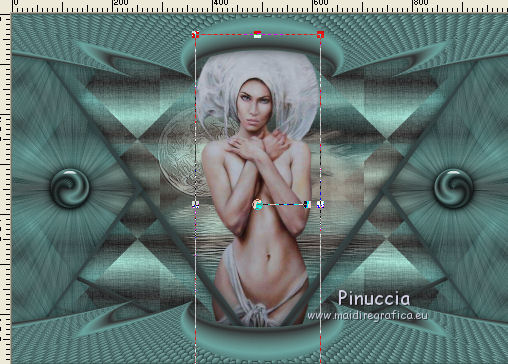
Effects>3D Effects>Drop Shadow, same settings.
28. Layers>New Raster Layer.
Flood Fill  the layer with your gradient. the layer with your gradient.
29. Layers>New Mask layer>From image
Open the menu under the source window and you'll see all the files open.
Select the mask mask_MJ.
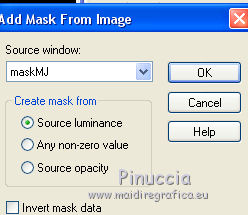
Layers>Merge>Merge Group.
30. Effects>Plugins>Mura's Seamless - Emboss at Alpha, default settings.
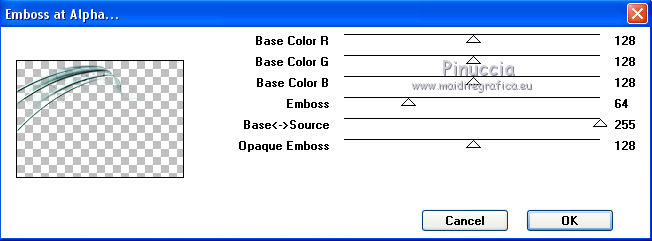
Change the Blend Mode of this layer to Screen and reduce the opacity to 85%.
31. Layers>Duplicate.
Image>Flip.
Image>Mirror.
32. Activate the layer Raster 1.
Edit>Copy.
As a precaution: Edit>Paste as new image, and minimize.
The tag and the layers - adapt Blend Modes and opacities at your liking.
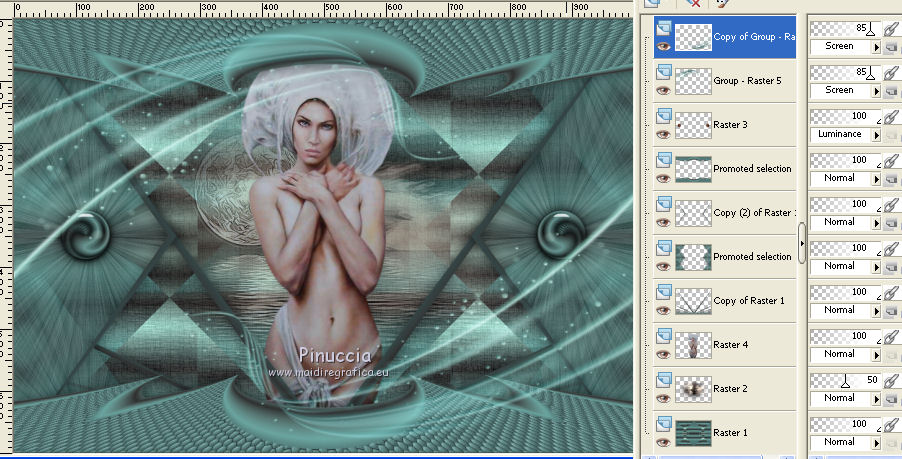
33. Image>Add borders, 1 pixels, symmetric, dark color of your image.
Image>Add borders, 2 pixels, symmetric, light color of your image.
Image>Add borders, 1 pixel, symmetric, dark color of your image.
34. Selections>Select All.
Image>Add borders, 50 pixels, symmetric, color white.
35. Selections>Invert.
Edit>Paste into Selection (the image in memory of step 32).
Adjust>Sharpness>Sharpen.
Effects>3D Effects>Drop Shadow, same settings.

Selections>Invert.
Effects>3D Effects>Drop Shadow, same settings.
Selections>Select None.
36. Open decoborders and go to Edit>Copy.
Go back to your work and go to Edit>Paste as new layer.
Don't move it.
If necessary, change the Blend Mode of this layer to Luminance.
37. Sign your work on a new layer.
Image>Add borders, 1 pixel, symmetric, dark color of your image.
38. Image>Resize, 1000 pixels width, resize all layers checked.
Save as jpg.
Version with tube by Lana
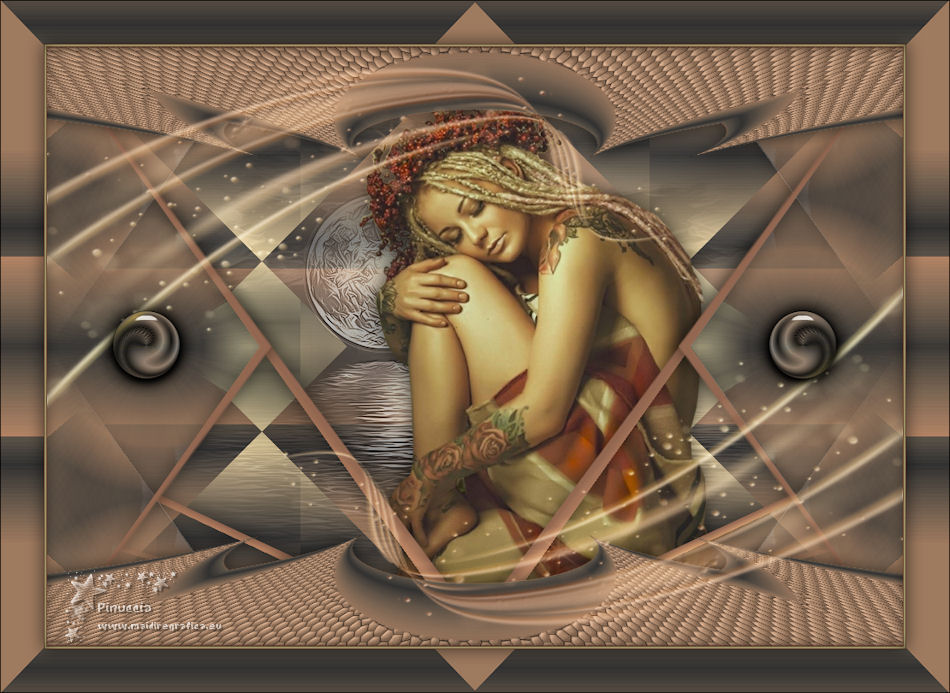
 Your versions here Your versions here

If you have problems or doubts, or you find a not worked link, or only for tell me that you enjoyed this tutorial, write to me.
18 Août 2021
|
 MEDITATION