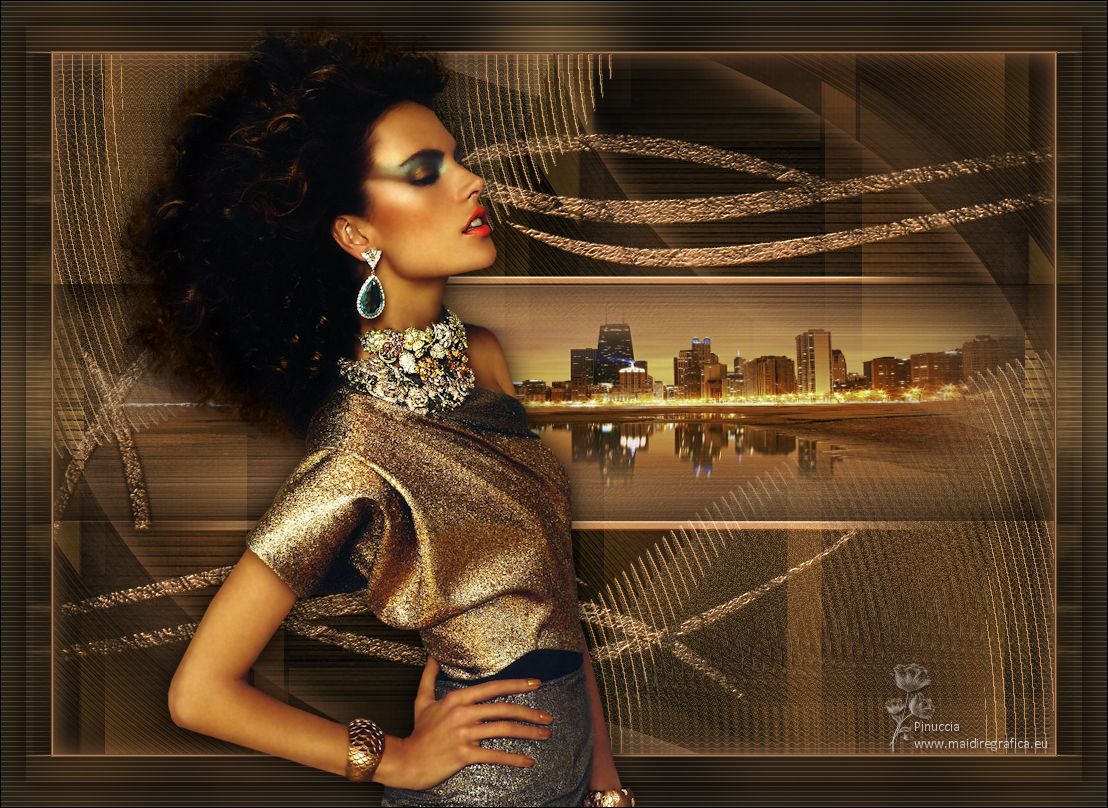
|
MARCINHA


Thanks Maria José for your invitation to translate your tutorial

This tutorial has been translated with PSPX2 and PSPX3, but it can also be made using other versions of PSP.
Since version PSP X4, Image>Mirror was replaced with Image>Flip Horizontal,
and Image>Flip with Image>Flip Vertical, there are some variables.
In versions X5 and X6, the functions have been improved by making available the Objects menu.
In the latest version X7 command Image>Mirror and Image>Flip returned, but with new differences.
See my schedule here
 French translation here French translation here
 your versions ici your versions ici
For this tutorial, you will need:
Material here
For the tubes thanks DBK Katrina.
The rest of the material is by Maria José.
(you find here the links to the material authors' sites)
Plugins
consult, if necessary, my filter section here
Filters Unlimited 2.0 here
&<Bkg Designer sf10III> - SW Graph Paper (à importer dans Unlimited) here
Graphics Plus - Quick Tile II here
Toadies - Weaver here
Andrew's Filter 1 - Blur Up here
Mura's Seamless - Emboss at Alpha here
Mehdi - Sorting Tiles, Curves here
Carolaine and Sensibility - CS-Texture here
Simple - Top Left Mirror here
Filters Graphics Plus, Toadies, Andrew's, Simple and Mura's Seamless can be used alone or imported into Filters Unlimited.
(How do, you see here)
If a plugin supplied appears with this icon  it must necessarily be imported into Unlimited it must necessarily be imported into Unlimited

You can change Blend Modes according to your colors.
In the newest versions of PSP, you don't find the foreground/background gradient (Corel_06_029).
You can use the gradients of the older versions.
The Gradient of CorelX here
Copy the Selections in the Selections Folder.
Open the mask in PSP and minimize it with the rest of the material.
1. Set your foreground color to #be8154,
and your background color to #2c2c22.

Set your foreground color to a Foreground/Background Gradient, style Linear.

Open a new transparent image 1000 x 700 pixels.
Flood Fill  the transparent image with your gradient. the transparent image with your gradient.
2. Effects>Plugins>Filters Unlimited 2.0 - &<Bkg Designer sf10III> - SW Graph Paper.

3. Effects>Distortion Effects>Wind - from left, strenght 80.

4. Effects>Reflection Effects>Kaleidoscope.

5. Effects>Plugins>Toadies - Weaver, default settings.

6. Effects>Plugins>Filters Unlimited 2.0 - Andrew's Filters 1 - Blur Up..., default settings.

7. Effects>Image Effects>Seamless Tiling.

8. Effects>Plugins>Graphics Plus - Quick Tile II

9. Optional: Effects>Plugins>Mehdi - Curves.

10. Layers>Duplicate.
Effects>Geometric Effects>Skew.

11. Effects>Distortion Effects>Pinch.

12. Activate the layer Raster 1.
Selections>Load/Save Selection>Load Selection from Disk.
Look for and load the selection marcinha_mj.

Selections>Promote Selection to Layer.
Layers>Arrange>Bring to Top.
13. Effects>Plugins>Carolaine and Sensibility - Cs-texture.

14. Effects>Distortion Effects>Ripple.

15. Effects>3D Effects>Drop Shadow, light color.

Selections>Select None.
16. Image>Mirror.
Layers>Duplicate.
Image>Flip.
Image>Mirror.
Layers>Merge>Merge Down.
Change the Blend mode of this layer to Screen.

17. Activate the layer below, Copy of Raster 1.
Effects>Image Effects>Seamless Tiling.

18. Effects>3D Effects>Drop Shadow, light color.

19. Layers>New Raster Layer.
Set your foreground color to Color.
Flood Fill  the layer with your light foreground color. the layer with your light foreground color.
Layers>Arrange>Bring to Top.
20. Layers>New Mask layer>From image
Open the menu under the source window and you'll see all the files open.
Select the mask 101a_mask_MJ

Layers>Merge>Merge Group.
21. Effects>Plugins>Mura's Seamless - Emboss at alpha, default settings.

Change the Blend Mode of this layer to Screen.

22. Selections>Load/Save Selection>Load Selection from Disk.
Look for and load the selection marcinha_1_mj.

23. Layers>New Raster Layer.
Open the misted and go to Edit>Copy.
Go back to your work and go to Edit>Paste into Selection.
24. Layers>New Raster Layer.
Effects>3D Effects>Cutout.

Layers>Merge>Merge Down.
Selections>Select None.
The layer - adapt Blend Modes and opacities to your liking.

25. Image>Add borders, 1 pixel, symmetric, dark color.
Image>Add borders, 1 pixel, symmetric, light color.
Image>Add borders, 1 pixel, symmetric, dark color.
26. Selections>Select All.
Edit>Copy.
Image>Add borders, 50 pixels, symmetric, color white #ffffff.
27. Selections>Invert.
Edit>Paste into Selection.
28. Adjust>Blur>Gaussian Blur - radius 25.

29. Effects>Plugins>Carolaine and Sensibility - CS-Texture, same settings.

30. Effects>Distortion Effects>Wind - from left, strenght 80

31. Effects>Reflection Effects>Rotating Mirror, default settings.

32.- Effects>Plugins>Simple - Top Left Mirror.

Effects>3D Effects>Drop Shadow, light color.

33. Selections>Select All.
Selections>Modify>Contract - 25 pixels.
34. Effects>3D Effects 3D>Drop Shadow, color black.

Selections>Select None.
35. Open the woman tube and go to Edit>Copy.
Go back to your work and go to Edit>Paste as new layer.
Image>Resize, to 72%, resize all layers not checked.
Move  the tube to the left side. the tube to the left side.
Effects>3D Effects>Drop Shadow, at your choice.
36. Sign your work.
Image>Add borders, 1 pixel, symmetric, color black.
37. Image>Resize, 1000 pixels width, resize all layers checked.
Save as jpg.
For the tubes of this version thanks Jeanne

 Your versions here Your versions here

If you have problems or doubts, or you find a not worked link,
or only for tell me that you enjoyed this tutorial, write to me.
22 Juin 2022

|

