|
LOTIS

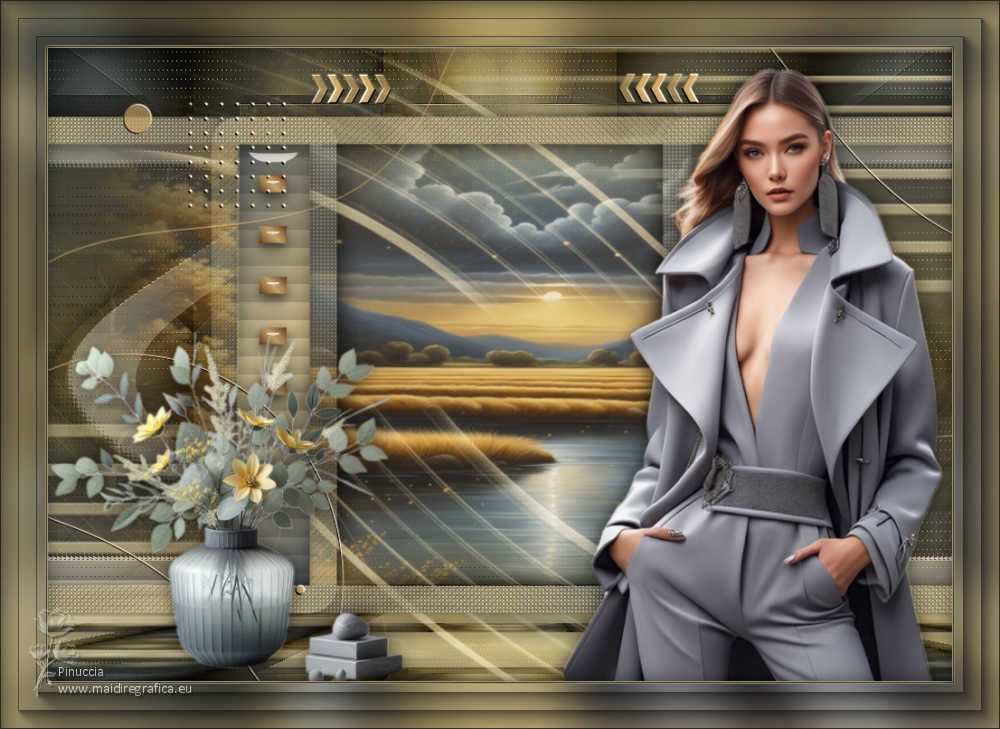
Thanks Maria José for your invitation to translate your tutorial

This tutorial has been translated with PSPX9 and PSP2019, but it can also be made using other versions of PSP.
Since version PSP X4, Image>Mirror was replaced with Image>Flip Horizontal,
and Image>Flip with Image>Flip Vertical, there are some variables.
In versions X5 and X6, the functions have been improved by making available the Objects menu.
In the latest version X7 command Image>Mirror and Image>Flip returned, but with new differences.
See my schedule here
 French translation here French translation here
 your versions here your versions here
For this tutorial, you will need:

Material by Maria José
(you find here the links to the material authors' sites)

consult, if necessary, my filter section here
Filters Unlimited 2.0 here
Mura's Meister - Perspective Tiling here
Simple - Top Left Mirror here
Filter Factory Gallery B - Button Deluxe here
LOtis Filters - Mosaic Toolkit Plus here
Mura's Seamless - Emboss at Alpha here
Alien Skin Eye Candy 5 Impact - Glass here
Toadies - What are you here
Funhouse - Tremors here
L&K's - L&K's Paris here
L&K's - L&K's Zitah here
AAA Frames - Foto Frame here
Filters Simple, Factory Gallery, Mura's Seamless, Toadies and Funhouse can be used alone or imported into Filters Unlimited.
(How do, you see here)
If a plugin supplied appears with this icon  it must necessarily be imported into Unlimited it must necessarily be imported into Unlimited

You can change Blend Modes according to your colors.
In the newest versions of PSP, you don't find the foreground/background gradient (Corel_06_029).
You can use the gradients of the older versions.
The Gradient of CorelX here
Copy the preset  in the folder of the plugin Alien Skin Eye Candy 5 Impact>Settings>Glass. in the folder of the plugin Alien Skin Eye Candy 5 Impact>Settings>Glass.
One or two clic on the file (it depends by your settings), automatically the preset will be copied in the right folder.
why one or two clic see here

Open the mask in PSP and minimize it with the rest of the material.
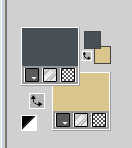
Set your foreground color to the dark color #475058
and your background color to the light color #dac58d.
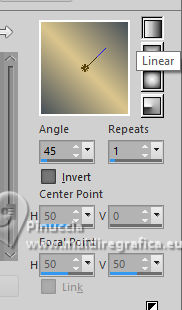
Set your foreground color to a Foreground/Background Gradient, style Linear.
1. Open alphachannellotis
Window>Duplicate or, on the keyboard, shift+D to make a copy.

2. Close the original.
The copy, that will be the basis of your work, is not empty,
but contains the selections saved to alpha channel.
Flood Fill  the transparent image with your light background color. the transparent image with your light background color.
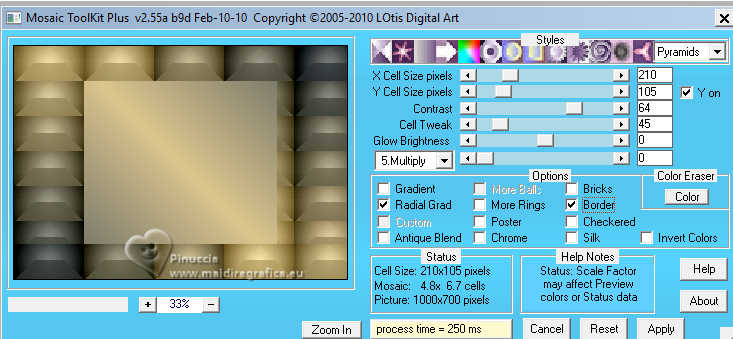
3. Effects>Plugins>LOtis Filters - Mosaic Tookit Plus
NOTE: In this Plugin we use Blend Mode 5.Multiply, but you can choose another one and keep the other settings.
4. Effects>Reflection Effects>Rotating Mirror, default settings.

5. Effects>Plugins>Simple - Top Left Mirror.
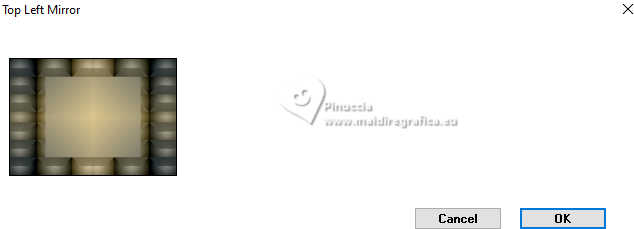
Layers>Duplicate.
6. Effects>Plugins>Filters Unlimited 2.0 - Filter Factory Gallery B - Button Deluxe, default settings.
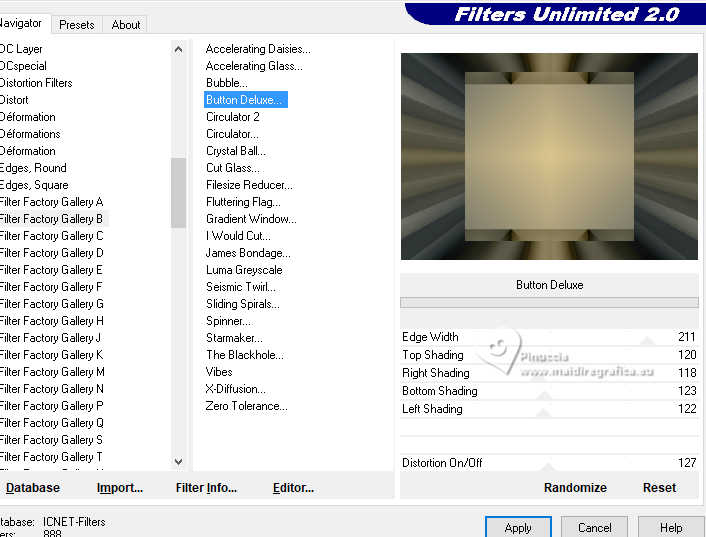
7. Effects>Edge Effcets>Enhance.
Change the Blend Mode to Overlay and reduce the opacity +/-60%.
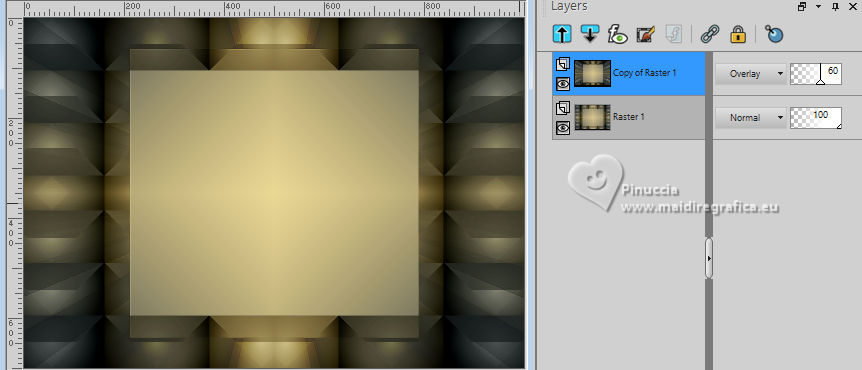
Layers>Merge>Merge Down.
8. Selections>Load/Save Selection>Load Selection from Alpha Channel.
The selection Selection #1 is immediately available. You just have to click Load.
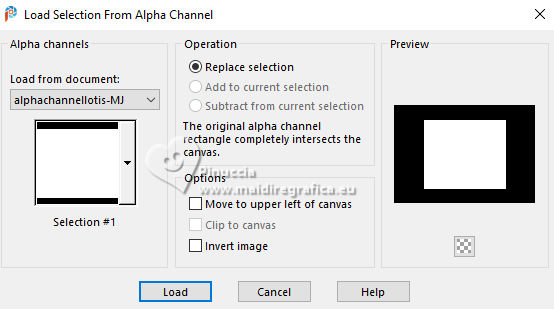
9. Selections>Modify>Select Selection Borders
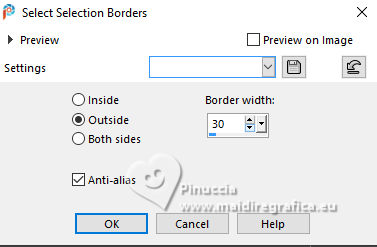
10. Layers>New Raster Layer.
Flood Fill  the layer with your Gradient. the layer with your Gradient.
11. Effects>Texture Effects>Weave
weave color: foreround color
gap color: background color.
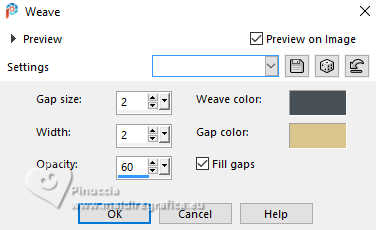
Effects>3D Effects>Drop Shadow, color black.

Selections>Select None.
12. Effects>Image Effects>Seamless Tiling.

13. Effects>Reflection Effects>Rotating Mirror.

14. Selections>Load/Save Selection>Load Selection from Alpha Channel.
Open the selections menu and load the selection Selection #2
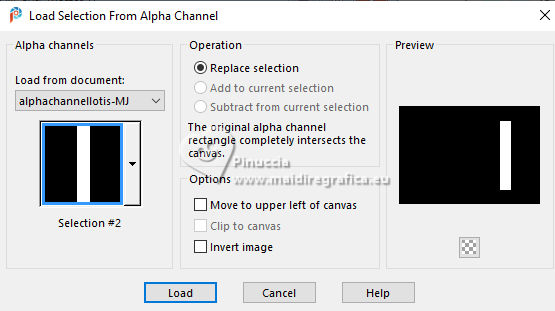
15. Layers>New Raster Layer.
Flood Fill  the layer with your Gradient. the layer with your Gradient.
16. Effects>Texture Effects>Blinds - color black.
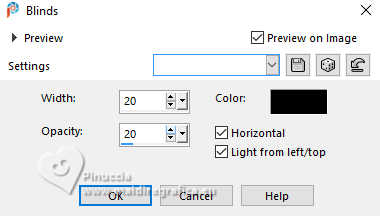
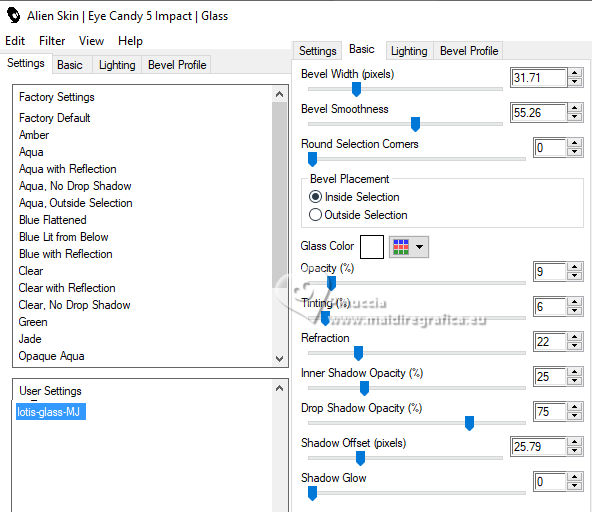
17. Effects>Plugins>Alien Skin Eye Candy 5 Impact - Glass.
Select the preset lotis-glass-MJ
Selections>Select None.
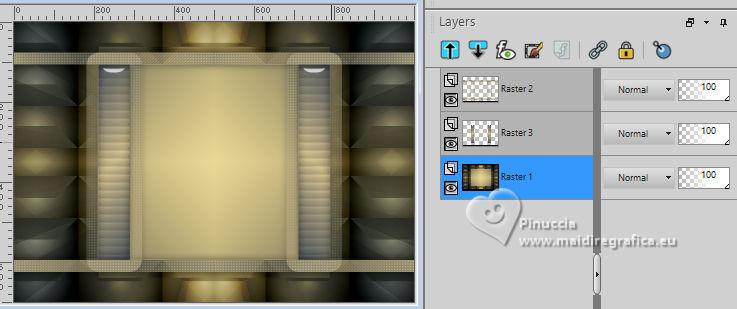
18. Layers>Duplicate.
Image>Mirror>Mirror horizontal.
Layers>Merge>Merge Down.
Layers>Arrange>Move Down.
Activate the layer Raster 1.
 . .
19. Selections>Load/Save Selection>Load Selection from Alpha Channel.
Open the selections menu and load the selection Selection #3
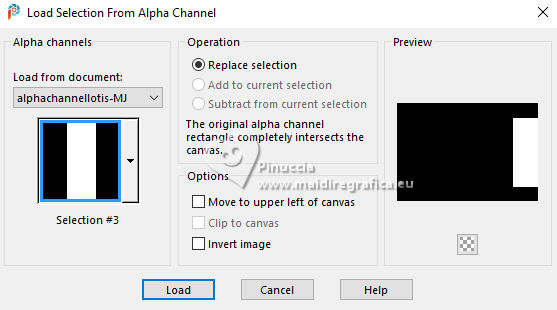
Selections>Promote Selection to Layer.
Selections>Select None.
20. Effects>Plugins>Toadies - What are you, default settings.
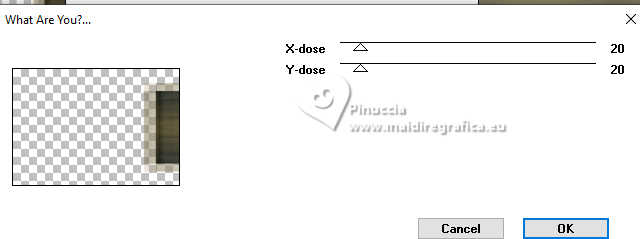
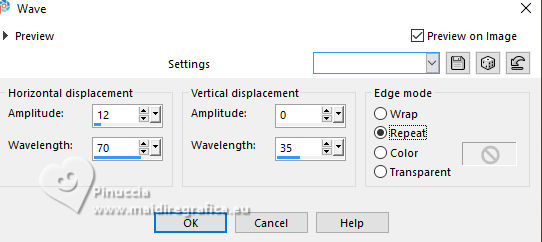
21. Effects>Distortion Effects>Wave
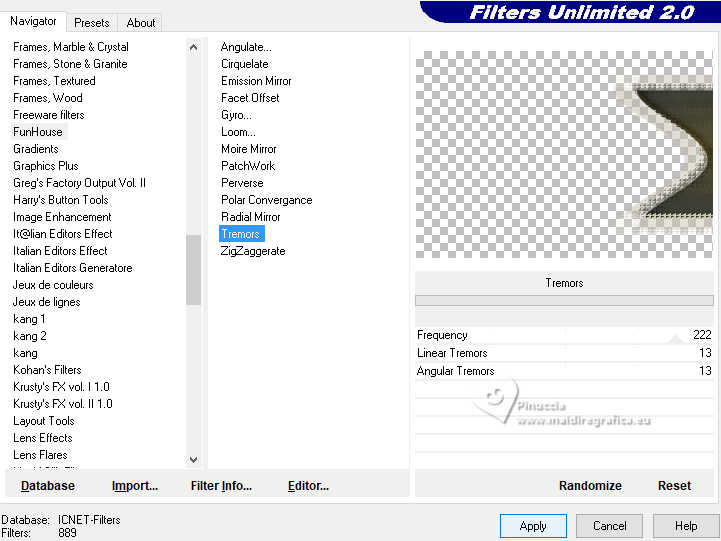
22. Effects>Plugins>Filters Unlimited 2.0 - Funhouse - Tremors, default settings.
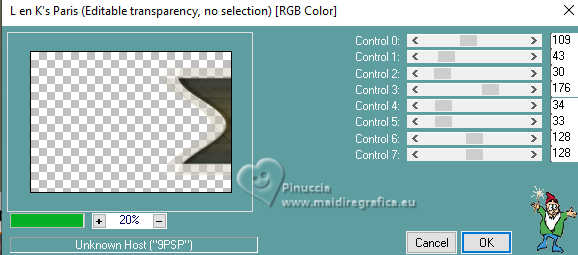
23. Effects>Plugins>L&K's - L&K's Paris, default settings.
24. Layers>Duplicate.
Image>Mirror>Mirror horizontal.
Layers>Merge>Merge Down.
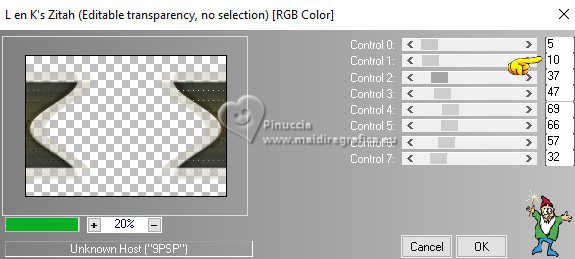
25. Effects>Plugins>L&K's - L&K's Zitah.
26. Activate the layer Raster 1.
Effects>Plugins>L&K's - L&K's Zitah, same settings.
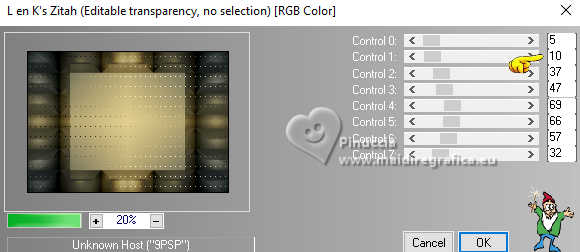
27. Adjust>Sharpness>Sharpen More.
Layers>Duplicate.
28. Effects>Plugins>Mura's Meister - Perspective Tiling, default settings.
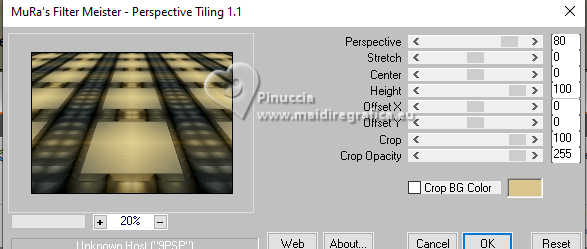
29. K key to activate your Pick Tool 
mode Scale 
pull the top central node down, as below
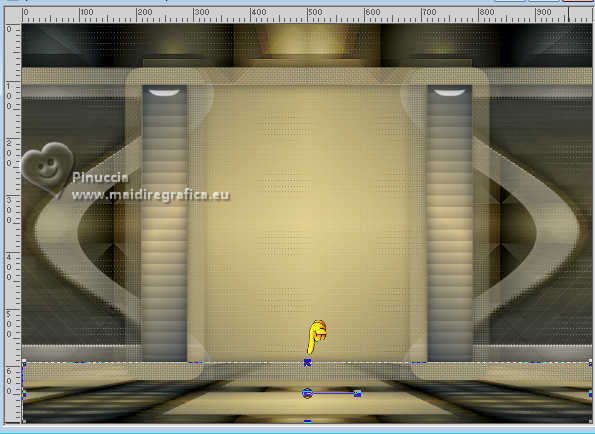
M key to deselect the Tool.
Layers>New Raster Layer.
Selections>Select All.
30. Open the tube misted-lotis-MJ 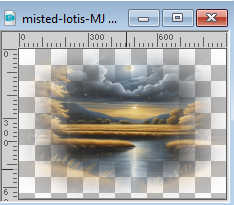
Edit>Copy.
Go back to your work and go to Edit>Paste into Selection.
Selections>Select None.
31. Selections>Load/Save Selection>Load Selection from Alpha Channel.
Open the selections menu and load the selection Selection #4
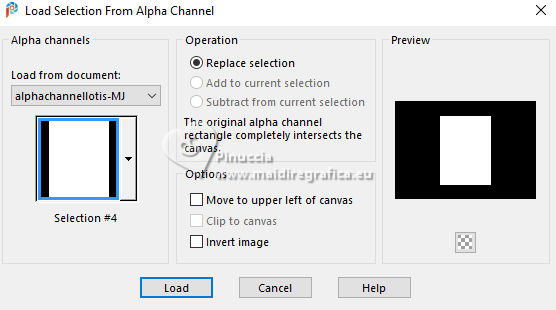
Layers>New Raster Layer.
32. Effects>3D Effects>Cutout.
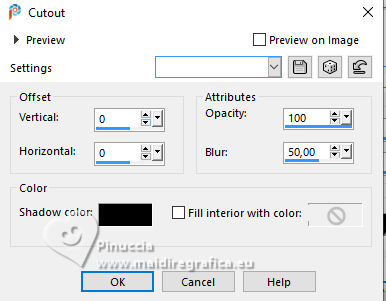
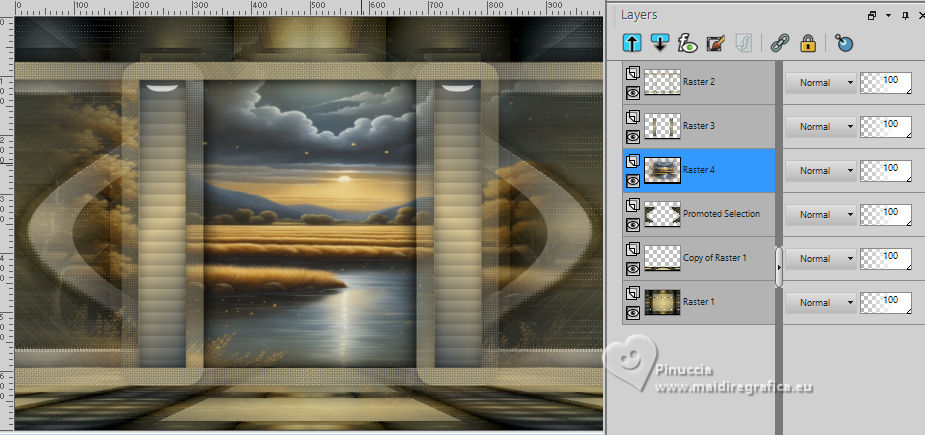
Layers>Merge>Merge Down.
Selections>Select None.
Layers>Arrange>Move up.
33. Open deco-2-MJ 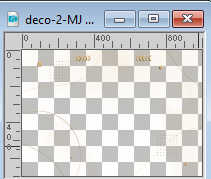
Edit>Copy.
Go back to your work and go to Edit>Paste as new layer.
Layers>Arrange>Bring to top.
34. Open deco-1-MJ 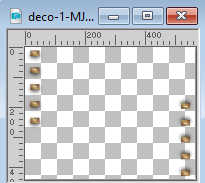
Edit>Copy.
Go back to your work and go to Edit>Paste as new layer.
LayersArrange>Move Down.
35. Layers>New Raster Layer.
Flood Fill  the layer with your light background color #dac58d. the layer with your light background color #dac58d.
36. Layers>New Mask layer>From image
Open the menu under the source window and you'll see all the files open.
Select the mask mask-tuto-2-MJ.
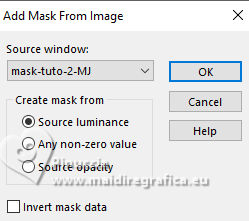
Layers>Merge>Merge Group.
37. Effects>Plugins>Mura's Seamless - Emboss at Alpha, default settings.
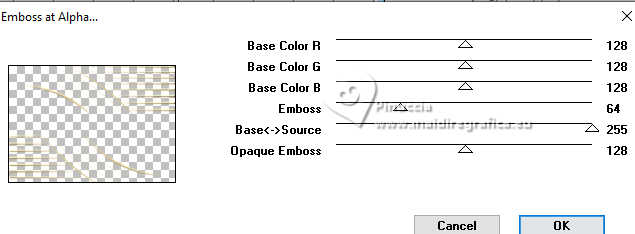
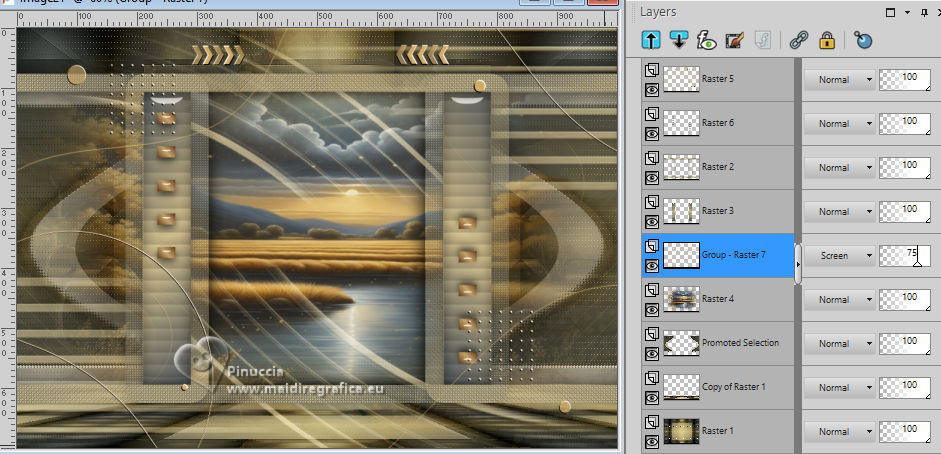
Change the Blend Mode of this layer to Screen and reduce the opacity +/-75%
Layers>Arrange>Move Down - 3 times.
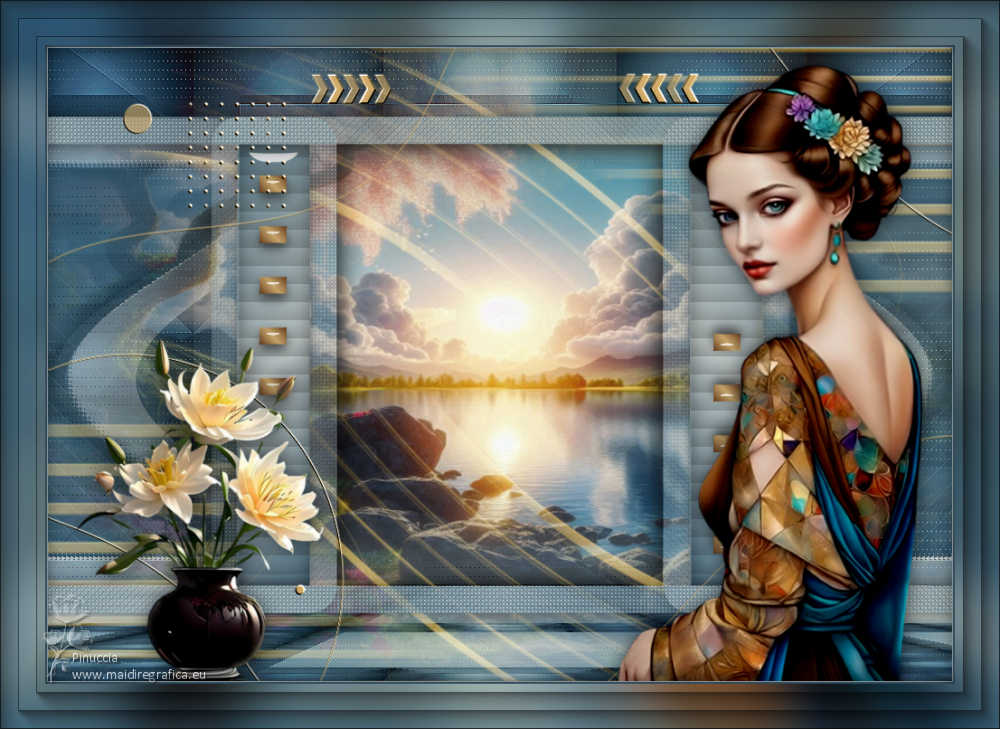
Your tag and the layers - adapt Blend Mode and opacity to your liking.
38. Open the woman's tube image-AI-tube-1-MJ 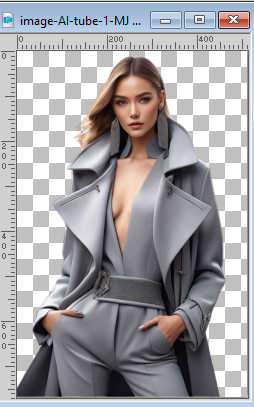
Edit>Copy.
Go back to your work and go to Edit>Paste as new layer.
Image>Resize, to 90%, resize all layers not checked.
Layers>Arrange>Bring to top.
Move  the tube to the right side. the tube to the right side.
Effects>3D Effects>Drop Shadow, at your choice.
39. Open your deco tube vasodeco-MJ 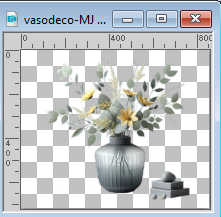
Edit>Copy.
Go back to your work and go to Edit>Paste as new layer.
Image>Resize, to 60%, resize all layers not checked.
Move  the tube at the bottom left. the tube at the bottom left.
Effects>3D Effects>Drop Shadow, at your choice.
40. Image>Add borders, 1 pixel, symmetric, light color #dac58d.
Image>Add borders, 1 pixel, symmetric, dark color #475058.
Image>Add borders, 1 pixel, symmetric, light color #dac58d.
41. Selections>Select All.
Edit>Copy
Image>Add borders, 50 pixels, symmetric, color white #ffffff.
42. Selections>Invert.
Edit>Paste into Selection - image of step 41.
43. Adjust>Blur>Gaussian Blur - radius 25.

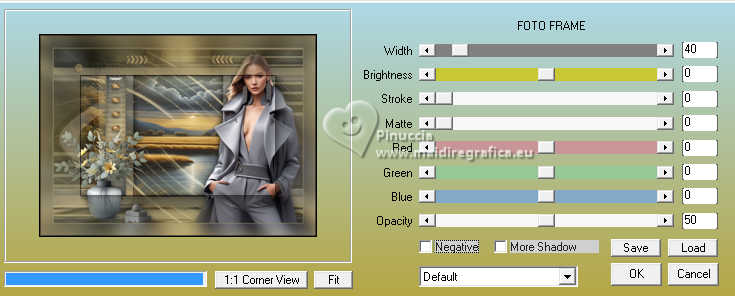
44. Effects>Plugins>AAA Frames - Foto Frame.
45. Repeat Effects>Plugins>AAA Frames - Foto Frame, width 20.
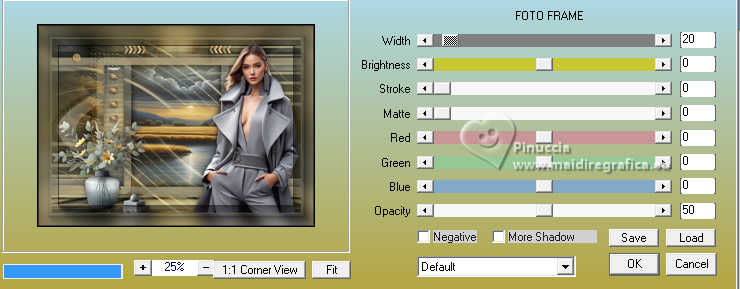
Effects>3D Effects>Drop Shadow, color black.

Selections>Select None.
46. Sign your work.
Layers>Merge>Merge All.
47. Image>Resize, 1000 pixels width, resize all layers checked.
Save as jpg.
For the tubes of this versions thanks Luz Cristina, Laurette and Aprishareables.

If you have problems or doubts, or you find a not worked link,
or only for tell me that you enjoyed this tutorial, write to me.
2 August 2024

|

