|
LILLY

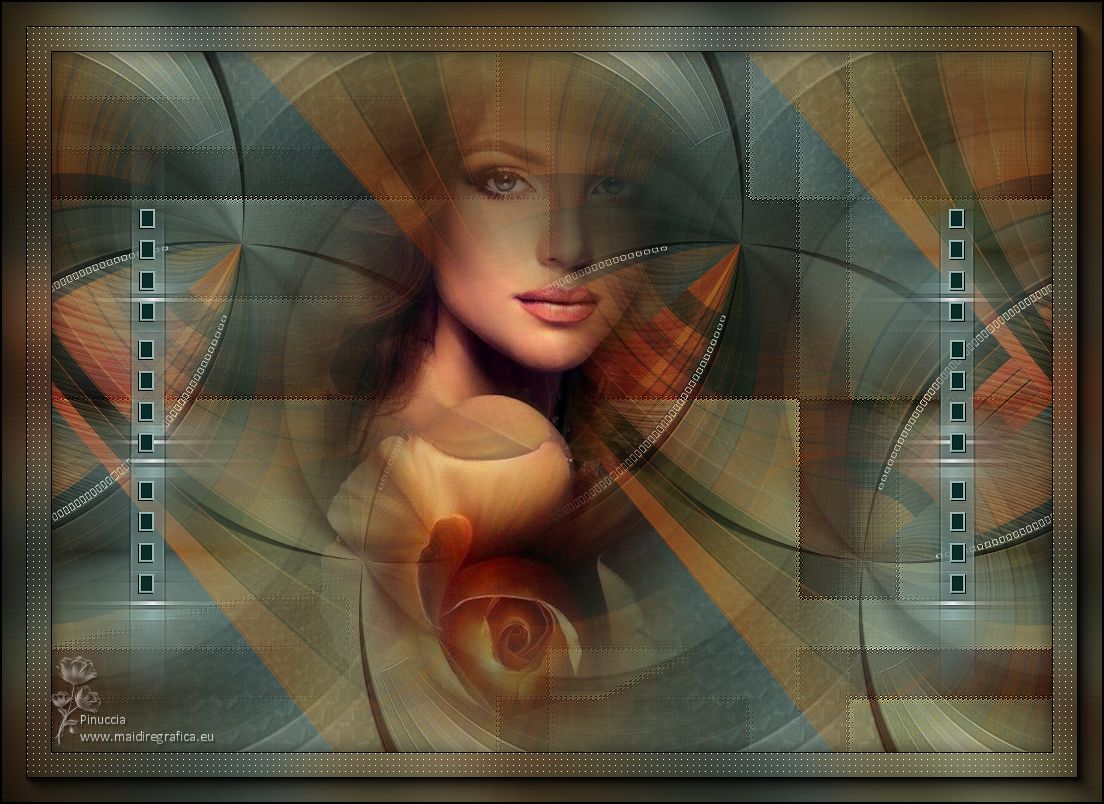
Thanks Maria José for your invitation to translate your tutorial

This tutorial has been translated with PSPX2 and PSPX3, but it can also be made using other versions of PSP.
Since version PSP X4, Image>Mirror was replaced with Image>Flip Horizontal,
and Image>Flip with Image>Flip Vertical, there are some variables.
In versions X5 and X6, the functions have been improved by making available the Objects menu.
In the latest version X7 command Image>Mirror and Image>Flip returned, but with new differences.
See my schedule here
 French translation here French translation here
 your versions ici your versions ici
For this tutorial, you will need:
Material here
The material is by Maria José.
(you find here the links to the material authors' sites)
Plugins
consult, if necessary, my filter section here
Filters Unlimited 2.0 here
Funhouse - Tremors here
Mehdi - Sorting Tiles here
Mura's Seamless - Emboss at Alpha, Duplicate here
Toadies - Weaver here
Flaming Pear - Flexify 2 here
Carolaine and Sensibility - CS-LDots here
AAA Frames - Foto Frame here
Filters Simple and VM Toolbox can be used alone or imported into Filters Unlimited.
(How do, you see here)
If a plugin supplied appears with this icon  it must necessarily be imported into Unlimited it must necessarily be imported into Unlimited

You can change Blend Modes according to your colors.
In the newest versions of PSP, you don't find the foreground/background gradient (Corel_06_029).
You can use the gradients of the older versions.
The Gradient of CorelX here
Copy the preset for Flexify in a Folder at your choice.
Copy the Selection in the Selections Folder.
Open the mask in PSP and minimize it with the rest of the material.
1. Set your foreground color to #2f413e,
and your background color to #9cb8b3.
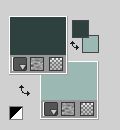
Set your foreground color to a Foreground/Background gradient, style Radial.
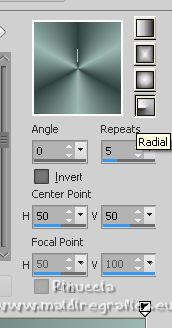
Set your foreground color to Color.
Open a new transparent image 1000 x 700 pixels.
Flood Fill  the transparent image with your dark foreground color. the transparent image with your dark foreground color.
2. Layers>New Mask layer>From image
Open the menu under the source window and you'll see all the files open.
Select the mask lillymask_MJ.
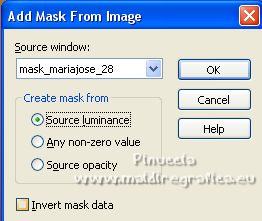
Layers>Merge>Merge Group.
3. Effects>Plugins>Mura's Seamless - Emboss at Alpha, default settings.
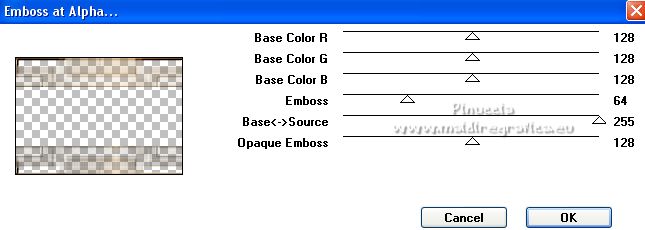
Change the Blend Mode of this layer to Multiply or at your choice.
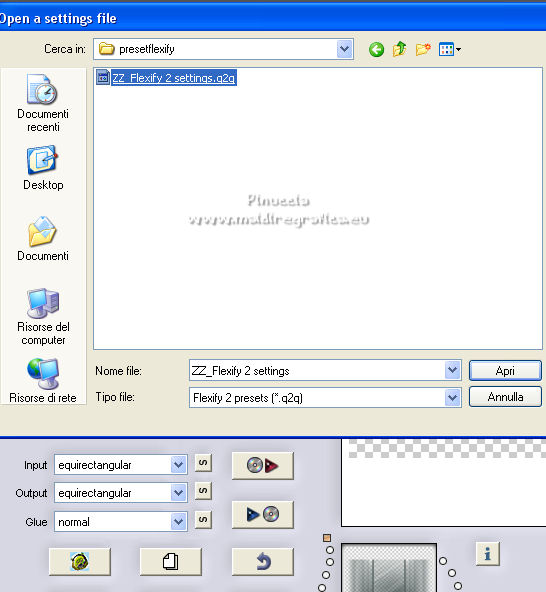
4. Effects>Plugins>Flaming Pear - Flexify 2
click on the red button and look for, in the folder you copied it, the preset ZZ_Flexify 2 settings.q2q
Here below the settings.
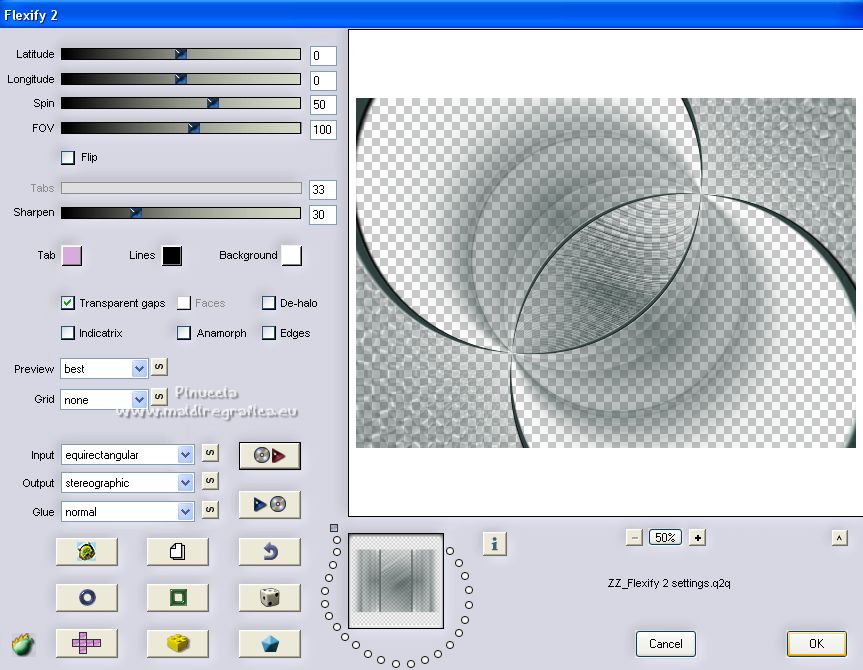
5. Effects>Image Effects>Seamless Tiling.

6. Set your foreground color to Gradient.
Layers>New Raster Layer.
Flood Fill  the layer with your Gradient. the layer with your Gradient.
Layers>Arrange>Send to Bottom.
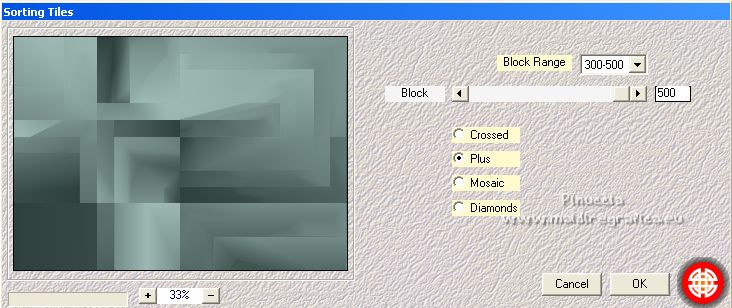
7. Effects>Plugins>Mehdi - Sorting Tiles.
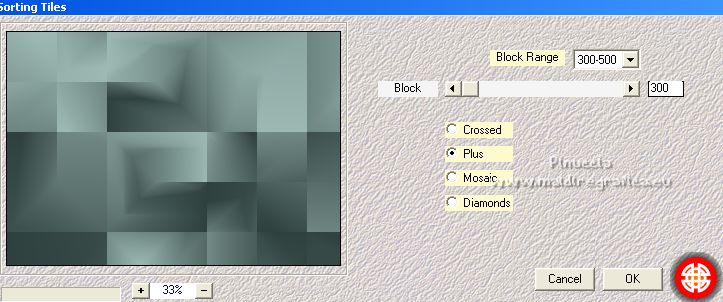
8. Repeat Effects>Plugins>Mehdi - Sorting Tiles - Block Range 500.
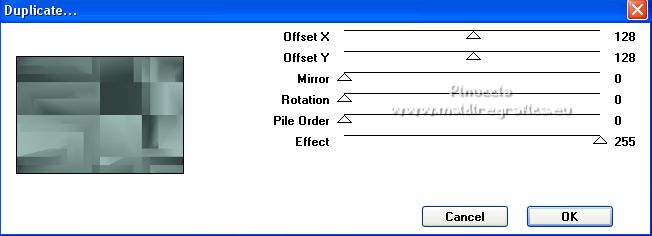
9. Effects>Plugins>Mura's Seamless - Duplicate, default settings.
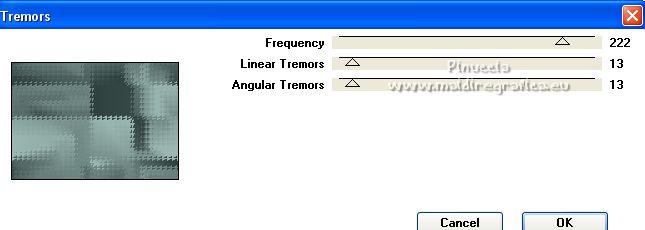
10. Effects>Plugins>Funhouse - Tremors, default settings.
11. Effects>Edge Effects>Enhance.
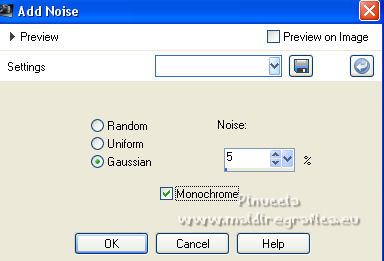
12. Adjust>Add/Remove Noise>Add Noise.
13. Activate your top layer.
Open the tube deco_lillyball and go to Edit>Copy.
Go back to your work and go to Edit>Paste as new layer.
Change the Blend Mode of this layer to Luminance (legacy).
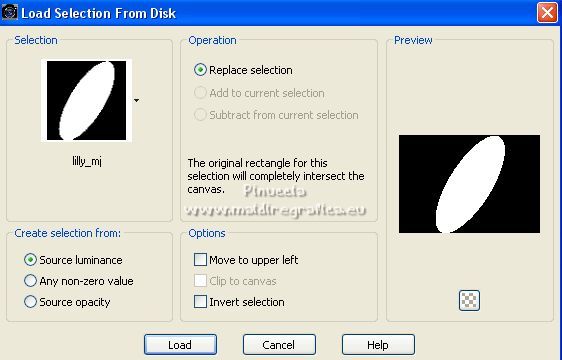
14. Selections>Load/Save Selection>Load Selection from Disk.
Look for and load the selection lilly_mj.
15. Layers>New Raster Layer.
Open the misted of the face and go to Edit>Copy.
Go back to your work and go to Edit>Paste into Selection.
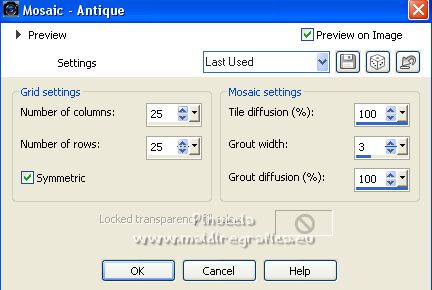
16. Effects>Texture Effects>Mosaic Antique.
17. Effects>3D Effects>Drop Shadow, color #000000.

Selections>Select None tout.
Layers>Arrange>Move Down.
18. Layers>Duplicate.
Image>Mirror.
Layers>Merge>Merge Down.
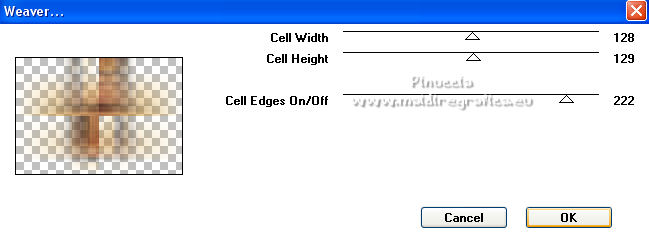
19. Effects>Plugins>Toadies - Weaver.
20. Effects>Plugins>Flaming Pear - Flexify 2, same settings.
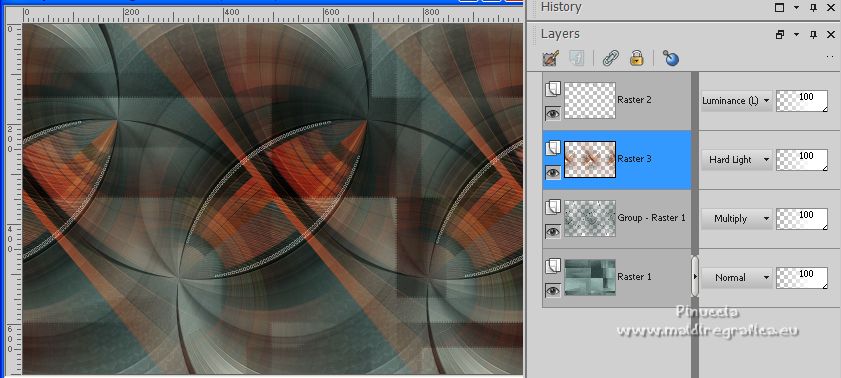
21. Effects>Image Effects>Seamless Tiling.

Change the Blend Mode of this layer to Hard Light, or other.
22. Activate your top layer.
Open the tube deco1_lillyball and go to Edit>Copy.
Go back to your work and go to Edit>Paste as new layer.
It's at its place: Position X: 0,00 and Position Y: 50,00.

23. Open the tube decofinal_mj and go to Edit>Copy.
Go back to your work and go to Edit>Paste as new layer.
24. Open the face tube and go to Edit>Copy.
Go back to your work and go to Edit>Paste as new layer.
Image>Resize, to 80%, resize all layers not checked.
Place  correctly the tube. correctly the tube.
Effects>3D Effects>Drop Shadow, at your choice.
Your tag and the layers - adapt Blend Mode and opacity according to your colors.
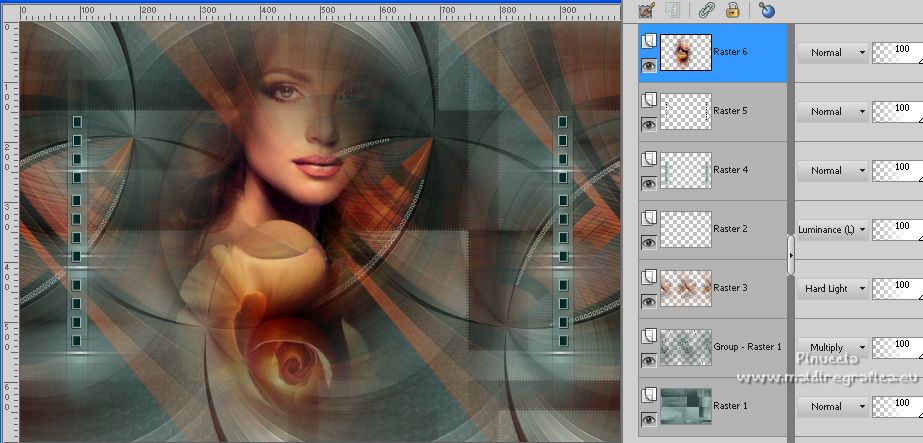
25. Image>Add borders, 1 pixel, symmetric, color black.
26. Selections>Select All.
Edit>Copy.
27. Image>Add borders, 50 pixels, symmetric, color white.
28. Selections>Invert.
Edit>Paste into Selection.
29. Adjust>Blur>Gaussian Blur - radius 30.

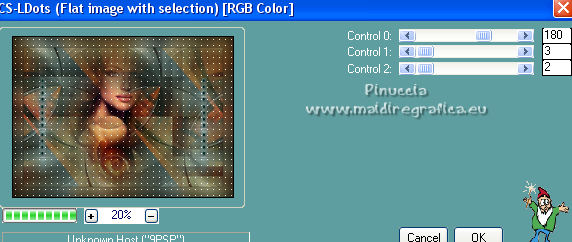
30. Effects>Plugins>Carolaine and Sensibility - CS-LDots
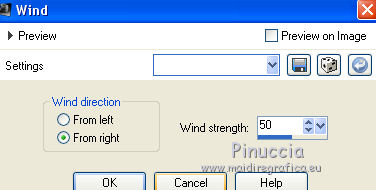
31. Effects>Distortion Effects>Wind - from right, strength 50.
Effects>3D Effects>Drop Shadow, color black.

Selections>Select None.
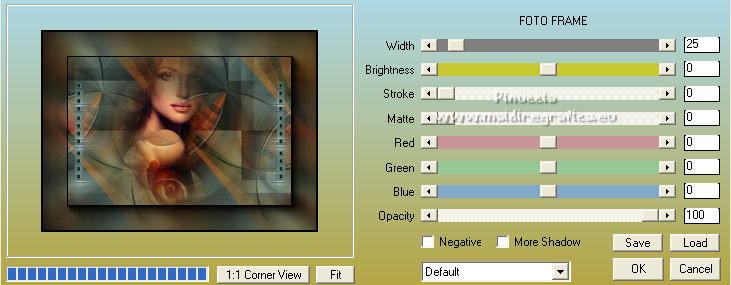
32. Effects>Plugins>AAA Frames - Foto Frame.
33. Sign your work.
Image>Add borders, 1 pixel, symmetric, color black.
34. Image>Resize, 1000 pixels width, resize all layers checked.
Save as jpg.
For the tube of this version thanks Criss
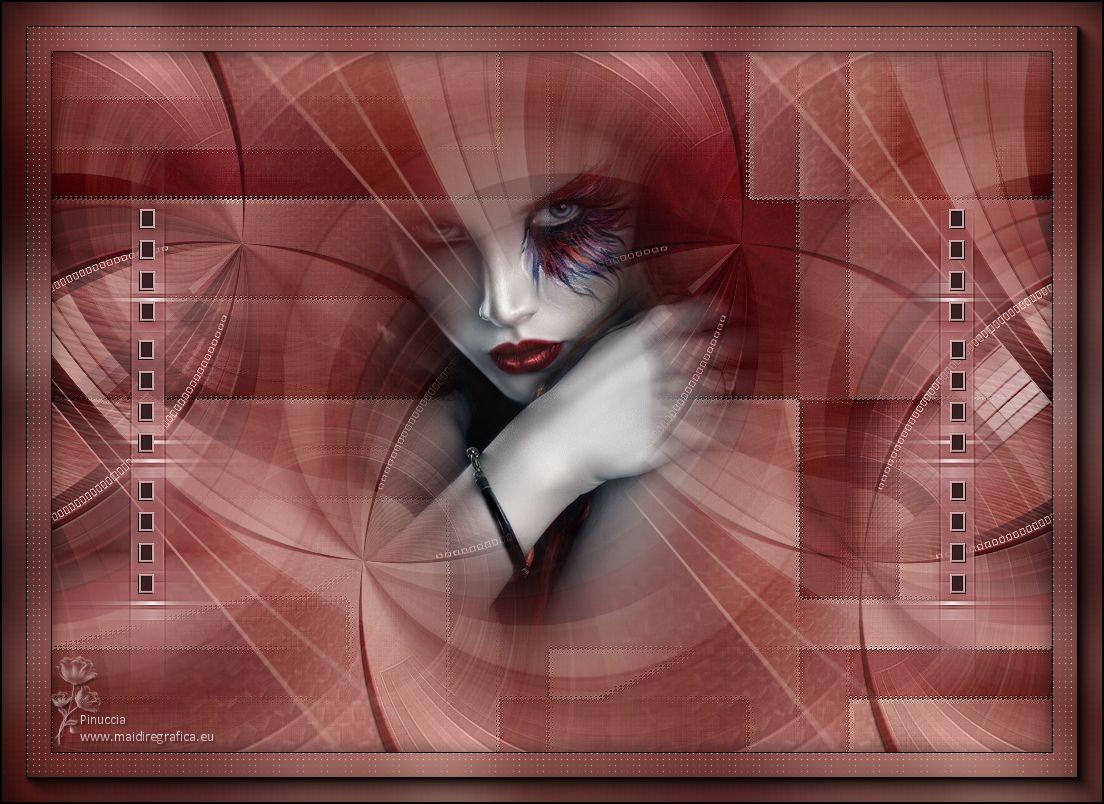
 Your versions here Your versions here

If you have problems or doubts, or you find a not worked link,
or only for tell me that you enjoyed this tutorial, write to me.
28 July 2022

|

