|
LEOCADIA


Thanks Maria José for your invitation to translate your tutorial

This tutorial has been translated with PSPX2 and PSPX3, but it can also be made using other versions of PSP.
Since version PSP X4, Image>Mirror was replaced with Image>Flip Horizontal,
and Image>Flip with Image>Flip Vertical, there are some variables.
In versions X5 and X6, the functions have been improved by making available the Objects menu.
In the latest version X7 command Image>Mirror and Image>Flip returned, but with new differences.
See my schedule here
 French translation here French translation here
 your versions ici your versions ici
For this tutorial, you will need:

For a mask thanks Ket.
Image d'arrière plan - Pinterest
(you find here the links to the material authors' sites)

consult, if necessary, my filter section here
Filters Unlimited 2.0 here
DSB Flux - Linea Transmission here
Mura's Seamless - Shift at Random, Emboss at Alpha here
Simple - Diamonds here
Simple - Left Right Wrap (bonus) here
Filters Mura's Seamless and Simple can be used alone or imported into Filters Unlimited.
(How do, you see here)
If a plugin supplied appears with this icon  it must necessarily be imported into Unlimited it must necessarily be imported into Unlimited

You can change Blend Modes according to your colors.

Copy the mask by Ket in the Masks Folder.
Open the masque in PSP and minimize it with the reste of the material.
1. Set your foreground color to #fdbd4d, the only color used in this tutorial.

Open a new transparent image 1000 x 700 pixels.
2. Selections>Select All.
Open the background image graficoD-MD 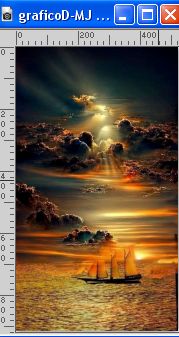
Edit>Copy.
Go back to your work and go to Edit>Paste into Selection.
Selections>Select None.
3. Effects>Image Effects>Seamless Tiling.

4. Adjust>Blur>Gaussian Blur - radius 20.

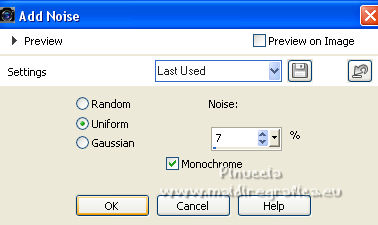
5. Adjust>Add/Remove Noise>Add Noise.
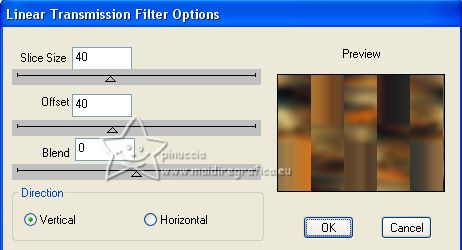
6. Effects>Plugins>DSB Flux - Linear Transmission.
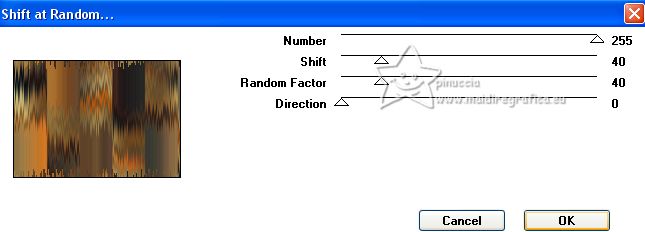
7. Effects>Plugins>Mura's Seamless - Shift at Random.
8. Effects>Plugins>Simple - Diamonds
This filter works without window; result
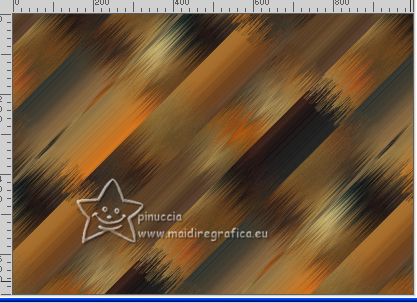
9. Layers>Duplicate.
Image>Flip.
Change the Blend Mode of this layer to Hard Light and reduce the opacity to 50%.
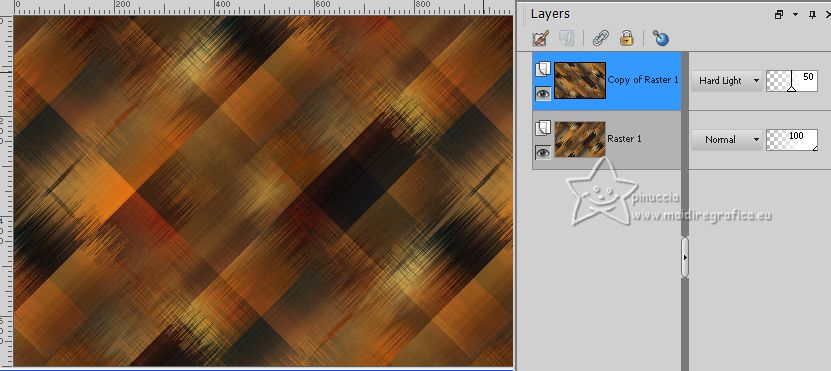
10. Layers>Merge>Merge visible.
Layers>Duplicate.
11. Effects>Reflection Effects>Kaleidoscope.
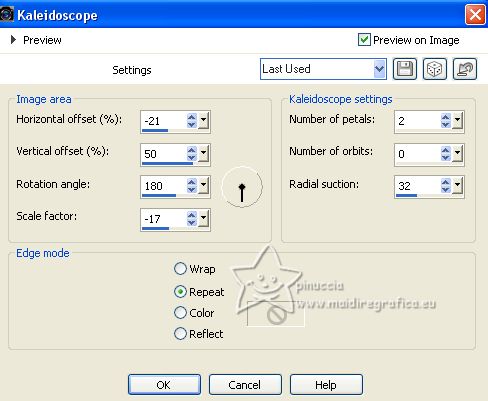
12. Effects>Plugins>Simple - Left Right Wrap
This filter works without window; result
13. Layers>Load/Save Mask>Load Mask from Disk.
Look for and load the mask -.ketmaskdoblefadelateral
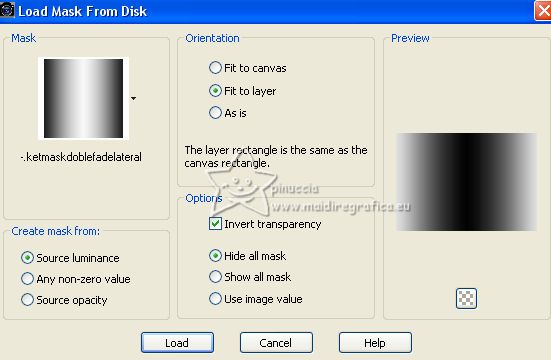
Layers>Merge>Merge Group.
14. Effects>Image Effects>Seamless Tiling.

15. Open the misted mistedD-MJ 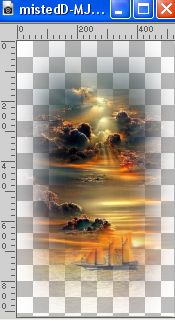
Edit>Copy.
Go back to your work and go to Edit>Paste as new layer.
Layers>Arrange>Move Down
(I didn't move this layer; see the palette at step 19)
16. Layers>New Raster Layer.
Reduce the opacity of your Flood Fill Tool to 80%.
Flood Fill  the layer with your foreground color #fdbd4d. the layer with your foreground color #fdbd4d.
17. Layers>New Mask layer>From image
Open the menu under the source window and you'll see all the files open.
Select the mask 257a-mask-MJ
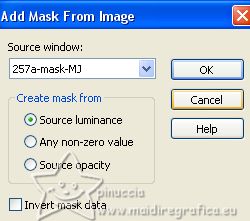
Layers>Merge>Merge Group.
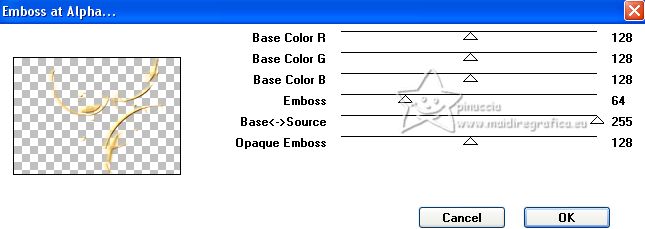
18. Effects>Plugins>Mura's Seamless - Emboss at Alpha, default settings.
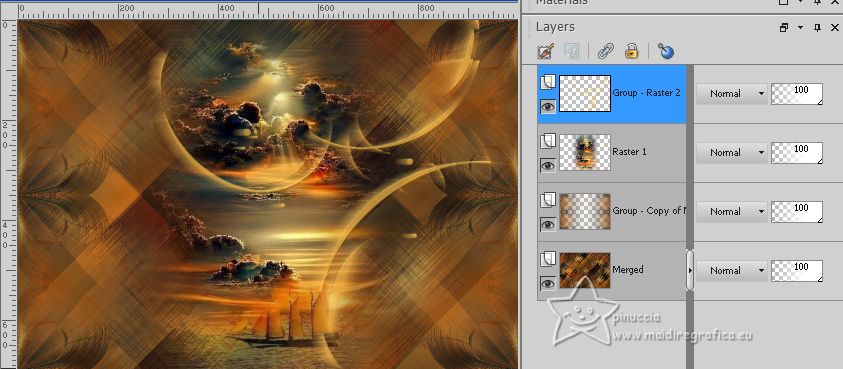
19. K key on the keyboard to activate your Pick Tool 
and set Position X: 255,00 and Position Y: 0,00.

M key to deselect the tool.
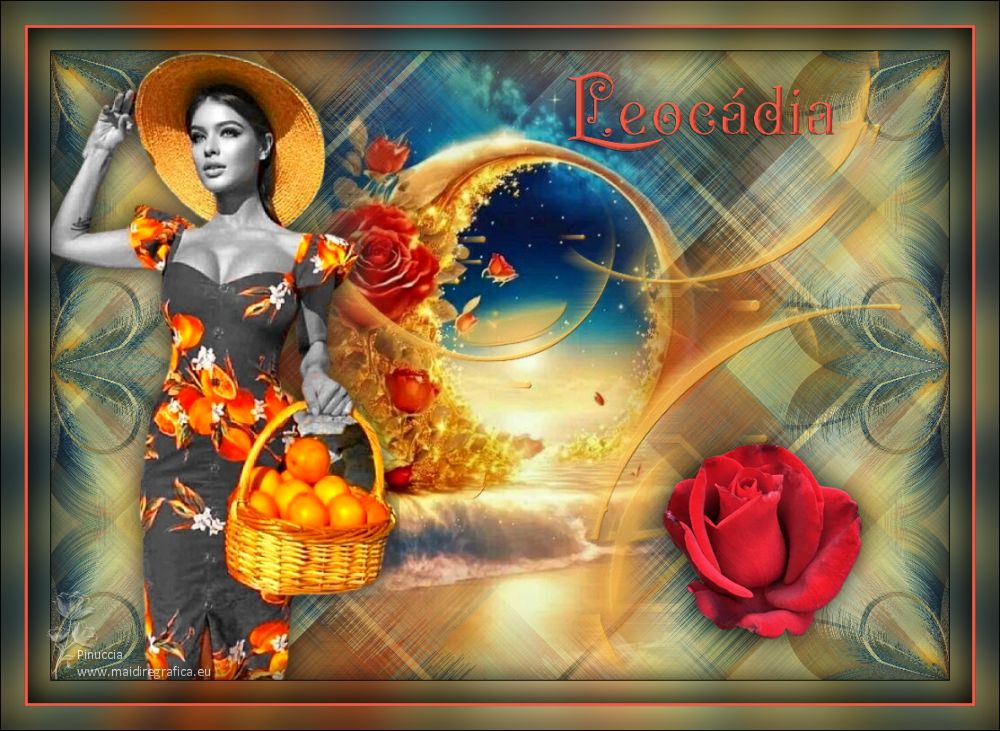
Your tag and the layers - adapt Blend Mode and opacity to your liking.
20. Open the woman tube mariajoseMJ-331 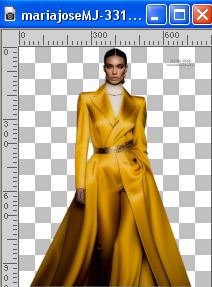
Edit>Copy.
Go back to your work and go to Edit>Paste as new layer.
Image>Resize, to 68%, resize all layers not checked.
Move  the tube to the left, or to your liking. the tube to the left, or to your liking.
Effects>3D Effects>Drop Shadow, at your choice.
21. Open the tube rosaelly-MJ 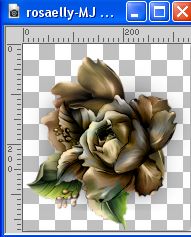
Edit>Copy.
Go back to your work and go to Edit>Paste as new layer.
Move  the tube at the bottom right, or to your liking. the tube at the bottom right, or to your liking.
Effects>3D Effects>Drop Shadow, at your choice.
22. Open the texte texto-leocadia 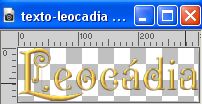
Edit>Copy.
Go back to your work and go to Edit>Paste as new layer.
Move  the texte at the upper right, or to your liking. the texte at the upper right, or to your liking.
Effects>3D Effects>Drop Shadow, at your choice.
23. Image>Add borders, 1 pixel, symmetric, color black.
24. Selections>Select All.
Edit>Copy
Image>Add borders, 25. pixels, symmetric, color white.
25. Selections>Invert.
Edit>Paste into Selection.
26. Adjust>Blur>Gaussian Blur - radius 20.

27. Effects>3D Effects>Drop Shadow, color black.

Keep selected.
Edit>Copy
28. Selections>Select All.
Image>Add borders, 30 pixels, symmetric, foreground color #fdbd4d.
29. Selections>Invert.
Edit>Paste into Selection.
Repeat Effects>3D Effects>Drop Shadow, same settings.
Selections>Select None.
30. Sign your work on a new layer.
Image>Add borders, 1 pixel, symmetric, color black.
31. Image>Resize, 1000 pixels width, resize all layers checked.
Save as jpg.
For the tubes of this version thanks Naise M and Silvie

If you have problems or doubts, or you find a not worked link,
or only for tell me that you enjoyed this tutorial, write to me.
30 March 2023

|


