|
LATASHA

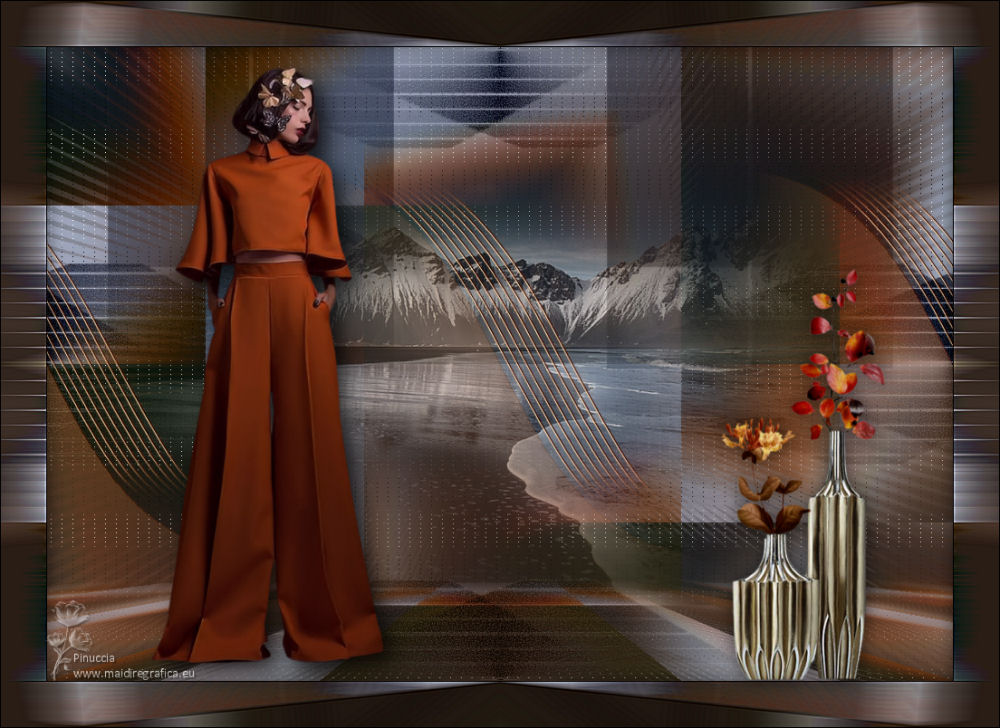
Thanks Maria José for your invitation to translate your tutorial

This tutorial has been translated with PSPX2 and PSPX3, but it can also be made using other versions of PSP.
Since version PSP X4, Image>Mirror was replaced with Image>Flip Horizontal,
and Image>Flip with Image>Flip Vertical, there are some variables.
In versions X5 and X6, the functions have been improved by making available the Objects menu.
In the latest version X7 command Image>Mirror and Image>Flip returned, but with new differences.
See my schedule here
 French translation here French translation here
 your versions ici your versions ici
For this tutorial, you will need:

Thanks for the tube Nena Silva.
The rest of the material is by Maria José.
(you find here the links to the material authors' sites)

consult, if necessary, my filter section here
Filters Unlimited 2.0 here
Mehdi - Wavy Lab 1.1 here
Mehdi - Sorting Tiles here
It@lian Editors Effect - Effetto Fantasma here
Carolaine and Sensibility - CS-Linear-H here
Simple - Top Left Mirror here
Mura's Meister - Perspective Tiling here
Mura's Seamless - Emboss at Alpha here
L&K's - L&K's Adonis here
Filters Italian Editors, Simple and Mura's Seamless can be used alone or imported into Filters Unlimited.
(How do, you see here)
If a plugin supplied appears with this icon  it must necessarily be imported into Unlimited it must necessarily be imported into Unlimited

You can change Blend Modes according to your colors.

Copy the Selections in the Selections Folder.
Open the mask in PSP and minimize it with the rest of the material.
Set your foreground color to #15181b
and your background color to #9aacc2.
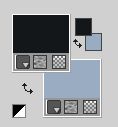
1. Open a new transparent image 1000 x 700 pixels.
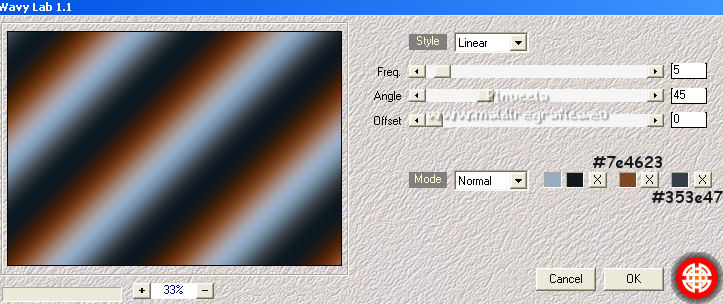
2. Effects>Plugins>Mehdi - Wavy Lab 1.1.
This filter creates gradients with the colors of your Materials palette.
The first is your background color, the second is your foreground color.
Change the last two colors created by the filtre:
the third color with #7e4623 and the forth color with #353e47.
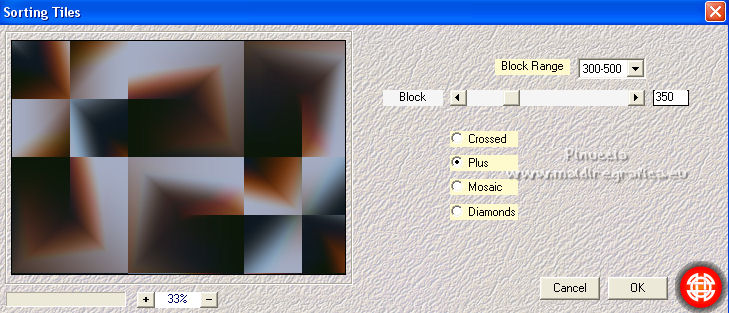
3. Effects>Plugins>Mehdi - Sorting Tiles.
Layers>Duplicate.
4. Effects>Distortion Effects>Spiky Halo.
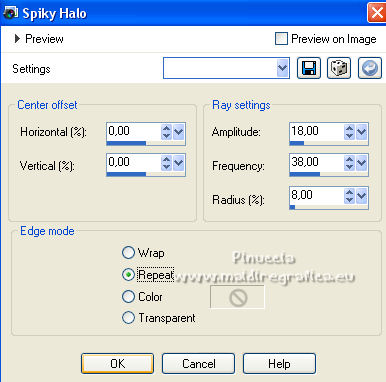
Reduce the opacity of this layer to 20%.
Layers>Merge>Merge Down.
5. Selections>Load/Save Selection>Load Selection from Disk.
Look for and load the selection MJ-latasha.
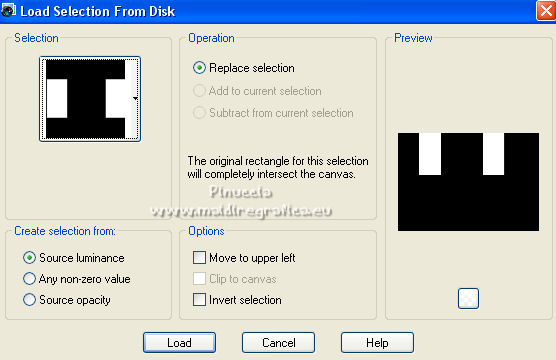
6. Layers>New Raster Layer.
Flood Fill  the selection with your dark color. the selection with your dark color.
Selections>Select None.
7. Effects>Plugins>It@lian Editors Effect - Effetto Fantasma, default settings.
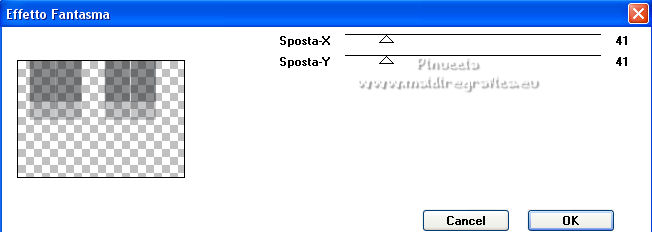
8. Effects>Plugins>Carolaine and Sensibility - CS-Linear-H
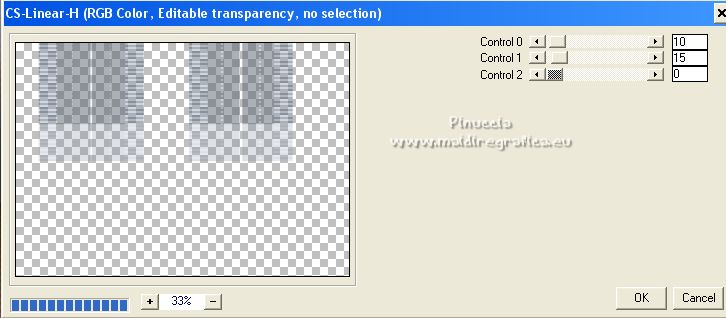
9. Effects>Reflection Effects>Rotating Mirror.

10. Adjust>Sharpness>Sharpen More.
Change the Blend Mode of this layer to Luminance (legacy).
11. Open decolatasha-mj 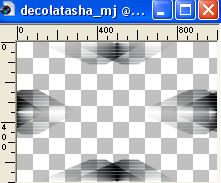
Edit>Copy.
Go back to your work and go to Edit>Paste as new layer.
Adjust>Sharpness>Sharpen More.
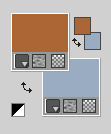
12. Set your foreground color to #ac6536.
Layers>New Raster Layer.
Flood Fill  the layer with your foreground color. the layer with your foreground color.
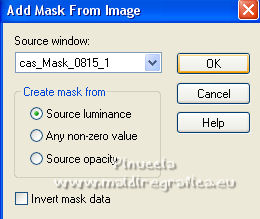
13. Calques>Nouveau calque de masque>A partir d'une image.
Ouvrir le menu deroulant sous la fenêtre d'origine et vous verrez la liste des images ouvertes.
Sélectionner le masque cas_Mask_0815_1.
Layers>Merge>Merge Group.
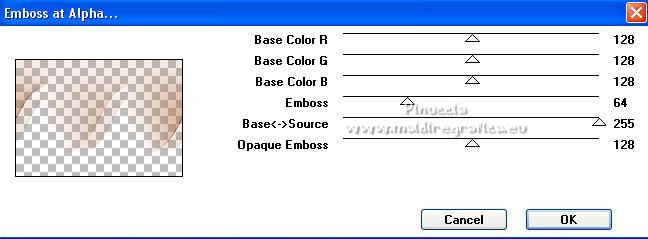
14. Effects>Plugins>Mura's Seamless - Emboss at Alpha, default settings.
Image>Flip.
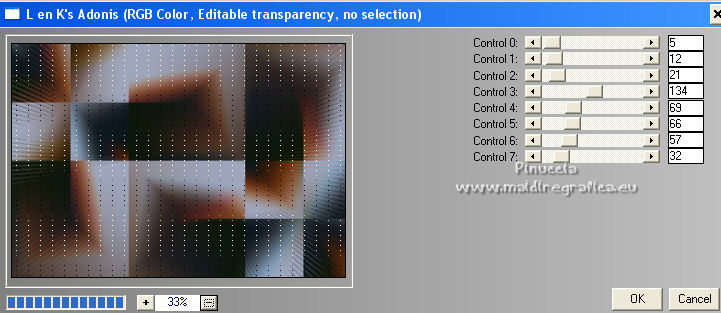
15. Activate the layer Raster 1.
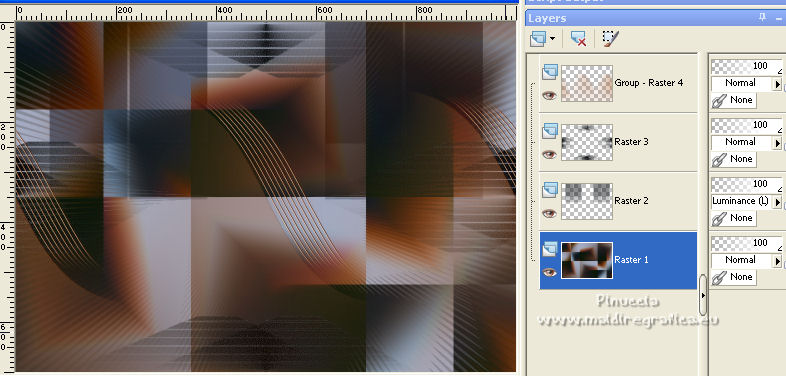
Effects>Plugins>L&K's - L&K's Adonis.
16. Edit>Copy Special>Copy Merged.
Edit>Paste as new layer.
17. Effects>Plugins>Mura's Meister - Perspective Tiling.
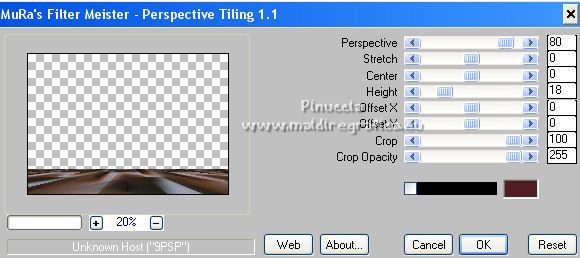
18. Effects>Reflection Effects>Rotating Mirror, default settings.

19. Selections>Load/Save Selection>Load Selection from Disk.
Look for and load the selection MJ-latasha-1
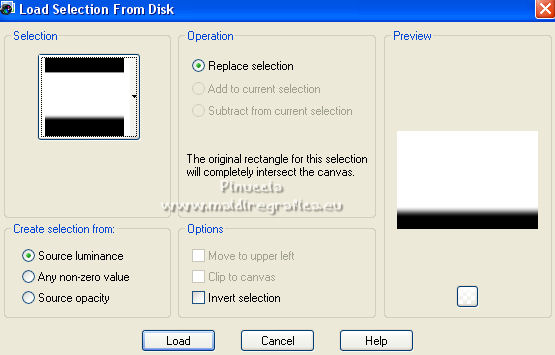
Press +/- 10 times CANC on the keyboard 
Selections>Select None.
20. Open the landscape misted 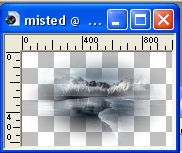
Edit>Copy.
Go back to your work and go to Edit>Paste as new layer.
Place  correctly the tube. correctly the tube.
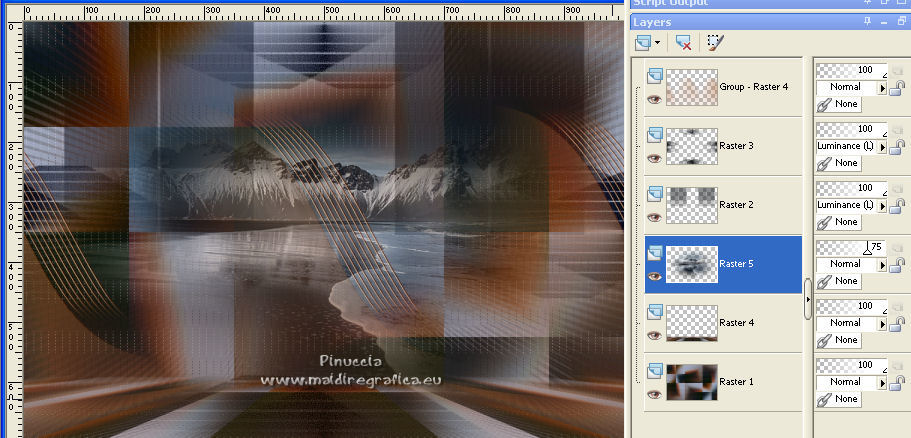
If necessary, reduce the opacity to 75%.
Your tag and the layers - Blend Modes and opacity according to your colors.
21. Image>Add borders, 1 pixel, symmetric, color black.
22. Selections>Select All.
Edit>Copy
Image>Add borders, 50 pixels, symmetric, color white.
23. Selections>Invert.
Edit>Paste into Selection.
24. Adjust>Blur>Gaussian Blur - radius 30.

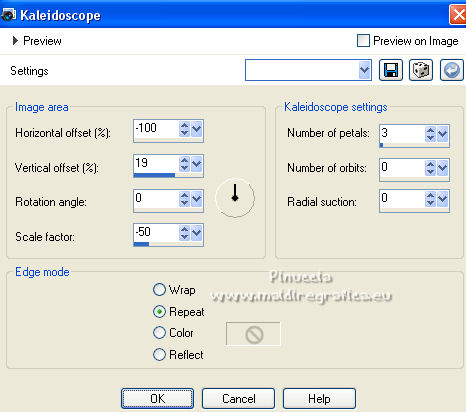
25. Effects>Reflection Effects>Kaleidoscope.
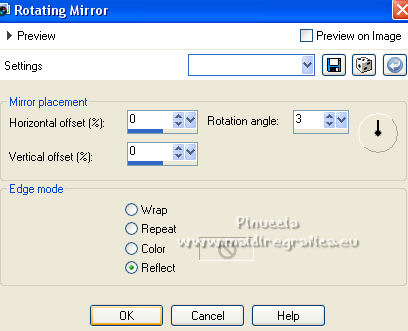
26. Effects>Reflection Effects>Rotating Mirror.
27. Effects>Distortion Effects>Wind - from right, strength 100.
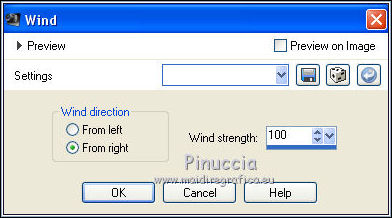
28. Effects>Plugins>Simple - Top Left Mirror.
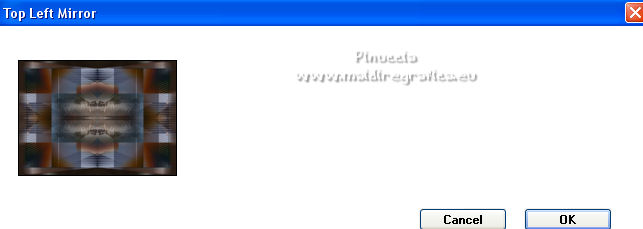
Adjust>Sharpness>Sharpen More.
Effects>3D Effects>Drop Shadow, color black.

Selections>Select None.
29. Open the woman tube ns-woman2635 
Erase the watermark and go to Edit>Copy.
Go back to your work and go to Edit>Paste as new layer.
Image>Resize, to 85%, resize all layers not checked.
Move  the tube to the left side. the tube to the left side.
Effects>3D Effects>Drop Shadow, at your choice.
30. Open the deco tube vasedourado-mj 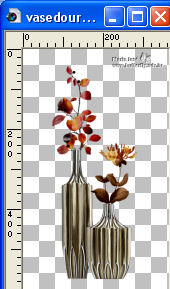
Erase the watermark and go to Edit>Copy.
Go back to your work and go to Edit>Paste as new layer.
Image>Resize, to 85%, resize all layers not checked.
Image>Mirror.
Move  the tube at the bottom right. the tube at the bottom right.
Effects>3D Effects>Drop Shadow, at your choice.
31. Sign your work on a new layer.
Image>Add borders, 1 pixel, symmetric, color black.
Image>Resize, 1000 pixels width, resize all layers checked.
Save as jpg.
For the tubes of this version thanks Criss and Talanat
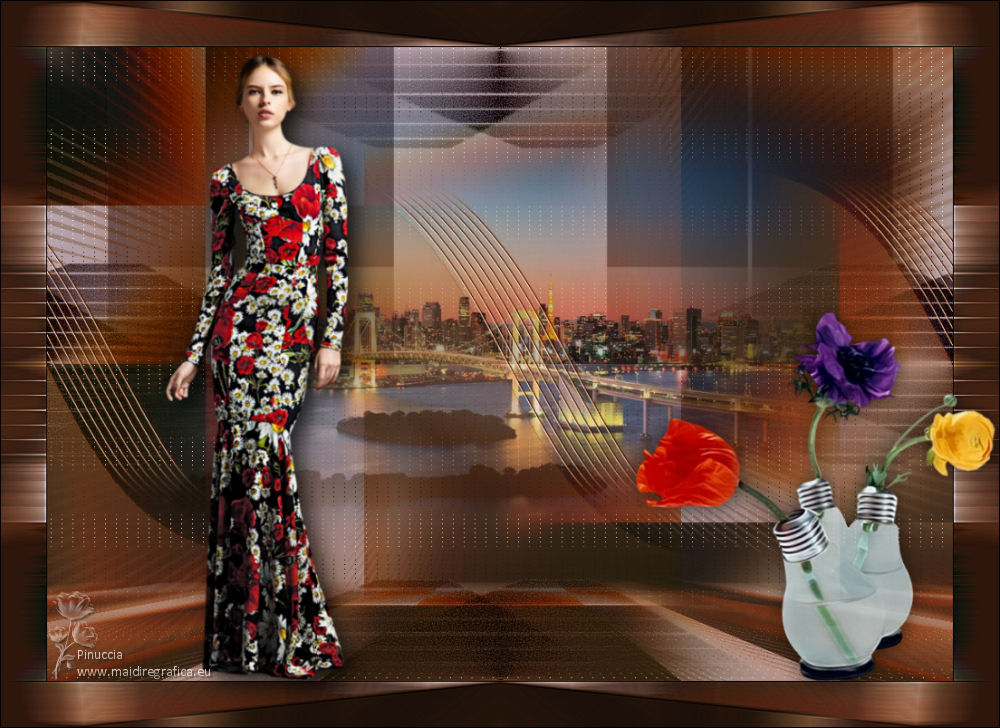
 Your versions here Your versions here

If you have problems or doubts, or you find a not worked link,
or only for tell me that you enjoyed this tutorial, write to me.
14 November 2022

|

