|
KIKI

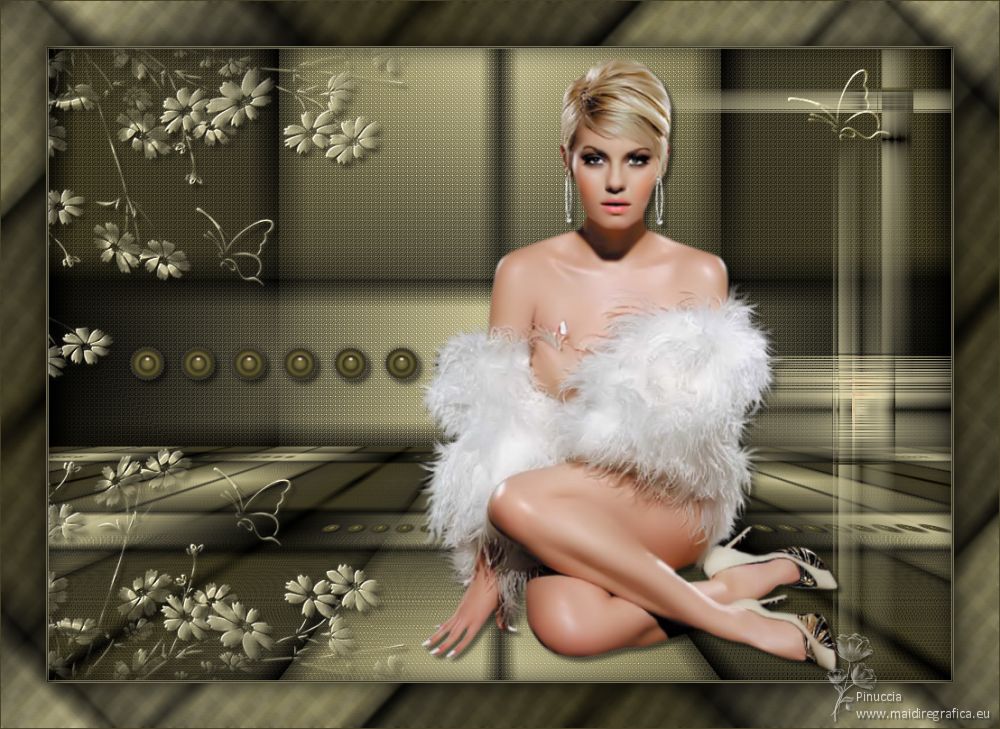
Thanks Maria José for your invitation to translate your tutorial

This tutorial has been translated with PSPX2 and PSPX3, but it can also be made using other versions of PSP.
Since version PSP X4, Image>Mirror was replaced with Image>Flip Horizontal,
and Image>Flip with Image>Flip Vertical, there are some variables.
In versions X5 and X6, the functions have been improved by making available the Objects menu.
In the latest version X7 command Image>Mirror and Image>Flip returned, but with new differences.
See my schedule here
 French translation here French translation here
 your versions ici your versions ici
For this tutorial, you will need:
Material here
Tube Cabschau.
The rest of the material is by Maria José.
(you find here the links to the material authors' sites)
Plugins
consult, if necessary, my filter section here
Filters Unlimited 2.0 here
Neology - Digital Weaver here
Filter Factory Gallery V - Incantations here
VM Natural - Cross Weave here
Mura's Meister - Perspective Tiling here
Mura's Seamless - Emboss at Alpha here
Simple - Top Left Mirror, Diamonds here
Filters Neology, Factory Gallery, VM Natural, Simple and Mura's Seamless can be used alone or imported into Filters Unlimited.
(How do, you see here)
If a plugin supplied appears with this icon  it must necessarily be imported into Unlimited it must necessarily be imported into Unlimited

You can change Blend Modes according to your colors.
In the newest versions of PSP, you don't find the foreground/background gradient (Corel_06_029).
You can use the gradients of the older versions.
The Gradient of CorelX here
Open the mask in PSP and minimize it with the rest of the material.
1. Set your foreground color to #464126,
and your background color to #c9c29b.
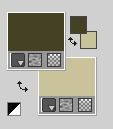
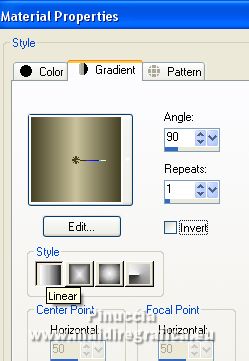
Set your foreground color to a Foreground/Background Gradient, style Linear.
Open a new transparent image 1000 x 700 pixels.
Flood Fill  the transparent image with your Gradient. the transparent image with your Gradient.
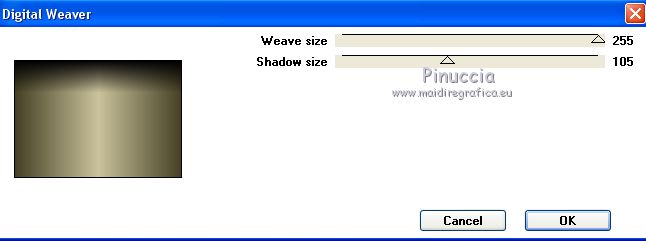
2. Effects>Plugins>Neology - Digital Weaver.
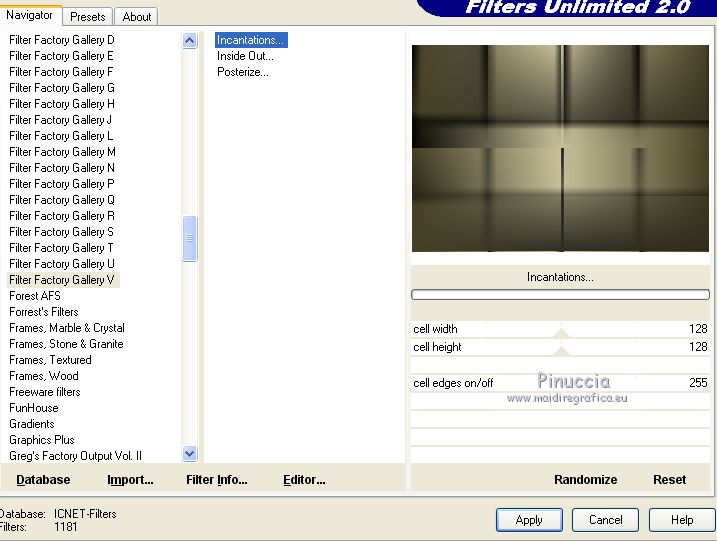
3. Effects>Plugins>Filter Factory Gallery V - Incantations.
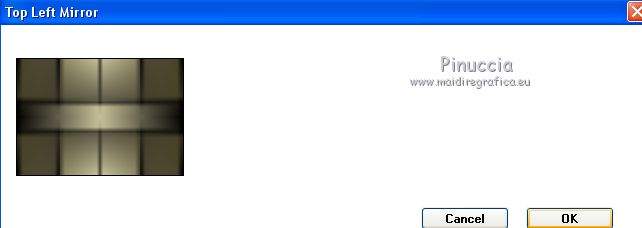
4. Effects>Plugins>Simple - Top Left Mirror.
5. Layers>Duplicate.
Effects>Plugins>VM Natural - Cross Weave.
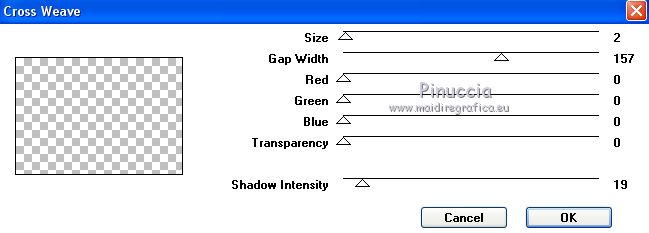
Change the Blend Mode of this layer to Overlay.
Layers>Merge>Merge Down.
6. Open the tube dekokikiverde_mj and go to Edit>Copy.
Go back to your work and go to Edit>Paste as new layer.
7. K key on the keyboard to activate your Pick Tool 
and set Position X: 84,00 and Position Y: 324,00.

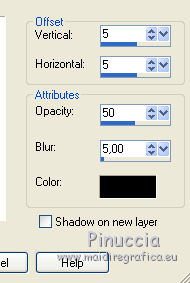
Effects>3D Effects>Drop Shadow, color black.
8. Edit>Copy Special>Copy Merged.
Edit>Paste as new layer.
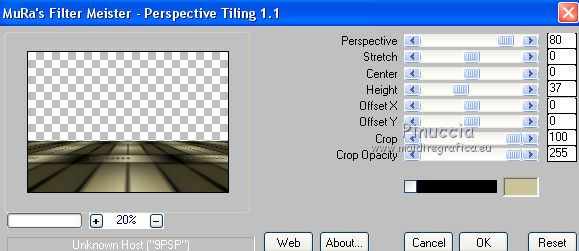
9. Effects>Plugins>Mura's Meister - Perspective Tiling.
10. Layers>New Raster Layer.
Flood Fill  the layer with your light background color. the layer with your light background color.
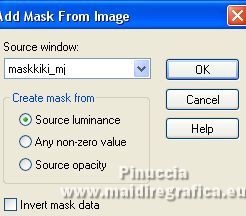
11. Layers>New Mask layer>From image
Open the menu under the source window and you'll see all the files open.
Select the mask maskkiki_mj.
Layers>Merge>Merge Group.
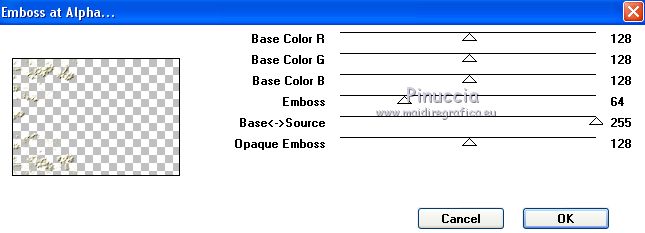
12. Effects>Plugins>Mura's Seamless - Emboss at alpha, default settings.
Effects>3D Effects>Drop Shadow, same settings.

13. Open the tube decoborda_mj and go to Edit>Copy.
Go back to your work and go to Edit>Paste as new layer.
14. Objects>Align>Right
If you are working with a previous version that doesn't the menu Objects available,
use your Move Tool 
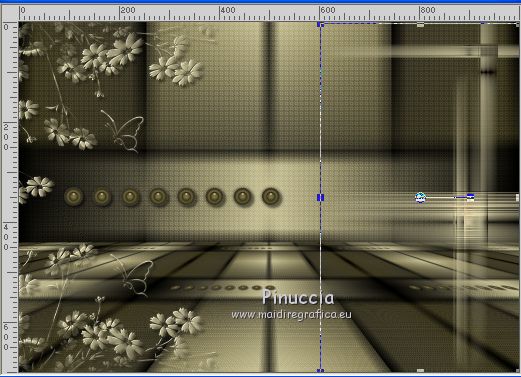
15. Open the tube butterdeco1 and go to Edit>Copy.
Go back to your work and go to Edit>Paste as new layer.
Change the Blend Mode of this layer to Screen.
16. K key to activate your Pick Tool 
and set Position X: 815,00 and Position Y: 18,00.

17. Activate the layer Raster 1.
Edit>Copy.
Edit>Paste as new image.
18. Stay on this image:
Effects>Plugins>Simple - Diamonds
Adjust>Blur>More Blur.
Minimize this image and go to back to your work
The tag and the layers - adapt Blend Modes and opacities to your liking.
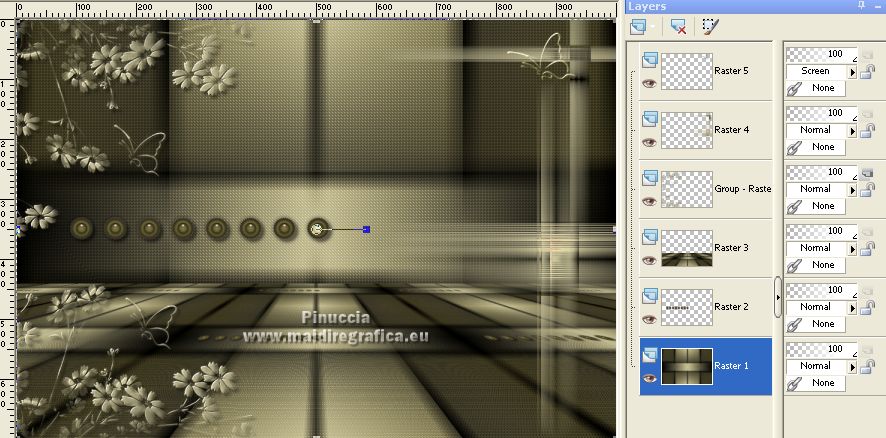
Layers>Merge>Merge visible.
19. Open the tube of the woman and go to Edit>Copy.
Go back to your work and go to Edit>Paste as new layer.
Image>Mirror.
Image>Resize, to 90%, resize all layers not checked.
Place  correctly the tube correctly the tube
Effects>3D Effects>Drop Shadow, to your liking.
20. Image>Add borders, 1 pixel, symmetric, light color.
Image>Add borders, 1 pixel, symmetric, dark color.
Image>Add borders, 1 pixel, symmetric, light color.
Selections>Select All.
Image>Add borders, 50 pixels, symmetric, color white.
Selections>Invert.
Activate the image minimized at step 18 and go to Edit>Copy.
Go back to your work and go to Edit>Paste into Selection.
Effects>3D Effects>Drop Shadow, color black.

Selections>Select None.
21. Sign your work on a new layer.
Image>Add borders, 1 pixel, symmetric, dark color.
22. Image>Resize, 1000 pixels width, resize all layers checked.
Save as jpg.
Version with tube by Thafs
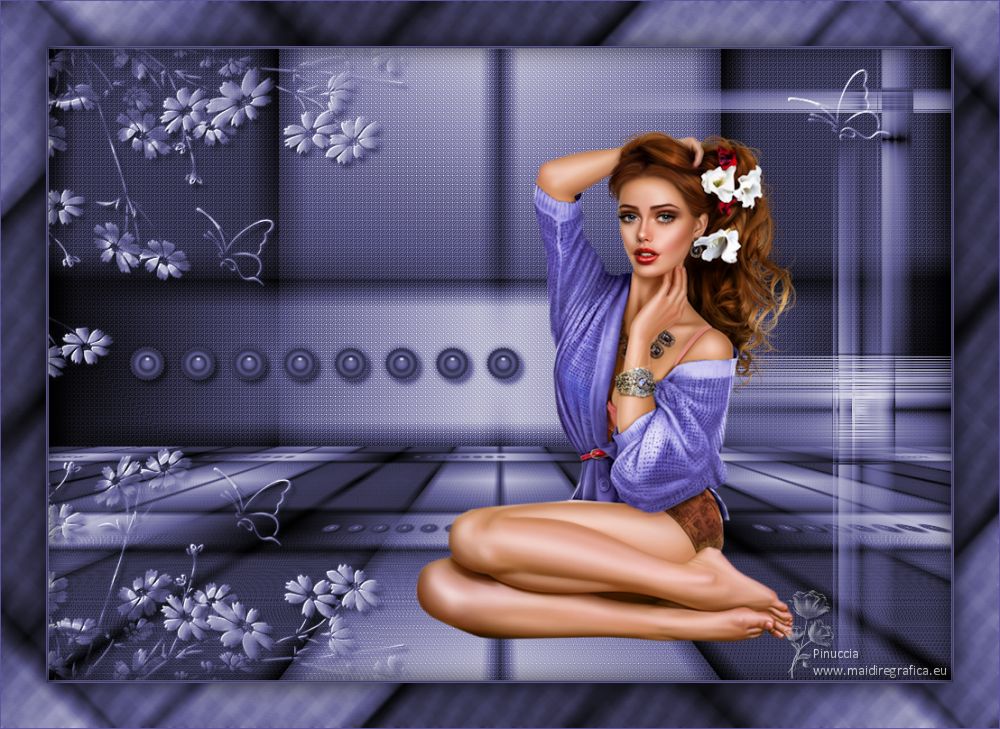
 Your versions here Your versions here

If you have problems or doubts, or you find a not worked link,
or only for tell me that you enjoyed this tutorial, write to me.
31 October 2021

|

