|
KARIN

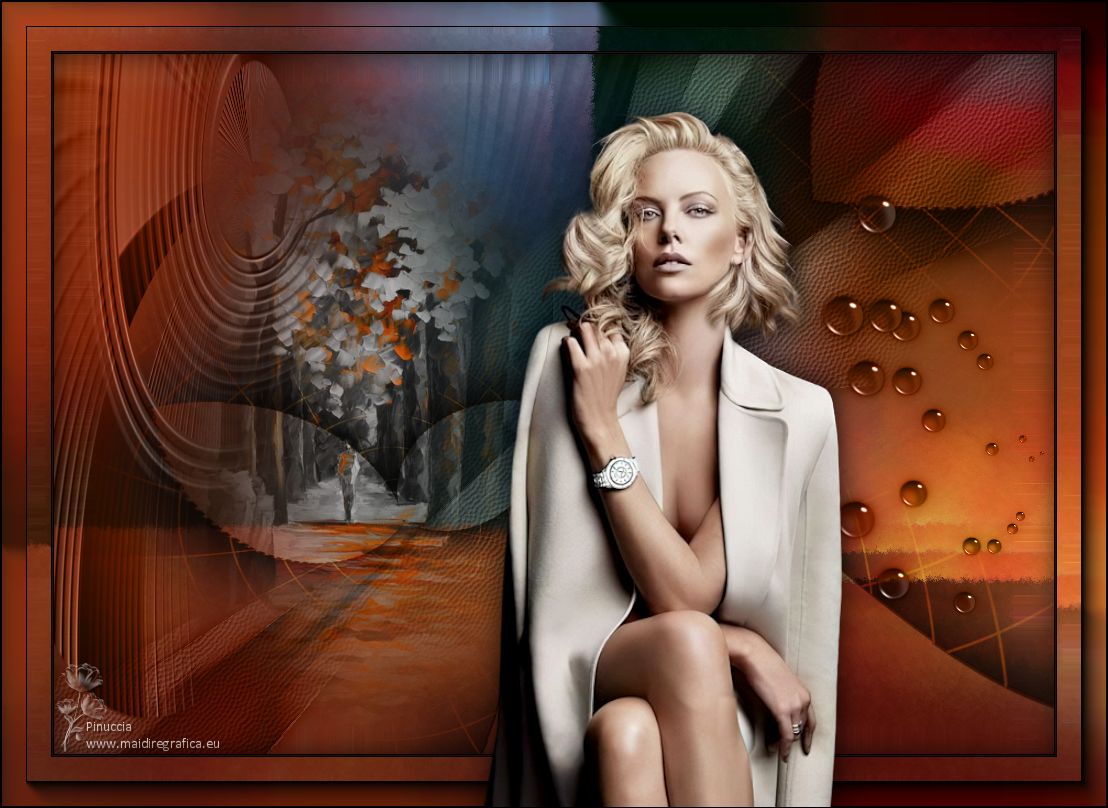
Thanks Maria José for your invitation to translate your tutorial

This tutorial has been translated with PSPX2 and PSPX3, but it can also be made using other versions of PSP.
Since version PSP X4, Image>Mirror was replaced with Image>Flip Horizontal,
and Image>Flip with Image>Flip Vertical, there are some variables.
In versions X5 and X6, the functions have been improved by making available the Objects menu.
In the latest version X7 command Image>Mirror and Image>Flip returned, but with new differences.
See my schedule here
 French translation here French translation here
 your versions ici your versions ici
For this tutorial, you will need:
Material here
For the tube thanks Nena Silva.
The rest of the material is by Maria José.
(you find here the links to the material authors' sites)
Plugins
consult, if necessary, my filter section here
Filters Unlimited 2.0 here
Mehdi - Sorting Tiles here
Fantastic Machine - Paint Engine here
VanDerLee - Unplugged-X here
Simple - Pizza Slice Mirror here
VM Toolbox - Zoom Blur here
AAA Frames - Foto Frame here
Filters Simple and VM Toolbox can be used alone or imported into Filters Unlimited.
(How do, you see here)
If a plugin supplied appears with this icon  it must necessarily be imported into Unlimited it must necessarily be imported into Unlimited

You can change Blend Modes according to your colors.
Copy the preset Preset_Pick_zoomblur_mj in the Presets Folder.
Copy the texture brown_172 in the Textures Folder.
Copy the Selection in the Selections Folder.
1. Open the jpg image graficorouge (ou une votre image).
Edit>Copy.
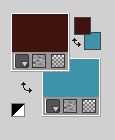
Choose 2 colors of your image; for the example:
foreground color #421410,
background color #3e93ab.
2. Open a new transparent image 1000 x 700 pixels.
Select>Select All.
Edit>Paste into Selection.
Selections>Select None.
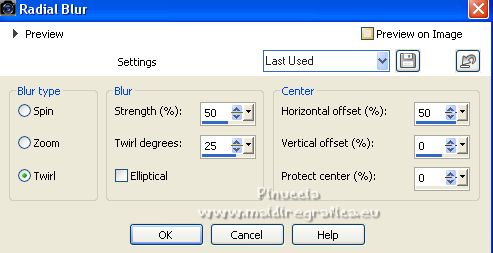
3. Adjust>Blur>Radial Blur.
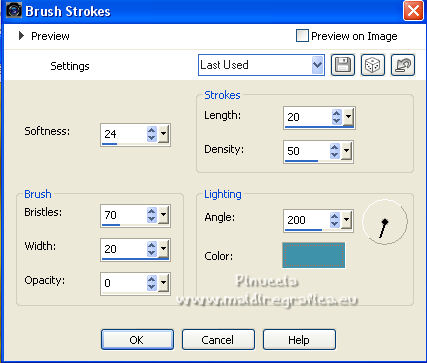
4. Effects>Art Medi Effects>Brush Strokes, background color.
depending on your computer's memory resources, the wait may seem long; don't worry
5. Effects>Plugins>Mehdi - Sorting Tiles.
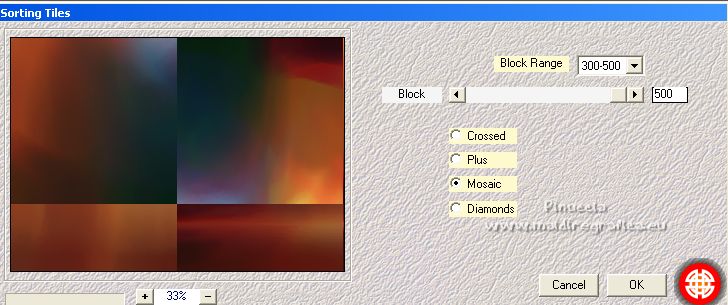
6. Effects>Plugins>Fantastic Machine - Paint Engine
select the preset impression 1 and check Input and Line.
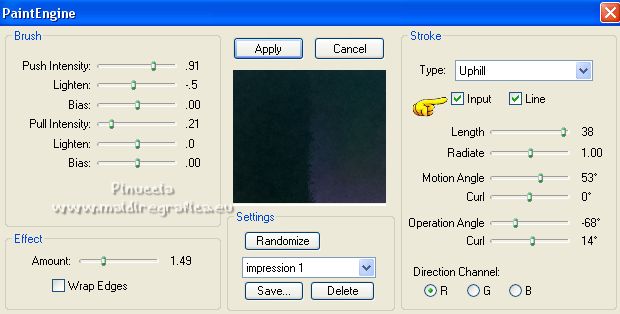
if you have problems with the installation of this filter see here
In any case, you can manually copy the capture settings
7. Effects>Plugins>VanDerLee - Unplugged-X - Lens Reflect.
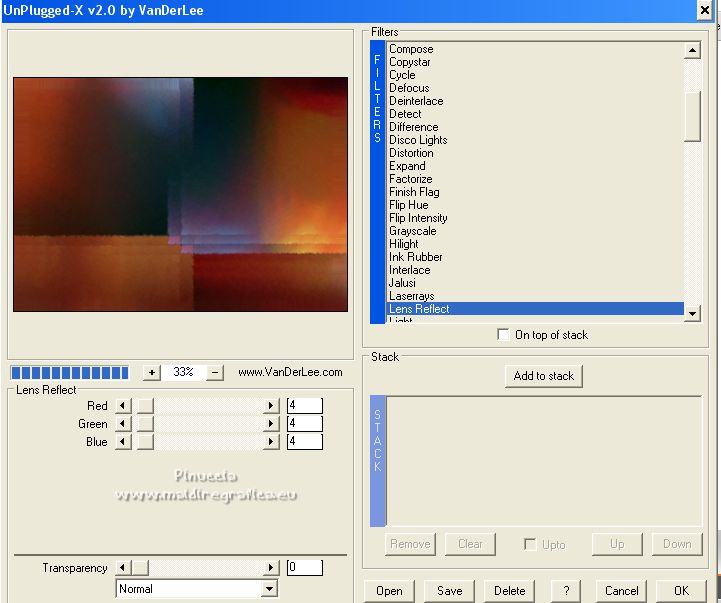
8. Layers>Duplicate.
Effects>Plugins>Simple - Pizza Slice Mirror.
This filter works without window; result
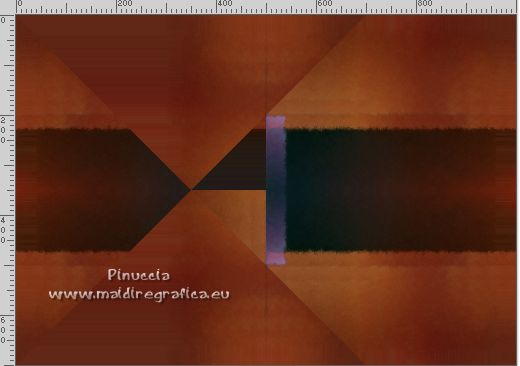
9. Selections>Load/Save Selection>Load Selection from Disk.
Look for and load the selection karin_mj.
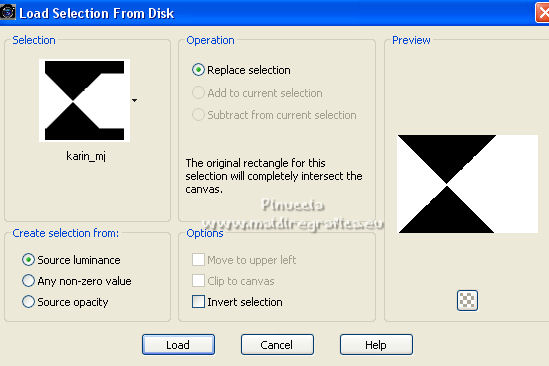
10. Selections>Invert.
Press CANC on the keyboard 
Effects>3D Effects>Drop Shadow, color black.
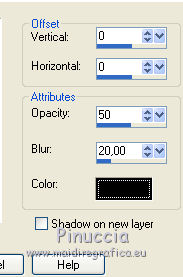
Selections>Select None.
11. K key on the keyboard to activate your Pick Tool 
open the presets menu and selet the preset zoomblur_mj.
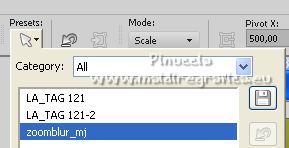
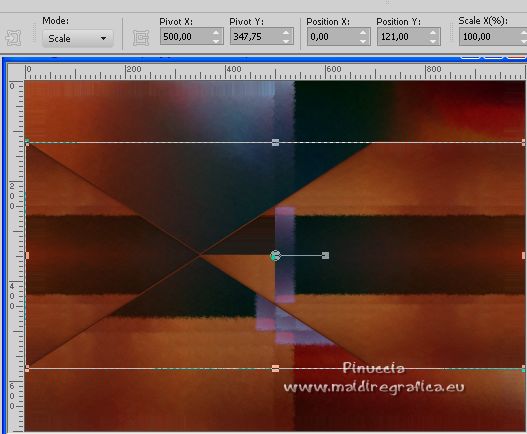
M key to deselect the Tool.
If you close the layer below
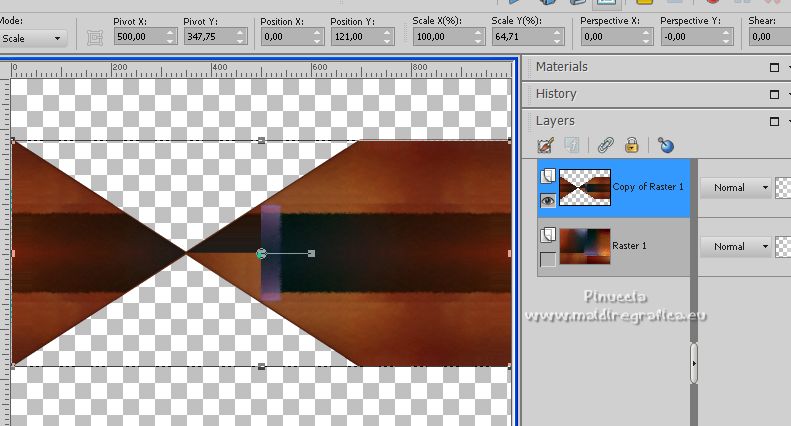
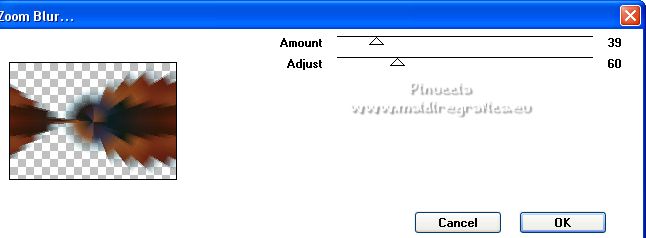
12. Effects>Plugins>VM Toolbox - Zoom Blur, default settings.
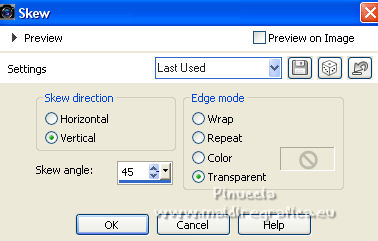
13. Effects>Geometric Effects>Skew.
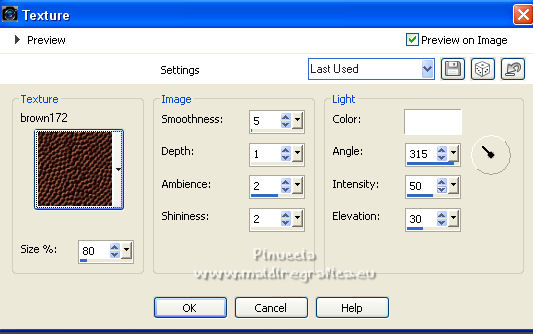
14. Effects>Texture Effects>Texture - select the texture brown172.
15. Adjust>Sharpness>Sharpen.
Change the Blend mode of this layer to Luminance (legacy) or other.
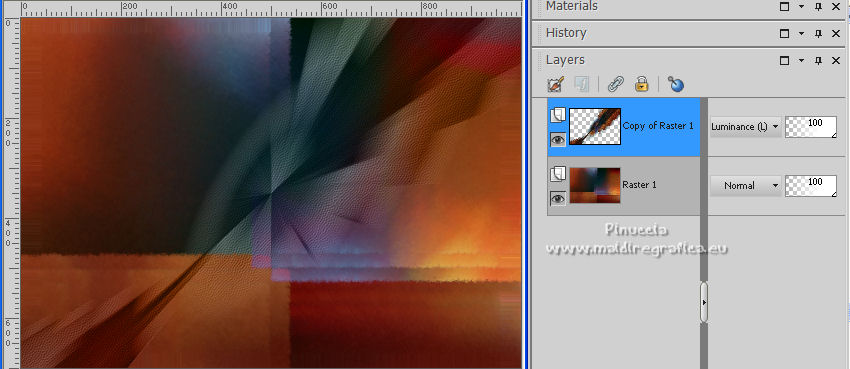
Effects>3D Effects>Drop Shadow, color black.

16. Open the tube decoflexify_mj and go to Edit>Copy.
Go back to your work and go to Edit>Paste as new layer.
Image>Flip.
Change the Blend Mode of this layer to Overlay.
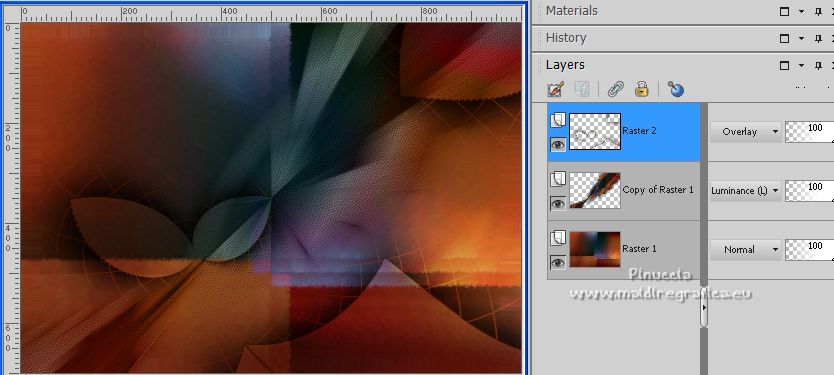
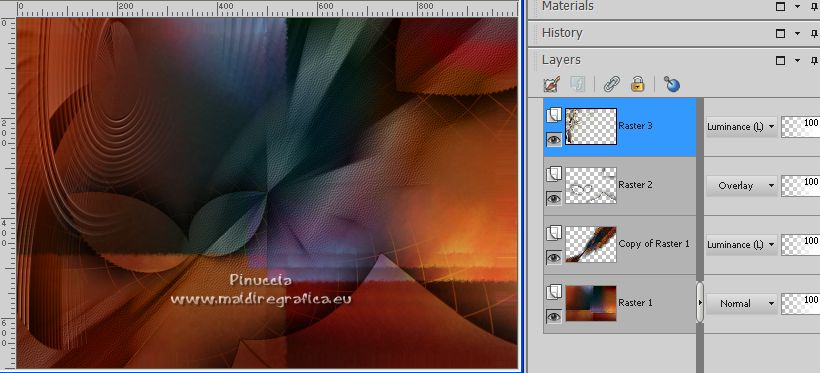
17. Open the tube deco_mj and go to Edit>Copy.
Go back to your work and go to Edit>Paste as new layer.
18. Objects>Align>Top and Objects>Align>Left
If you are working with a previous version that doesn't make the Objects menu available,
activate your Pick Tool 
and set Position Y to 0,00.

Change the Blend Mode of this layer to Luminance (legacy), or other.
19. Open the tube deco1_mj and go to Edit>Copy.
Go back to your work and go to Edit>Paste as new layer.
Objects>Align>Right.
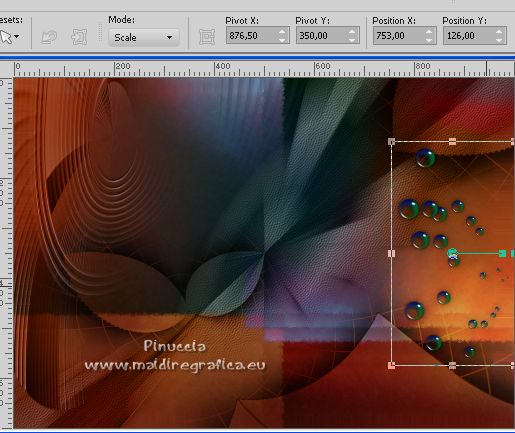
Change the Blend Mode to Luminance (legacy).
20. Open the misted and go to Edit>Copy.
Go back to your work and go to Edit>Paste as new layer.
If you use another tube, move it  at the upper left. at the upper left.
For the supplied tube:
K key to activate your Pick Tool 
and set Position X: 110,00 and Position Y: -10,00.

21. Layers>Arrange>Move Down - 3 times.
Reduce the opacity of this layer to 81%.
(adjust Blend Modes and opacities according to your colors).
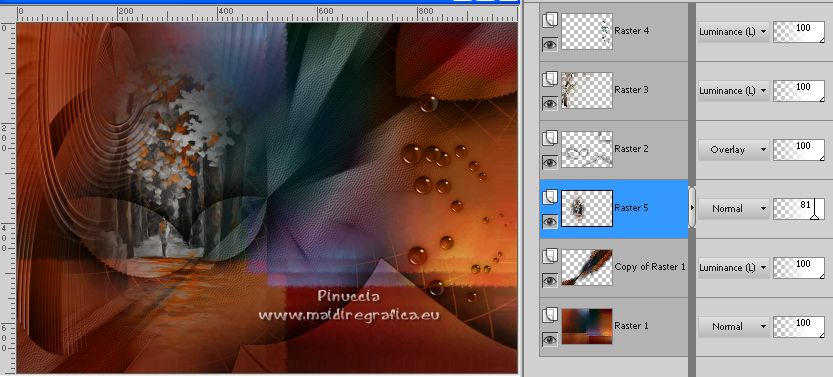
22. Activate the layer Raster 1.
Edit>Copy.
For caution Edit>Paste as new image and minimize this image.
23. Go back to your work.
Image>Add borders, 1 pixel, symmetric, color black.
Image>Add borders, 1 pixel, symmetric, foreground color #421410.
Image>Add borders, 1 pixel, symmetric, color black.
24. Selections>Select All.
Image>Add borders, 50 pixels, symmetric, color white.
25. Selections>Invert.
Edit>Paste into Selection (the image of step 22 is in memory).
26. Effects>3D Effects>Drop Shadow, color black.

Selections>Select None.
27. Effects>Plugins>AAA Frames - Foto Frame.
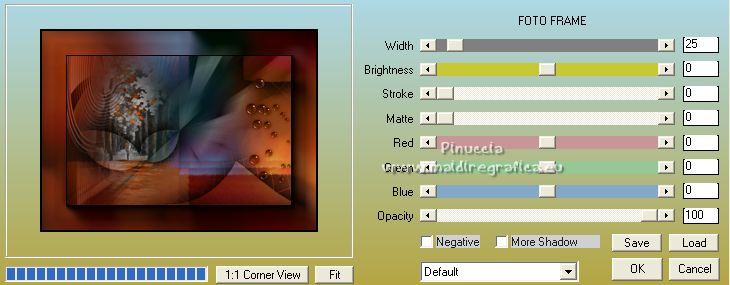
28. Open the woman tube and go to Edit>Copy.
Go back to your work and go to Edit>Paste as new layer.
Move  the tube to the left side, or to your liking. the tube to the left side, or to your liking.
Effects>3D Effects>Drop Shadow, at your choice.
29. Sign your work on a new layer.
Image>Add borders, 1 pixel, symmetric, color black.
30. Image>Resize, 1000 pixels width, resize all layers checked.
Save as jpg.
For the tubes of this version thanks Calligraphy and Jewel
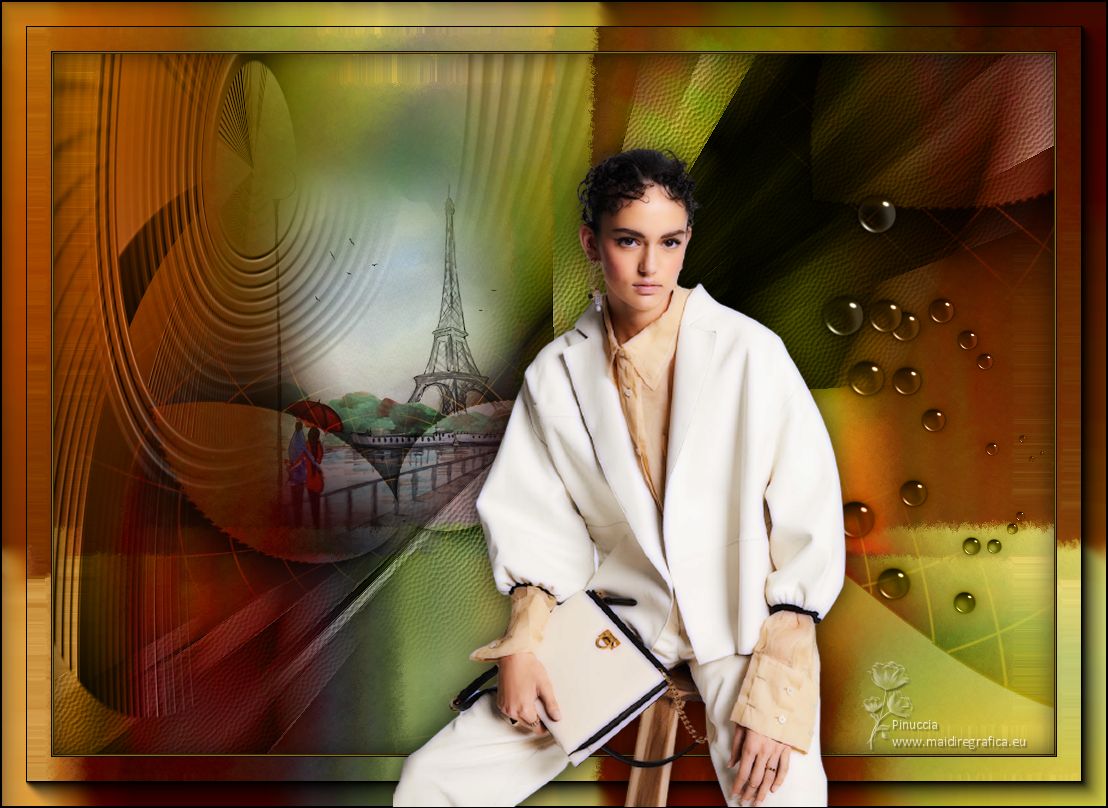
For the tubes of this version thanks Maryse and Cal.
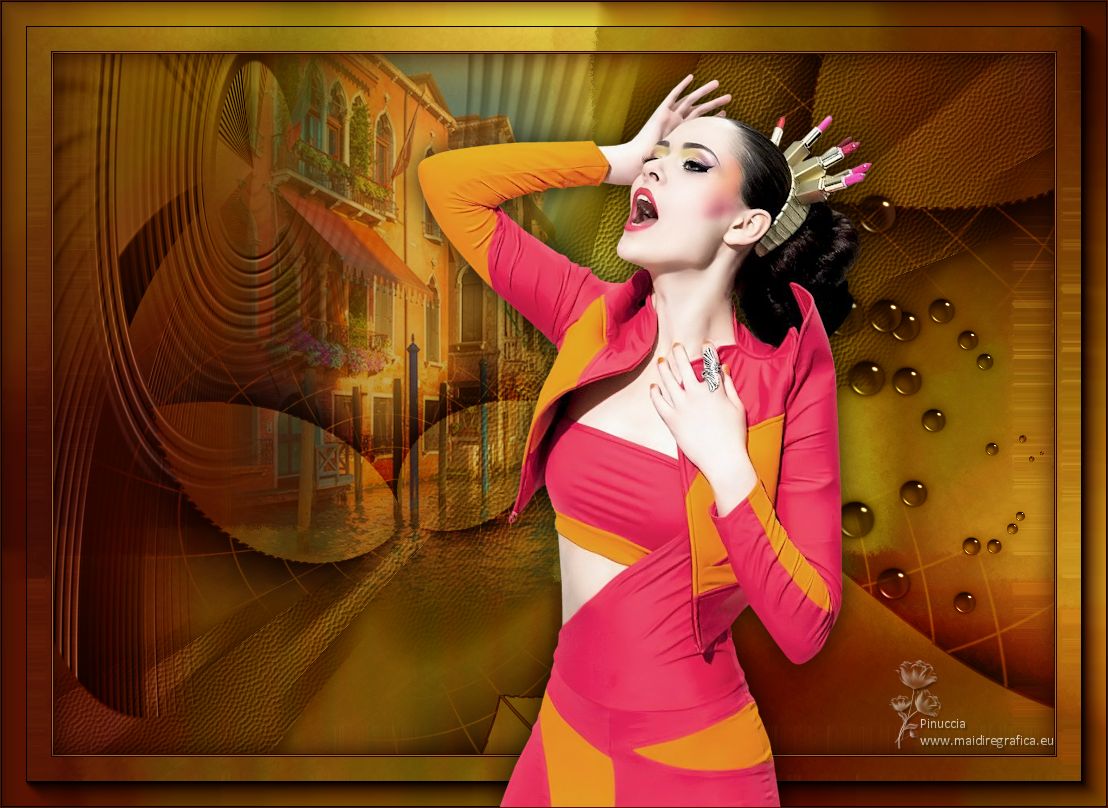
 Your versions here Your versions here

If you have problems or doubts, or you find a not worked link,
or only for tell me that you enjoyed this tutorial, write to me.
22 Juin 2022

|

