|
JOLCSI

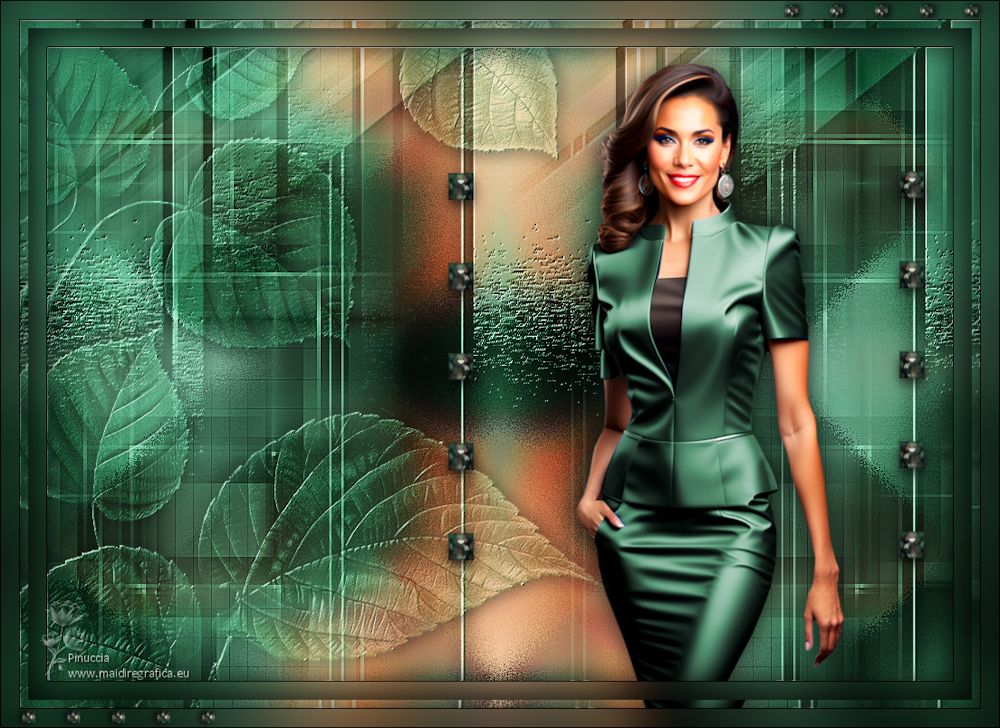
Thanks Maria José for your invitation to translate your tutorial

This tutorial has been translated with PSPX2 and PSPX3, but it can also be made using other versions of PSP.
Since version PSP X4, Image>Mirror was replaced with Image>Flip Horizontal,
and Image>Flip with Image>Flip Vertical, there are some variables.
In versions X5 and X6, the functions have been improved by making available the Objects menu.
In the latest version X7 command Image>Mirror and Image>Flip returned, but with new differences.
See my schedule here
 French translation here French translation here
 your versions ici your versions ici
For this tutorial, you will need:

For one mask thanks @nn_tdstudio.
The rest of the material is by Maria José.
(you find here the links to the material authors' sites)

consult, if necessary, my filter section here
Filters Unlimited 2.0 here
Mehdi - Sorting Tiles here
&<Bkg Kaleidoscope> - 4 QFlipUpperL (to import in Unlimited) here
Mura's Seamless - Emboss at Alpha here
Toadies - Blast'em! here
Filters Toadies and Mura's Seamless can be used alone or imported into Filters Unlimited.
(How do, you see here)
If a plugin supplied appears with this icon  it must necessarily be imported into Unlimited it must necessarily be imported into Unlimited

You can change Blend Modes according to your colors.
In the newest versions of PSP, you don't find the foreground/background gradient (Corel_06_029).
You can use the gradients of the older versions.
The Gradient of CorelX here

Open the masks in PSP and minimize them with the rest of the material.
Set your foreground color to #90ada0,
and your background color to #1a2521.
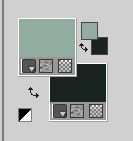
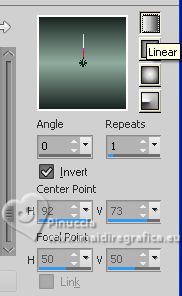
Set your foreground color to a Foreground/Background Gradient, style Linear.
1. Open a new transparent image 1000 x 700 pixels.
Flood Fill  the transparent image with your Gradient. the transparent image with your Gradient.
2. Selections>Select All.
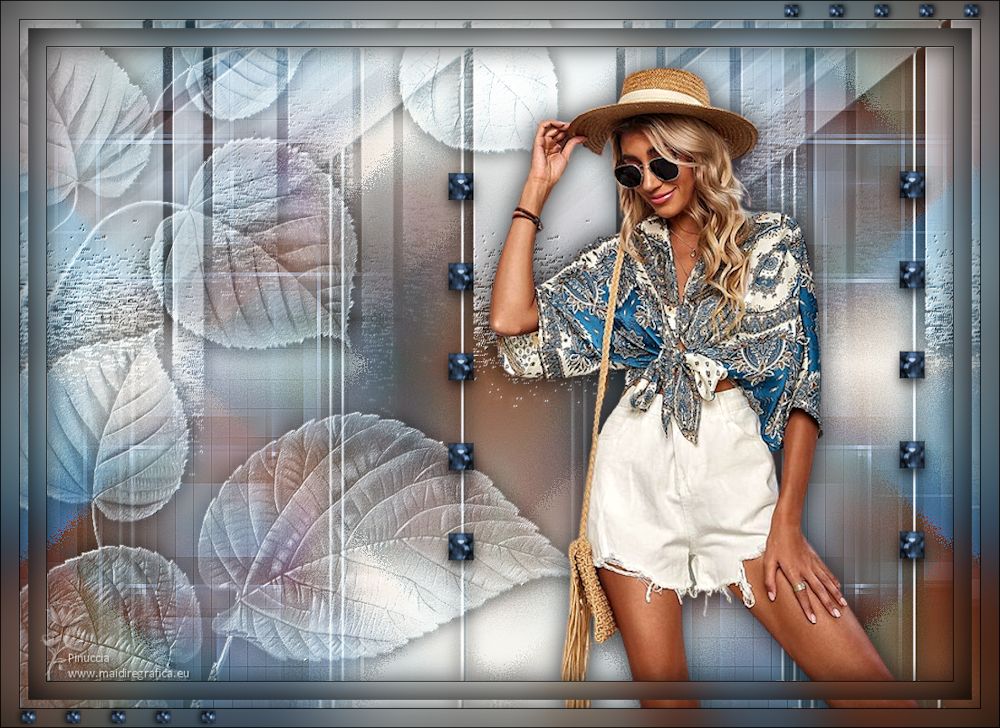
Open the tube mariajoseMJ-489 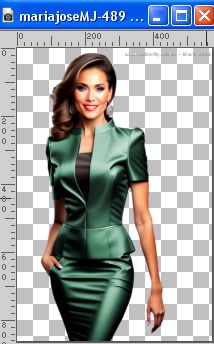
Erase the watermark and go to Edit>Copy.
Minimize the tube.
Go back to your work and go to Edit>Paste into Selection.
Selections>Select None.
3. Effects>Image Effects>Seamless Tiling.

4. Adjust>Blur>Gaussian Blur - radius 30.

5. Effects>Plugins>Mehdi - Sorting Tiles.
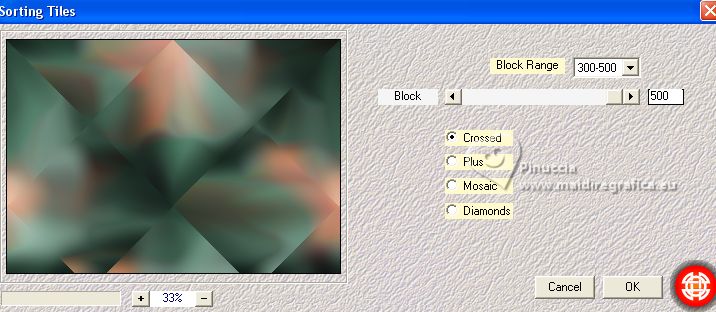
6. Effects>Image Effects>Seamless Tiling, same settings.

7. Effects>Plugins>Filters Unlimited 2.0 - &<Bkg Kaleidoscope> - 4 QFlipUpperL.
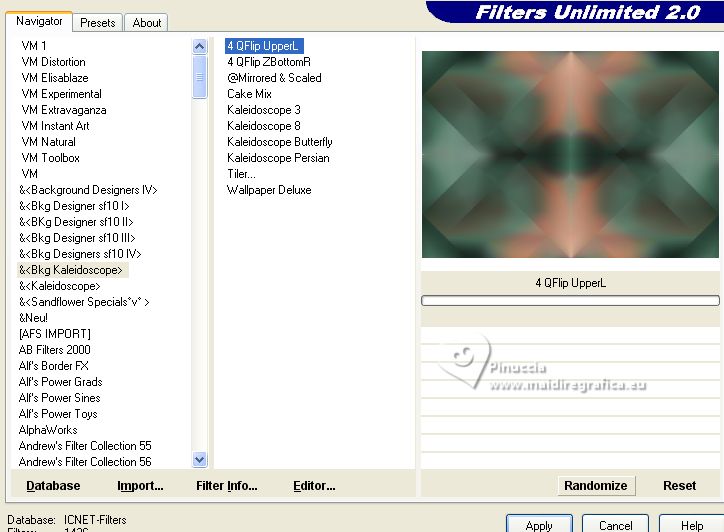
8. Effects>Plugins>Toadies - Blast'em!
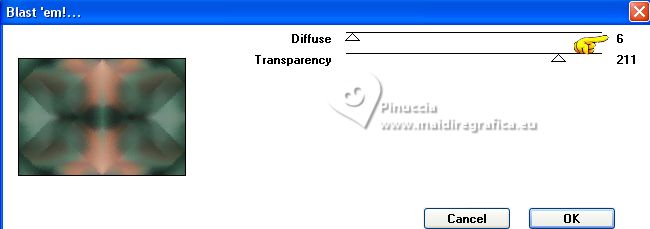
9. Adjust>Sharpness>Sharpen More.
Layers>Duplicate.
Change the Blend Mode of this layer to Hard Light.
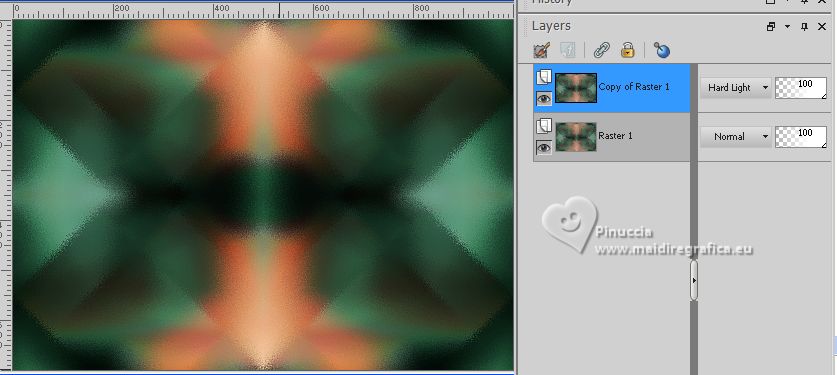
10. Set your foreground color to Color.
Layers>New Raster Layer.
Flood Fill  the layer with your light foreground color. the layer with your light foreground color.
11. Layers>New Mask layer>From image
Open the menu under the source window and you'll see all the files open.
Select the mask @nn_240910_mask_Dalia001_tdstudio.
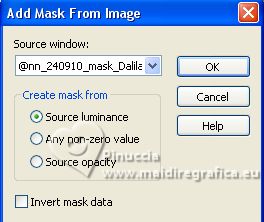
Layers>Merge>Merge Group.
12. Effects>Plugins>Mura's Seamless - Emboss at Alpha, default settings.
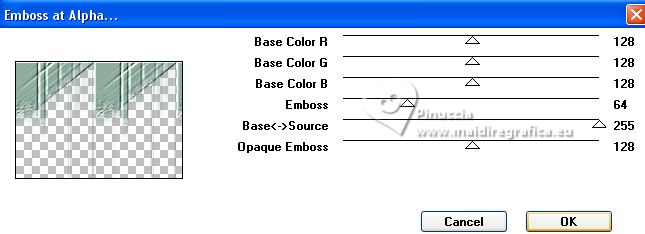
Change the Blend Mode of this layer to Hard Light.
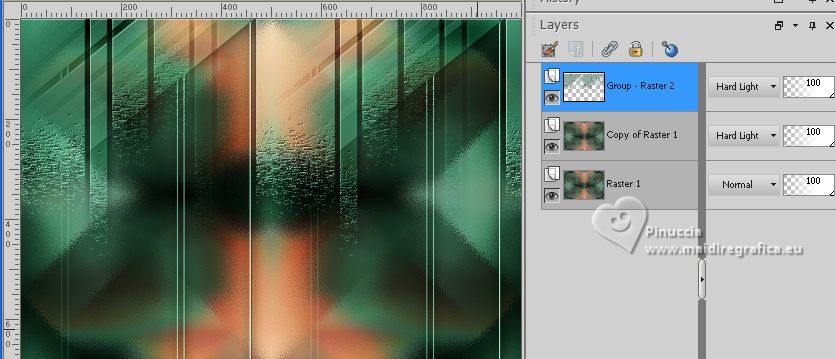
Effects>3D Effects>Drop Shadow, color black.

13. Calques>Nouveau calque raster.
Remplir  le calque avec la couleur claire d'avant plan. le calque avec la couleur claire d'avant plan.
14. Layers>New Mask layer>From image
Open the menu under the source window
and select the mask 274-mask-MJ.
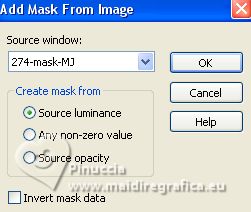
Layers>Merge>Merge Group.
15. Effects>Plugins>Mura's Seamless - Emboss at Alpha, default settings.
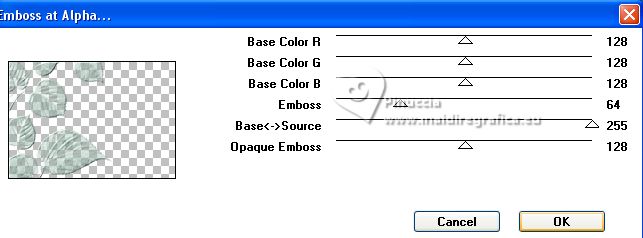
Change the Blend Mode of this layer to Hard Light.
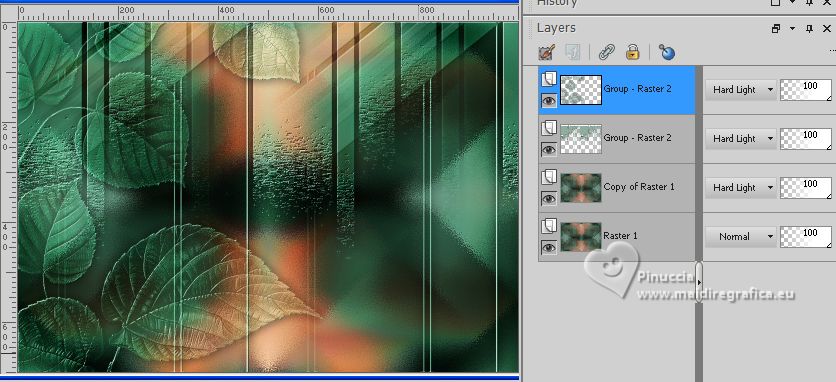
Effects>3D Effects>Drop Shadow, same settings.

16. Open Decoverde-MJ 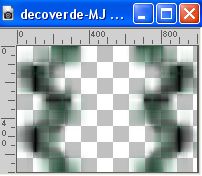
Edit>Copy.
Go back to your work and go to Edit>Paste as new layer.
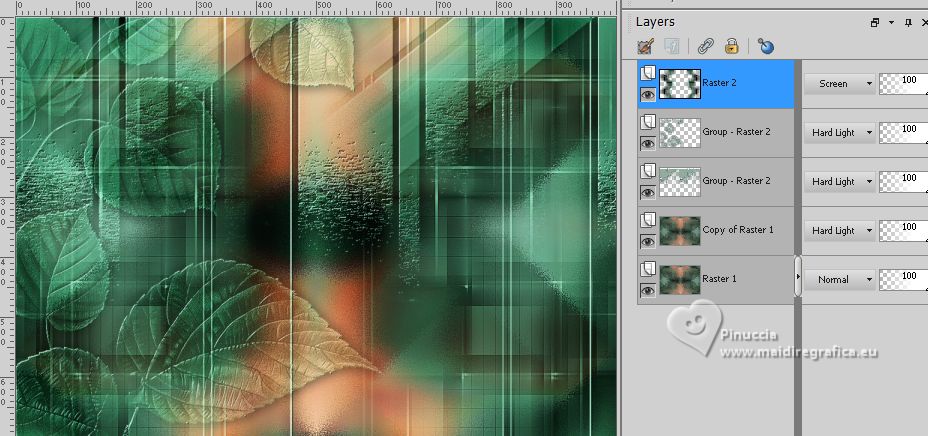
Change the Blend Mode of this layer to Screen.
Your tag and the layers - adapt Blend Mode and opacity according to your colors.
17. Open deco1 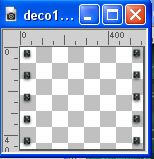
Edit>Copy.
Go back to your work and go to Edit>Paste as new layer.
K key to activate your Pick Tool 
set Position X: 425,00 and Position Y: 125,00.

18. Activate again your woman's tube mariajoseMJ-489 and go to Edit>Copy.
Go back to your work and go to Edit>Paste as new layer.
Image>Resize, to 81%, resize all layers not checked.
Move  the tube to the right, or to your liking. the tube to the right, or to your liking.
Effects>3D Effects>Drop Shadow, at your choice.
19. Image>Add borders, 1 pixel, symmetric, color black.
20. Selections>Select All.
Edit>Copy
21. Image>Add borders, 20 pixels, symmetric, color white.
22. Selections>Invert.
Edit>Paste into Selection
23. Adjust>Blur>Gaussian Blur - radius 30.

Effects>3D Effects>Drop Shadow, color black.

24. Selections>Select All.
Image>Add borders, 10 pixels, symmetric, color white.
25. Selections>Invert.
Edit>Paste into Selection (the image of step 20 is still in memory).
Effects>3D Effects>Drop Shadow, same settings.
26. Selections>Select All.
Image>Add borders, 20 pixels, symmetric, color white.
27. Selections>Invert.
Edit>Paste into Selection (the image of step 20 is always in memory).
28. Adjust>Blur>Gaussian Blur - radius 30.

Effets>Effets 3D>Ombre portée, comme précédemment.
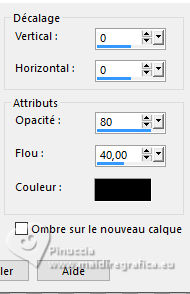
Selections>Select None.
29. Open decobordas-MJ 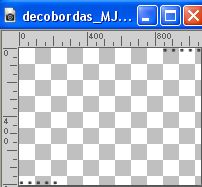
Edit>Copy.
Go back to your work and go to Edit>Paste as new layer.
30. Sign your work on a new layer.
Image>Add borders, 1 pixel, symmetric, color black.
31. Image>Resize, 1000 pixels width, resize all layers checked.
Save as jpg.
For the tubes of these versions thanks
Suizabella
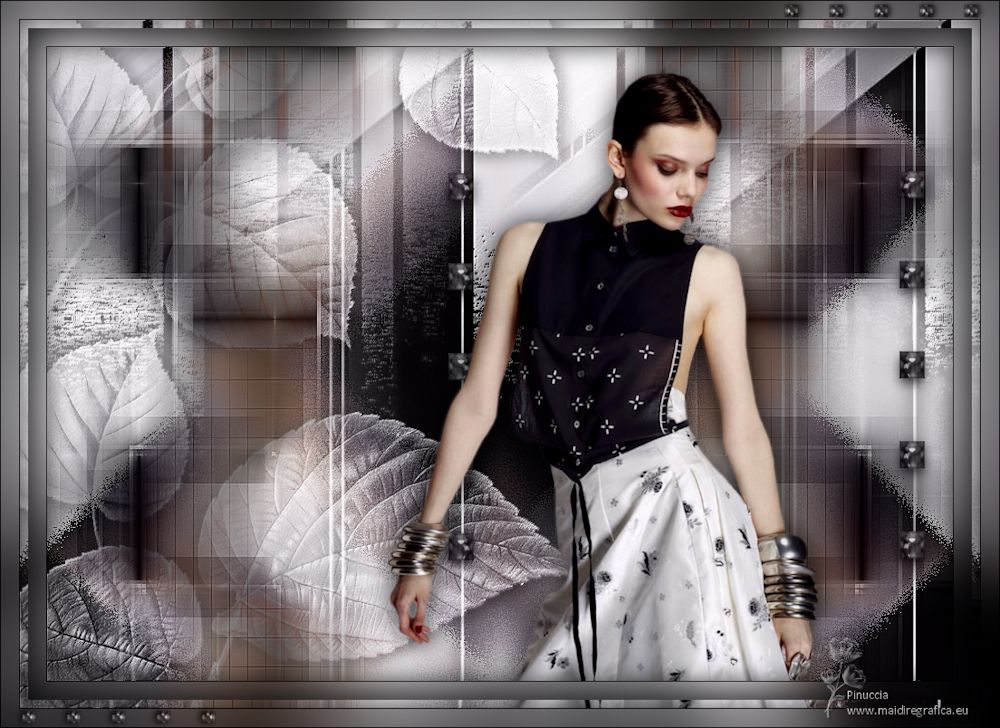
NaiseM

If you have problems or doubts, or you find a not worked link,
or only for tell me that you enjoyed this tutorial, write to me.
29 August 2023

|

