|
JESSICA

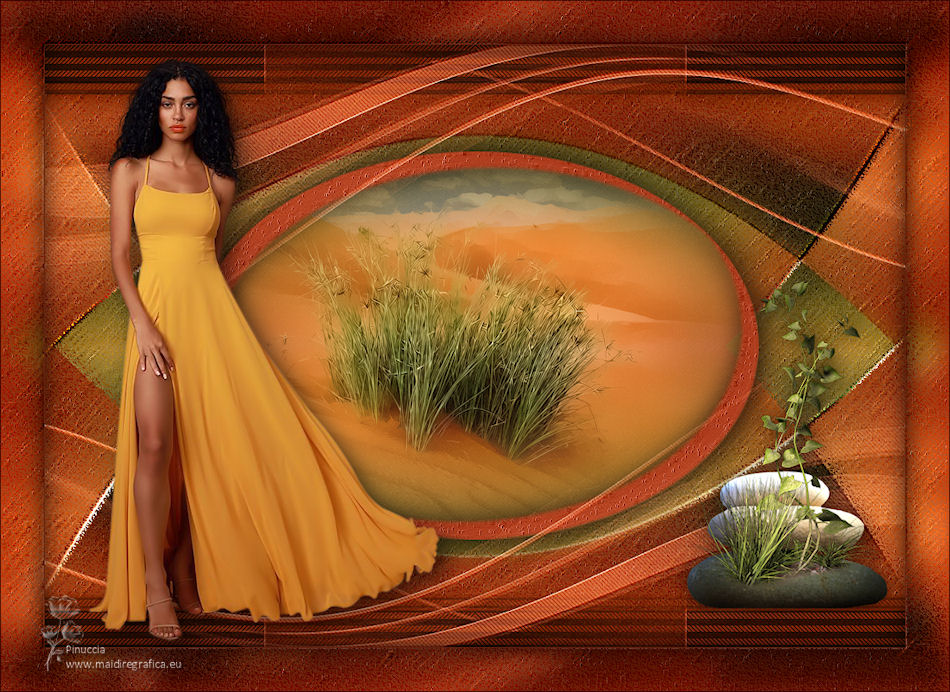
Thanks Maria José for your invitation to translate your tutorial

This tutorial has been translated with PSPX2 and PSPX3, but it can also be made using other versions of PSP.
Since version PSP X4, Image>Mirror was replaced with Image>Flip Horizontal,
and Image>Flip with Image>Flip Vertical, there are some variables.
In versions X5 and X6, the functions have been improved by making available the Objects menu.
In the latest version X7 command Image>Mirror and Image>Flip returned, but with new differences.
See my schedule here
 French translation here French translation here
 your versions ici your versions ici
For this tutorial, you will need:
Material here
For the tube thanks Beatriz.
The rest of the material is by Maria José.
(you find here the links to the material authors' sites)
Plugins
consult, if necessary, my filter section here
Filters Unlimited 2.0 here
VM Instant Art - Tripolis here
RCS Filter Pak 1.0 - Digi-Lens-Atomic Split, Digi-Lens-WindowShadeII here
Artistiques - Pastels here
Mura's Seamless - Emboss at Alpha here
Simple - Top Left Mirror here
Carolaine and Sensibility - CS-DLines here
Filters Teph's Tricks, Sapphire, Simple and Mura's Seamless can be used alone or imported into Filters Unlimited.
(How do, you see here)
If a plugin supplied appears with this icon  it must necessarily be imported into Unlimited it must necessarily be imported into Unlimited

You can change Blend Modes according to your colors.
In the newest versions of PSP, you don't find the foreground/background gradient (Corel_06_029).
You can use the gradients of the older versions.
The Gradient of CorelX here
Copy the Selection in the Selection Folder.
Open the masks in PSP and minimize then with the rest of the material.
1. Set your foreground color to #a9391b
and your background color to #300001.
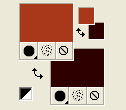
Set your foreground color to a Foreground/Background Gradient, style Linear.

Open a new transparent image 1000 x 700 pixels.
Flood Fill  the transparent image with your Gradient. the transparent image with your Gradient.
2. Selections>Select All.
Open the misted and go to Edit>Copy.
Go back to your work and go to Edit>Paste into Selection.
Selections>Select None.
3. Effects>Image>Effects>Seamless Tiling.

4. Adjust>Blur>Gaussian Blur - radius 20.

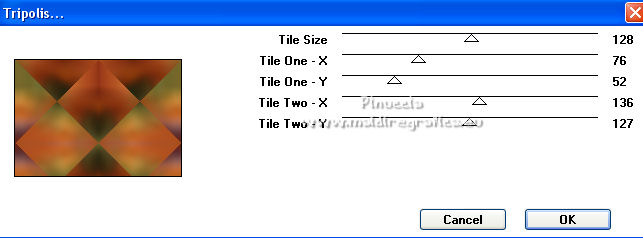
5. Effects>Plugins>VM Instant Art - Tripolis, default settings.
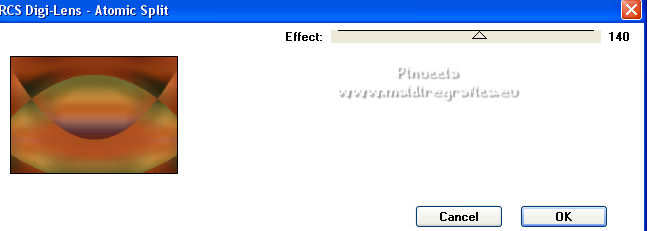
6. Effects>Plugins>RCS Filter Pak 1.0 - RCS Digi-Lens - Atomic Split
7. Effects>Plugins>Simple - Top Left Mirror.
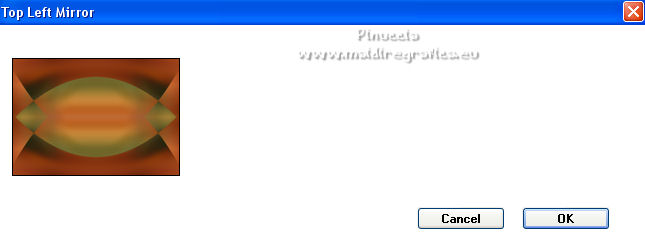
8. Selections>Load/Save Selection>Load Selection from Disk.
Look for and load the selection MJ-elipse1.

Selections>Invert.
9. Effects>Texture Effects>Straw Wall.

10. Effects>Plugins>Artistiques>Pastels
if you use the english version of this filter:
Effects>Plugins>Artistic - Rough Pastel
 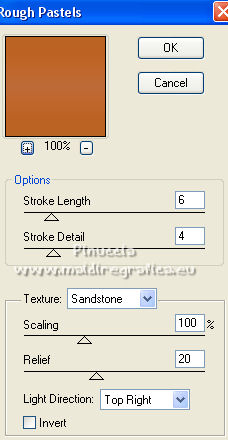
11. Selections>Invert.
Layers>New Raster Layer.
Edit>Paste into Selection (the misted is still in memory).
Keep selected.
12. Layers>New Raster Layer.
Effects>3D Effects>Cutout, light foreground color.

13. Layers>New Raster Layer
Repeat Effects>3D Effects>Cutout, vertical and horizontal -20.

Layers>Merge>Merge Down.
Keep always selected.
14. Effects>Texture Effects>Straw Wall, same settings.

Effects>3D Effects>Drop Shadow, color black.

Selections>Select None.
Repeat Effects>3D Effects>Drop Shadow, same settings.
15. Layers>New Raster layer.
Flood Fill  the layer with your Gradient. the layer with your Gradient.
16. Layers>New Mask layer>From image
Open the menu under the source window and you'll see all the files open.
Select the mask marijo1_mask_MJ.

Layers>Merge>Merge Group.
17. Effects>Plugins>Carolaine and Sensibility - CS-DLines, default settings.
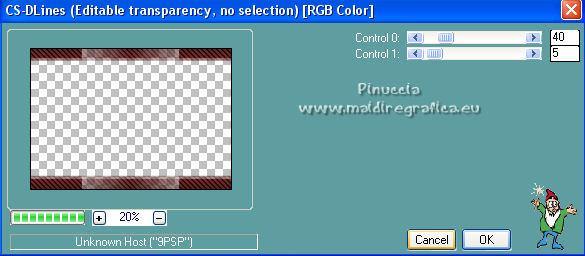
18. Effects>Plugins>RCS Filter Pak 1.0 - Digi-Lens - Window Shades II
this effect works without window
19. Effects>Plugins>Mura's Seamless - Emboss at Alpha, default settings.
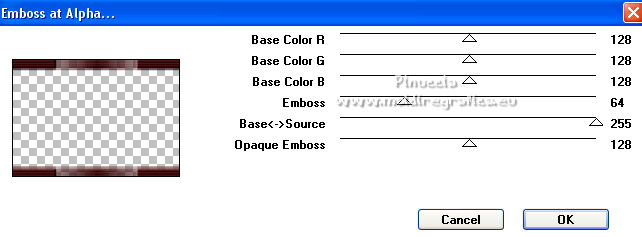
20. Effects>Reflection Effects>Rotating Mirror, default settings.

Effects>3D Effects>Drop Shadow, color black.

Change the Blend Mode of this layer to Luminance (legacy).
21. Layers>New Raster Layer.
Set your foreground color to Color.
Flood Fill  the layer with your light foreground color. the layer with your light foreground color.
22. Layers>New Mask layer>From image
Open the menu under the source window
and select the mask jessica_mask_mj.

Layers>Merge>Merge Group.
23. Effects>Plugins>Carolaine and Sensibility - CS-DLines, default settings.
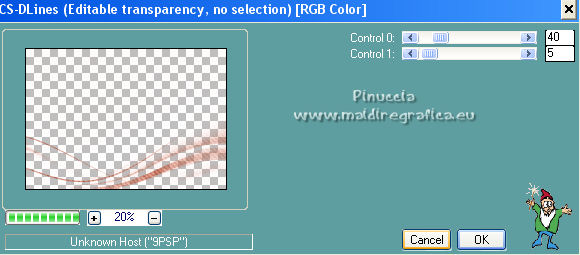
24. Effects>Plugins>Mura's Seamless - Emboss at Alpha, default settings.
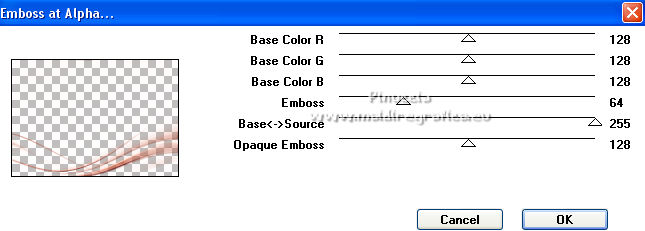
25. Layers>Duplicate.
Image>Mirror.
Image>Flip.
Layers>Merge>Merge Down.
Change the Blend Mode of this layer to Screen.
Your tag and the layers - adapt Blend Mode and opacity to your colors.

26. Open the woman tube and go to Edit>Copy.
Go back to your work and go to Edit>Paste as new layer.
Image>Mirror.
Move  the tube to the left side, or to your liking. the tube to the left side, or to your liking.
Effects>3D Effects>Drop Shadow, at your choice.
27. Open the deco tube, erase the watermark and go to Edit>Copy.
Go back to your work and go to Edit>Paste as new layer.
Move  the tube to the right side, or to your liking. the tube to the right side, or to your liking.
Effects>3D Effects>Drop Shadow, at your choice.
28. Image>Add borders, 1 pixel, symmetric, light color.
29. Selections>Select All.
Edit>Copy.
Image>Add borders, 50 pixels, symmetric, color white.
Selections>Invert.
30. Edit>Paste into Selection.
31. Adjust>Blur>Gaussian Blur - radius 15.

32. Effects>Texture Effects>Straw Wall, same settings.
33. Effects>Plugins>Artistiques - Pastels, same settings.
Effects>3D Effects>Drop Shadow, color black.

Selections>Invert.
Effects>3D Effects>Drop Shadow, same settings.
Selections>Select None.
34. Sign your work on a new layer.
Image>Add borders, 1 pixels, symmetric, dark color.
35. Image>Resize, 1000 pixels width, resize all layers checked.
Save as jpg.
For the tubes of this version thanks Luz Cristina et Nena Silva
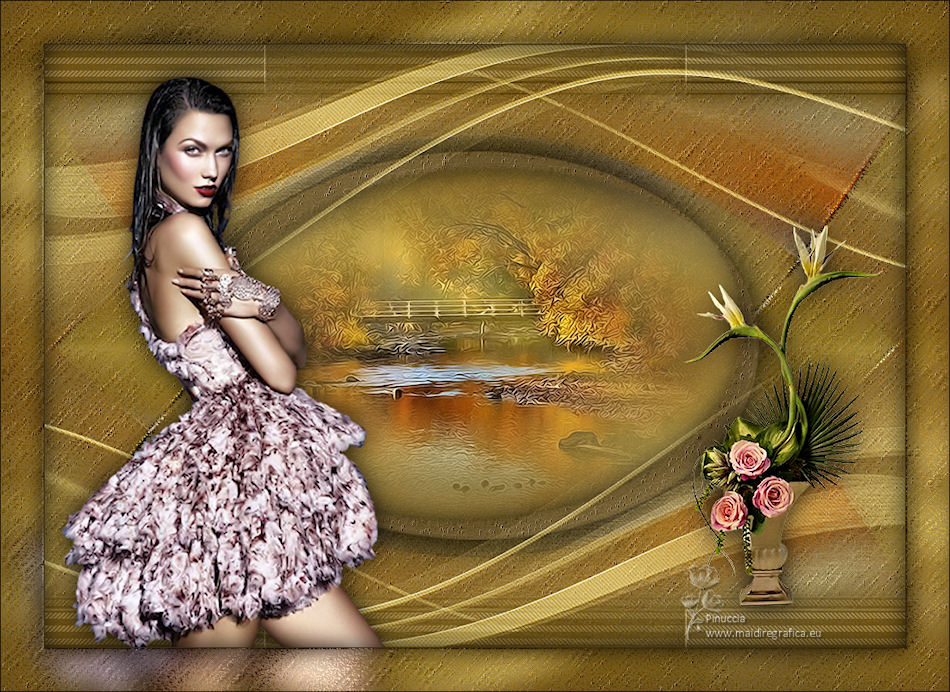
 Your versions here Your versions here

If you have problems or doubts, or you find a not worked link,
or only for tell me that you enjoyed this tutorial, write to me.
16 February 2022

|

