|
EVELYNE

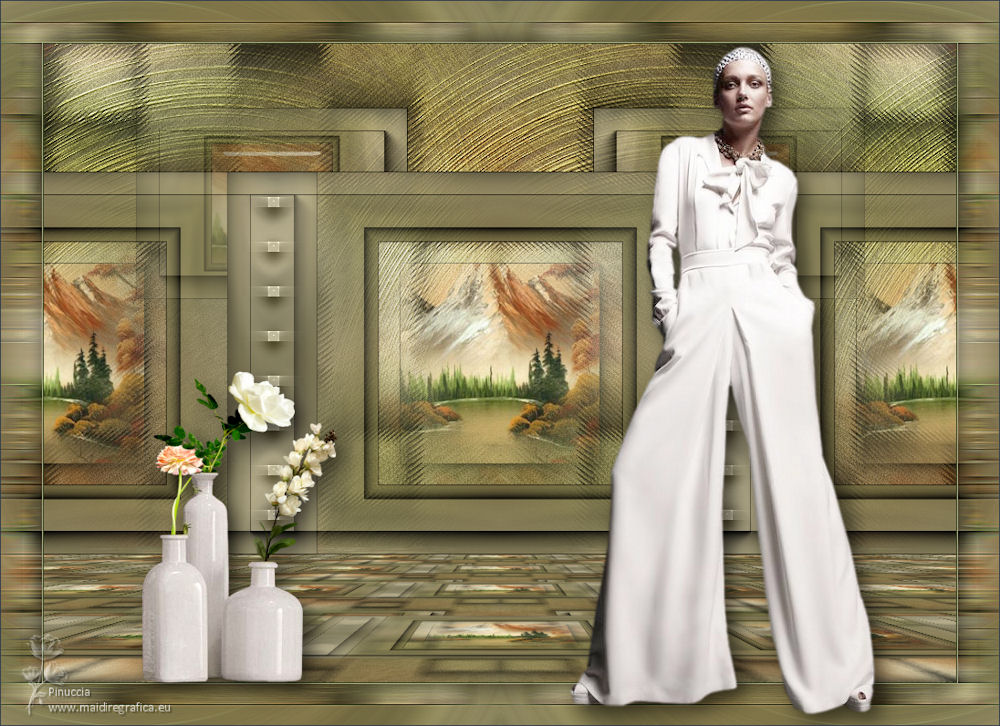
Thanks Maria José for your invitation to translate your tutorial

This tutorial has been translated with PSPX2 and PSPX3, but it can also be made using other versions of PSP.
Since version PSP X4, Image>Mirror was replaced with Image>Flip Horizontal,
and Image>Flip with Image>Flip Vertical, there are some variables.
In versions X5 and X6, the functions have been improved by making available the Objects menu.
In the latest version X7 command Image>Mirror and Image>Flip returned, but with new differences.
See my schedule here
 French translation here French translation here
 your versions ici your versions ici
For this tutorial, you will need:
Material here
For the tubes thanks Crealine and Nena Silva.
The rest of the material is by Maria José.
(you find here the links to the material authors' sites)
Plugins
consult, if necessary, my filter section here
Filters Unlimited 2.0 here
Funhouse - Angulate here
Simple - Left Right Wrap here
Graphics Plus - Quick Tile I here
Alien Skin Eye Candy 5 Texture - Weavehere
Alien Skin Eye Candy 5 Impact - Perspective Shadow here
Mura's Meister - Perspective Tiling here
AAA Frames - Foto Frame here
Filters Funhouse, Simple, Graphics Plus and Mura's Seamless can be used alone or imported into Filters Unlimited.
(How do, you see here)
If a plugin supplied appears with this icon  it must necessarily be imported into Unlimited it must necessarily be imported into Unlimited

You can change Blend Modes according to your colors.
In the newest versions of PSP, you don't find the foreground/background gradient (Corel_06_029).
You can use the gradients of the older versions.
The Gradient of CorelX here
Copy the preset  in the folder of the plugin Alien Skin Eye Candy 5 Texture>Settings>Weave. in the folder of the plugin Alien Skin Eye Candy 5 Texture>Settings>Weave.
One or two clic on the file (it depends by your settings), automatically the preset will be copied in the right folder.
why one or two clic see here
Open the mask in PSP and minimize it with the rest of the material.
1. Set your foreground color to #31411f.
and your background color to #a6a983.
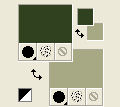
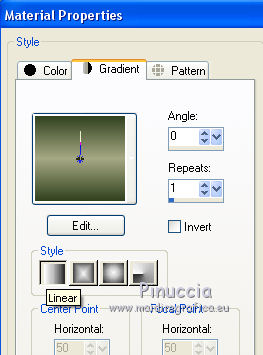
Set your foreground color to a Foreground/Background Gradient, style Linear.
Open alphachannel_evelyne.
Window>Duplicate or, on the keyboard, shift+D to make a copy.

Close the original.
The copy, that will be the basis of your work, is not empty,
but contains the selections saved to alpha channel.
Fill Flood  the transparent image with your Gradient. the transparent image with your Gradient.
2. Selections>Select All.
Open the misted MJ_Pajsage_agua and go to Edit>Copy.
Go back to your work and go to Edit>Paste into Selection.
Selections>Select None.
3. Effects>Image Effects>Seamless Tiling.

4. Adjust>Blur>Radial Blur.
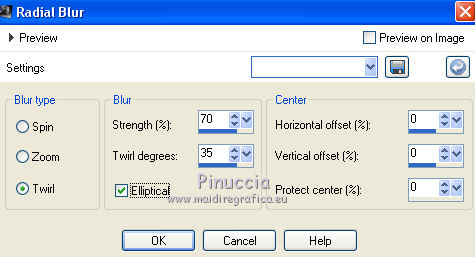
5. Effects>Image Effects>Seamless Tiling, same settings.

6. Effects>Plugins>Alien Skin Eye Candy 5 Texture - Weave.
Select the preset weave1_mj and ok.
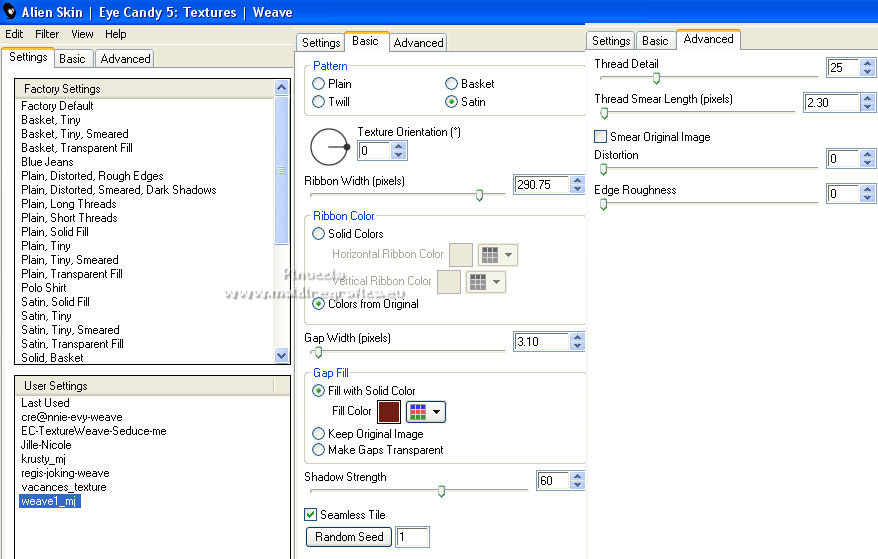
7. Effects>Plugins>Filters Unlimited 2.0 - Funhouse - Angulate.
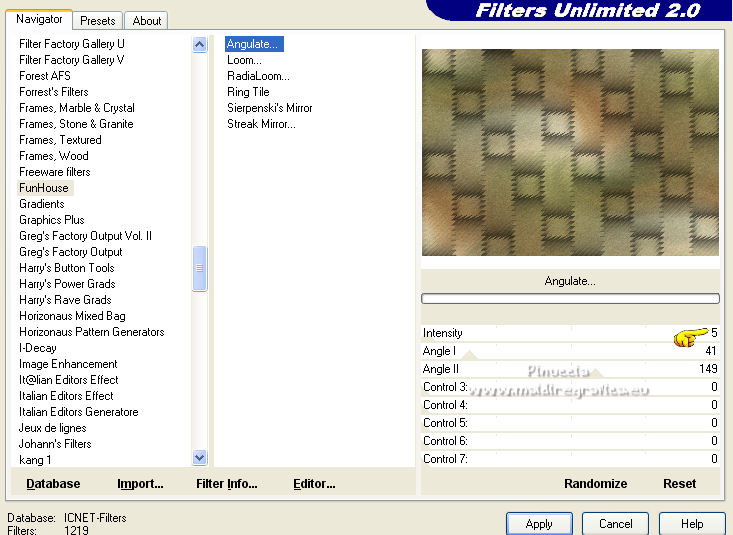
8. Effects>Reflection Effects>Rotating Mirror.

9. Selections>Load/Save Selection>Load Selection from Alpha Channel.
The selection #1 is immediately available. You just have to click Load.
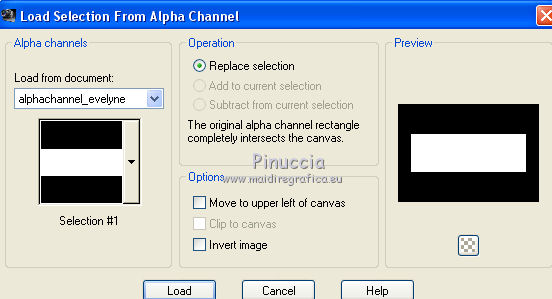
Selections>Promote Selection to Layer.
10. Adjust>Blur>Radial Blur, same settings.

11. Effects>Plugins>AAA Frames - Foto Frame.
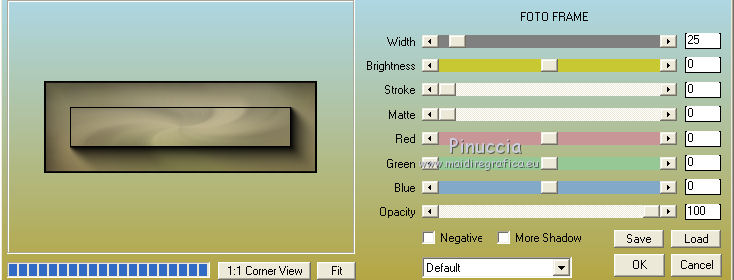
Selections>Select None.
12. Effects>Plugins>Simple - Left Right Wrap.
13. Effects>Reflextion Effects>Kaleidoscope.
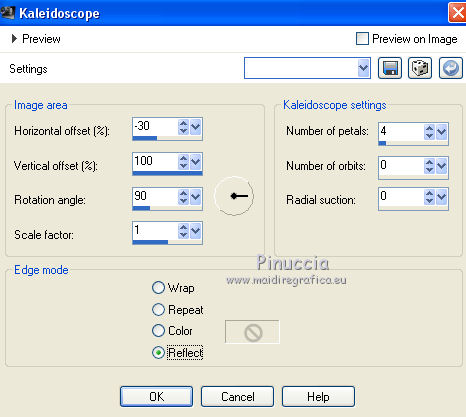
14. Image>Resize, to 60%, resize all layers not checked.
15. Selections>Select All.
Selections>Float.
Keep selected.
16. Effects>Plugins>AAA Frames - Foto Frame, same settings.
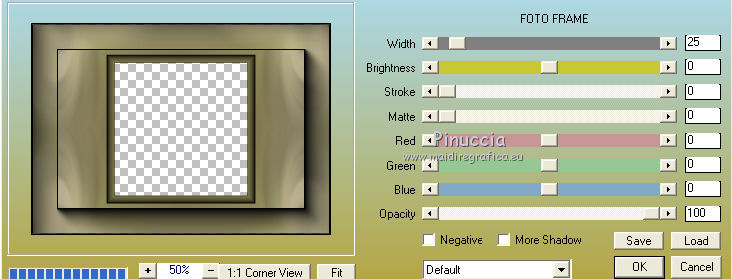
Selections>Select None.
17. Selections>Load/Save Selection>Load Selection from Alpha Channel.
Open the selections menu and load the selection #2.
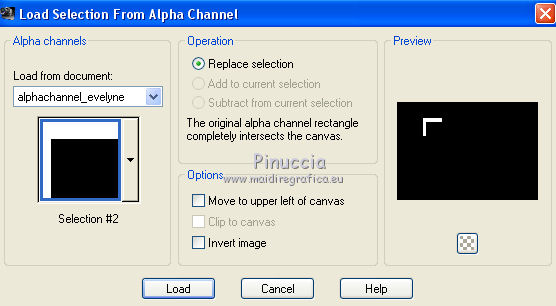
18. Layers>New Raster Layer.
Activate your misted.
Select  a part of the tube a part of the tube
if you use my misted, open the tube misted_1_mj
Edit>Copy.
Go back to your work and go to Edit>Paste into Selection.
19. Effects>Plugins>Alien Skin eye Candy 5 Impact - Glass.
Sélectionner le preset glass_majo et ok.
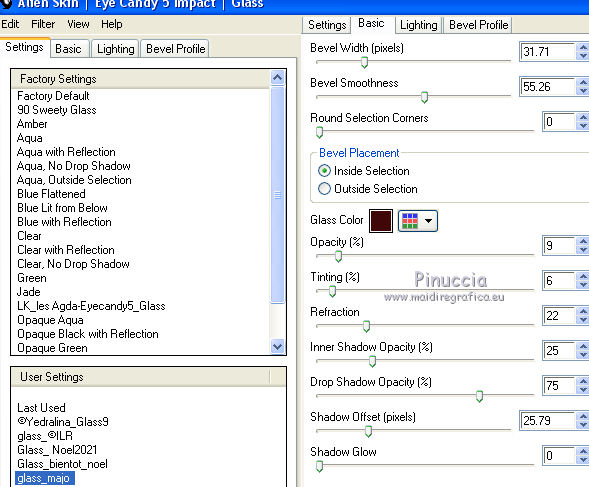
Layers>Arrange>Move Down.
Activate the layer above, Promoted Selection.
Layers>Merge>Merge Down.
Selections>Select None.
20. Effects>Image Effects>Seamless Tiling.

Effects>Reflection Effects>Rotating Mirror, same settings.

21. Selections>Load/Save Selection>Load Selection from Alpha Channel.
Open the selections menu and load the selection #3.
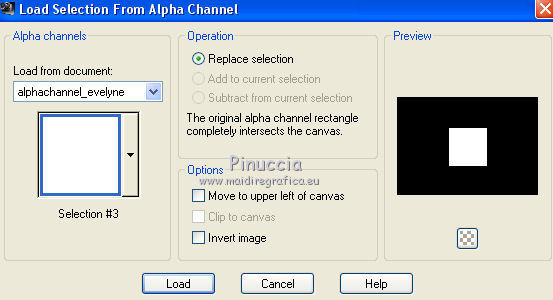
22. Layers>New Raster Layer.
Activate again the landscape misted and go to Edit>Copy.
Go back to your work and go to Edit>Paste into Selection.
23. Effects>Plugins>AAA Frames - Foto Frame, same settings.
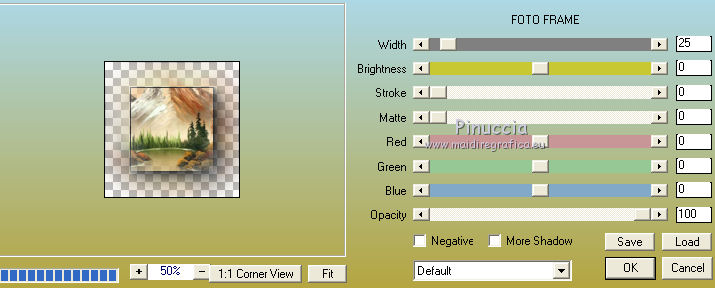
Selections>Select None.
24. Effects>Image Effects>Seamless Tiling.

Layers>Arrange>Move Down.
25. Activate the top layer, Raster 2.
Edit>Copy Special>Copy merged.
26. Selections>Load/Save Selection>Load Selection from Alpha Channel.
Open the selections menu and load the selection #4.
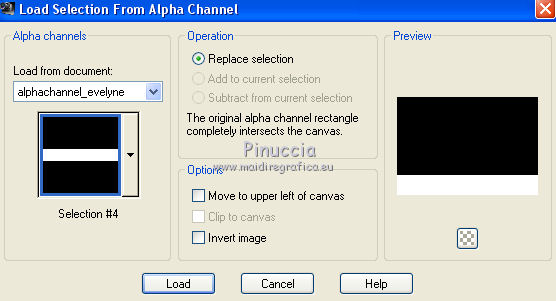
27. Layers>New Raster Layer.
Edit>Paste into Selection (the image of step 25).
28. Effects>Plugins>Mura's Meister - Perspective Tiling, default settings.
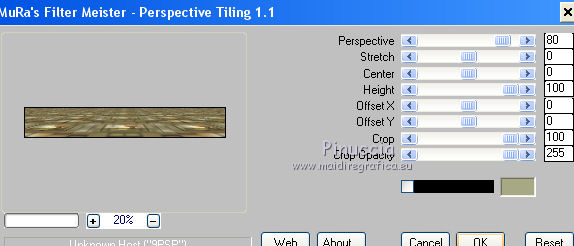
Selections>Select None.
Layers>Arrange>Move Down - 2 fois.
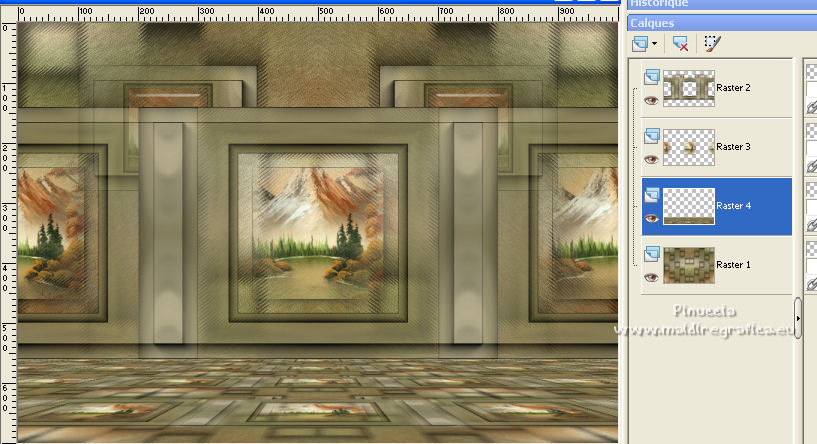
29. Layers>New Raster Layer.
Reduce the opacity of your Flood Fill Tool to 80%.
Flood Fill  the layer with your light background color. the layer with your light background color.
30. Layers>New Mask layer>From image
Open the menu under the source window and you'll see all the files open.
Select the mask maskevelyne.
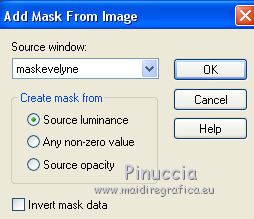
Layers>Duplicate.
Layers>Merge>Merge Groupe.
(don't forget to set again the opacity of your Flood Fill Tool to 100)
31. Effects>Plugins>Mura's Seamless - Emboss at Alpha, default settings.

32. Effects>Image Effects>Seamless Tiling.

Change the Blend Mode of this layer to Overlay.
33. Activate the top layer.
Open the tube deco_cadre_evelyne - Édition>Copier.
Go back to your work and go to Edit>Paste as new layer.
Change the Blend Mode of this layer to Luminance (legacy).
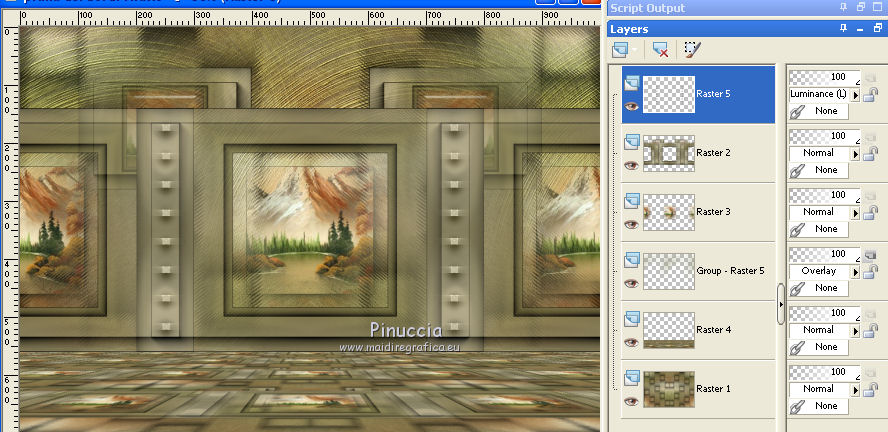
adapt Blend Modes and opacities to your liking
34. Image>Add borders, 1 pixel, symmetric, dark color.
Image>Add borders, 1 pixel, symmetric, light color.
Selections>Select All.
Edit>Copy.
Image>Add borders, 45 pixels, symmetric, color white.
Selections>Inver.
Edit>Paste into Selection.
35. Adjust>Blur>Radial Blur, same settings.
36. Effects>Plugins>Graphics Plus - Quick Tile I, default settings.
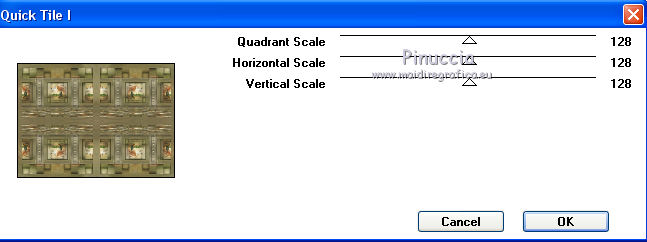
37. Effects>Distortion Effects>Wind- from left, intensity 100.

38. Effects>Reflection Effects>Rotating Mirror, default settings.

Adjust>Sharpness>Sharpen More.
Selections>Invert.
Effects>3D Effects>Drop Shadow, color black.
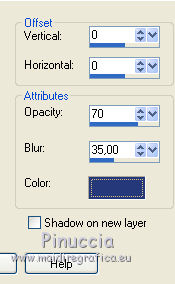
Selections>Select None.
39. Open the tube of the woman and go to Edit>Copy.
Go back to your work and go to Edit>Paste as new layer.
Image>Resize, to 95%, resize all layers not checked.
Move  the tube to the right side. the tube to the right side.
Effects>3D Effects>Drop Shadow, at your choice.
40. Open the deco tube and go to Edit>Copy.
Go back to your work and go to Edit>Paste as new layer.
Image>Resize, to 50%, resize all layers not checked.
Move  the tube at the bottom left. the tube at the bottom left.
Effects>3D Effects>Drop Shadow, to your liking.
41. Sign your work on a new layer.
Image>Add borders, 1 pixel, symétrique, dark color.
42. Image>Resize, 1000 pixels width, resize all layers checked.
Save as jpg.
For the tubes of this version thanks Criss and Gabry
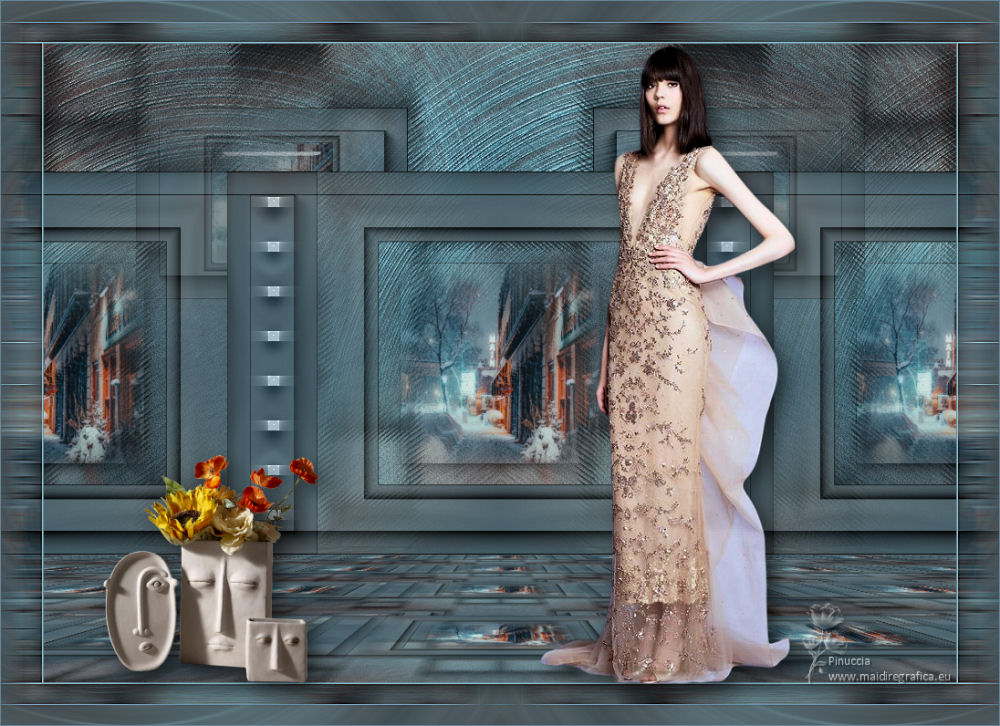
For the tubes of this version thanks Gabry and Luz Cristina
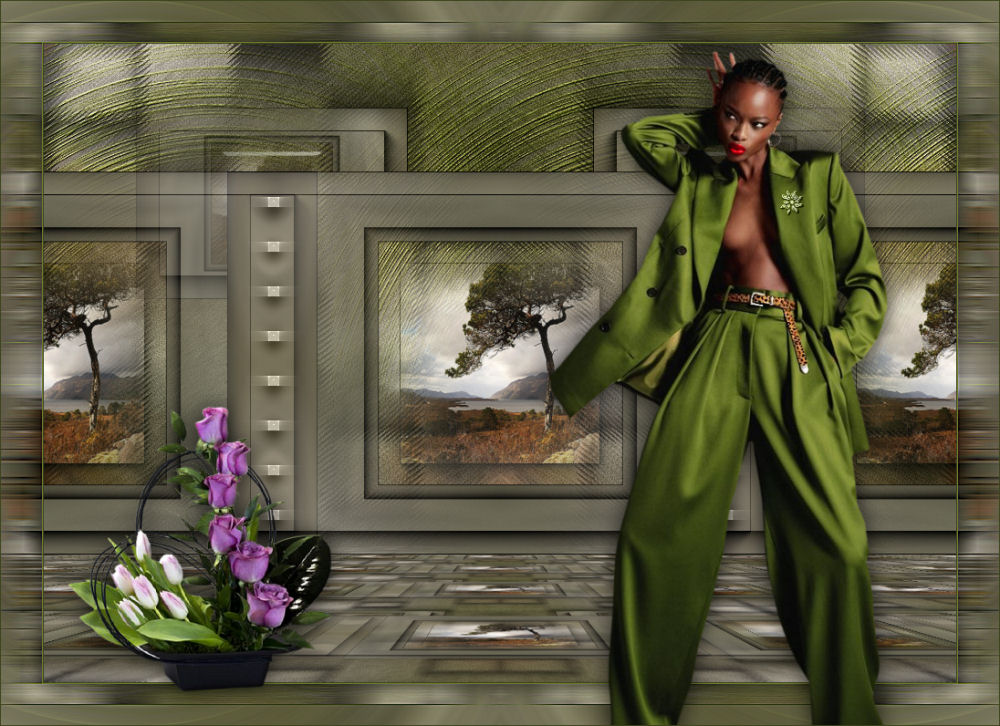
 Your versions here Your versions here

If you have problems or doubts, or you find a not worked link,
or only for tell me that you enjoyed this tutorial, write to me.
16 January 2022

|

