|
ERIKA

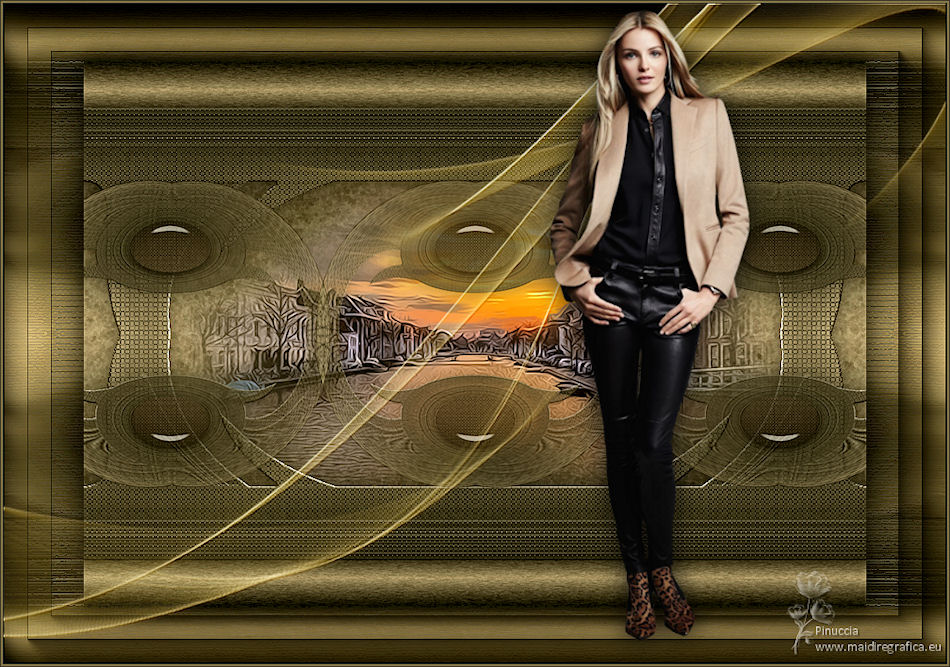
Thanks Maria José for your invitation to translate your tutorial

This tutorial has been translated with PSPX2 and PSPX3, but it can also be made using other versions of PSP.
Since version PSP X4, Image>Mirror was replaced with Image>Flip Horizontal,
and Image>Flip with Image>Flip Vertical, there are some variables.
In versions X5 and X6, the functions have been improved by making available the Objects menu.
In the latest version X7 command Image>Mirror and Image>Flip returned, but with new differences.
See my schedule here
 French translation here French translation here
 your versions here your versions here
For this tutorial, you will need:
Material here
For the tubes and a mask thanks Csilla, Nena Silva and Noe.
The rest of the material is by Maria José.
(you find here the links to the material authors' sites)
Plugins
consult, if necessary, my filter section here
Filters Unlimited 2.0 here
Mura's Seamless - Emboss at Alpha here
Flaming Pear - Flexify 2 here
Alien Skin Eye Candy 5 Impact - Glass here
Simple - Top Left Mirror here
Fantastic Machine - Paint Engine here
Artistiques - Pastels here
AAA Frames - Foto Frame /AAA Filters - Custom here
Filters Simple and Mura's Seamless can be used alone or imported into Filters Unlimited.
(How do, you see here)
If a plugin supplied appears with this icon  it must necessarily be imported into Unlimited it must necessarily be imported into Unlimited

You can change Blend Modes according to your colors.
In the newest versions of PSP, you don't find the foreground/background gradient (Corel_06_029).
You can use the gradients of the older versions.
The Gradient of CorelX here
Copy the preset  in the folder of the plugin Alien Skin Eye Candy 5 Impact>Settings>Glass. in the folder of the plugin Alien Skin Eye Candy 5 Impact>Settings>Glass.
One or two clic on the file (it depends by your settings), automatically the preset will be copied in the right folder.
why one or two clic see here
Copy the preset for Flexify in a Folder at your choice.
Copy the selections in the Selections Folders
Open the masks in PSP and minimize them with the rest of the material.
1. Set your foreground color to #2f2e21
and your background color to #c7b996.
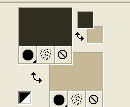
Set your foreground color to a Foreground/Background Gradient, style Linear.
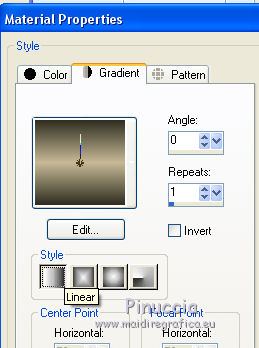
Open a new transparent image 1000 x 700 pixels.
Flood Fill  the transparent image with your Gradient. the transparent image with your Gradient.
2. Layers>New Mask layer>From image
Open the menu under the source window and you'll see all the files open.
Select the mask 123_mask-mj, Invert mask data checked.
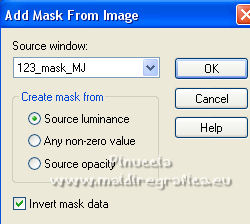
Layers>Merge>Merge Group.
3. Effects>Texture Effects>Weave
Weave color: foreground color
Gap color: background color

4. Effects>Plugins>Mura's Seamless - Emboss at Alpha, default settings.
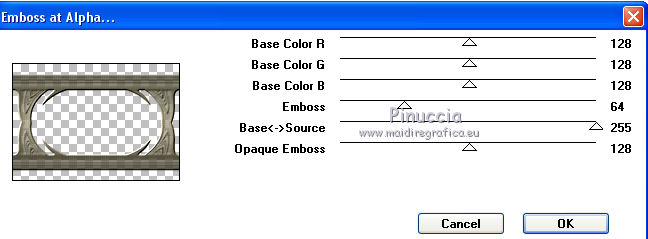
5. Effects>Reflection Effects>Rotating Mirror, default settings

Layers>Duplicate.
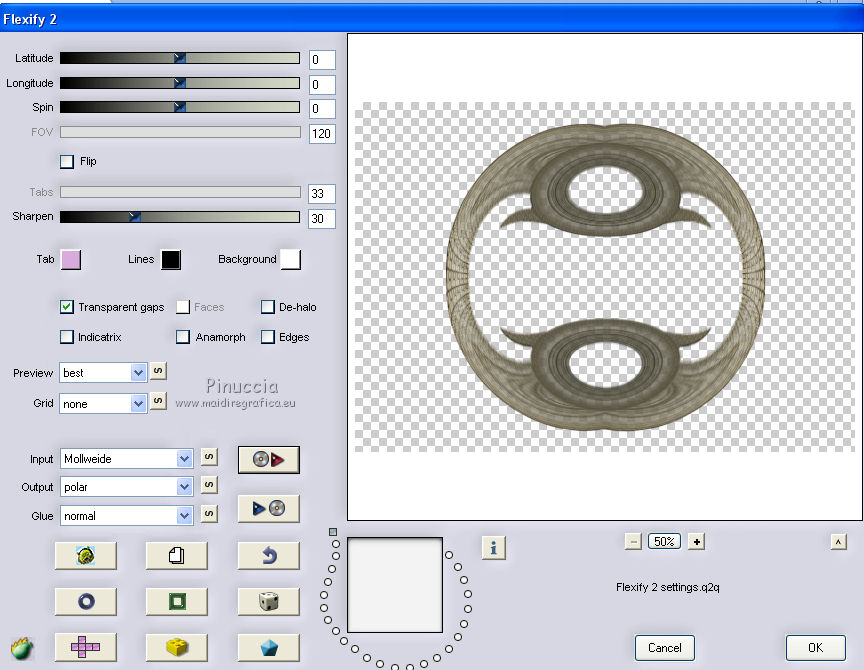
6. Effects>Plugins>Flaming Pear - Flexify 2.
Clic on the red button and look for the preset in the folder where you saved it
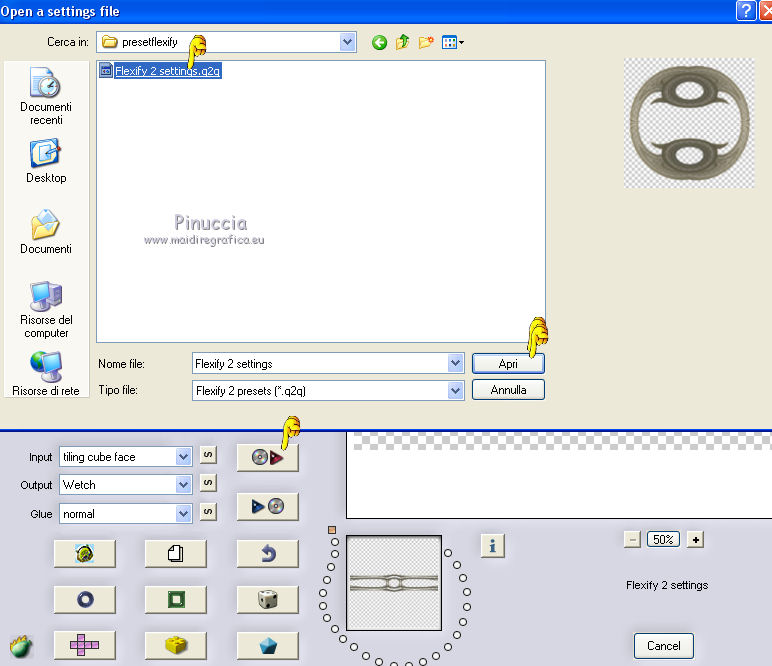
Here below the settings in case of problems:
it may happen that the preset blocks and closes the program
(it happened to me with the version used for the English translation).
Optionally, save your work before applying the filter.
7. Selections>Load/Save Selection>Load Selection from disk.
Look for and load the selection erika_mj.

8. Layers>New Raster Layer.
Flood Fill  the layer with your Gradient. the layer with your Gradient.
Effects>Texture Effects>Weave, same settings.
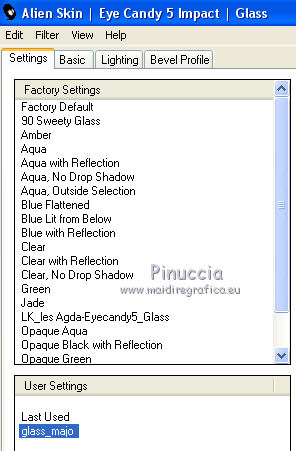
9. Effects>Plugins>Alien Skin Eye Candy 5 Impact - Glass.
Select the preset glass_majo and ok.
10. Effects>Plugins>Simple - Top Left Mirror.
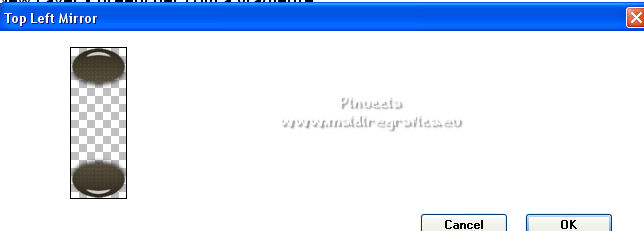
Layers>Merge>Merge Down.
Selections>Select None.
11. Image>Resize, to 64%, resize all layers not checked.
12. Effects>Image Effects>Seamless Tiling.

13. Effects>Reflection Effects>Rotating Mirror, default settings

14. Effects>3D Effects>Drop Shadow, dark color.

Activate the layer of the mask Group-Raster 1.
Edit>Repeat Drop Shadow.
15. Selections>Load/Save Selection>Load Selection from disk.
Look for and load the selection erika_1_mj.

Layers>New Raster Layer.
Layers>Arrange>Move Down.
16. Open the misted, keep the selection and go to Edit>Copy.
Go back to your work and go to Edit>Paste into Selection.
Selections>Select None.
17. Layers>New Raster Layer.
Layers>Arrange>Send to Bottom.
Flood Fill  the layer with your Gradient. the layer with your Gradient.
18. Effects>Plugins>Fantastic Machine - Paint Engine - preset Fractoil.
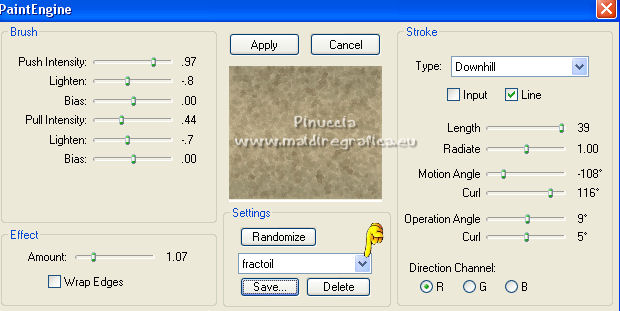
19. Layers>Duplicate.
Activate your Pick Tool 
mode Scale 
pull the top central node down, until 625 pixels.

20. Layers>Duplicate.
Image>Flip.
Your tag and the layer; adapt Blend Modes and opacities to your liking.

Layers>Merge>Merge visible.
21. Layers>Duplicate.
Image>Resize, to 83%, resize all layers not checked.
22. Effects>3D Effects>Drop shadow, color black.

Activate the layer Merged.
23. Effects>Distortion Effects>Wind - from left, intensity 100

24. Effects>Plugins>Artistiques - Pastels
If you are using the english version of the plugin: Artistics>Rough Pastels
 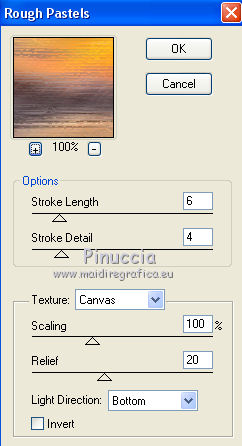
25. Effects>Plugins>Simple - Top Left Mirror.
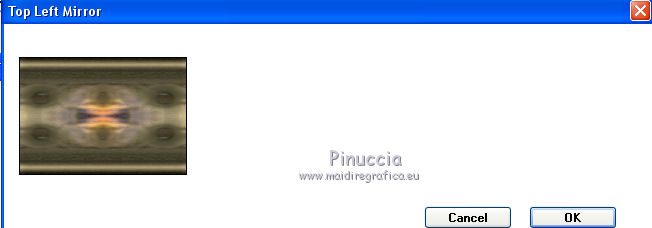
26. Adjust>Sharpness>Sharpen.
27. Effects>Plugins>AAA Frames - Foto Frame.
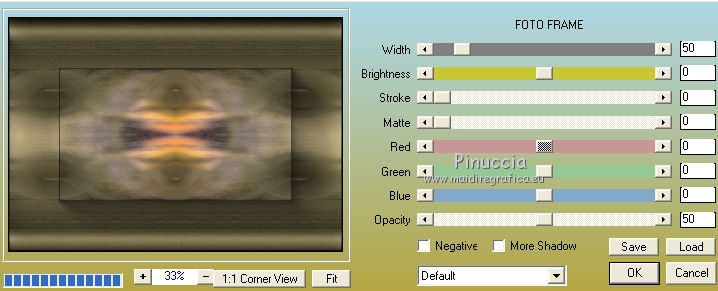
28. Repeat Effects>Plugins>AAA Frames - Foto Frame, width 25.
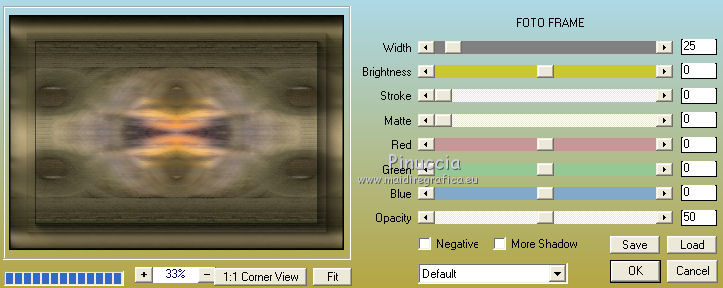
Layers>Merge>Merge visible.
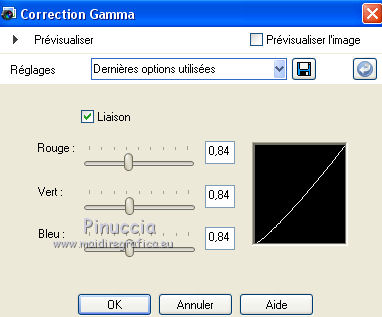
29. Optionnel: Touches shift+G sur le clavier pour activer Correction Gamma
Ci-dessous les paramètres pour ce tutoriel
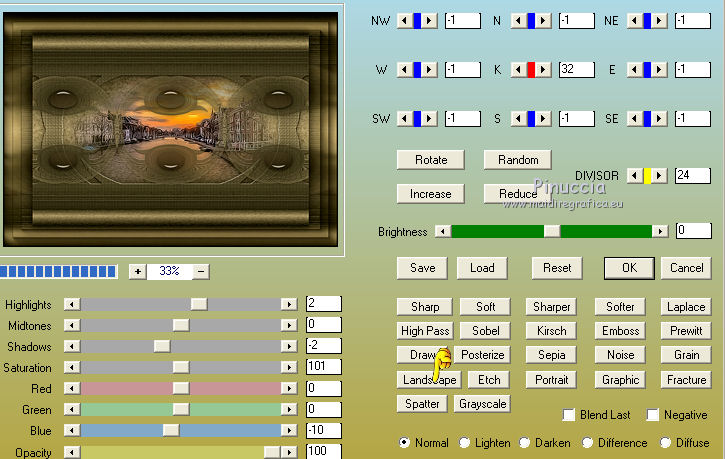
30. Effects>Plugins>AAAFilters - Custom, cliquer sur Landscape et ok.
31. Calques>Nouveau calque raster.
Réduire l'opacité de l'outil Pot de peinture à 70%.
Remplir  le calque avec la couleur claire d'arrière plan. le calque avec la couleur claire d'arrière plan.
ne pas oublier de placer à nouveau l'opacité de l'outil Pot de peinture à 100
32. Layers>New Mask layer>From image
Open the menu under the source window
and select the mask 2016-7-1maszknoe, Invert mask data not checked.

Layers>Merge>Merge Group.
33. Effects>Plugins>Mura's Seamless - Emboss at Alpha, default settings.

Placer le calque en mode Lumière dure ou autre.
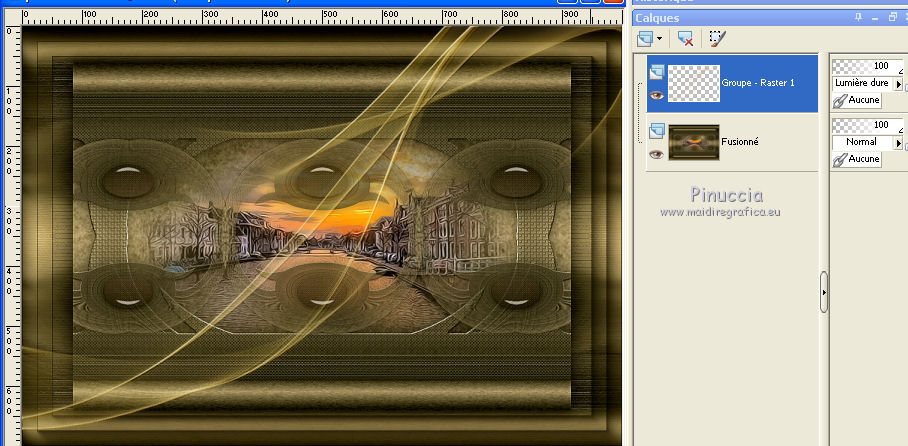
34. Ouvrir le tube de la femme et Édition>Copier.
Revenir sur votre travail et Édition>Coller comme nouveau calque.
Déplacer  le tube à droite. le tube à droite.
Effets>Effets 3D>Ombre portée, à choix.
35. Signer votre travail.
Image>Ajouter des bordures, 1 pixel, symétrique, couleur foncée.
Image>Ajouter des bordures, 2 pixels, symétrique, couleur claire #8a7a4b.
Image>Ajouter des bordures, 1 pixel, symétrique, couleur foncée.
36. Image>Redimensionner, 1000 pixels de largeur, redimensionner tous les calques coché.
Enregistrer en jpg.
For the tubes of this version thanks Luz Cristina and Gabry
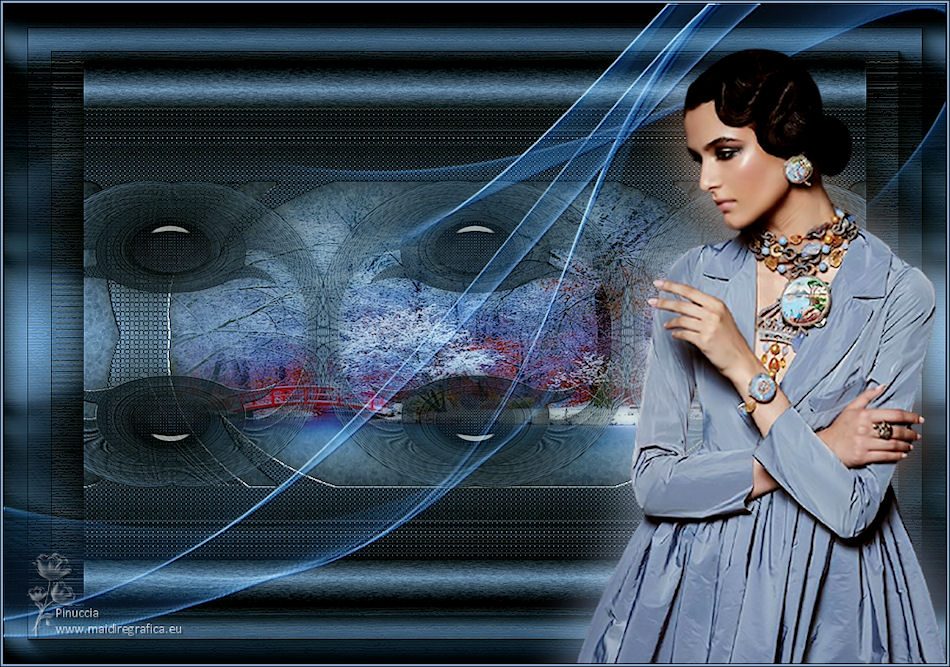
 Your versions here Your versions here

If you have problems or doubts, or you find a not worked link,
or only for tell me that you enjoyed this tutorial, write to me.
22 January 2022

|

