|
DAYSE

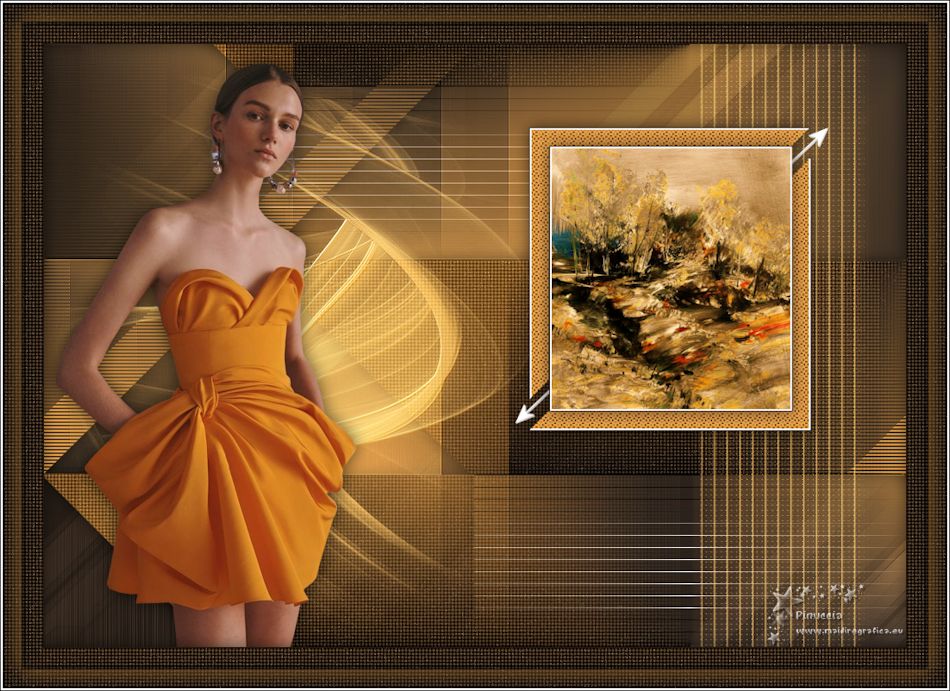
Thanks Maria José for your invitation to translate your tutorial

This tutorial has been translated with PSPX2 and PSPX3, but it can also be made using other versions of PSP.
Since version PSP X4, Image>Mirror was replaced with Image>Flip Horizontal,
and Image>Flip with Image>Flip Vertical, there are some variables.
In versions X5 and X6, the functions have been improved by making available the Objects menu.
In the latest version X7 command Image>Mirror and Image>Flip returned, but with new differences.
See my schedule here
 French translation here French translation here
 your versions ici your versions ici
For this tutorial, you will need:
Material here
For the tube thanks Jeanne.
The other material is by Maria José
(you find here the links to the material authors' sites)
Plugins
consult, if necessary, my filter section here
Filters Unlimited 2.0 here
Mura's Seamless - Emboss at Alpha here
Toadies - What are you here
Mehdi - Sorting Tiles here
Carolaine and Sensibility - CS-Linear-H here
Photoeffex - Scanlines here
L&K's - L&K's - Mayra here
AAA Frames - Foto Frame here
Filters Toadies and Mura's Seamless can be used alone or imported into Filters Unlimited.
(How do, you see here)
If a plugin supplied appears with this icon  it must necessarily be imported into Unlimited it must necessarily be imported into Unlimited

You can change Blend Modes according to your colors.
In the newest versions of PSP, you don't find the foreground/background gradient (Corel_06_029).
You can use the gradients of the older versions.
The Gradient of CorelX here
Open the mask in PSP and minimize it with the rest of the material.
Set your foreground color to #2e251e,
and your background color to #f0a54a.
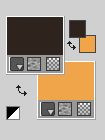
Set your foreground color to a Foreground/Background Gradient, style Rectangular
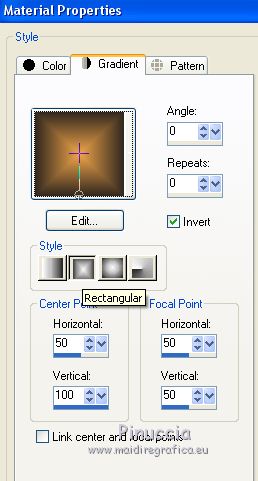
1. Open Alphachanneldayse.
Window>Duplicate or, on the keyboard, shift+D to make a copy.

Close the original.
The copy, that will be the basis of your work, is not empty,
but contains the selections saved on the alpha channel.
Flood Fill  the transparent image with your Gradient. the transparent image with your Gradient.
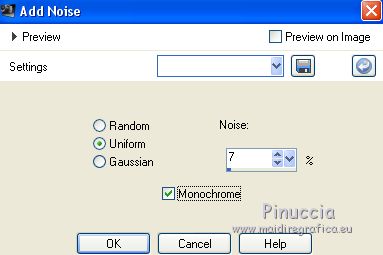
2. Adjust>Add/Remove Noise>Add Noise.
3. Effects>Plugins>Mehdi - Sorting Tiles.
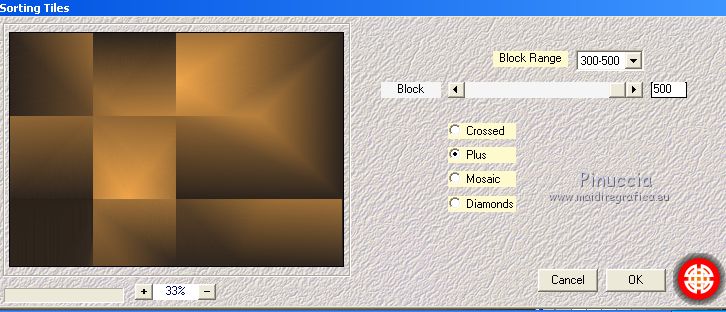
4. Effects>Plugins>Toadies - What are you
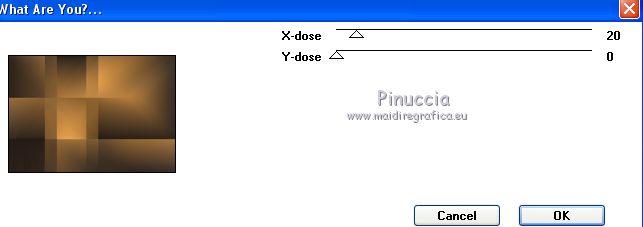
5. Effects>Edge Effects>Enhance.
6. Selections>Load/Save Selection>Load Selection from Alpha Channel.
The selection is immediately available. You just have to click Load.
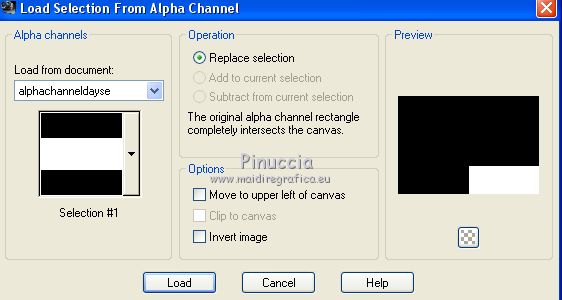
Selections>Promote Selection to Layer.
7. Effects>Plugins>L&K's - L&K's - Mayra, default settings.

8. Activate the layer Raster 1.
Selections>Load/Save Selection>Load Selection from Alpha Channel.
Open the Selections menu and load selection #2.
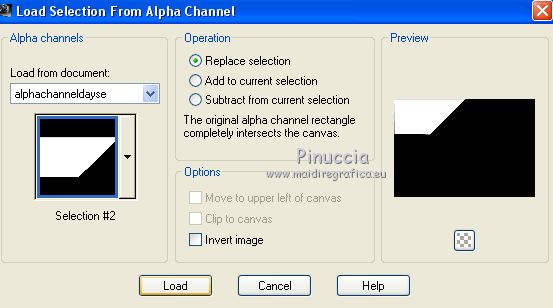
Selections>Promote Selection to Layer.
9. Effects>Plugins>Carolaine and Sensibility - CS-Linear-H

10. Activate again the layer Raster 1.
Selections>Load/Save Selection>Load Selection from Alpha Channel.
Open the Selections menu and load selection #3.
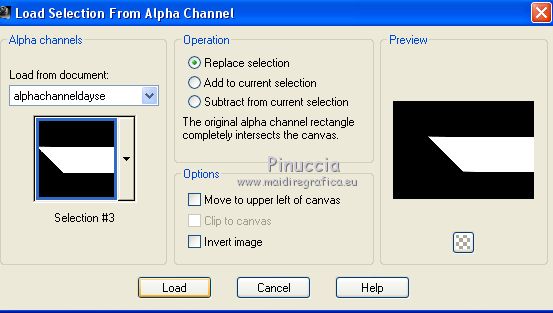
Selections>Promote Selection to Layer.
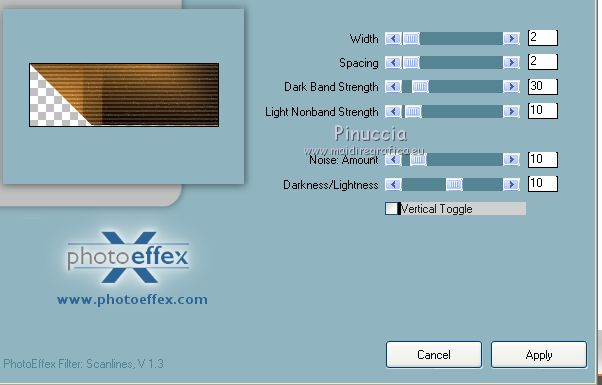
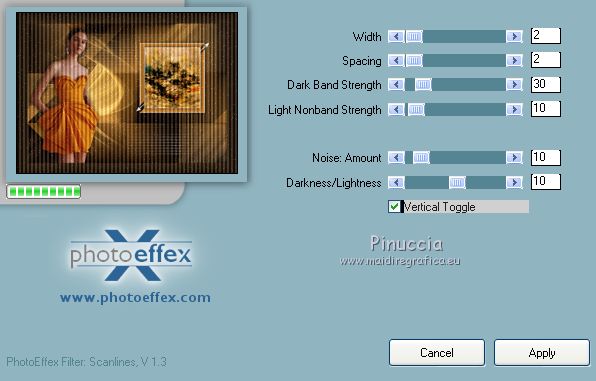
11. Effects>Plugins>Photoeffex - Scanlines
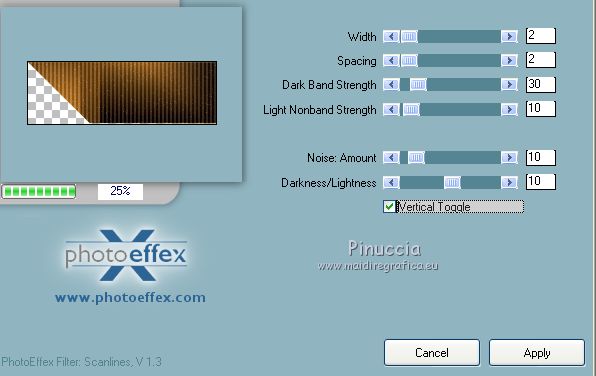
Repeat the Effect, this time Vertical checked.
Selections>Select None.
12. Stay on this layer and close the layer Raster 1.
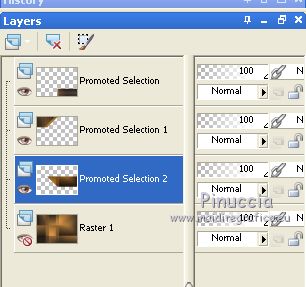
Layers>Merge>Merge visible.
Effects>3D Effects>Drop shadow, color black.

13. Effects>Image Effects>Seamless Tiling.
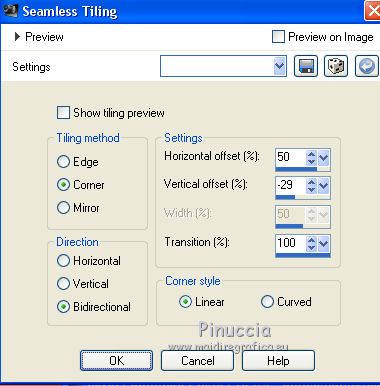
Open again and activate the layer Raster 1.
14. Open the tube deco_dayse_mj and go to Edit>Copy.
Go back to your work and go to Edit>Paste as new layer.
Change the Blend Mode of this layer to Overlay.
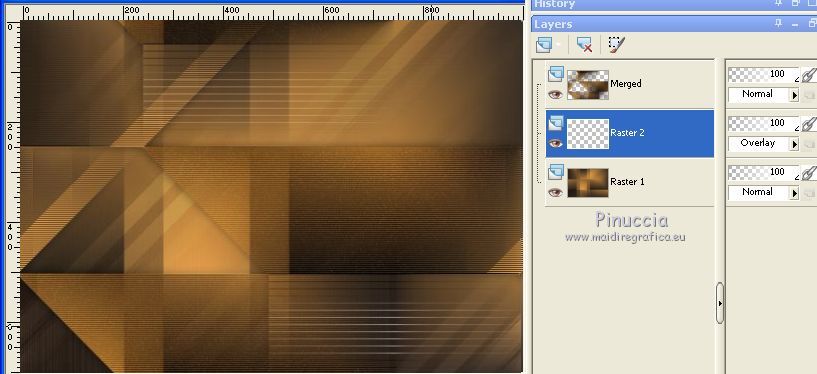
15. Layers>New Raster Layer.
Flood Fill  the layer with your light background color. the layer with your light background color.
Layers>Arrange>Bring to Top.
16. Layers>New Mask layer>From image
Open the menu under the source window and you'll see all the files open.
Select the mask daysemask_mj.
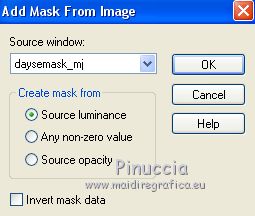
Layers>Merge>Merge Group.
17. Effects>Plugins>Mura's Seamless - Emboss at Alpha, default settings.
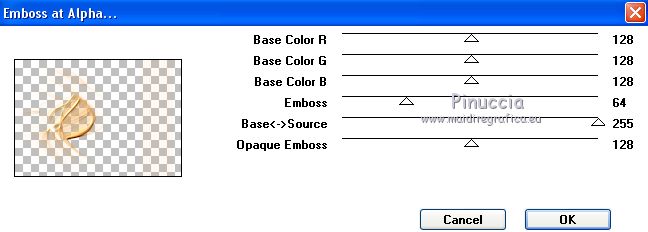
Change the Blend Mode of this layer to Screen.
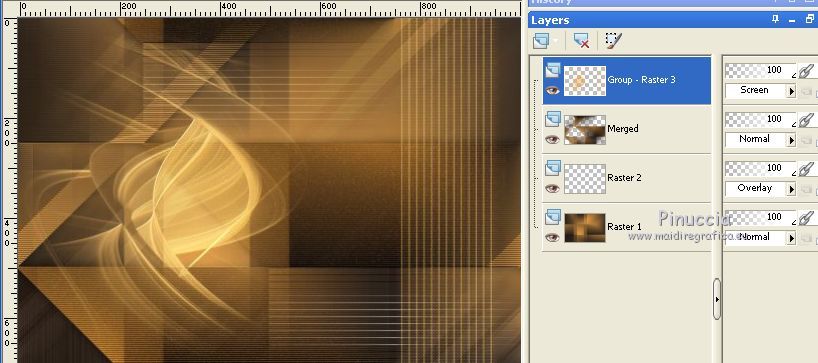
18. Selections>Load/Save Selection>Load Selection from Alpha Channel.
Open the Selections menu and load selection #4.
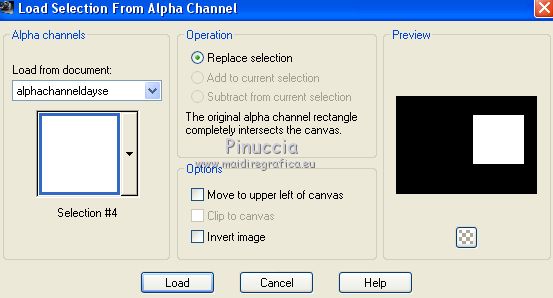
19. Layers>New Raster Layer.
Flood Fill  the layer with your light background color. the layer with your light background color.
20. Selections>Modify>Contract - 25 pixels.
Press CANC on the keyboard 
Selections>Select None.
21. Effects>Texture Effects>Weave
weave color: foreground color
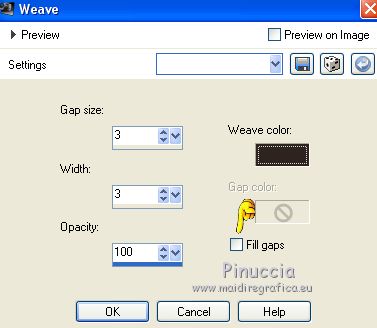
22. Selections>Load/Save Selection>Load Selection from Alpha Channel.
Open the Selections menu and load again selection #4.

23. Effects>Plugins>AAA Frames - Foto Frame.
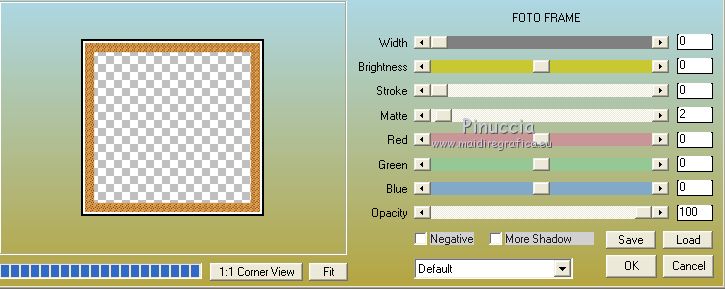
Selections>Select None.
24. Selections>Load/Save Selection>Load Selection from Alpha Channel.
Open the Selections menu and load selection #5.
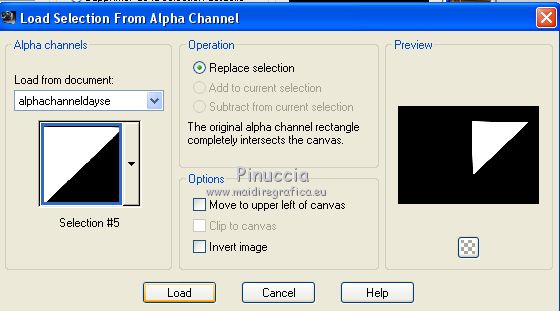
25. Edit>Cut (to keep in memory the image).
Selections>Select None.
Edit>PAste as new layer.
26. K key to activate your Pick Tool 
and set Position X: 541,00 and Position Y: 90,00

M key to deselect the tool.
Layers>Merge>Merge Down.
Effects>3D Effects>Drop Shadow, color black.
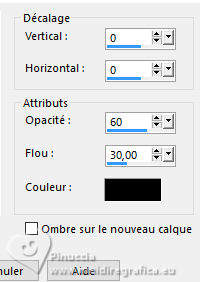
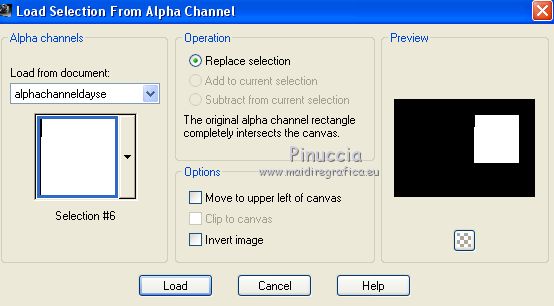
27. Selections>Load/Save Selection>Load Selection from Alpha Channel.
Open the Selections menu and load selection #6.
28. Layers>New Raster Layer.
Open the image abstract1 and go to Edit>Copy.
Go back to your work and go to Edit>Paste into Selection.
29. Effects>Plugins>AAA Frames - Foto Frame, same settings.
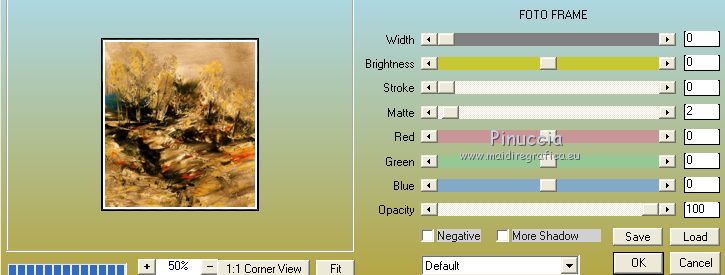
Repeat Effects>3D Effects>Drop Shadow, same settings.
Layers>Merge>Merge Down.
Selections>Select None.
30. Image>Resize, to 90%, resize all layers not checked.
31. Open the tube deco_dayse_1_mj and go to Edit>Copy.
Go back to your work as new layer.
Place  correctly the tube on the frame. correctly the tube on the frame.
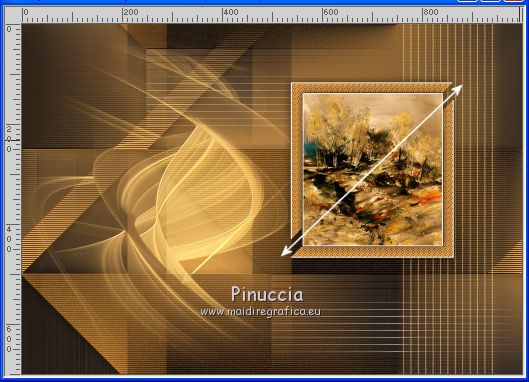
Layers>Arrange>Move Down.
Pick Tool 
and set Position X: 520,00 and Position Y: 116,00.

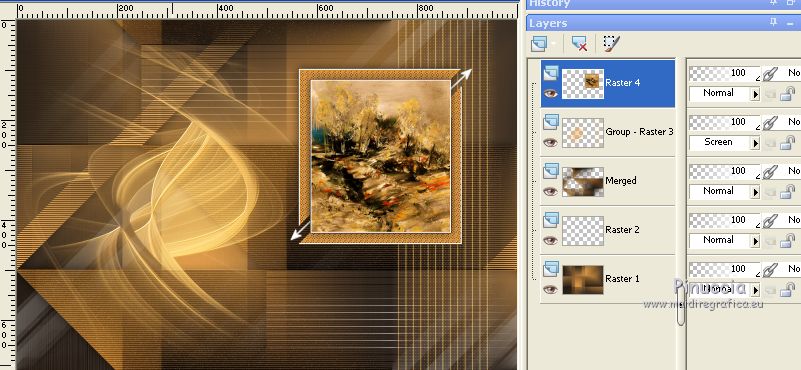
32. Activate the top layer, Raster 3.
Layers>Merge>Merge Down.
33. Pick Tool 
and set Position X: 543,00 and Position Y: 77,00.

M key to deselect the tool.
Your tag and your layers
34. Open the woman tube, erase the watemark and go to Edit>Copy.
Go back to your work and go to Edit>Paste as new layer.
Image>Mirror.
Image>Resize, to 80%, resize all layers not checked.
Move  the tube to the left side. the tube to the left side.
Effects>3D Effects>Drop Shadow, at your choice.
35. Image>Add borders, 1 pixel, symmetric, dark color.
Selections>Select All.
Image>Add borders, 50 pixels, symmetric, color white.
Selections>Invert.
Flood Fill  the selection with your Gradient. the selection with your Gradient.
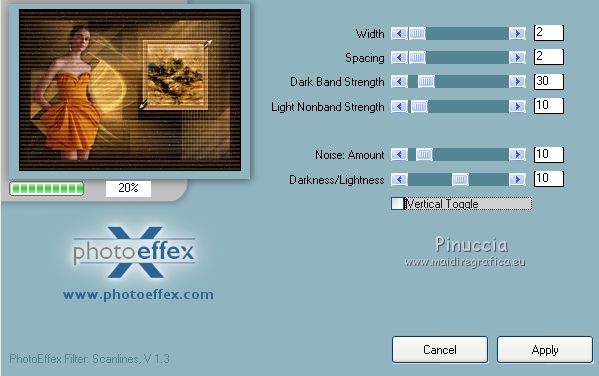
36. Effects>Plugins>Photoeffex - Scanlines, same settings.
Repeat Vertical not checked.
Effects>3D Effects>Drop Shadow, color black.

37. Selections>Select All.
Selections>Modify>Contract - 25 pixels.
Effects>3D Effects>Drop Shadow, light color.
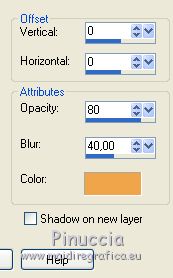
Selections>Modify>Contract - 5 pixels.
Effects>3D Effects>Drop Shadow, color black.

Selections>Select None.
38. Effects>Plugins>AAA Frames - Foto Frame, same settings.
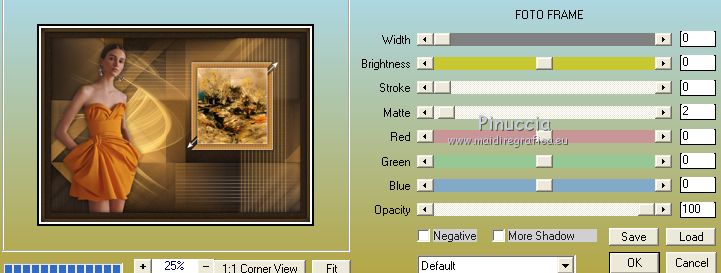
39. Sign your work on a new layer.
Layers>Merge>Merge All.
40. Image>Resize, 1000 pixels width, resize all layers not checked.
Save as jpg.
Version with tubes by Luz Cristina
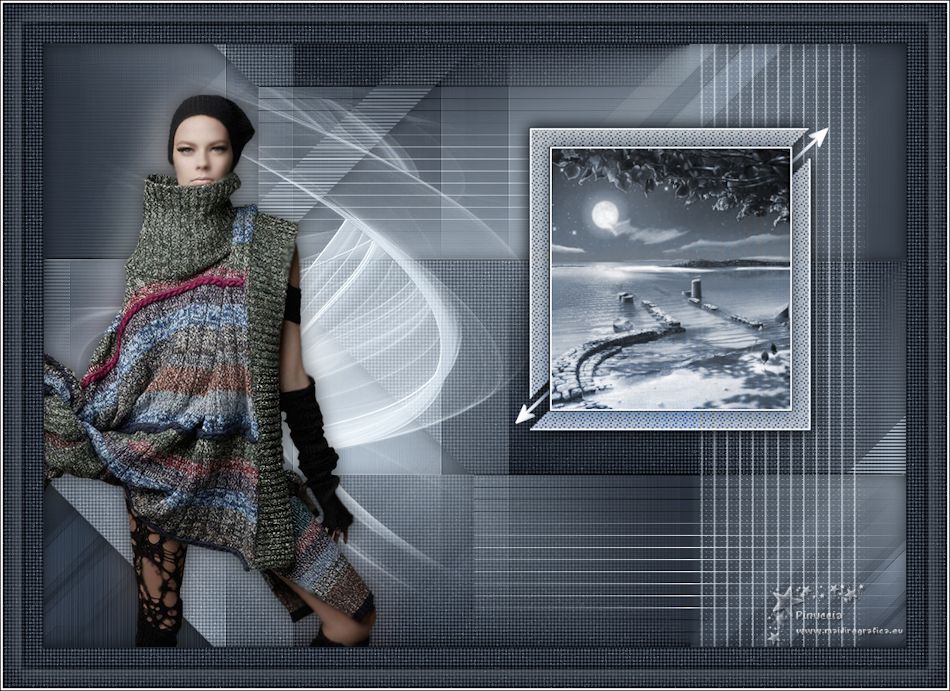
 Your versions here Your versions here

If you have problems or doubts, or you find a not worked link, or only for tell me that you enjoyed this tutorial, write to me.
3 February 2021
|


