|
COLOR GRID

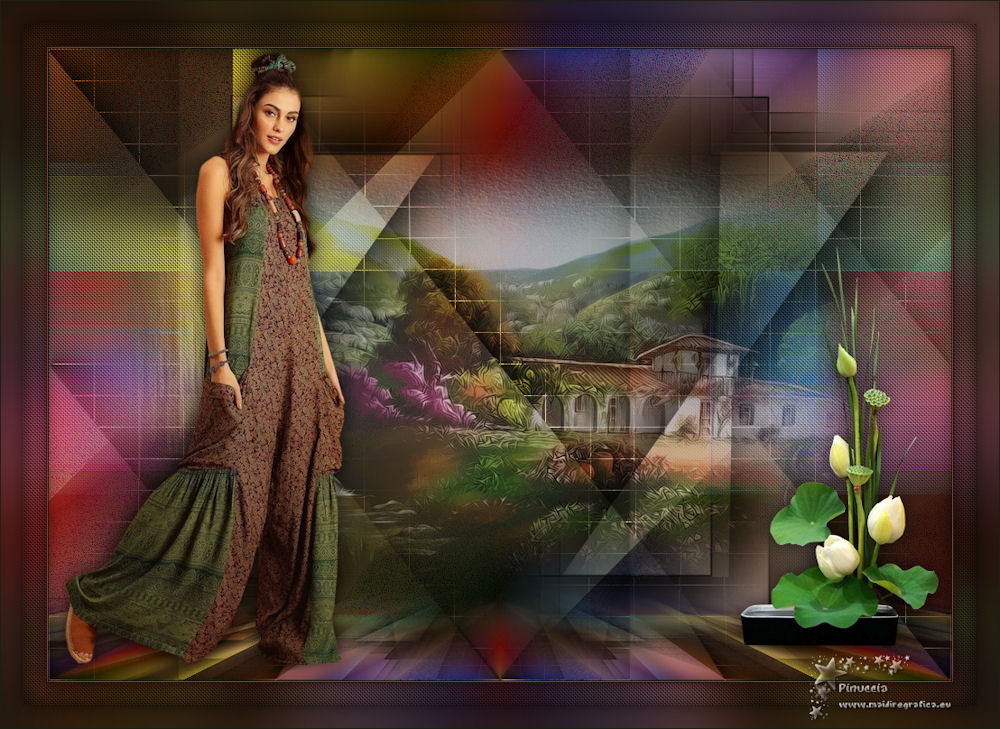
Thanks Maria José for your invitation to translate your tutorial

This tutorial has been translated with PSPX2 and PSPX3, but it can also be made using other versions of PSP.
Since version PSP X4, Image>Mirror was replaced with Image>Flip Horizontal,
and Image>Flip with Image>Flip Vertical, there are some variables.
In versions X5 and X6, the functions have been improved by making available the Objects menu.
In the latest version X7 command Image>Mirror and Image>Flip returned, but with new differences.
See my schedule here
 French translation here French translation here
 your versions ici your versions ici
For this tutorial, you will need:
Material here
Thanks for the tubes Lori Rhae and Tineke, and for the mask LBM
The rest of the material is by Maria José, from images Pinterest.
(you find here the links to the material authors' sites)
Plugins
consult, if necessary, my filter section here
Filters Unlimited 2.0 here
Filter Factory Gallery D - Warm Jets here
VM Natural - Speed here
Mura's Meister - Perspective Tiling here
Simple - Left Right Wrap (bonus) here
Mura's Seamless - Emboss at Alpha here
Toadies - What are you, Weaver here
Graphics Plus - Weaver here
All the plugins - except Mura's Meister - can be used alone or imported into Filters Unlimited.
(How do, you see here)
If a plugin supplied appears with this icon  it must necessarily be imported into Unlimited it must necessarily be imported into Unlimited

You can change Blend Modes according to your colors.
In the newest versions of PSP, you don't find the foreground/background gradient (Corel_06_029).
You can use the gradients of the older versions.
The Gradient of CorelX here
Copy the Selection in the Selections Folder.
Open the mask in PSP and minimize it with the rest of the material.
Set your foreground color to #ab926c,
and your background color to #30210a.
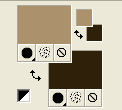
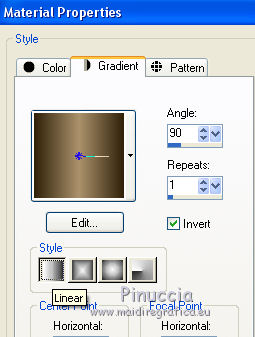
Set your foreground color to a Foreground/Background Gradient, style Linear.
1. Open a new transparent image 1000 x 700 pixels.
Flood Fill  the transparent image with your Gradient. the transparent image with your Gradient.
2. Effects>Geometric Effects>Skew.
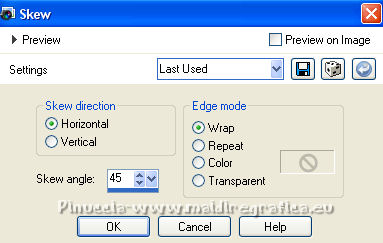
Edit>Repeat Skew.
3. Effects>Plugins>Filter Factory Gallery D - Warm Jets, default settings.
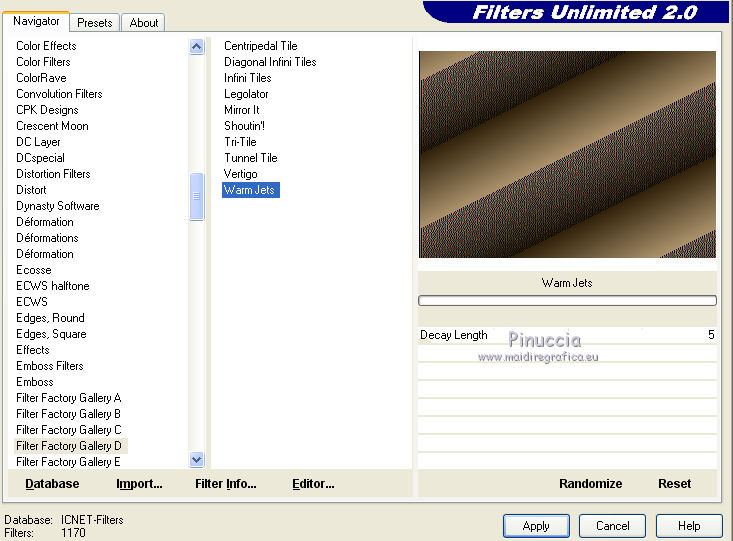
4. Effects>Plugins>VM Natural - Speed, default settings.
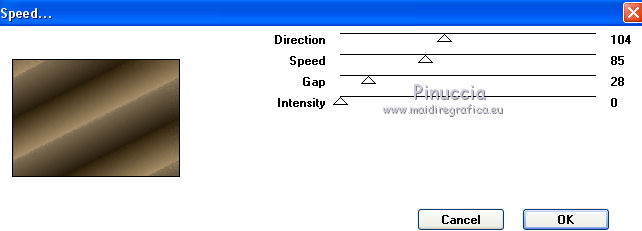
5. Effects>Geometric Effects>Skew.
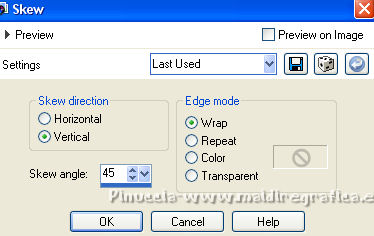
6. Effects>Reflection Effects>Kaleidoscope.
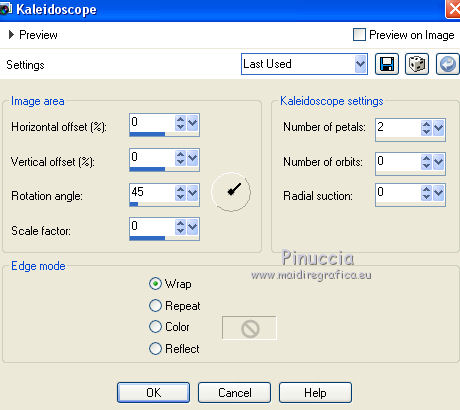
7. Layers>New Raster Layer.
Flood Fill  the layer with your dark background color. the layer with your dark background color.
8. Layers>New Mask layer>From image
Open the menu under the source window and you'll see all the files open.
Select the mask mask_LBM.
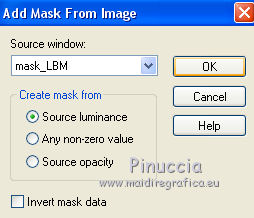
Layers>Merge>Merge Group.
9. Effects>Plugins>Mura's Seamless - Emboss at Alpha, default settings.
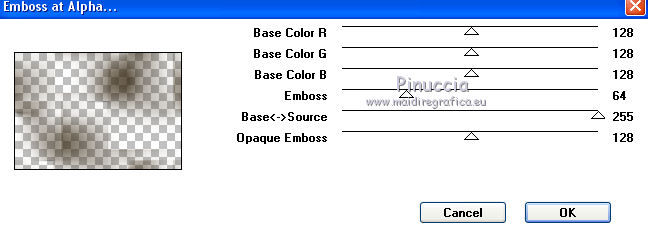
10. Effects>Plugins>Toadies - What are you
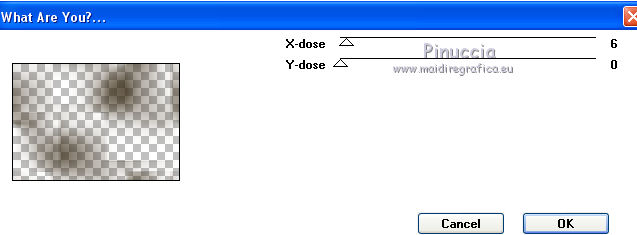
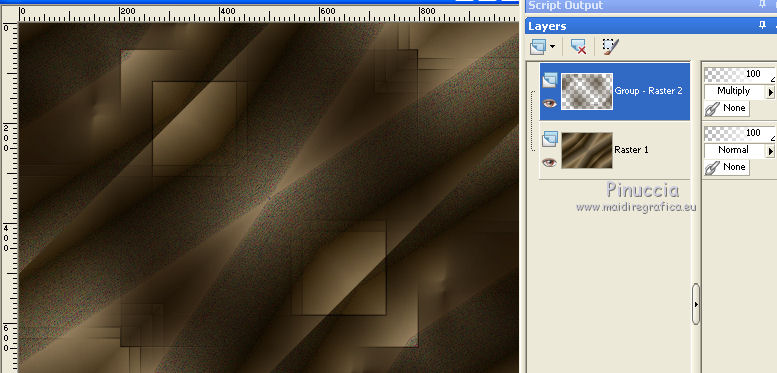
11. Effects>Reflection Effects>Kaleidoscope, same settings.

Change the Blend Mode of this layer to Multiply.
12. Open the tube decocor1_MJ and go to Edit>Copy.
Go back to your work and go to Edit>Paste as new layer.
13. Adjust>Blur>Gaussian Blur, radius 25.

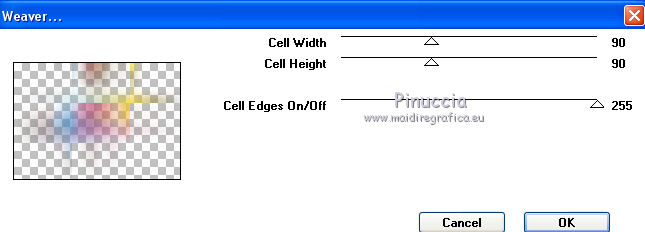
14. Effects>Plugins>Toadies - Weaver
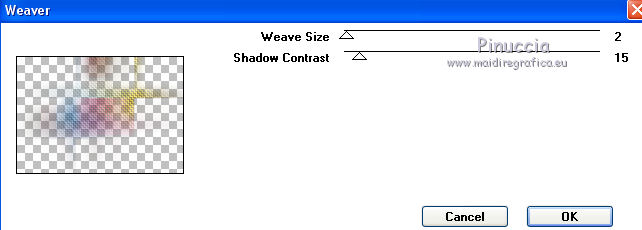
15. Effects>Plugins>Graphics Plus - Weaver.
16. Adjust>Sharpness>Sharpen.
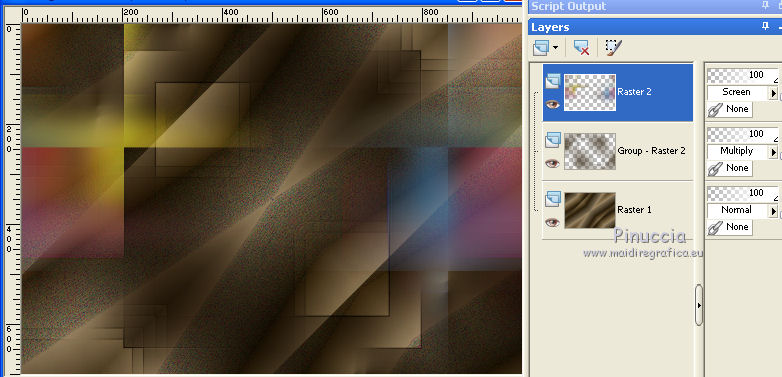
17. Effects>Plugins>Simple - Left Right Wrap
Change the Blend Mode of this layer to Screen.
18. Open the tube decogrid_mj and go to Edit>Copy.
Go back to your work and go to Edit>Paste as new layer.
Change the Blend Mode of this layer to Overlay.
19. Open the tube decogrid_1_mj and go to Edit>Copy.
Go back to your work and go to Edit>Paste as new layer.
Change the Blend Mode of this layer to Multiplier.
20. Activate the layer Raster 1.
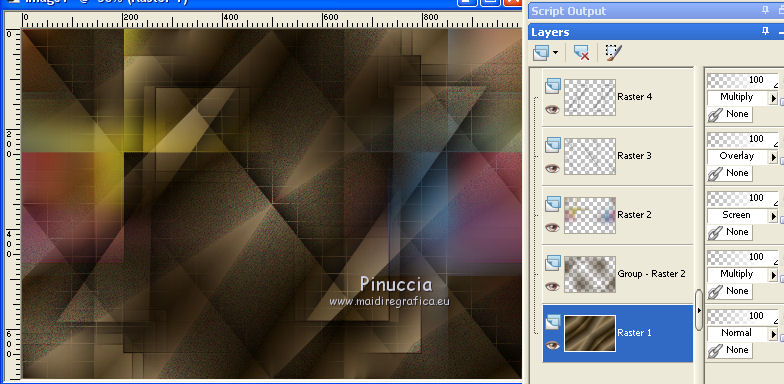
Open the tube layercolorida and go to Edit>Copy.
Go back to your work and go to Edit>Paste as new layer.
Change the Blend Mode of this layer to Hard Light.
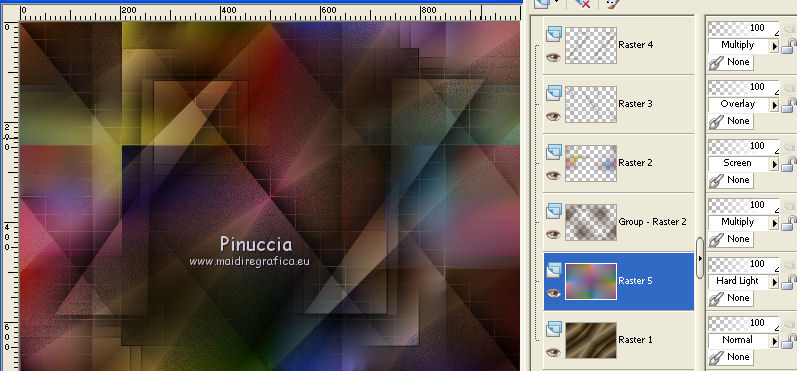
21. Activate the top layer, Raster 4.
Edit>Copy Special>Copy merged.
Edit>Paste as new layer.
Image>Flip.
22. Effects>Plugins>Mura's Meister - Perspective Tiling.
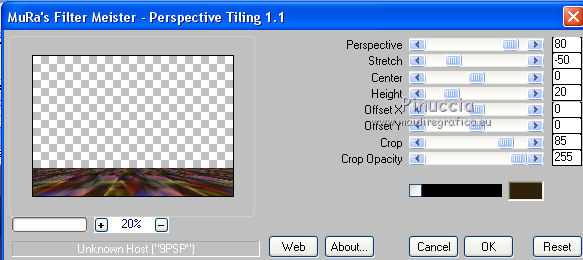
23. Effecs>Reflection Effects>Rotating Mirror, default settings.

24. Selections>Load/Save Selection>Load Selection from disk.
Look for and load the selection cologrid_mj
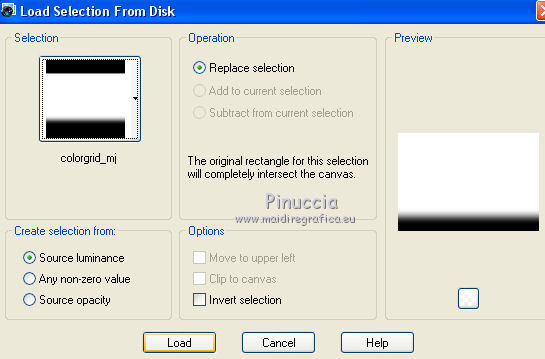
Press +/- 7 times CANC on the keyboard 
Selections>Select None.
25. Layers>Arrange>Move Down - 2 times.
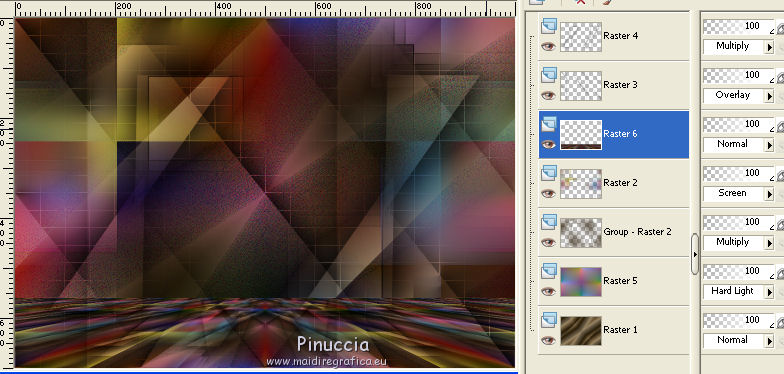
26. Open the misted and go to Edit>Copy.
Go back to your work and go to Edit>Paste as new layer.
If necessary, reduce the opacity between 70 and 80%.
27. Layers>Arrange>Move Down - 2 times.
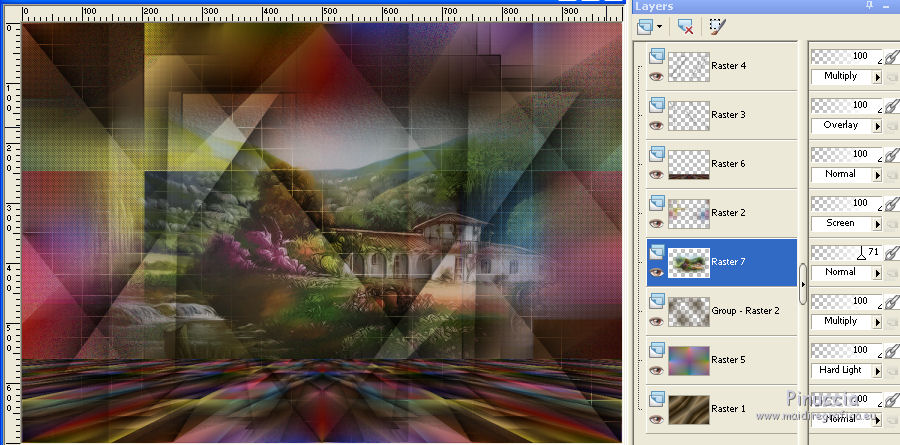
28. Activate the top layer.
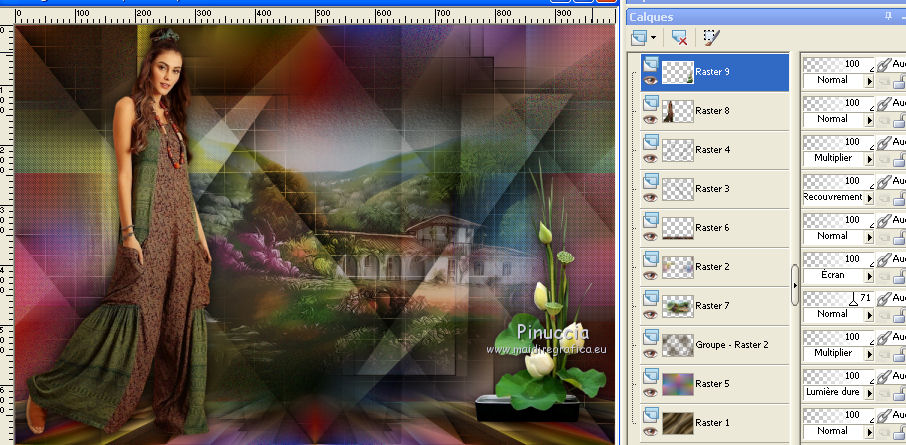
Open the woman tube and go to Edit>Copy.
Go back to your work and go to Edit>Paste as new layer.
Image>Resize, to 85%, resize all layers not checked.
Move  the tube to the left side. the tube to the left side.
Effects>3D Effects>Drop Shadow, at your choice.
29. Open the deco tube and go to Edit>Copy.
Go back to your work and go to Edit>Paste as new layer.
Image>Resize, to 80%, resize all layers not checked.
Image>Mirror.
Move  the tube at the bottom right. the tube at the bottom right.
Effects>3D Effects>Drop Shadow, at your choice.
The tag and the layers - adapt Blend Modes and opacities according to your colors.
30. Image>Add bordres, 1 pixel, symmetric, color #1a2012.
Image>Add borders, 1 pixel, symmetric, color #ad5253.
Image>Add borders, 1 pixel, symmetric, color #1a2012.
31. Selections>Select All.
Edit>Copy.
Add borders, 50 pixels, symmetric, color white.
32. Selections>Invert.
Edit>Paste into Selection (the image copied at step 31).
33. Adjust>Blur>Gaussian Blur - radius 25.

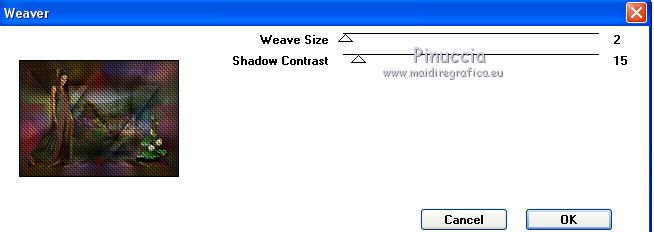
34. Effects>Plugins>Graphics Plus - Weaver.
3D Effects>Drop Shadow, color black.

Selections>Invert.
Repeat Effects>3D Effects>Drop Shadow, same settings.
36. Selections>Select All.
Selections>Modify>Contract - 25 pixels.
37. Selections>Invert.
Adjust>Blur>Gaussian Blur - radius 25.

38. Effects>3D Effects>Drop Shadow, color black.

Selections>Invert.
Repeat Effects>3D Effects>Drop Shadow, same settings.
Selections>Select None.
39. Sign your work on a new layer.
Image>Add borders, 1 pixel, symmetric, color #1a2012.
40. Image>Resize, 1000 pixels width, resize all layers checked.
Save as jpg.
Version with tubes by Beatriz, Cal and Nena Silva
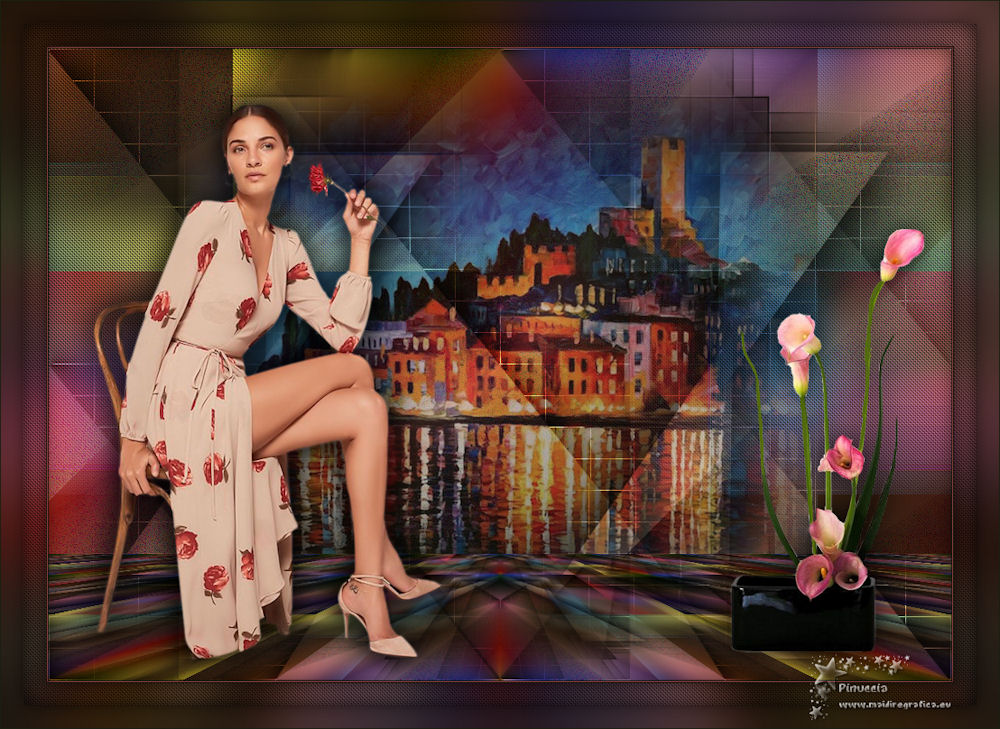
 Your versions here Your versions here

If you have problems or doubts, or you find a not worked link, or only for tell me that you enjoyed this tutorial, write to me.
2 June 2021
|

