|
CASTORKE

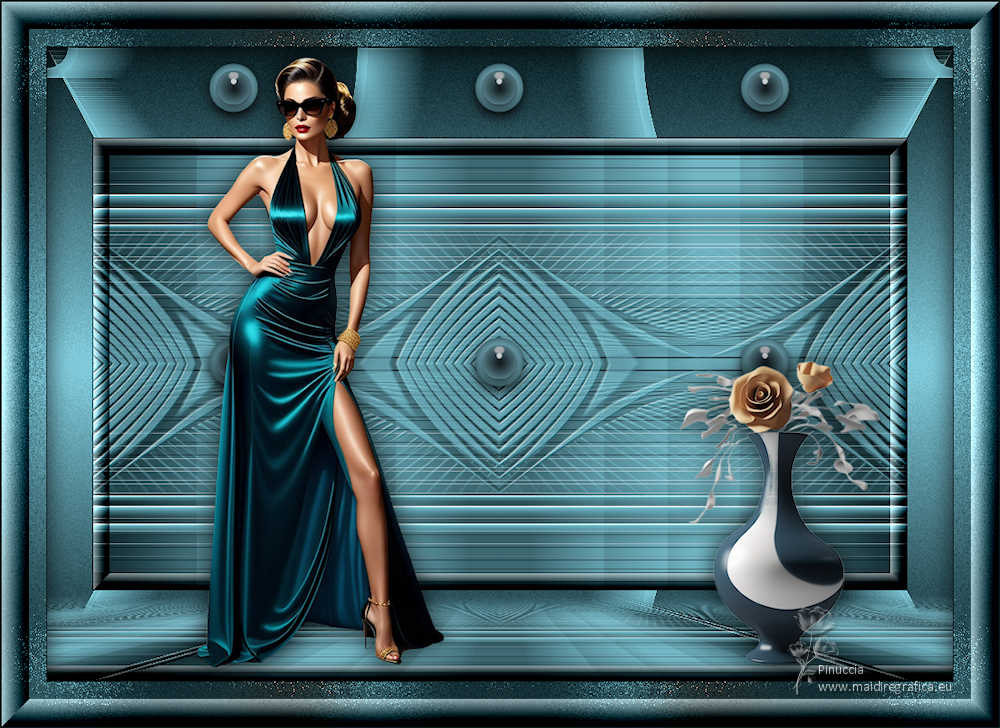
Thanks Maria José for your invitation to translate your tutorial

This tutorial has been translated with PSPX9 and PSP2019, but it can also be made using other versions of PSP.
Since version PSP X4, Image>Mirror was replaced with Image>Flip Horizontal,
and Image>Flip with Image>Flip Vertical, there are some variables.
In versions X5 and X6, the functions have been improved by making available the Objects menu.
In the latest version X7 command Image>Mirror and Image>Flip returned, but with new differences.
See my schedule here
 French translation here French translation here
 your versions here your versions here
For this tutorial, you will need:

(you find here the links to the material authors' sites)

consult, if necessary, my filter section here
Filters Unlimited 2.0 here
Mura's Seamless - Emboss at Alpha here
Mehdi - Sorting Tiles here
L&K's - L&K's Mayra here
Simple - Top Left Mirror here
Toadies - What are you, Blast'em here
Mura's Meister - Perspective Tiling here
Filters Toadies, Simple and Mura's Seamless can be used alone or imported into Filters Unlimited.
(How do, you see here)
If a plugin supplied appears with this icon  it must necessarily be imported into Unlimited it must necessarily be imported into Unlimited

You can change Blend Modes according to your colors.
In the newest versions of PSP, you don't find the foreground/background gradient (Corel_06_029).
You can use the gradients of the older versions.
The Gradient of CorelX here

Open the mask in PSP and minimize it with the rest of the material.
Set your foreground color to #092025
and your background color to #85d0e1.
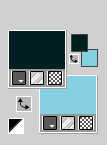
Set your foreground color to a Foreground/Background Gradient, style Linear.
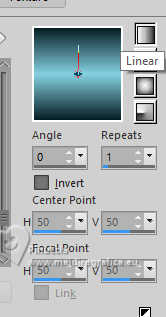
1. Open a new transparent image 900 x 500 pixels.
Flood Fill  the transparent image with your light background color. the transparent image with your light background color.
2. Layers>New Mask layer>From image
Open the menu under the source window and you'll see all the files open.
Select the mask mask-moi-tuto-MJ.
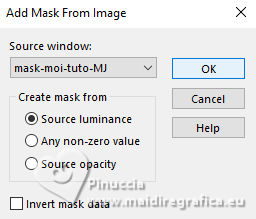
Layers>Merge>Merge Group.
3. Effects>Plugins>Mura's Seamless - Emboss at Alpha, default settings.
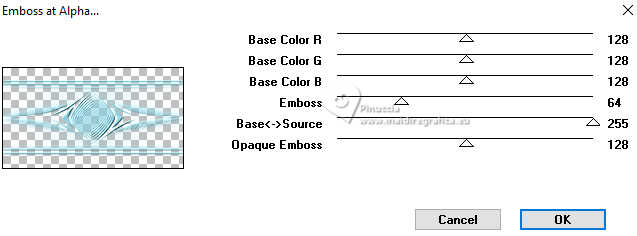
4. Effects>Image Effects>Seamless Tiling.

5. Adjust>Sharpness>Sharpen.
6. Effects>3D Effects>Drop Shadow, color black.

7. Layers>New Raster Layer.
Flood Fill  the layer with your Gradient. the layer with your Gradient.
Layers>Arrange>Send to Bottom.
8. Effects>Plugins>Mehdi - Sorting Tiles.
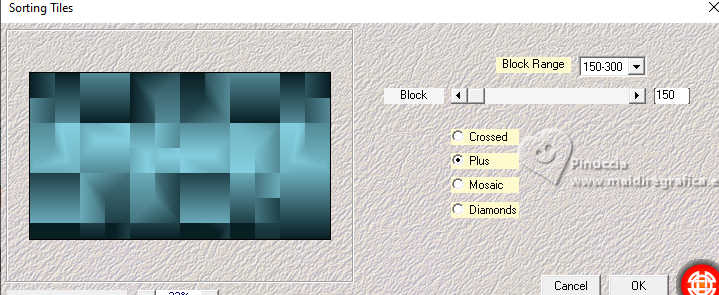
9. Effects>Plugins>L&K's - L&K's Mayra, default settings.
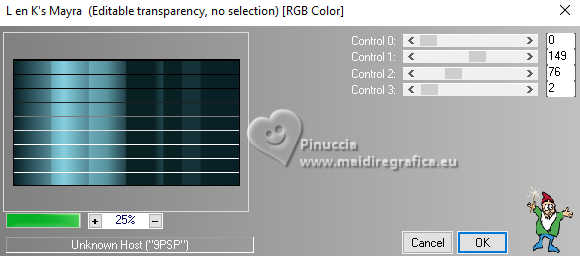
10. Effects>Reflection Effects>Rotating Mirror.

11. Effects>Plugins>Simple - Top Left Mirror.
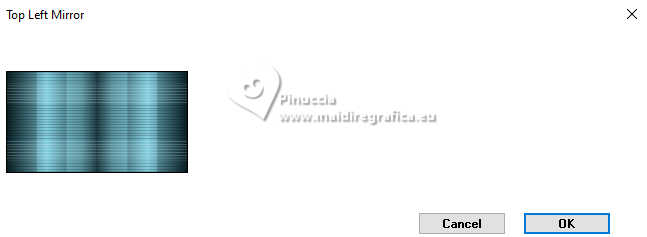
12. Effects>Plugins>Toadies - What Are you, default settings.
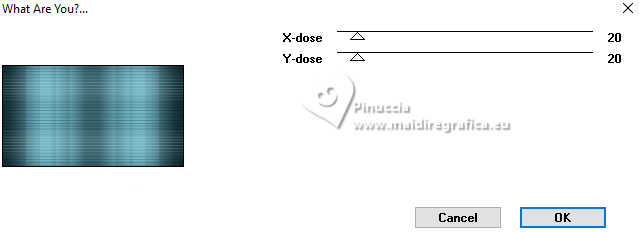
Layers>Merge>Merge visible.
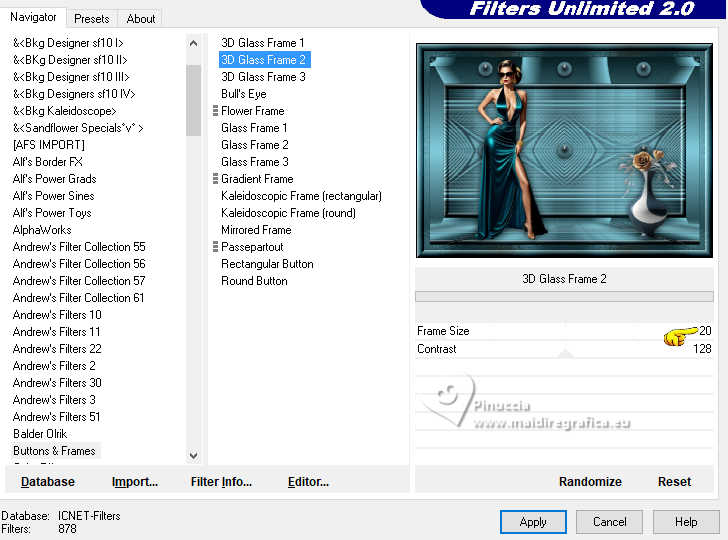
13. Effects>Plugins>Filters Unlimited 2.0 - Button & Frames - 3D Glass Frame 2.
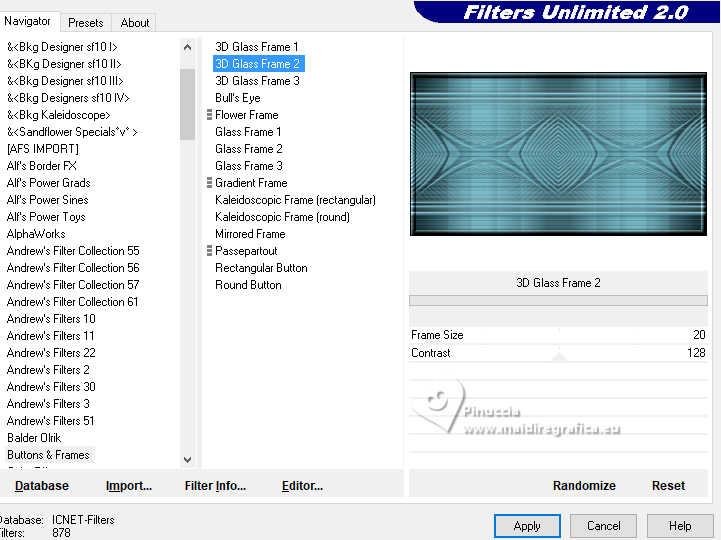
14. Image>Canvas Size - 1000 x 700 pixels.
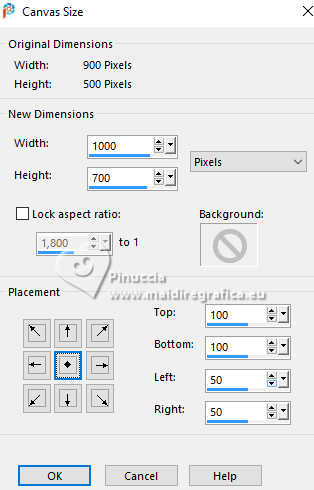
15. Layers>New Raster Layer.
Layers>Arrange>Send to Bottom.
Flood Fill  the layer with your Gradient. the layer with your Gradient.
16. Effects>Plugins>Toadies - Blast'em!, default settings.
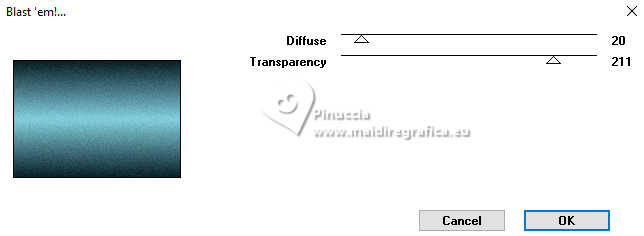
17. Open deco-blue-MJ 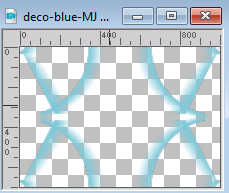
Edit>Copy.
Go back to your work and go to Edit>Paste as new layer.
18. Open deco-azul-MJ 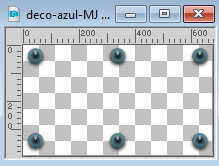
Edit>Copy.
Go back to your work and go to Edit>Paste as new layer.
Layers>Arrange>Bring to Top.
19. K key to activate your Pick Tool 
keep Position X: 161,00 and set Position Y: 6,00.

M key to deselect the Tool.
20. Activate the layer Merged.
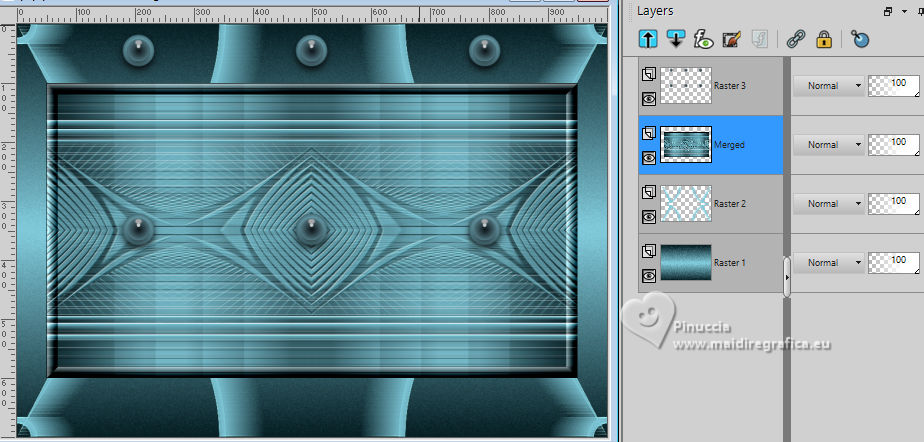
Layers>Duplicate.
21. Effects>Plugins>Mura's Meister - Perspective Tiling.
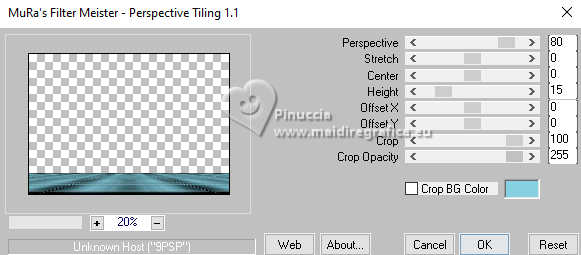
22. Activate your Magic Wand Tool  , feather 30, , feather 30,
and click in the transparent part to select it.
Press +/-10 times CANC on the keyboard  . .
Selections>Select None.
don't forget to set again the feather to 0
Layers>Arrange>Move Down.
Your tag and the layer - adapt Blend Mode and opacity to your liking.
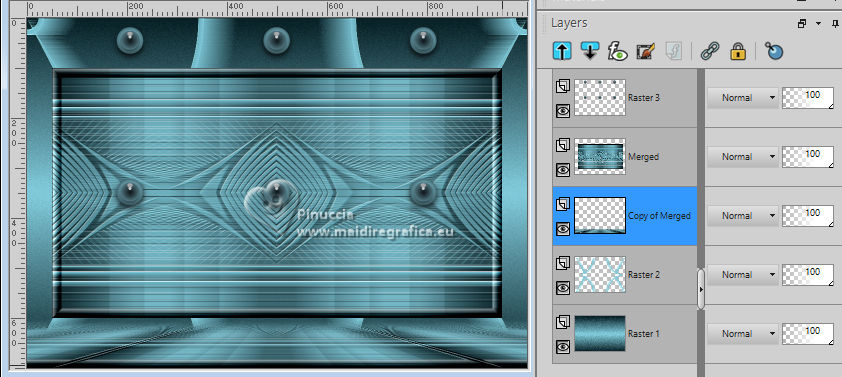
23. Activate your top layer.
Open the tube image-AI-tube-MJ 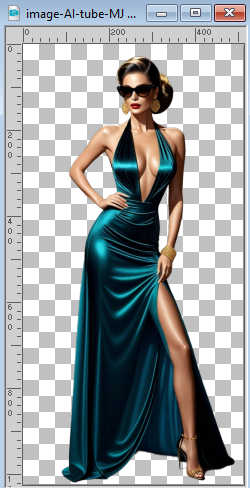
Edit>Copy.
Go back to your work and go to Edit>Paste as new layer.
Image>Resize, to 68%, resize all layers not checked.
Move  the tube to the left side. the tube to the left side.
Effects>3D Effects>Drop Shadow, at your choice.
24. Open the tube deco-vase-AI-tube-MJ 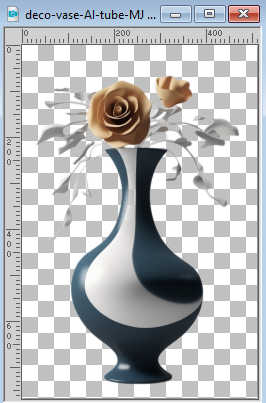
Edit>Copy.
Go back to your work and go to Edit>Paste as new layer.
Image>Resize, to 50%, resize all layers not checked.
Move  the tube at the bottom right. the tube at the bottom right.
Effects>3D Effects>Drop Shadow, at your choice.
25. Image>Add borders, 1 pixel, symmetric, dark color.
26. Selections>Select All.
Edit>Copy
Image>Add borders, 50 pixels, symmetric, color white.
27. Selections>Invert.
Edit>Paste into Selection (the image of step 26)
28. Adjust>Blur>Gaussian Blur - radius 35.

29. Effects>Plugins>Toadies - Blast'em, default settings.
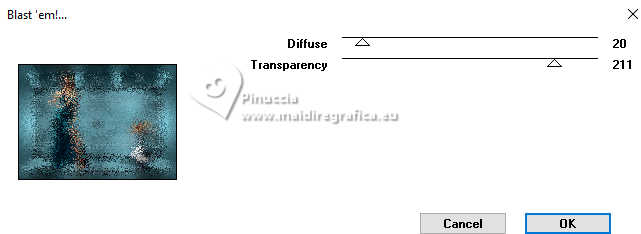
30. Effects>Plugins>Simple - Top Left Mirror.
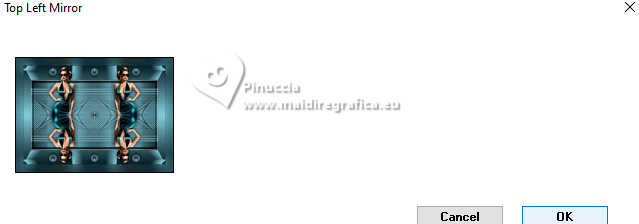
31. Effects>Plugins>Filters Unlimited 2.0 - Buttons & Frames - 3D Glass Frame 2, same settings.
32. Effects>3D Effects>Drop Shadow, color black.

Selections>Select None.
33. Sign your work.
Image>Add borders, 1 pixel, symmetric, dark color.
34. Image>Resize, 1000 pixels width, resize all layers checked.
Save as jpg.
For the tubes of these versions thanks
Luz Cristina and Nena Silva
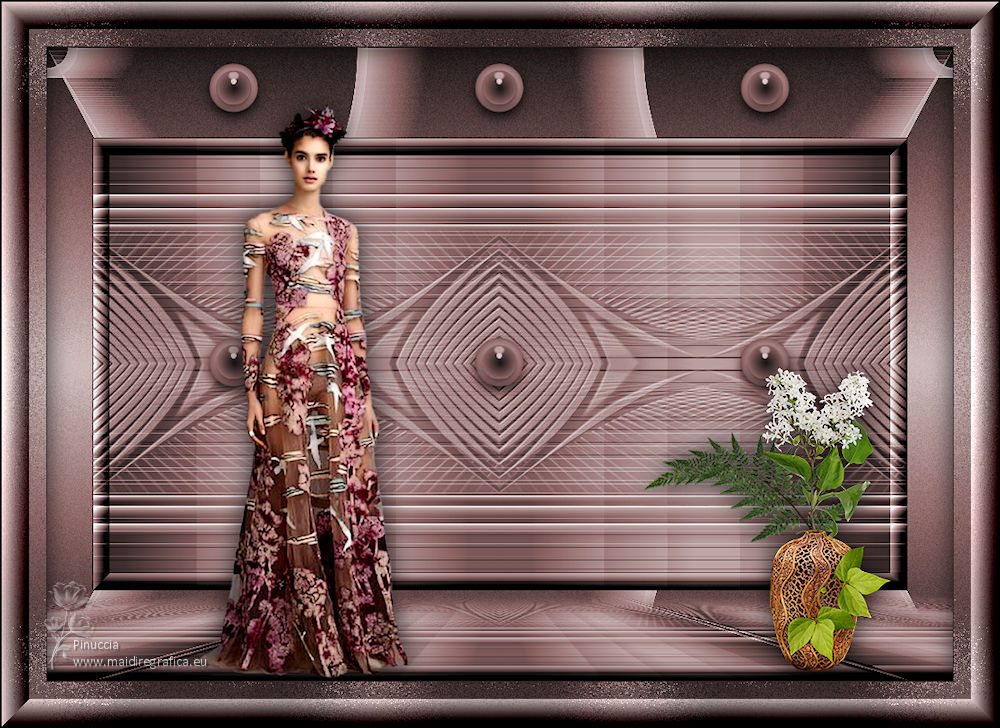
Suizabella
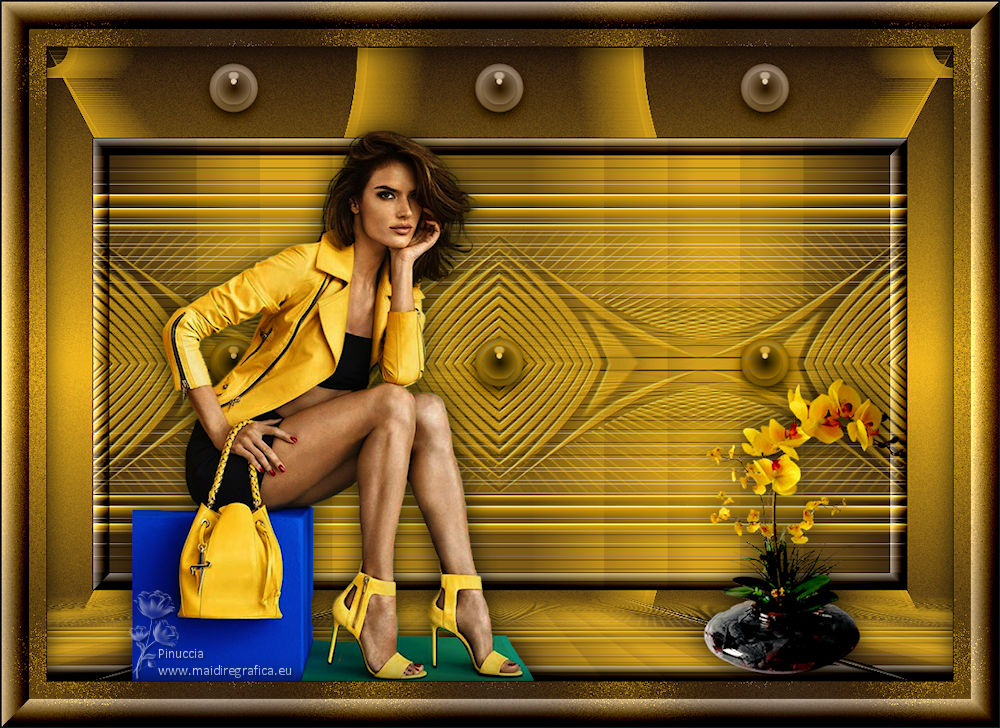

If you have problems or doubts, or you find a not worked link,
or only for tell me that you enjoyed this tutorial, write to me.
3 July 2024

|

