|
BELIEVE IN THE WORLD

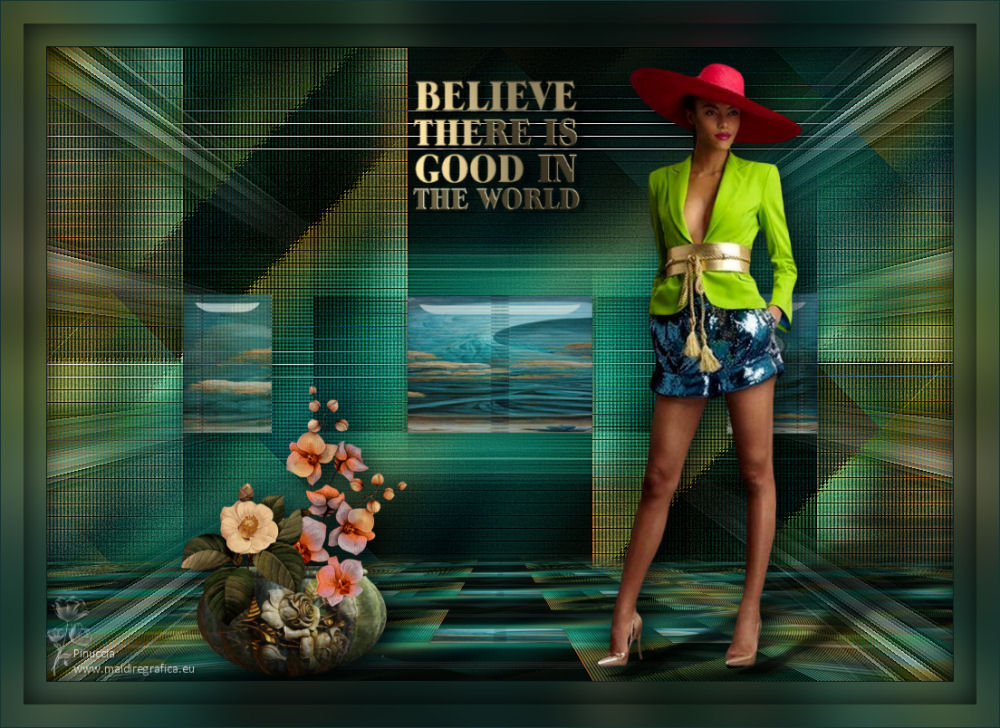
Thanks Maria José for your invitation to translate your tutorial

This tutorial has been translated with PSPX2 and PSPX3, but it can also be made using other versions of PSP.
Since version PSP X4, Image>Mirror was replaced with Image>Flip Horizontal,
and Image>Flip with Image>Flip Vertical, there are some variables.
In versions X5 and X6, the functions have been improved by making available the Objects menu.
In the latest version X7 command Image>Mirror and Image>Flip returned, but with new differences.
See my schedule here
 French translation here French translation here
 your versions ici your versions ici
For this tutorial, you will need:

Thanks for the tube Suizabella and for the text Yoka.
The rest of the material is by Maria José.
(you find here the links to the material authors' sites)

consult, if necessary, my filter section here
Filters Unlimited 2.0 here
Simple - Blintz here
Funhouse - Tremos here
Mura's Meister - Perspective Tiling here
Alien Skin Eye Candy 5 Impact - Glass here
Filters Simple and Funhouse can be used alone or imported into Filters Unlimited.
(How do, you see here)
If a plugin supplied appears with this icon  it must necessarily be imported into Unlimited it must necessarily be imported into Unlimited

You can change Blend Modes according to your colors.
In the newest versions of PSP, you don't find the foreground/background gradient (Corel_06_029).
You can use the gradients of the older versions.
The Gradient of CorelX here
Copy the preset  in the folder of the plugin Alien Skin Eye Candy 5 Impact>Settings>Glass. in the folder of the plugin Alien Skin Eye Candy 5 Impact>Settings>Glass.
One or two clic on the file (it depends by your settings), automatically the preset will be copied in the right folder.
why one or two clic see here

Copy the Selections in the Selections Folder.
1. Set your foreground color to #153534,
and your background color to #86afa1.

Set your foreground color to a Foreground/Background Gradient, style Linear.
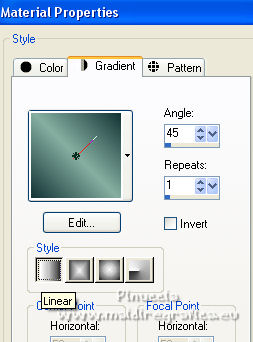
2. Open a new transparent image 1000 x 700 pixels.
Flood Fill  the transparent image with your Gradient. the transparent image with your Gradient.
3. Layers>New Raster Layer.
Selections>Select All.
4. Open the image grafico 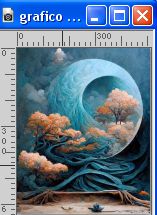
Edit>Copy.
Minimize the image.
Go back to your work and go to Edit>Paste into Selection.
Selections>Select None.
5. Effects>Image Effects>Seamless Tiling.

6. Adjust>Blur>Gaussian Blur - radius 30.

Change the Blend Mode of this layer to Hard Light.
Layers>Merge>Merge Down.
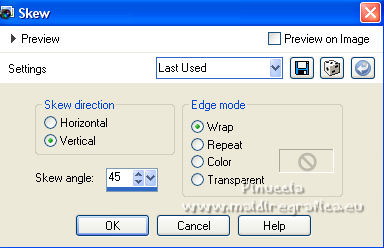
7. Effects>Geometric Effects>Skew.
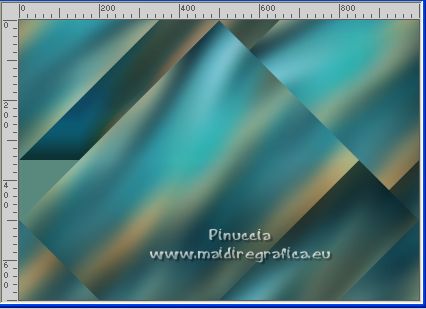
8. Effects>Plugins>Simple - Blintz.
Edit>Repeat Blintz.
This filter works without window; result
9. Layers>Duplicate.
Image>Flip.
Image>Mirror.
Change the Blend Mode of this layer to Hard Light, or other (in my example Multiply).
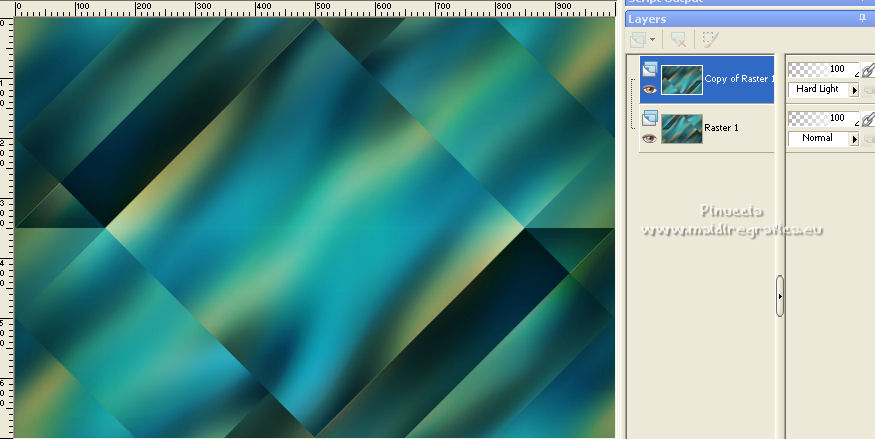
Layers>Merge>Merge Down.
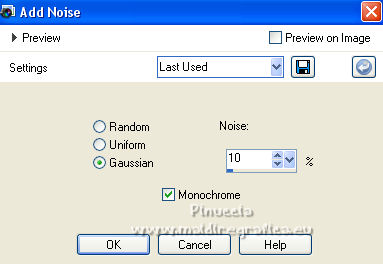
10. Adjust>Add/Remove Noise>Add Noise.
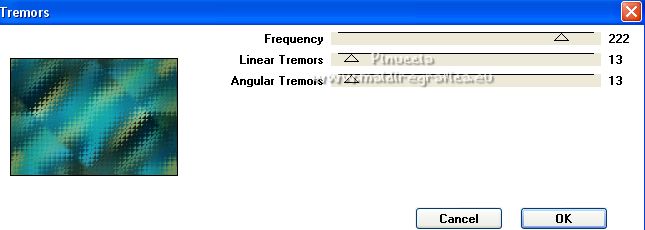
11. Effects>Plugins>Funhouse - Tremors, default settings.
12. Adjust>Sharpness>Sharpen More.
13. Open MJ-deco 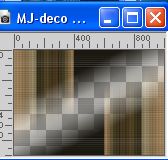
Edit>Copy.
Go back to your work and go to Edit>Paste as new layer.
Change the Blend Mode of this layer to Hard Light.
14. Open MJ-deco1a 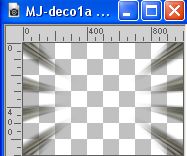
Edit>Copy.
Go back to your work and go to Edit>Paste as new layer.
Change the blend Mode of this layer to Luminance (legacy).
15. Open MJ-deco2a 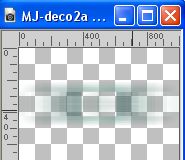
Edit>Copy.
Go back to your work and go to Edit>Paste as new layer.
Change the Blend Mode of this layer to Hard Light.
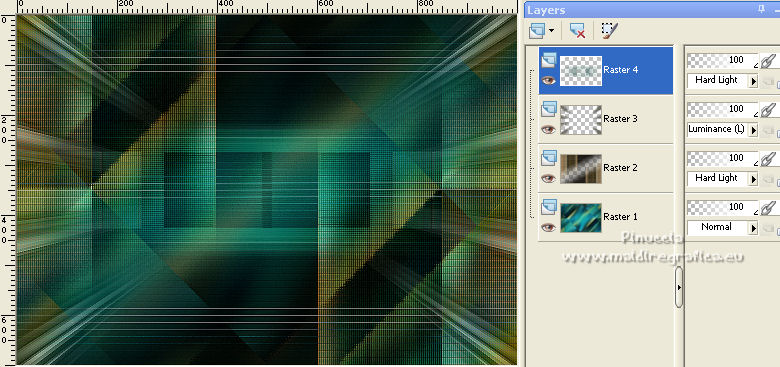
16. Selections>Load/Save Selection>Load Selection from Disk.
Look for and load the selection MJ-believe
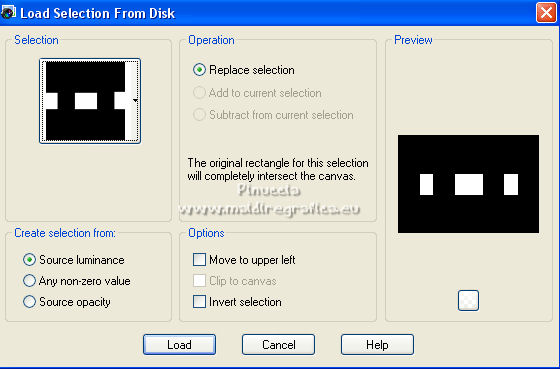
17. Layers>New Raster Layer.
Activate again the image grafico 
Edit>Copy.
Go back to your work and go to Edit>Paste into Selection.
Reduce the opacity of this layer to 80%, if necessary.
18. Effects>Plugins>Alien Skin Eye Candy 5 Impact - Glass.
Select the preset believe-MJ and ok.
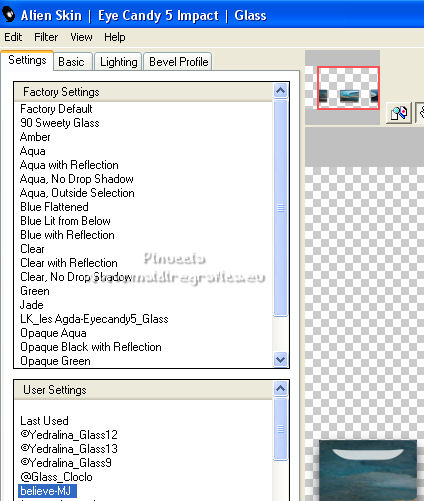
Layers>Arrange>Move Down.
Selections>Select None.
19. Activate your top layer, Raster 4.
Edit>Copy Special>Copy Merged
20. Selections>Load/Save Selection>Load Selection from Disk.
Look for and load the selection MJ-believe-1
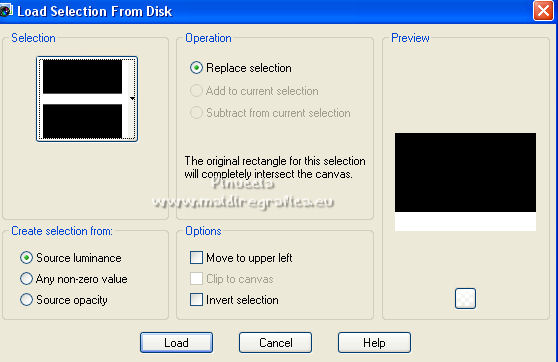
21. Layers>New Raster Layer.
Edit>Paste into Selection.
22. Effects>Plugins>Mura's Meister - Perspective Tiling, default settings.
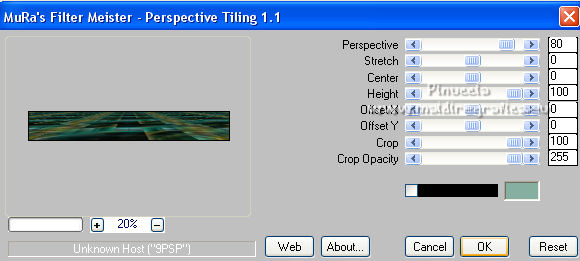
Selections>Invert.
23. Selections>Modify>Outside/Inside Feather.
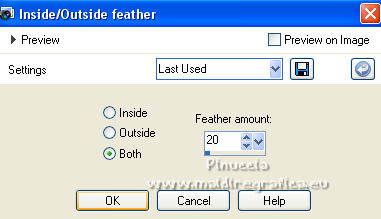
Press +/-5 times CANC on the keyboard 
Selections>Select None.
Layers>Arrange>Move Down - 3 times.
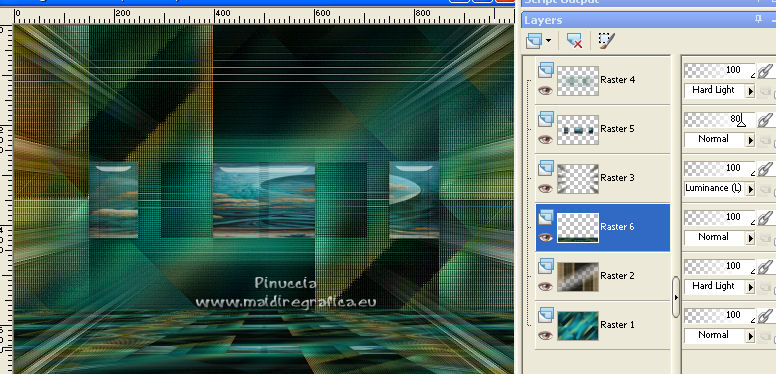
24. Activate the top layer.
Open the woman tube SuizaBella_Ref_AG-00184 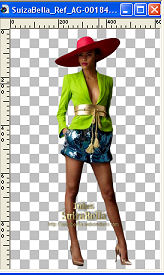
Edit>Copy.
Go back to your work and go to Edit>Paste as new layer.
Image>Resize, to 70%, resize all layers not checked.
Image>Mirror.
Move  the tube to the right, or to your liking. the tube to the right, or to your liking.
Effects>3D Effects>Drop Shadow, at your choice.
25. Open the tube vaso-17-mj 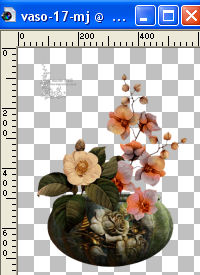
Erase the watermark and go to Edit>Copy.
Go back to your work and go to Edit>Paste as new layer.
Image>Resize, to 50%, resize all layers not checked.
Move  the tube to the left, or to your liking. the tube to the left, or to your liking.
Effects>3D Effects>Drop Shadow, at your choice.
26. Open the text texto 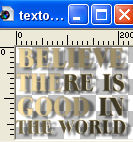
Edit>Copy.
Go back to your work and go to Edit>Paste as new layer.
Image>Resize, to 85%, resize all layers not checked.
Move  the text at the upper or to your liking. the text at the upper or to your liking.
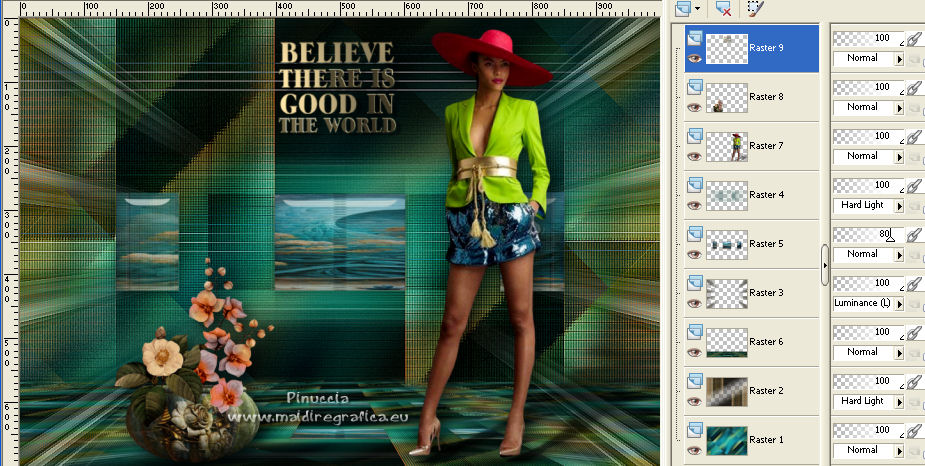
Your tag and the layers - adapt according to your colors.
27. Image>Add borders, 1 pixel, symmetric, dark color.
28. Selections>Select All.
Edit>Copy
Image>Add borders, 25 pixels, symmetric, light color.
29. Selections>Invert.
Edit>Paste into Selection (the image of step 28).
30. Adjust>Blur>Gaussian Blur - radius 30.

Effects>3D Effects>Drop Shadow, color black.

31. Edit>Copy.
Selections>Select All.
Image>Add borders, 25 pixels, symmetric, light color.
32. Selections>Invert.
Edit>Paste into Selection (image of step 31).
Effects>3D Effects>Drop Shadow, same settings.
Selections>Select None.
33. Sign your work.
Image>Add borders, 1 pixel, symmetric, dark color.
34. Image>Resize, 1000 pixels width, resize all layers checked.
Save as jpg.
For the tubes of this version thanks
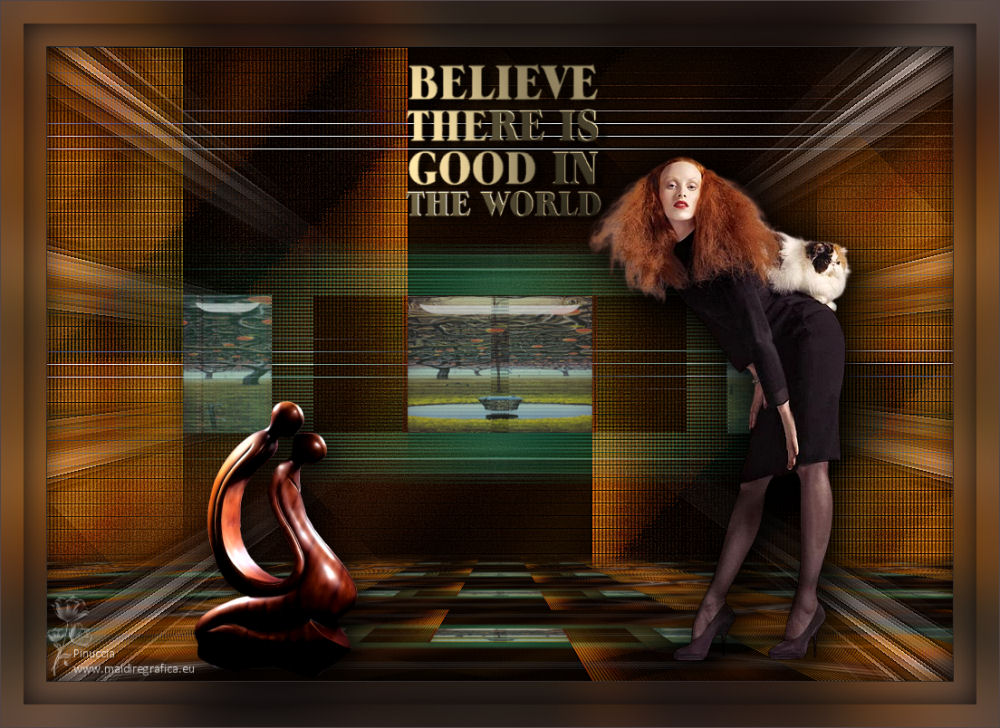
 Your versions here Your versions here

If you have problems or doubts, or you find a not worked link,
or only for tell me that you enjoyed this tutorial, write to me.
13 January 2023

|

