|
BEAUTY IN COLORS

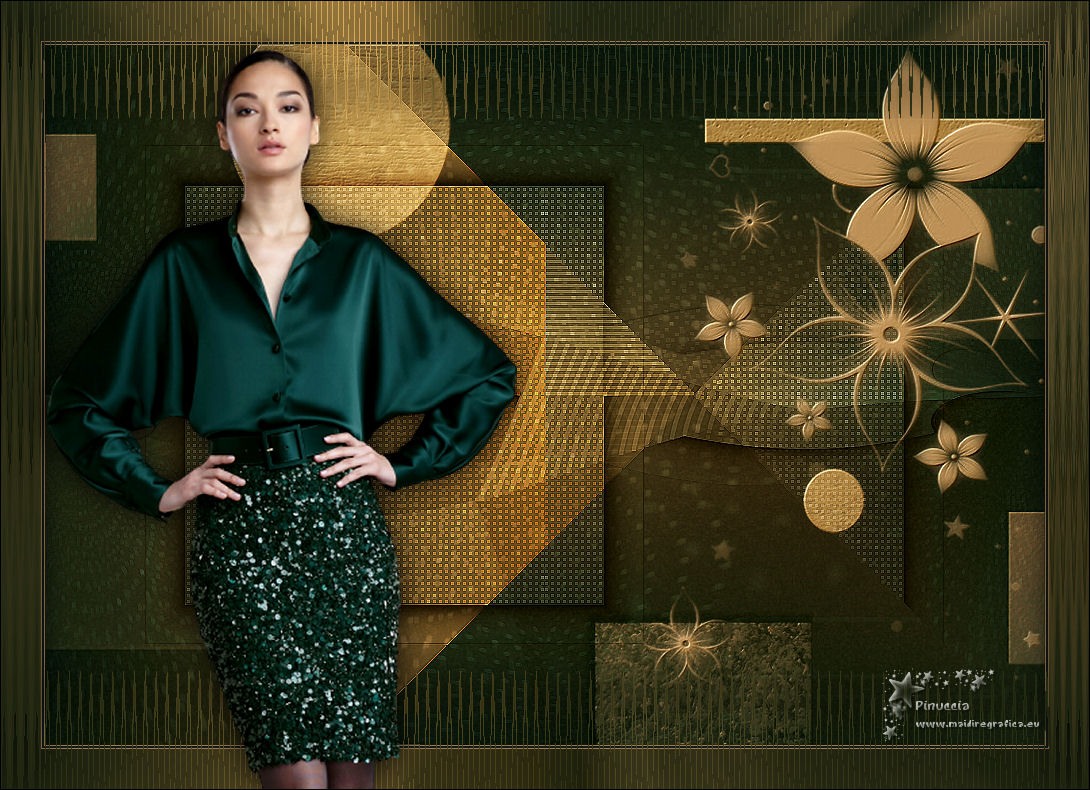
Thanks Maria José for your invitation to translate your tutorial

This tutorial has been translated with PSPX7, PSPX2 and PSPX3, but it can also be made using other versions of PSP.
Since version PSP X4, Image>Mirror was replaced with Image>Flip Horizontal,
and Image>Flip with Image>Flip Vertical, there are some variables.
In versions X5 and X6, the functions have been improved by making available the Objects menu.
In the latest version X7 command Image>Mirror and Image>Flip returned, but with new differences.
See my schedule here
 French translation here French translation here
 your versions ici your versions ici
For this tutorial, you will need:
Material here
Thanks for the tube Luz Cristina.
The rest of the material is by Maria José
(you find here the links to the material authors' sites)
Plugins
consult, if necessary, my filter section here
Filters Unlimited 2.0 here
Mura's Seamless - Emboss at Alpha here
VM Natural - Speed here
Flaming Pear - Flexify 2 here
Carolaine and Sensibility - CS-LDots here
Simple - Pizza Slice Mirror here
AAA Frames - Foto Frame / AAA Filters - Custom here
Filters Simple and Mura's Seamless can be used alone or imported into Filters Unlimited.
(How do, you see here)
If a plugin supplied appears with this icon  it must necessarily be imported into Unlimited it must necessarily be imported into Unlimited

You can change Blend Modes according to your colors.
In the newest versions of PSP, you don't find the foreground/background gradient (Corel_06_029).
You can use the gradients of the older versions.
The Gradient of CorelX here
Copy the preset for Flexify in a Folder at your choice.
You will import it from this folder when you need it.
Open the masks in PSP and minimize them with the rest of the material.
Set your foreground color to #be9769,
and your background color to #163434.
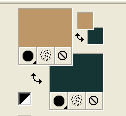
Set your foreground color to a Foreground/Background Gradient, style Linear.
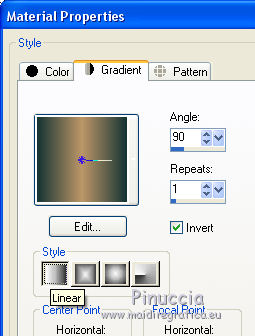
1. Open a new transparent image 1000 x 700 pixels.
Flood Fill  the transparent image with your Gradient. the transparent image with your Gradient.
2. Selections>Select All.
Selections>Modify>Contract - 100 pixels.
3. Effects>Plugins>AAA Frames - Foto Frame.
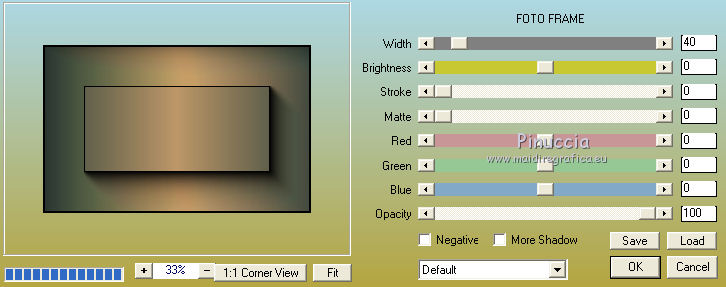
4. Selections>Modify>Contract - 40 pixels.
5. Effects>Plugins>Carolaine and Sensibility - CS-LDots, default settings.
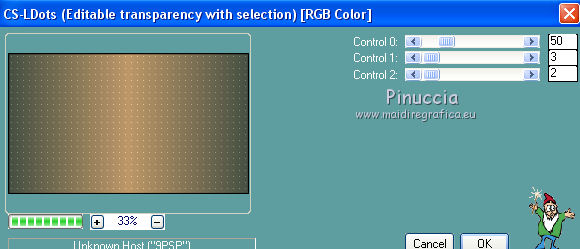
Selections>Select None.
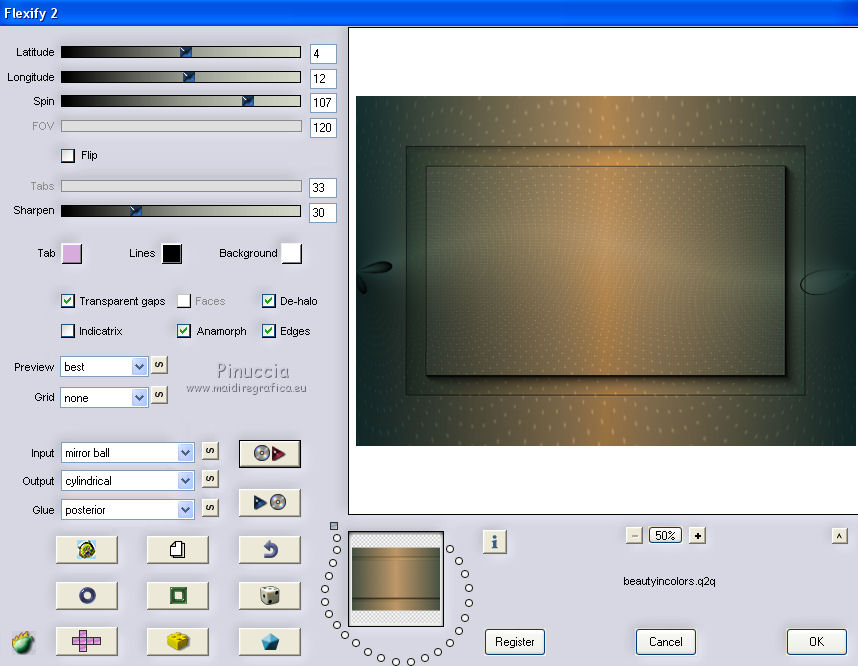
6. Effects>Plugins>Flaming Pear - Flexify 2
click on the red button and look for, in the folder where you copied it,
the preset beautyincolors and ok.
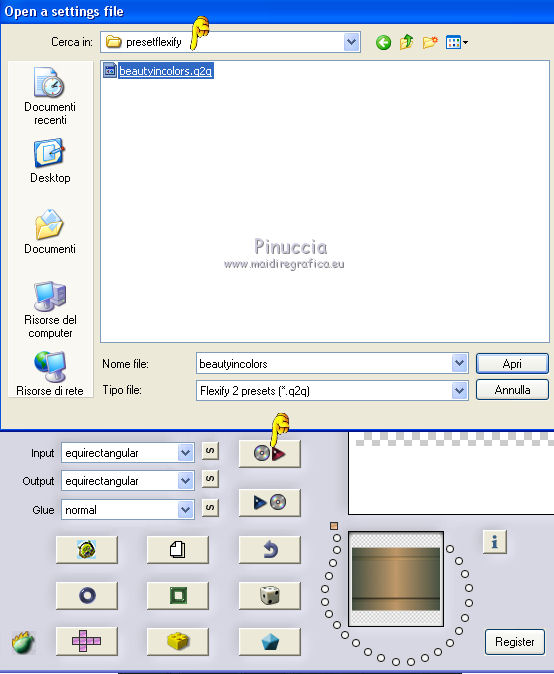
Here below the settings in case of problems with the preset
7. Effects>Reflection Effects>Rotating Mirror.

8. Effects>Plugins>Simple - Pizza Slice Mirror.
Image>Mirror.
9. Effects>Plugins>Flaming Pear - Flexify 2, same settings
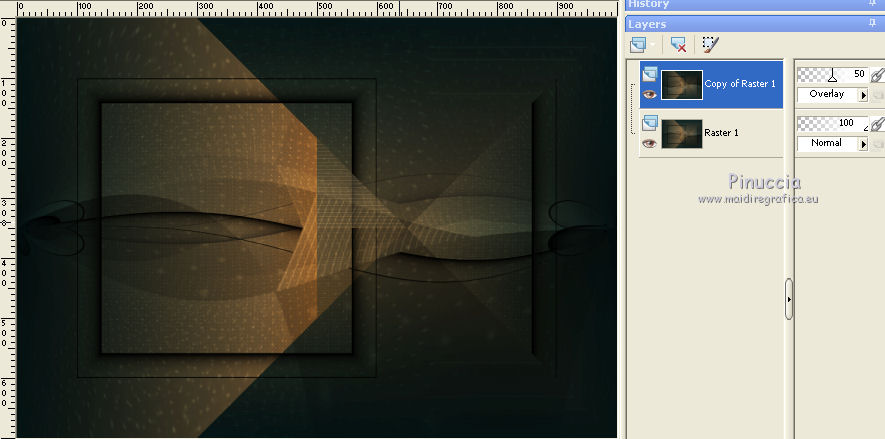
10. Layers>Duplicate.
Image>Flip.
Change the Blend Mode of this layer to Overlay
and reduce the opacity to 50%.
11. Activate the layer Raster 1.
Effects>Edge Effects>Dilate
Effects>Edge Effects>Enhance.
12. Layers>New Raster Layer.
Set your foreground color to Color
Flood Fill  the layer with your light foreground color #be9769. the layer with your light foreground color #be9769.
13. Layers>New Mask layer>From image
Open the menu under the source window and you'll see all the files open.
Select the mask 06_mask_MJ.
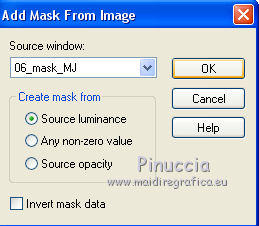
Layers>Merge>Merge Group.
14. Effects>Plugins>Mura's Seamless - Emboss at alpha, default settings
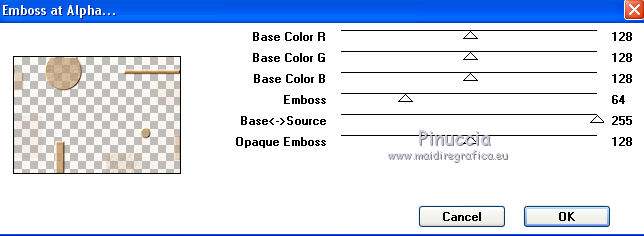
Change the Blend Mode of this layer to Screen.
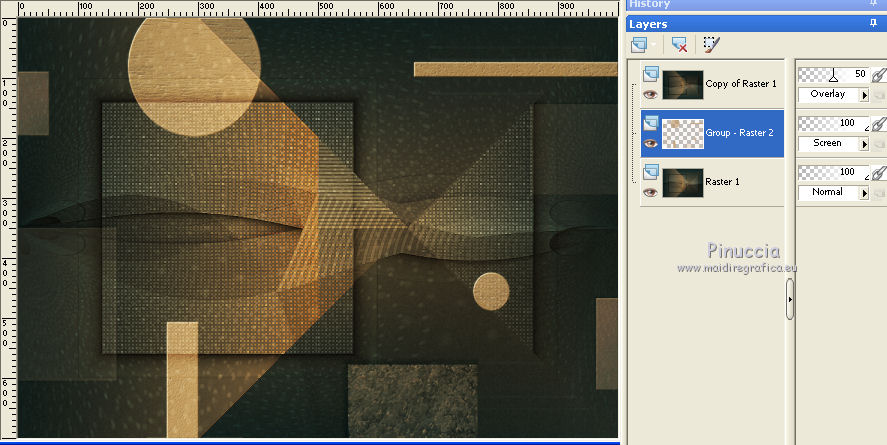
15. Layers>New Raster Layer.
Layers>Arrange>Bring to top.
Flood Fill  the layer with your light foreground color #be9769. the layer with your light foreground color #be9769.
16. Layers>New Mask layer>From image
Open the menu under the source window
and select the mask 30_maskflor_MJ.
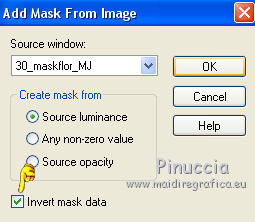
Layers>Merge>Merge Group.
17. Effects>Plugins>Mura's Seamless - Emboss at alpha, default settings.

You should have this
You can adapt the Blend Modes according to your colors
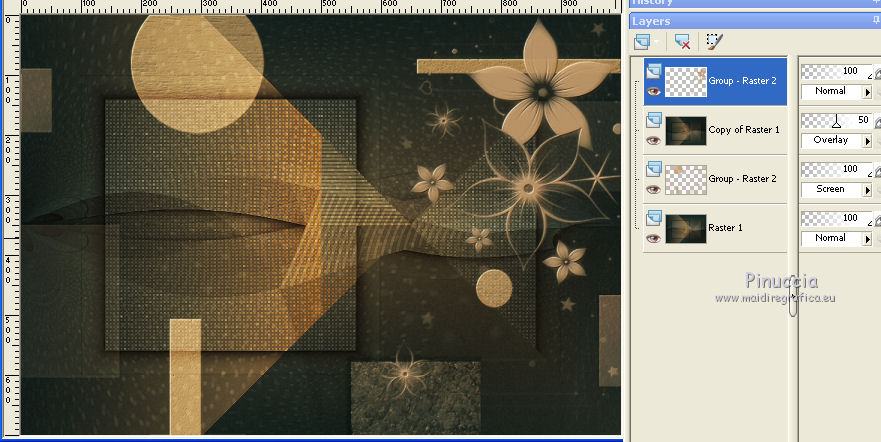
Layers>Merge>Merge visible.
18. Effects>Plugins>AAA Filters - Custom
click on Landscape and ok.
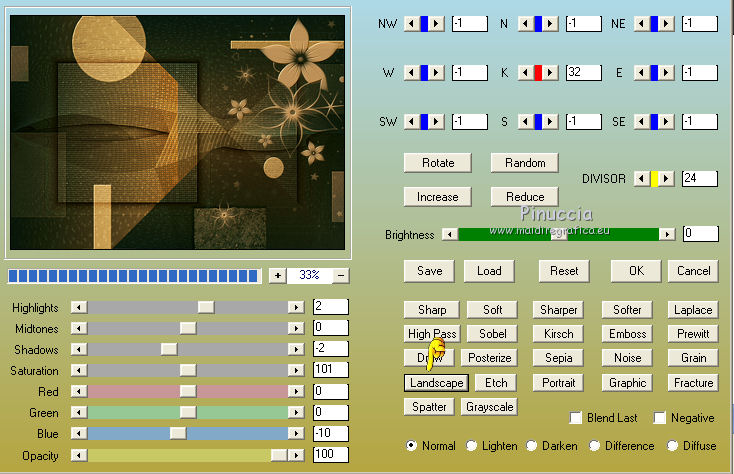
19. Image>Add borders, 1 pixel, symmetric, color #b59164.
Image>Add borders, 2 pixels, symmetric, color #171c1a.
Image>Add borders, 1 pixel, symmetric, color #b59164.
20. Selections>Select All.
Edit>Copy.
21. Image>Add borders, 40 pixels, symmetric, color white #ffffff.
22. Selections>Invert.
Edit>Paste into Selection.
23. Adjust>Blur>Radial Blur.
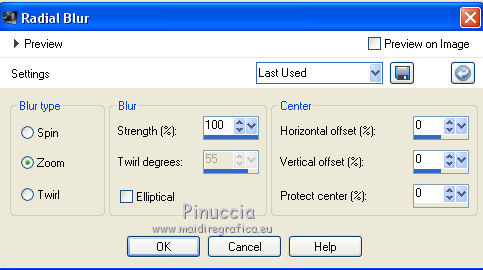
24. Effects>Distortion Effects>Wave
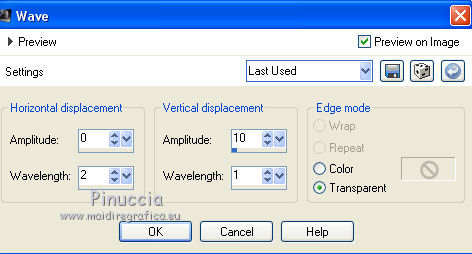
25. Adjust>Sharpness>Sharpen.
Effects>3D Effects>Drop Shadow, color black.

26. Open the woman tube and go to Edit>Copy.
Go back to your work and go to Edit>Paste as new layer.
Move  the tube to the left side, or where you prefer. the tube to the left side, or where you prefer.
Effects>3D Effects>Drop Shadow, at your choice.
Image>Add borders, 1 pixel, symmetric, color black.
27. Sign your work on a new layer.
Layers>Merge>Merge All.
28. Image>Resize, 1000 pixels width, resize all layer checked.
Save as jpg.
Version with tube by Wieske
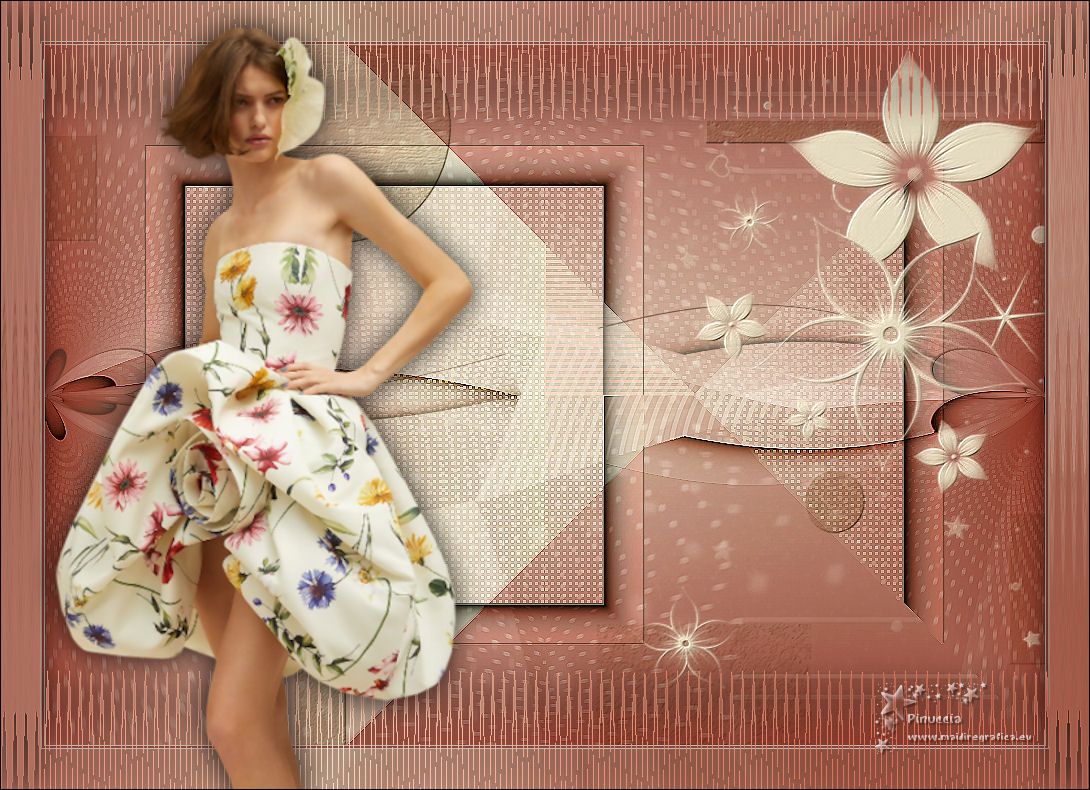
 Your versions here Your versions here

If you have problems or doubts, or you find a not worked link, or only for tell me that you enjoyed this tutorial, write to me.
21 January 2021
|

